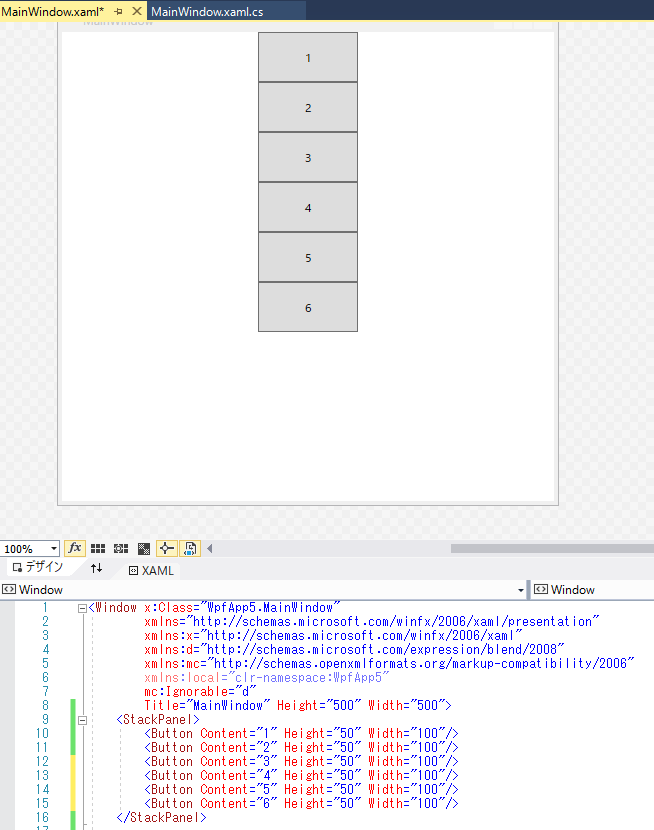
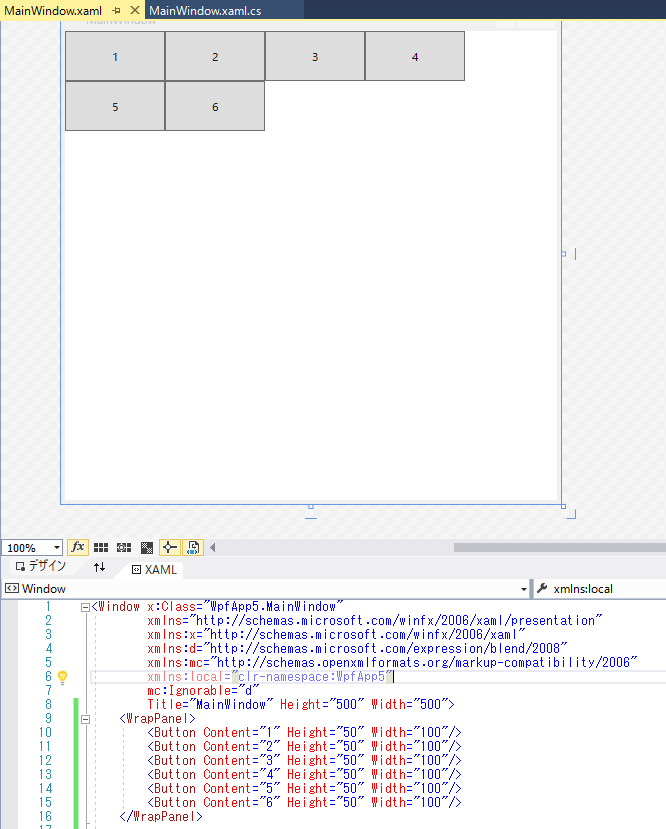
環境:Visual Studio 2017 Community
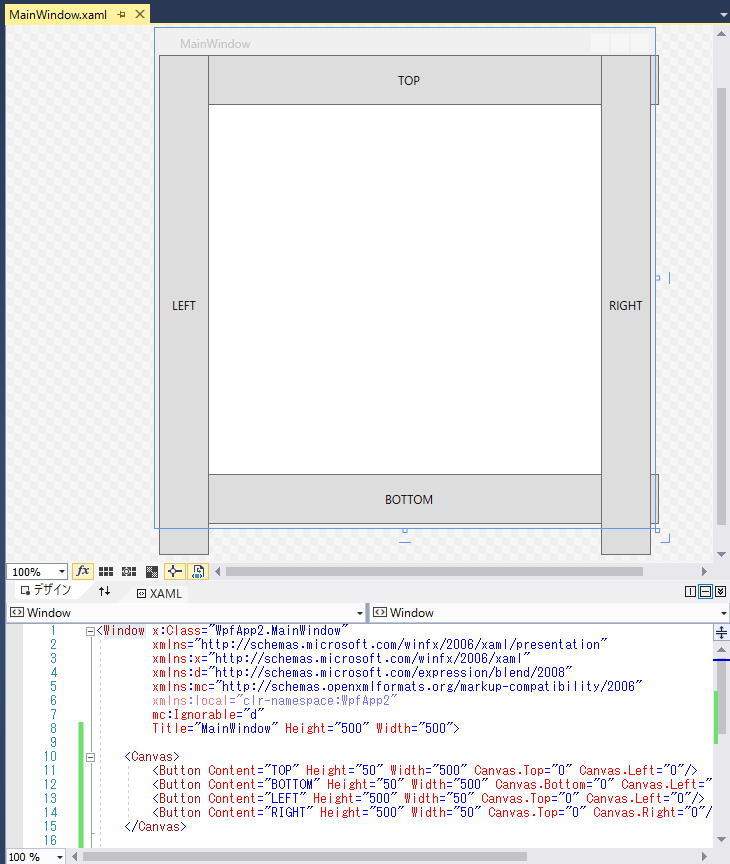
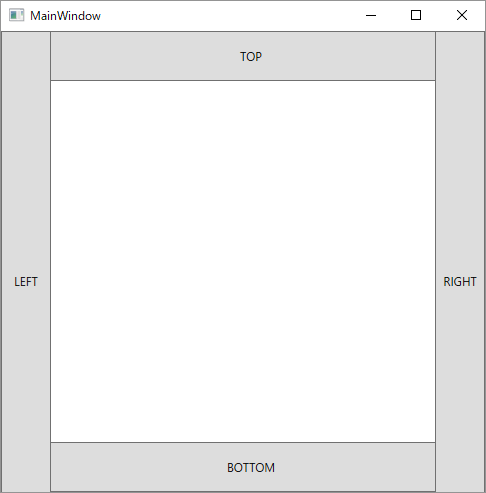
例題:500*500の正方形のウインドウに上下左右に幅50のボタンをつける。
Canvas
説明
左上(上下左右可能)からの相対座標を指定する。
サンプルソース
test.xaml
    <Canvas>
        <Button Content="TOP" Height="50" Width="500" Canvas.Top="0" Canvas.Left="0"/>
        <Button Content="BOTTOM" Height="50" Width="500" Canvas.Bottom="0" Canvas.Left="0"/>
        <Button Content="LEFT" Height="500" Width="50" Canvas.Top="0" Canvas.Left="0"/>
        <Button Content="RIGHT" Height="500" Width="50" Canvas.Top="0" Canvas.Right="0"/>
    </Canvas>
実行結果
問題点
ウインドウのリサイズに対応しない。
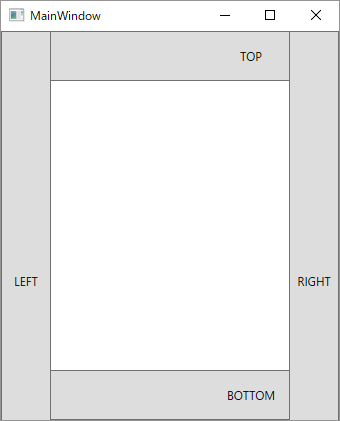
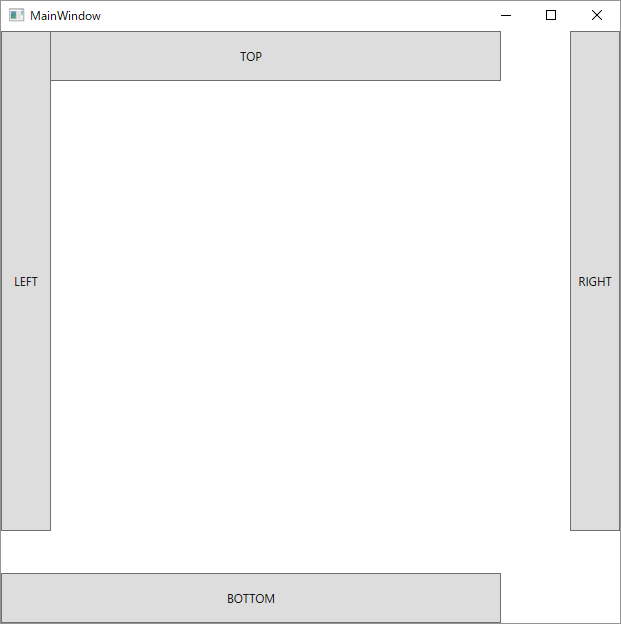
ボタンの階層構造が判別しにくい。
DockPanel
説明
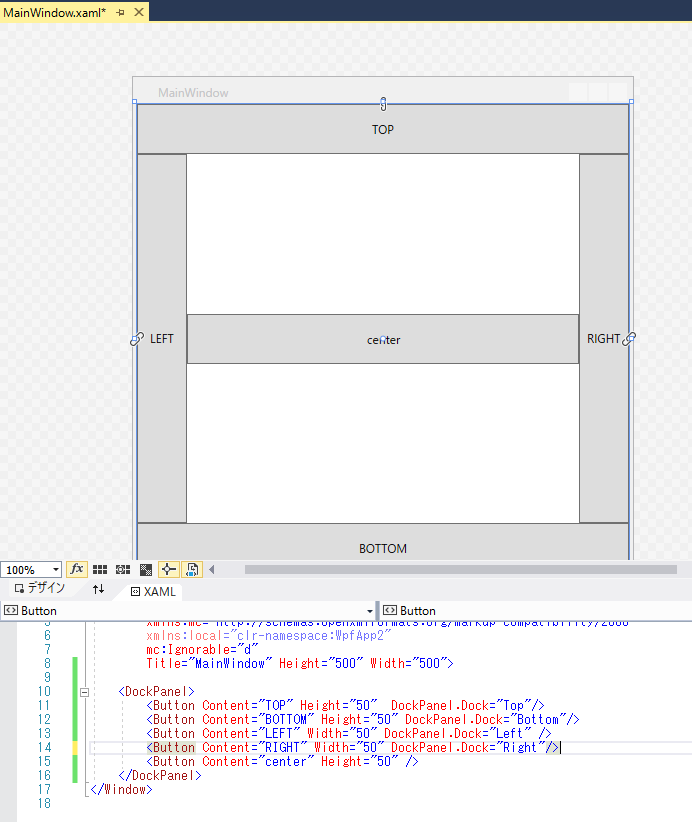
DockPanel.Dockで指定した方向に子要素を張り付ける。(1個だと意味ない、複数の子要素が必要。)
サンプルソース
test.xaml
    <DockPanel>
        <Button Content="TOP" Height="50"  DockPanel.Dock="Top"/>
        <Button Content="BOTTOM" Height="50" DockPanel.Dock="Bottom"/>
        <Button Content="LEFT" Width="50" DockPanel.Dock="Left" />
        <Button Content="RIGHT" Width="50" DockPanel.Dock="Right"/>
        <Button Content="center" Height="50" />
    </DockPanel>
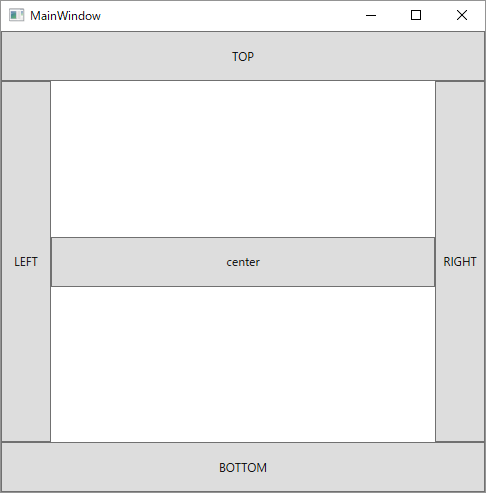
実行結果
問題点
ウインドウのリサイズに対応可能だが、使いにくい。
centerのボタンを無くすとレイアウトが崩れる・・・
Grid
説明
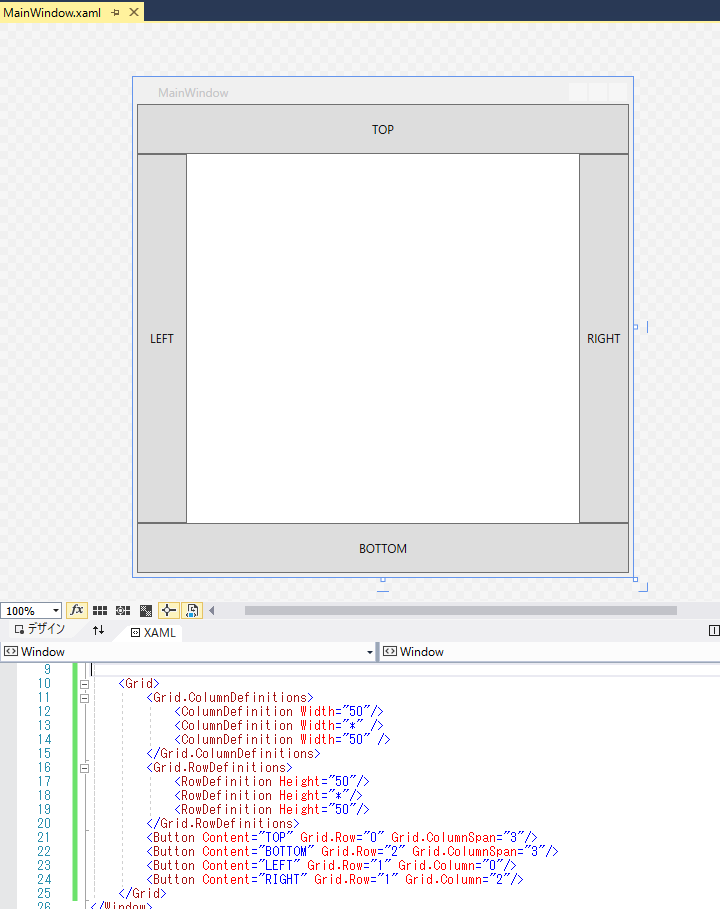
テーブル形式で、行と列の場所を指定する。
サンプルソース
test.xaml
    <Grid>
        <Grid.ColumnDefinitions>
            <ColumnDefinition Width="50"/>
            <ColumnDefinition Width="*" />
            <ColumnDefinition Width="50" />
        </Grid.ColumnDefinitions>
        <Grid.RowDefinitions>
            <RowDefinition Height="50"/>
            <RowDefinition Height="*"/>
            <RowDefinition Height="50"/>
        </Grid.RowDefinitions>
        <Button Content="TOP" Grid.Row="0" Grid.ColumnSpan="3"/>
        <Button Content="BOTTOM" Grid.Row="2" Grid.ColumnSpan="3"/>
        <Button Content="LEFT" Grid.Row="1" Grid.Column="0"/>
        <Button Content="RIGHT" Grid.Row="1" Grid.Column="2"/>
    </Grid>
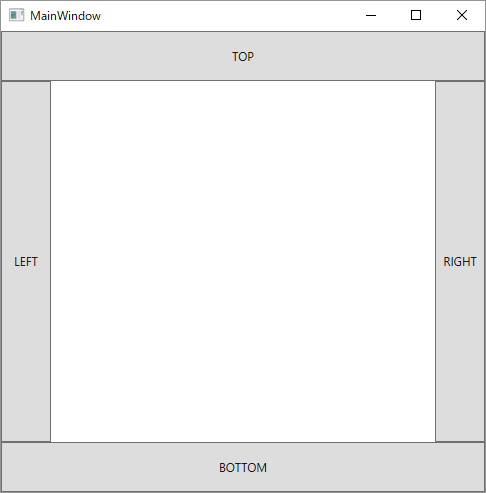
実行結果
問題点
升目上になるレイアウトで、行の数、列の数がある程度決まっている場合は、これが使い勝手が良さそう。ただ、後で行、列の数が変わると面倒になる考えられる。
StackPanel
説明
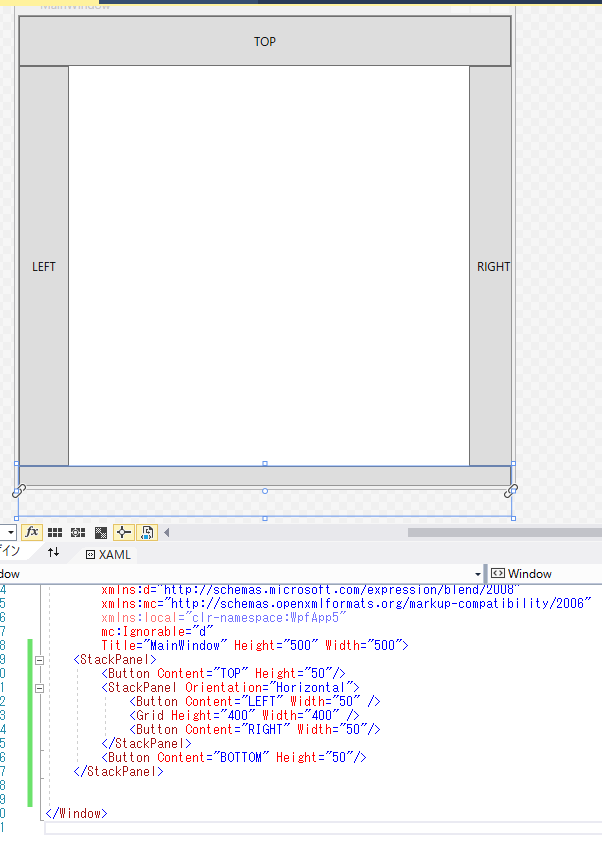
縦・横に積み上げていく。(Orientationで縦横の指定が可能)
サンプルソース
test.xaml
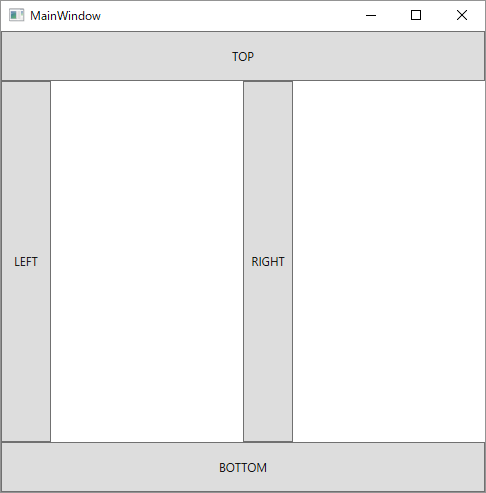
    <StackPanel>
        <Button Content="TOP" Height="50"/>
        <StackPanel Orientation="Horizontal">
            <Button Content="LEFT" Width="50" />
            <Grid Height="400" Width="400" />
            <Button Content="RIGHT" Width="50"/>
        </StackPanel>
        <Button Content="BOTTOM" Height="50"/>
    </StackPanel>
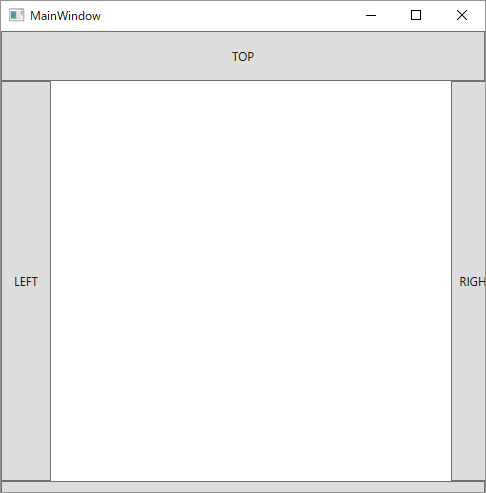
実行結果
問題点
空白を開けるようなデザインには向いていない。
