はじめに
個人アプリにて、クレジットカード決済を行うため、PAY.JPを導入しました。
導入において、少しつまずいた部分もあったので、備忘録として記載しています。
前提条件
- Rails 5.2.4.2
- Ruby 2.5.1
- devise使用
- haml使用
- VSCode使用
手順
- PAY.JPの登録
- アプリにPAY.JPを導入・下準備
- モデルの作成
- マイグレーションファイル
- コントローラーの作成
- gonの導入
- JSファイルの作成
PAY.JPの登録
以下のURLより登録します。
PAY.JP
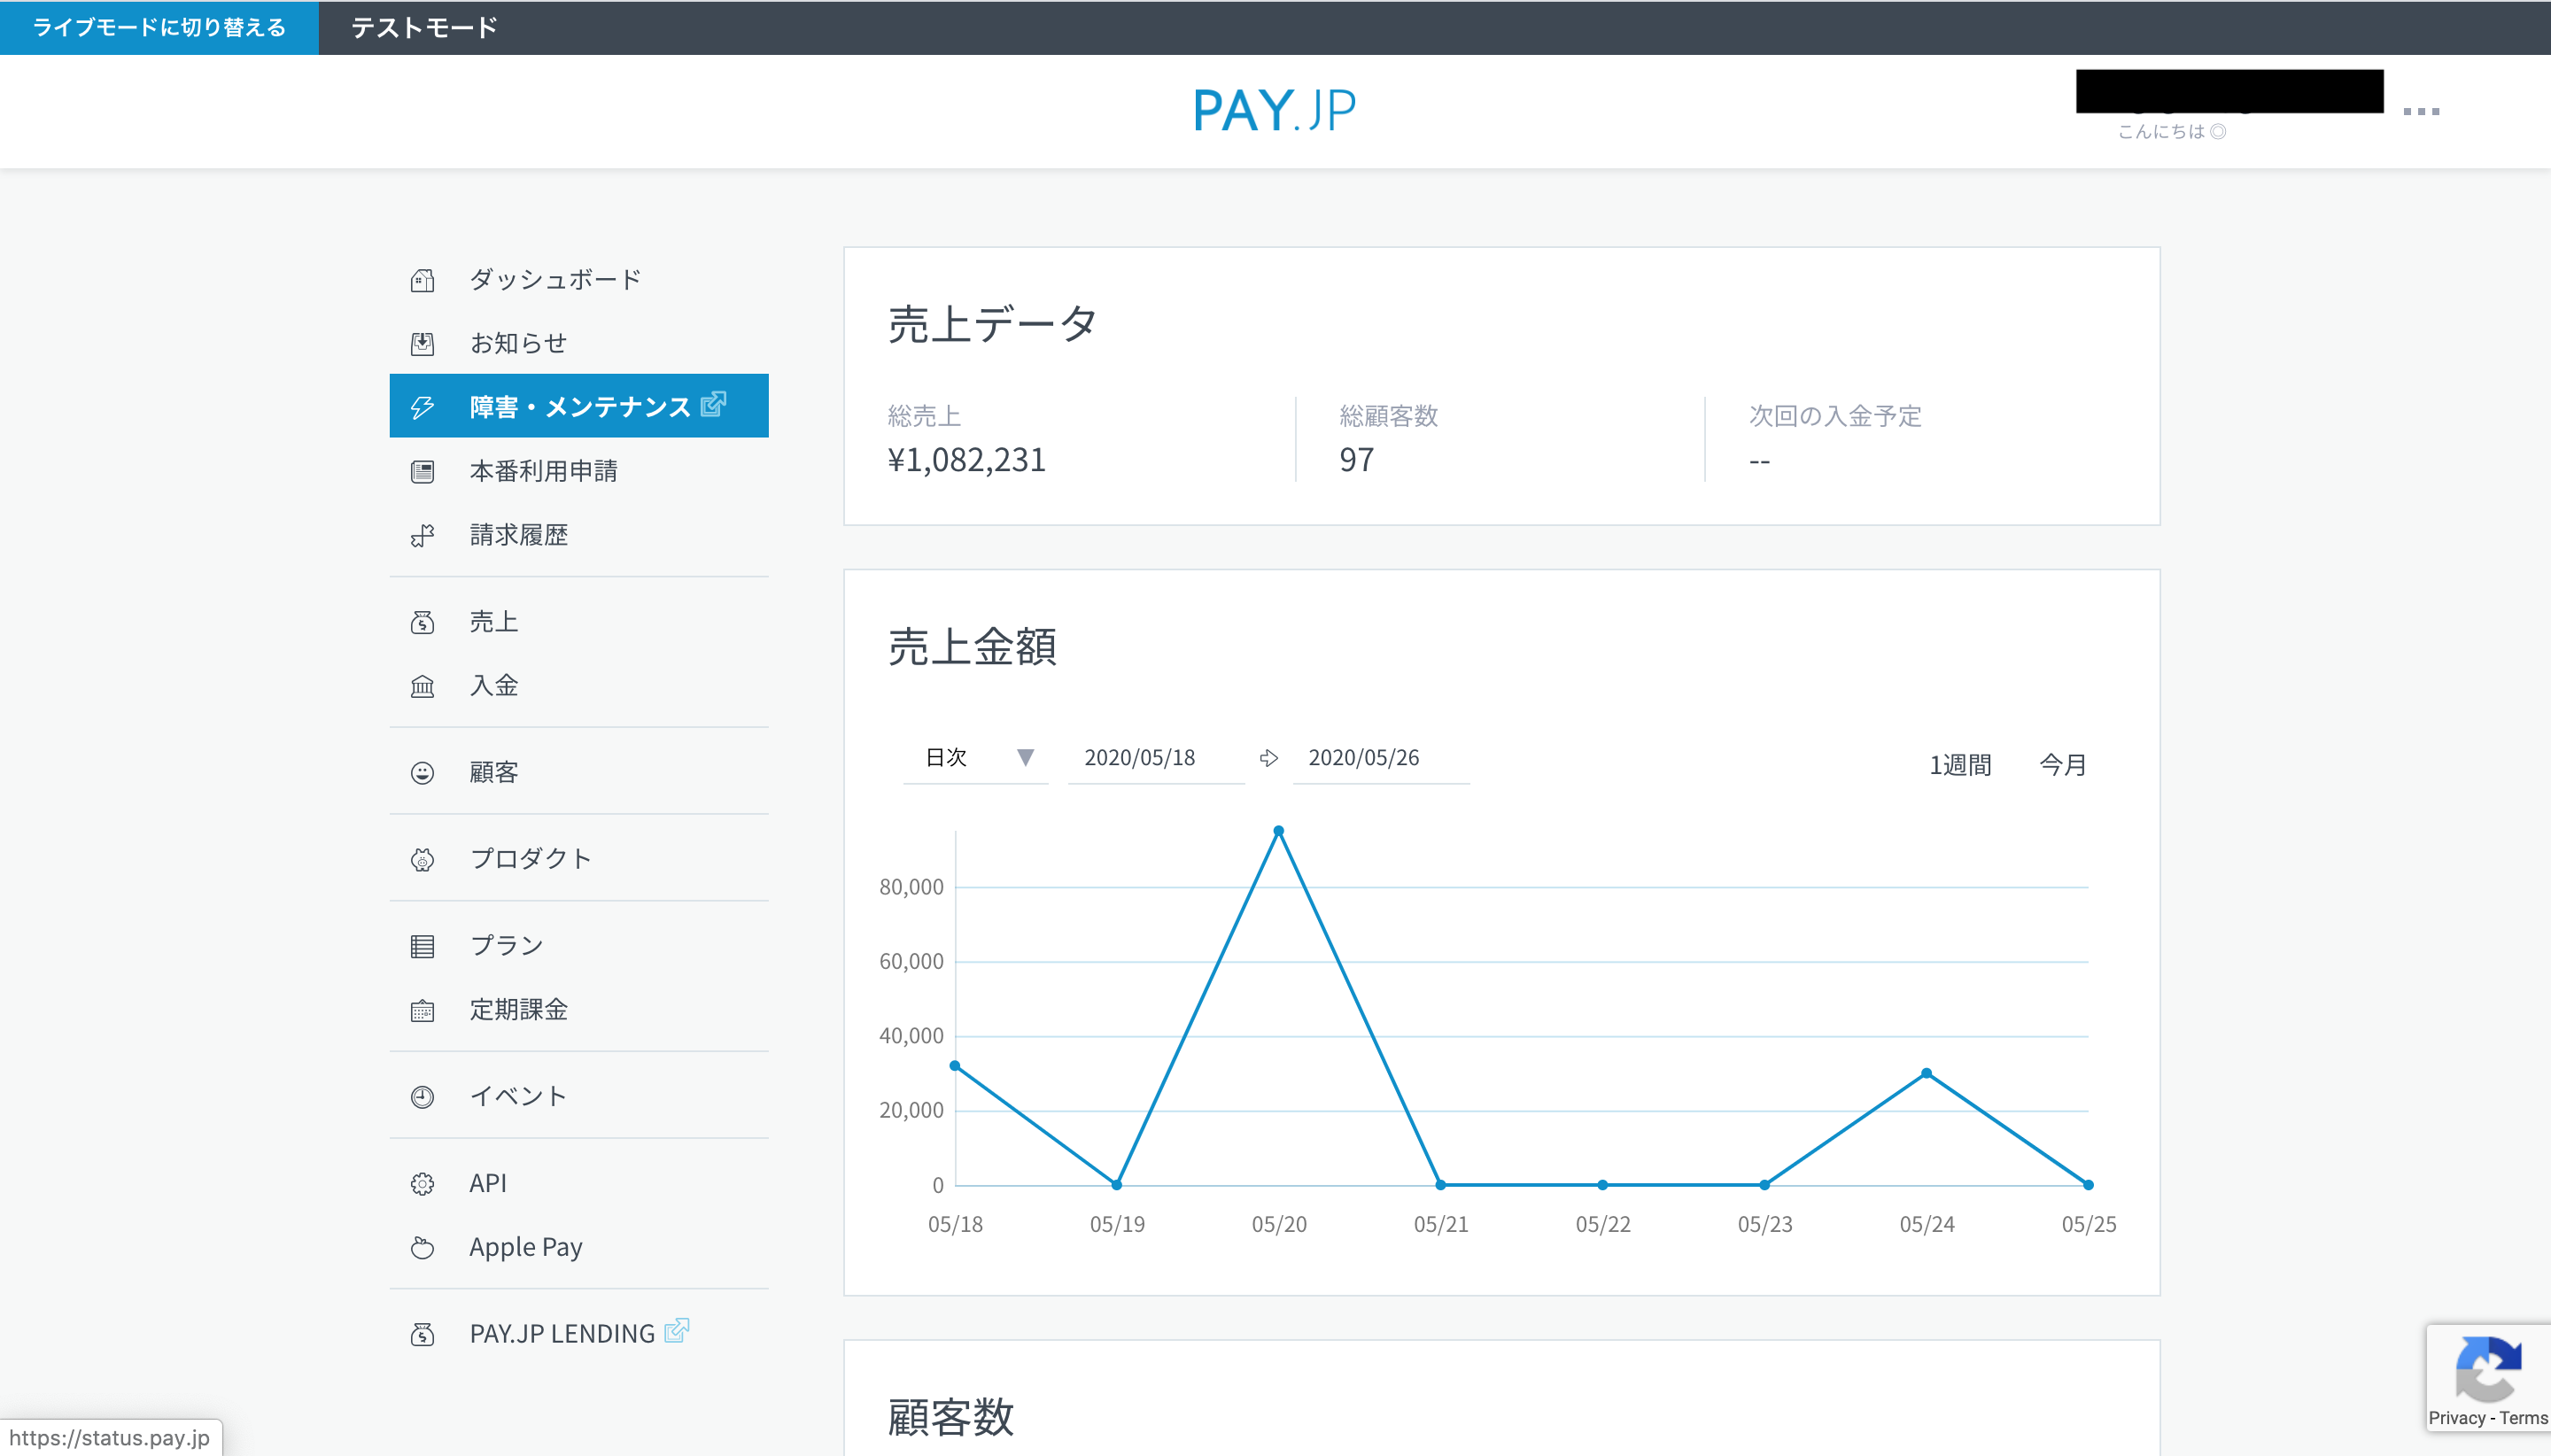
登録が完了すると、上記のような画面に移ります。(使用したため、売上がたっております。)
最初はテストモードになっております。
実取引を行うためには,申請を行い、ライブモードに切り替える必要があります。
今回は個人アプリでの使用であり、商用目的ではないので、テストモードを使用しています。
メニューバーにある"API"の内容を使います。
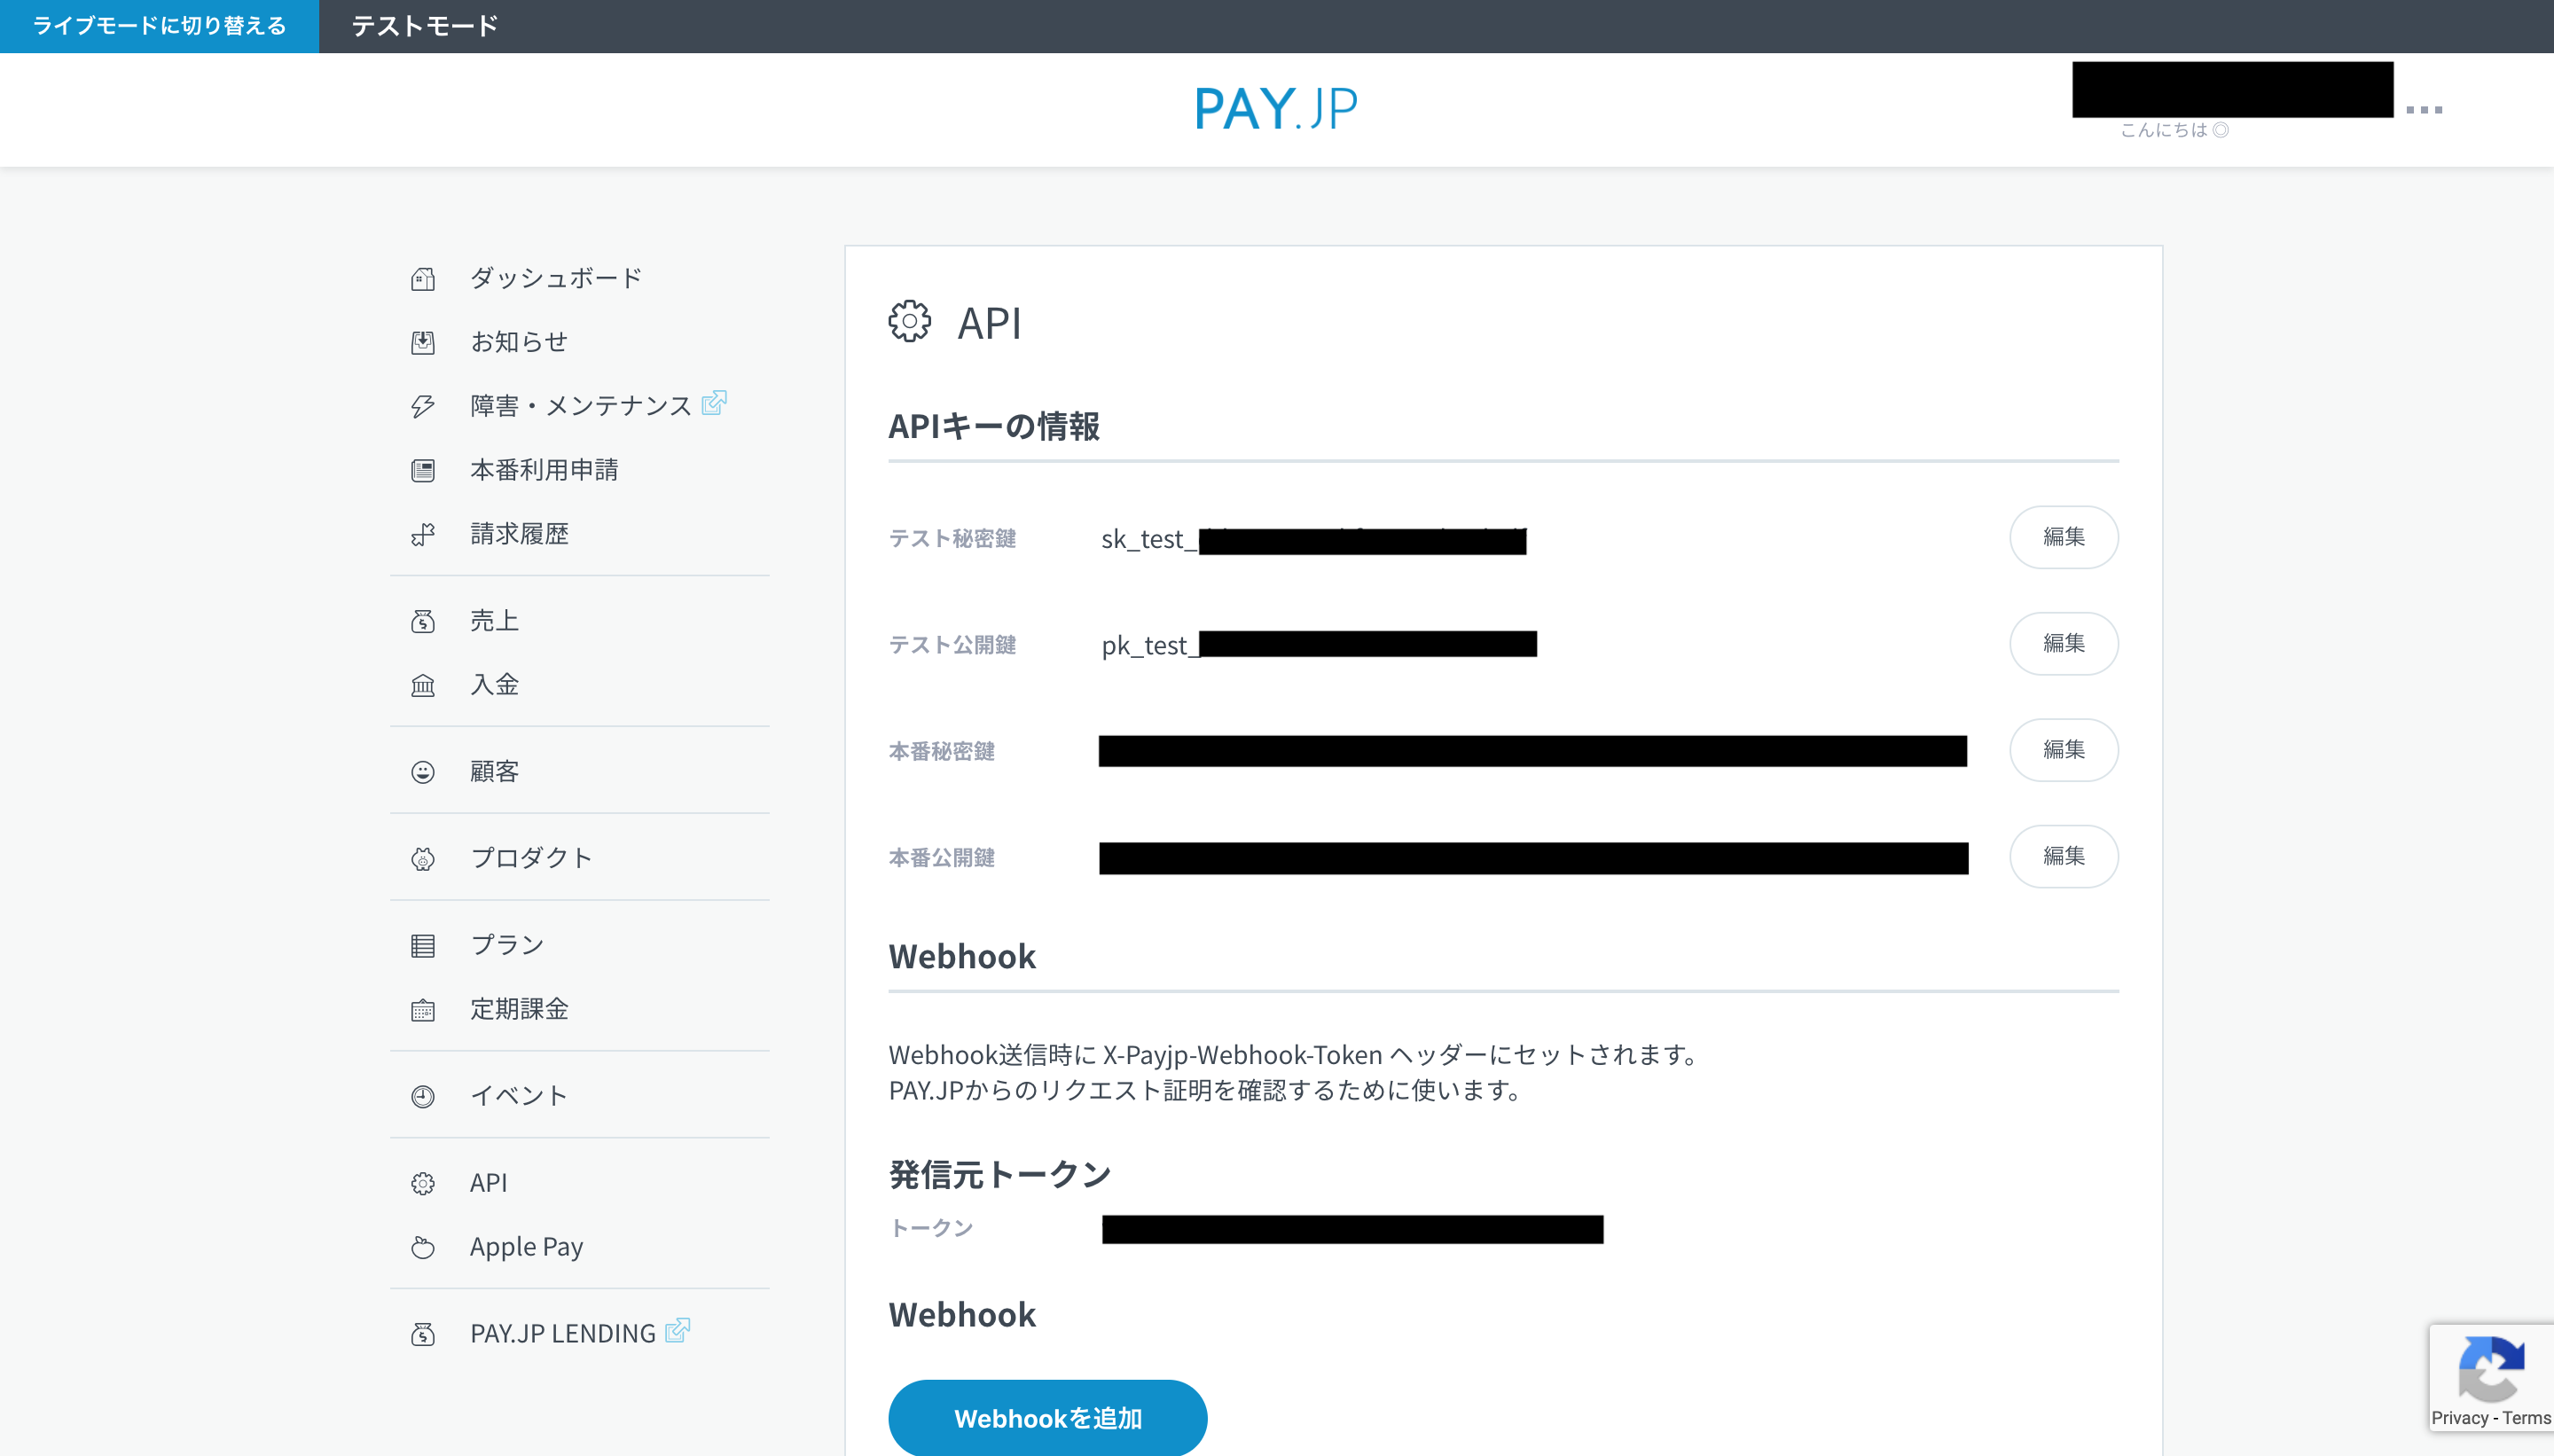
自身のアプリにはこのテスト秘密鍵とテスト公開鍵を使用していきます。
アプリにPAY.JPを導入・下準備
Gemfileに以下を追記
gem 'payjp'
ここから、カード情報の入力フォームを作成準備をしていくのですが、やり方としては2つあります。
- チェックアウト
- カスタム
チェックアウトでは
<form action="/pay" method="post">
  <script src="https://checkout.pay.jp/" class="payjp-button" data-key=""></script>
</form>
上記を記述することでPAYJP側が用意したフォームを使用できます。
今回は自分はフォームを自身でカスタムしたかったので、以下のようにやっていきました。
application.html.hamlのhead部分に以下を追記します。
%script{src: "https://js.pay.jp", type: "text/javascript"}
公式では上記に加えて、公開鍵の記述もしておりますが、自分は別で記載しました(後述)。
続いて、PAYJPの公開鍵と秘密鍵をcredentials.yml.encに記述していきます。
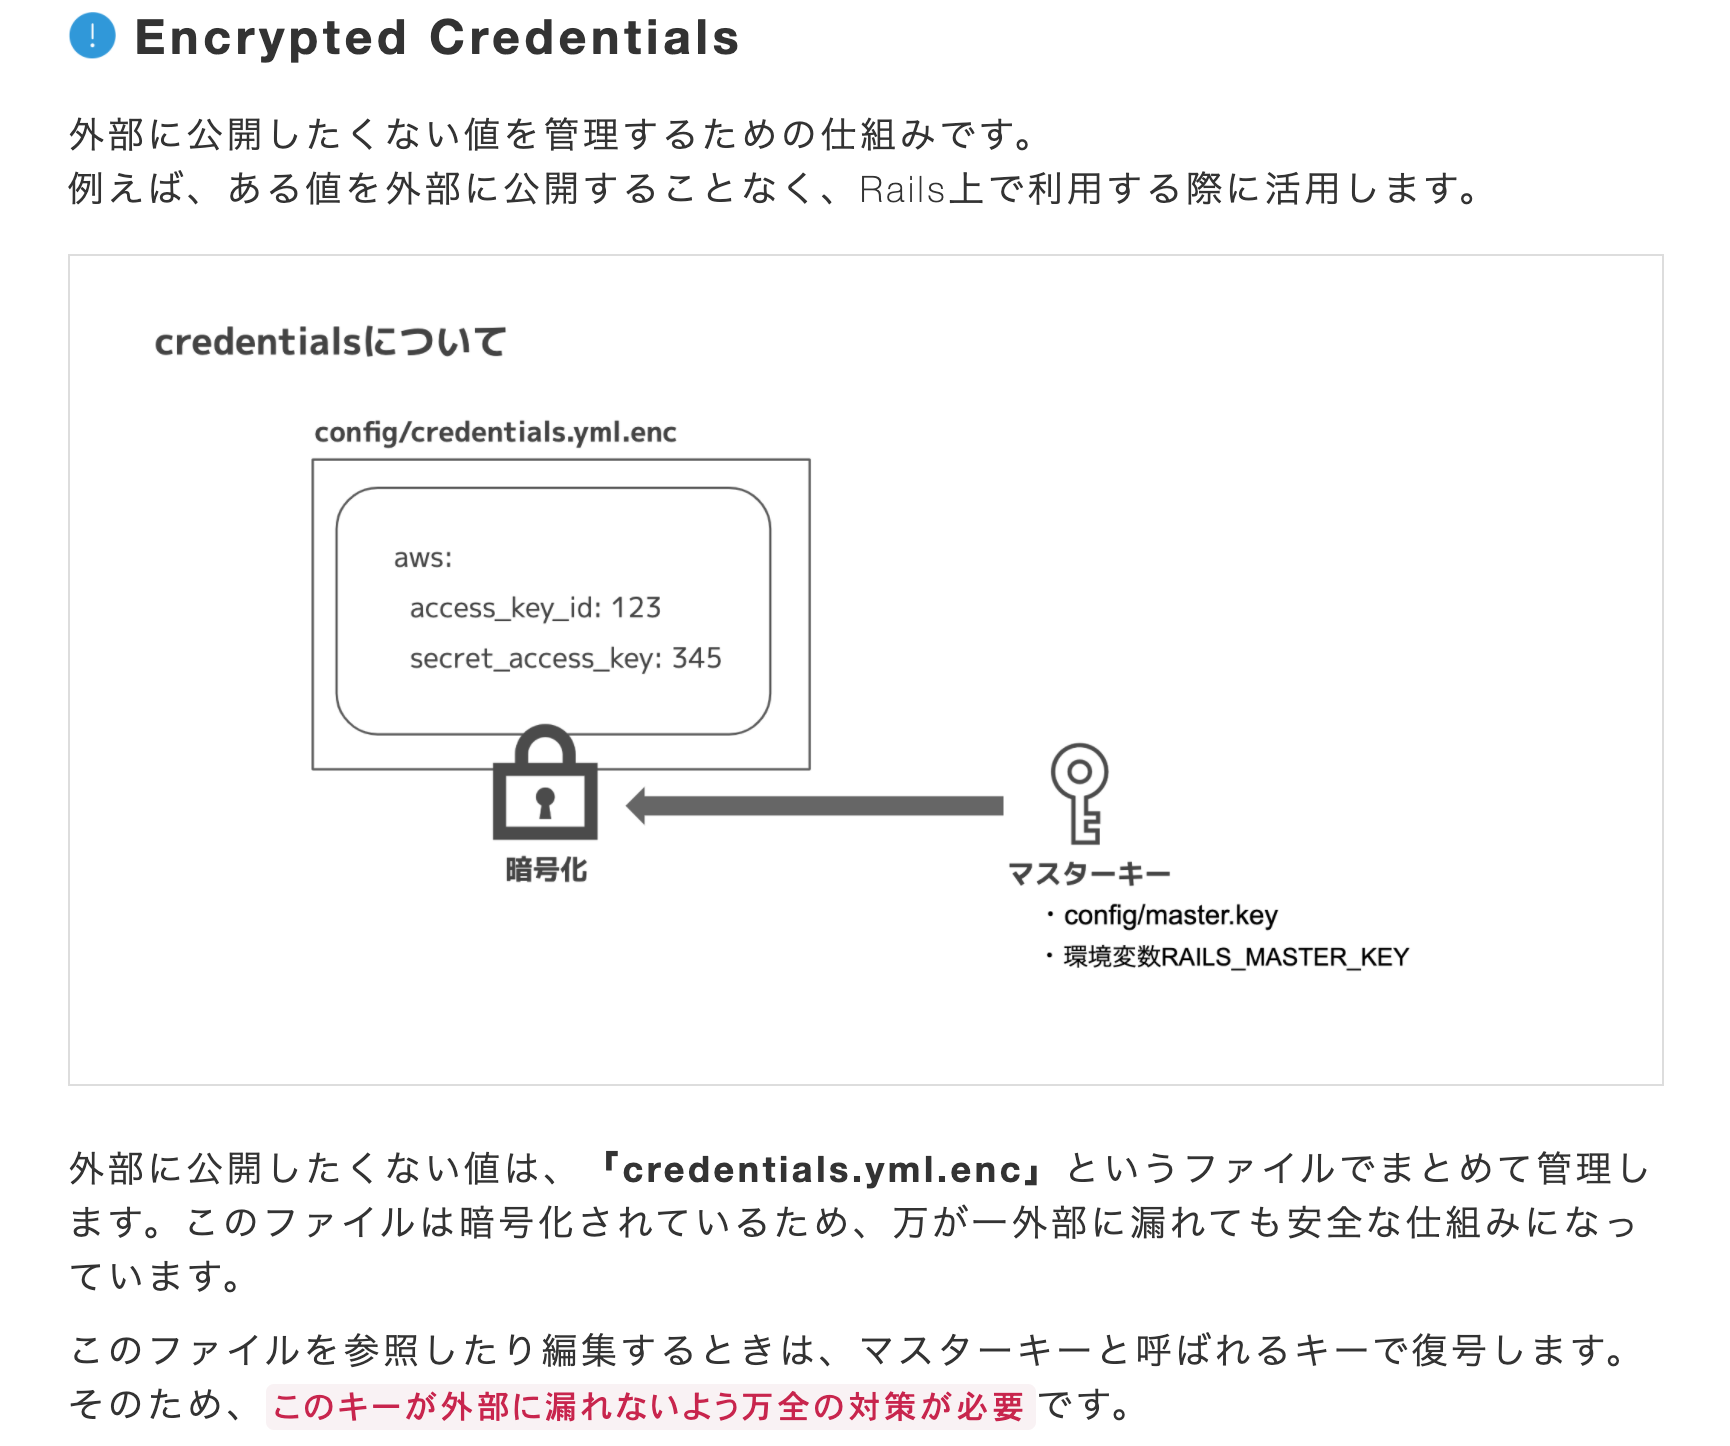
※Rails5.2系から導入されたEncrypted Credentialsという機能を利用します。これは、APIキーなどセキュリティ的に外部に公開してはいけない値の管理をシンプルに行うことができる機能です。
当該ファイルを編集するには少し準備が必要です。
まずは、ターミナルからVSCodeを起動できるよう設定を行います。
VSCodeで、「Command + Shift + P」を同時に押してコマンドパレットを開きます。
続いて、「shell」と入力しましょう。
メニューに、「PATH内に'code'コマンドをインストールします」という項目が表示されるので、それをクリックします。
この操作を行うことで、ターミナルから「code」と打つことでVSCodeを起動できるようになりました。
続いて以下にてファイルの中身を編集していきます。
$ pwd
# 自身のアプリディレクトリにいることを確認
$ EDITOR='code --wait' rails credentials:edit
しばらくすると、以下のようにファイルが開きます。
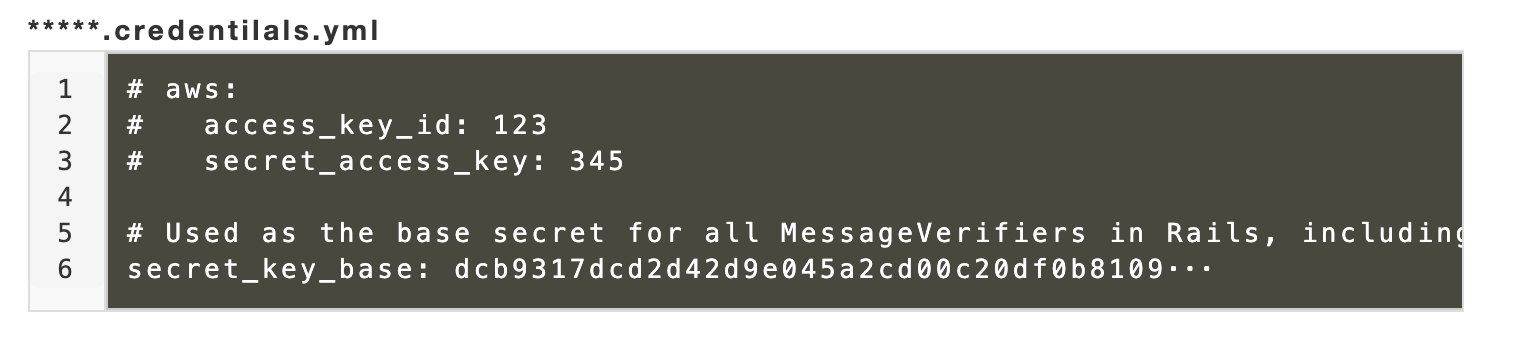
ここに以下のように記述していきます。
ネストしていることに注意してください。
payjp:
  PAYJP_SECRET_KEY: sk_test_...
  PAYJP_PUBLIC_KEY: pk_test_...
ご自身の鍵を記述して、保存してからファイルを閉じると
”New credentials encrypted and saved.”
とターミナルに出力されるので完了です。
なお、保存できているかどうかは以下コマンドで確認できます。
$ rails c
$ Rails.application.credentials[:payjp][:PAYJP_SECRET_KEY]
$ Rails.application.credentials[:payjp][:PAYJP_PUBLIC_KEY]
モデルの作成
今回はCardモデルと命名してやっていきます。
以下のように作成しました。
class Card < ApplicationRecord
  belongs_to :user
  has_one :order, dependent: :nullify

  require 'payjp'
  Payjp.api_key = Rails.application.credentials.dig(:payjp, :PAYJP_SECRET_KEY)

  def self.create_card_to_payjp(params)
    # トークンを作成
    token = Payjp::Token.create({
      card: {
        number:     params['number'],
        cvc:        params['cvc'],
        exp_month:  params['valid_month'],
        exp_year:   params['valid_year']
      }},
      {'X-Payjp-Direct-Token-Generate': 'true'}
    )
    # 上記で作成したトークンをもとに顧客情報を作成
    Payjp::Customer.create(card: token.id)
  end
個人アプリではECサイトを作成していたため、アソシエーションはUserとOrderとしています。
ここでカード情報のトークン化を行っております。
テーブルの作成
以下の内容でテーブルを作成しました。
class CreateCards < ActiveRecord::Migration[5.2]
  def change
    create_table :cards do |t|
      t.string :customer_id, null: false
      t.string :card_id, null: false
      t.references :user, null: false, foreign_key: true
      t.timestamps
    end
  end
end
自分は最初知らなかったですが、customer_idとcard_idはマストでカラムとして作成する必要があります。
テーブルには以下のようにレコードが登録されていきます。

コントローラーの作成
今回は4つのアクションで以下のようにコントローラーを構成しました。
class CardsController < ApplicationController
  before_action :set_card, only: [:new, :show, :destroy]
  before_action :set_payjpSecretKey, except: :new
  before_action :set_cart
  before_action :set_user

  require "payjp"

  def new
    redirect_to action: :show, id: current_user.id if @card.present?
    @card = Card.new
    gon.payjpPublicKey = Rails.application.credentials[:payjp][:PAYJP_PUBLIC_KEY]
  end

  def create
    render action: :new if params['payjpToken'].blank?
    customer = Payjp::Customer.create(
      card: params['payjpToken']
    )
    @card = Card.new(
      card_id: customer.default_card,
      user_id: current_user.id,
      customer_id: customer.id
    )
    if @card.save
      flash[:notice] = 'クレジットカードの登録が完了しました'
      redirect_to action: :show, id: current_user.id
    else
      flash[:alert] = 'クレジットカード登録に失敗しました'
      redirect_to action: :new
    end
  end

   def show
    redirect_to action: :new if @card.blank?
    customer = Payjp::Customer.retrieve(@card.customer_id)
    default_card_information = customer.cards.retrieve(@card.card_id)
    @card_info = customer.cards.retrieve(@card.card_id)
    @exp_month = default_card_information.exp_month.to_s
    @exp_year = default_card_information.exp_year.to_s.slice(2,3)
    customer_card = customer.cards.retrieve(@card.card_id)
    @card_brand = customer_card.brand
    case @card_brand
    when "Visa"
      @card_src = "icon_visa.png"
    when "JCB"
      @card_src = "icon_jcb.png"
    when "MasterCard"
      @card_src = "icon_mastercard.png"
    when "American Express"
      @card_src = "icon_amex.png"
    when "Diners Club"
      @card_src = "icon_diners.png"
    when "Discover"
      @card_src = "icon_discover.png"
    end
  end

  def destroy
    customer = Payjp::Customer.retrieve(@card.customer_id)
    @card.destroy
    customer.delete
    flash[:notice] = 'クレジットカードが削除されました'
    redirect_to controller: :users, action: :show, id: current_user.id
  end

  private
  def set_card
    @card = Card.where(user_id: current_user.id).first
  end

  def set_payjpSecretKey
    Payjp.api_key = Rails.application.credentials[:payjp][:PAYJP_SECRET_KEY]
  end

  def set_cart
    @cart = current_cart
  end

  def set_user
    @user = current_user
  end
end
また、PAYJPの公開鍵を後述するJSファイルにベタ書きすることを避けるため、"gon"というGemを導入しました。
JSファイルでrubyの変数を使用したい時に使うという認識です。
gonの導入
Gemfileに以下を追記
gem 'gon'
application.html.hamlのhead部分に以下を追記します。
= include_gon(init: true)
これで準備はOKです。
JSファイルの作成
ここから、コントローラーのnewアクションで呼び出すnew.html.hamlと連動するJSファイルを作成します。
まずはnew.html.hamlを記載します。
※フォームに入力するカード番号等についてですが、以下の公式ページのものを使用してください。
APIで使用するテストカードはこちらです。
.cardNew
  .title
    クレジットカード情報入力
  .cardForm
    = form_with model: @card, id: "form" do |f|
      .cardForm__number
        = f.label :カード番号, class: "cardForm__number__title"
        %span.must_check 必須
      .cardForm__field
        = f.text_field :card_number, id: "card_number", placeholder: "半角数字のみ", class: "form-group__input", maxlength: 16
      .cardForm__image
        = image_tag(image_path('cards/icon_visa.png'), class: 'visa', width: 58, height: 28)
        = image_tag(image_path('cards/icon_mastercard.png'), class: 'master', width: 47, height: 36)
        = image_tag(image_path('cards/icon_jcb.png'), class: 'jcb', width: 40, height: 30)
        = image_tag(image_path('cards/icon_amex.png'), class: 'amex', width: 40, height: 30)
        = image_tag(image_path('cards/icon_diners.png'), class: 'diners', width: 45, height: 32)
        = image_tag(image_path('cards/icon_discover.png'), class: 'discover', width: 47, height: 30)
      .cardForm__expirationdate
        .cardForm__expirationdate__details
          = f.label :有効期限
          %span.must_check 必須
          %br
        .cardForm__expirationdate__choice
          .cardForm__expirationdate__choice__month
            = f.select :expiration_month, options_for_select(["01", "02", "03", "04", "05", "06", "07", "08", "09", "10", "11", "12"]), {}, {id: "exp_month", name: "exp_month", type: "text"}
            = f.label :月, class: "cardForm__expirationdate__choice__month__label"
          .cardForm__expirationdate__choice__year
            = f.select :expiration_year, options_for_select((2020..2030)), {}, {id: "exp_year", name: "exp_year", type: "text"}
            = f.label :年, class: "cardForm__expirationdate__choice__year__label"
      .cardForm__securitycode
        .cardForm__securitycode__details
          .cardForm__securitycode__details__title
            = f.label :セキュリティコード, class: "label"
            %span.must_check 必須
          .cardForm__securitycode__details__field
            = f.text_field :cvc,  id: "cvc", class: "cvc", placeholder: "カード背面3~4桁の番号", maxlength: "4"
          .cardForm__securitycode__details__hatena
            = link_to "カード背面の番号とは?", "#", class: "cardForm__securitycode__details__hatena__link"
      #card_token
        = f.submit "登録する", id: "token_submit", url: cards_path, method: :post
続いて、上記viewファイルに対応するJSファイルを作成します。
$(document).on('turbolinks:load', function() {
  $(function() {
    Payjp.setPublicKey(gon.payjpPublicKey);
    $("#token_submit").on('click', function(e){
      e.preventDefault();
      let card = {
          number: $('#card_number').val(),
          cvc:$('#cvc').val(),
          exp_month: $('#exp_month').val(),
          exp_year: $('#exp_year').val()
      };

      Payjp.createToken(card, function(status, response) {
        if (response.error) {
          $("#token_submit").prop('disabled', false);
          alert("カード情報が正しくありません。");
        }
        else {
          $("#card_number").removeAttr("name");
          $("#cvc").removeAttr("name");
          $("#exp_month").removeAttr("name");
          $("#exp_year").removeAttr("name");

          let token = response.id;
          $("#form").append(`<input type="hidden" name="payjpToken" value=${token}>`);
          $("#form").get(0).submit();
          alert("登録が完了しました");
        }
      });
    });
  });
});
viewファイルで登録ボタン( = f.submit "登録する", id: "token_submit")を押すと、JSが発火します。
トークン作成は Payjp.createToken というメソッドで行います。
上記までで、カードの登録までは完了です。
最後に削除機能について簡単に記載しておきます。
自分はshowアクションで呼び出すshow.html.hamlに削除ボタンを以下のように設置しました。
.payment
  .payment__content
    .payment__content__title
      カード情報
    .payment__content__box
      .payment__content__box__cardImage
        = image_tag "cards/#{@card_src}", width: 40, height: 28
      .payment__content__box__details
        .payment__content__box__details__cardNumber
          = "カード番号:**** **** **** " + @card_info.last4
        .payment__content____boxdetails__cardMMYY
          = "有効期限:" + @exp_month + " / " + @exp_year
  .payment__cardDelete
    = button_to "削除する", card_path(@card.id), {method: :delete, id: 'charge-form', name: "inputForm", class: "payment__cardDelete__deleteBtn"}
次回は、登録できたカードでの決済機能を記載します。