Macの上に (前提ソフトウェアのインストールを除いて)4コマンドで Linux開発環境(Vagrant + VirtualBox + CentOS)を手に入れる方法をご紹介します。
前提
今回この方法を検証した環境は以下の通りです。
- MacBook Pro Late 2016(macOS Sierra)
また前提として以下である必要があります。
- Macからインターネットに接続可能
- Virtual Box がインストールされている
- Vagrant がインストールされている
VirtualBox と Vagrant はそれぞれ以下のサイトからダウンロードしてください。
どちらもダウンロードしたdmgファイルをダブルクリックして、起動したインストーラーが言うままに、クリックするだけです。インストール先以外の選択肢はありません。簡単ですね。
VirtualBox
https://www.virtualbox.org/wiki/Downloads
Vagrant
https://www.vagrantup.com/downloads.html
Linux開発環境 準備
さて、VirtualBox と Vagrant のインストールが済んだら、早速Linuxの開発環境を起動する準備に取り掛かります。今回利用するのは、以下の4コマンドです。
$ mkdir centos73
$ cd centos73
$ vagrant init bento/centos-7.3
$ vagrant up
(1)(2) ディレクトリ作成
まず Vagrantの設定ファイルを格納するためのディレクトリを作成し、そのディレクトリに cdしてください。ディレクトリ名はなんでも構いません。ここでは centos73としたいと思います。
$ mkdir centos73
$ cd centos73
(3) Vagrant設定ファイル作成
次に、centos ディレクトリ配下に Vagrantの設定ファイルを作成します。Vagrantの設定ファイルはVagrantfile といいます。vagrant initコマンドで、そのまま使えるVagrantfileの雛形をダウンロードすることができます。
$ vagrant init bento/centos-7.3
A `Vagrantfile` has been placed in this directory. You are now
ready to `vagrant up` your first virtual environment! Please read
the comments in the Vagrantfile as well as documentation on
`vagrantup.com` for more information on using Vagrant.
Vagrantfile の中身は以下のようになっています。
# -*- mode: ruby -*-
# vi: set ft=ruby :

# All Vagrant configuration is done below. The "2" in Vagrant.configure
# configures the configuration version (we support older styles for
# backwards compatibility). Please don't change it unless you know what
# you're doing.
Vagrant.configure("2") do |config|
  # The most common configuration options are documented and commented below.
  # For a complete reference, please see the online documentation at
  # https://docs.vagrantup.com.

  config.vm.hostname = "centos73"

  # Every Vagrant development environment requires a box. You can search for
  # boxes at https://atlas.hashicorp.com/search.
  config.vm.box = "bento/centos-7.3"

  # Disable automatic box update checking. If you disable this, then
  # boxes will only be checked for updates when the user runs
  # `vagrant box outdated`. This is not recommended.
  # config.vm.box_check_update = false

  # Create a forwarded port mapping which allows access to a specific port
  # within the machine from a port on the host machine. In the example below,
  # accessing "localhost:8080" will access port 80 on the guest machine.
  # config.vm.network "forwarded_port", guest: 80, host: 8080
  config.vm.network "forwarded_port", guest: 22, host: 40022, id: "ssh"

  # Create a private network, which allows host-only access to the machine
  # using a specific IP.
  config.vm.network "private_network", ip: "192.168.33.10"

  # Create a public network, which generally matched to bridged network.
  # Bridged networks make the machine appear as another physical device on
  # your network.
  # config.vm.network "public_network"

  # Share an additional folder to the guest VM. The first argument is
  # the path on the host to the actual folder. The second argument is
  # the path on the guest to mount the folder. And the optional third
  # argument is a set of non-required options.
  # config.vm.synced_folder "../data", "/vagrant_data"

  # Provider-specific configuration so you can fine-tune various
  # backing providers for Vagrant. These expose provider-specific options.
  # Example for VirtualBox:
  #
  # config.vm.provider "virtualbox" do |vb|
  #   # Display the VirtualBox GUI when booting the machine
  #   vb.gui = true
  #
  #   # Customize the amount of memory on the VM:
  #   vb.memory = "1024"
  # end
  #
  # View the documentation for the provider you are using for more
  # information on available options.

  # Define a Vagrant Push strategy for pushing to Atlas. Other push strategies
  # such as FTP and Heroku are also available. See the documentation at
  # https://docs.vagrantup.com/v2/push/atlas.html for more information.
  # config.push.define "atlas" do |push|
  #   push.app = "YOUR_ATLAS_USERNAME/YOUR_APPLICATION_NAME"
  # end

  # Enable provisioning with a shell script. Additional provisioners such as
  # Puppet, Chef, Ansible, Salt, and Docker are also available. Please see the
  # documentation for more information about their specific syntax and use.
  # config.vm.provision "shell", inline: <<-SHELL
  #   apt-get update
  #   apt-get install -y apache2
  # SHELL
end
Vagrantfile の中で 今回使用する Boxイメージとして bento/centos-7.3 を指定しています。こうすることで、後に実行する vagrant up 時に Boxイメージが以下のサイトから自動でダウンロードされる仕組みです。
bentoというのはChef社がメンテナンスしている Boxイメージのプロジェクトです。Chef社の中の人もChefのテストをする時にこちらのイメージを使っているという話なので、ある程度の信頼性はあるかと思います。
Chef社の BENTOプロジェクトの公式サイトはこちらです。
http://chef.github.io/bento/
(4) Linux開発環境起動
それでは 4コマンド目で いよいよ Linux開発環境を起動します。前述の通り、初回実行時に CentOS7.3 のBoxイメージがダウンロードされるので少々時間がかかります。
$ vagrant up
Bringing machine 'default' up with 'virtualbox' provider...
==> default: Box 'bento/centos-7.3' could not be found. Attempting to find and install...
    default: Box Provider: virtualbox
    default: Box Version: >= 0
==> default: Loading metadata for box 'bento/centos-7.3'
    default: URL: https://atlas.hashicorp.com/bento/centos-7.3
==> default: Adding box 'bento/centos-7.3' (v2.3.5) for provider: virtualbox
    default: Downloading: https://atlas.hashicorp.com/bento/boxes/centos-7.3/versions/2.3.5/providers/virtualbox.box
==> default: Box download is resuming from prior download progress
==> default: Successfully added box 'bento/centos-7.3' (v2.3.5) for 'virtualbox'!
==> default: Importing base box 'bento/centos-7.3'...
==> default: Matching MAC address for NAT networking...
==> default: Checking if box 'bento/centos-7.3' is up to date...
==> default: Setting the name of the VM: centos73_default_1495000309622_2730
==> default: Clearing any previously set network interfaces...
==> default: Preparing network interfaces based on configuration...
    default: Adapter 1: nat
    default: Adapter 2: hostonly
==> default: Forwarding ports...
    default: 22 (guest) => 40022 (host) (adapter 1)
==> default: Booting VM...
==> default: Waiting for machine to boot. This may take a few minutes...
    default: SSH address: 127.0.0.1:40022
    default: SSH username: vagrant
    default: SSH auth method: private key
    default: Warning: Connection reset. Retrying...
    default:
    default: Vagrant insecure key detected. Vagrant will automatically replace
    default: this with a newly generated keypair for better security.
    default:
    default: Inserting generated public key within guest...
    default: Removing insecure key from the guest if it's present...
    default: Key inserted! Disconnecting and reconnecting using new SSH key...
==> default: Machine booted and ready!
==> default: Checking for guest additions in VM...
==> default: Setting hostname...
==> default: Configuring and enabling network interfaces...
    default: SSH address: 127.0.0.1:40022
    default: SSH username: vagrant
    default: SSH auth method: private key
==> default: Mounting shared folders...
    default: /vagrant => /Users/kentarok/Vagrant/centos73
コマンドが最後までちゃんと流れたら、Linux開発環境の起動が完了です。
起動後確認
vagrant statusコマンドで 起動させたLinux開発環境の状況を見てみましょう。
$ vagrant status
Current machine states:

default                   running (virtualbox)

The VM is running. To stop this VM, you can run `vagrant halt` to
shut it down forcefully, or you can run `vagrant suspend` to simply
suspend the virtual machine. In either case, to restart it again,
simply run `vagrant up`.
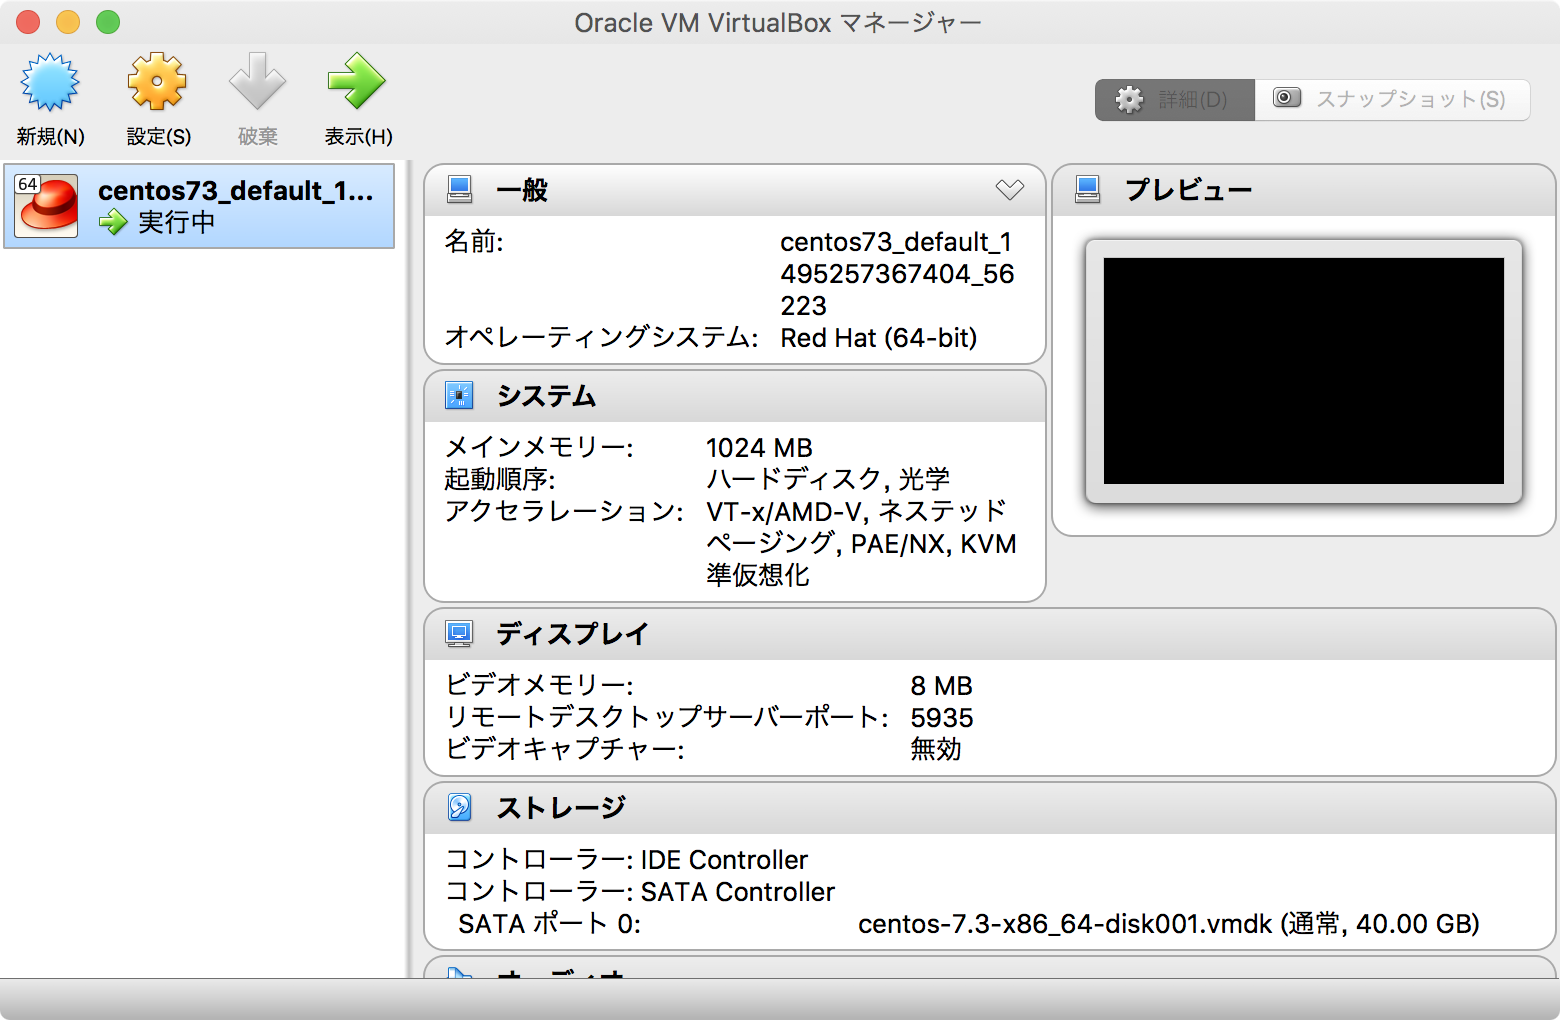
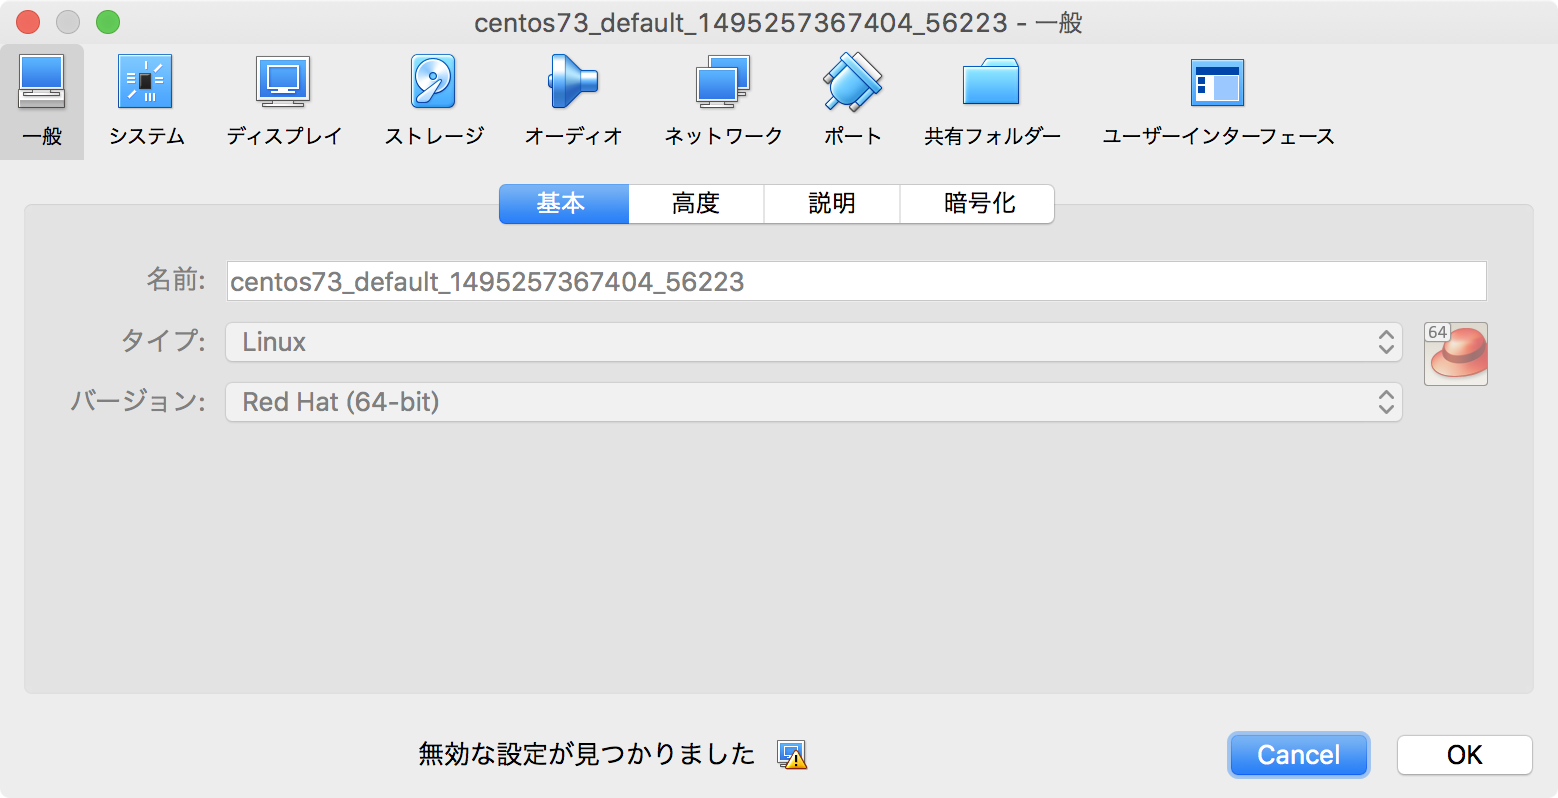
また、VirutalBoxを起動してどのようなLinux開発環境(仮想サーバ)が作られたのか確認してみるのもよいと思います。
使い方
それでは、作成したLinux開発環境に ログインしてみましょう。
Vagrantfileがあるカレントディレクトリで、vagrant sshを実行してみてください。
$ vagrant ssh
[vagrant@centos73 ~]$ cat /etc/centos-release
CentOS Linux release 7.3.1611 (Core)
もちろん、vagrant sshコマンドではなくて、通常の sshコマンドでもログイン可能です。Vagrantfile の中で指定している通り、Linux開発環境のSSHポート(TCP22)には Host(Mac)のTCP40022から接続可能です。ユーザ名、パスワードともに vagrant で接続してください。
$ ssh vagrant@localhost -p 40022
vagrant@localhost's password:
[vagrant@centos73 ~]$ cat /etc/centos-release
CentOS Linux release 7.3.1611 (Core)
また、便利なオプションも用意されていて vagrant ssh-configコマンドを実行すると ~/.ssh/config のフォーマットで sshログイン情報を出力してくれます。
$ vagrant ssh-config --host (任意の名前) >> ~/.ssh/config
$ cat ~/.ssh/config
Host (コマンドで指定した任意の名前)
  HostName 127.0.0.1
  User vagrant
  Port 40022
  UserKnownHostsFile /dev/null
  StrictHostKeyChecking no
  PasswordAuthentication no
  IdentityFile /Users/kentarok/Vagrant/centos73/.vagrant/machines/default/virtualbox/private_key
  IdentitiesOnly yes
  LogLevel FATAL
最後に
Vagrant を使うと わずか4コマンドで OSイメージのダウンロードを含めた VirtualBox上のLinux開発環境が準備できます。他にも、継続的インテグレーション(CI)を行う際に便利に使えたりしますので、機会あればご紹介したいと思います。