MS Build(2023年5月)にてAzure Cosmos DB for mongoDB vcoreのベクトルサーチ機能がリリースされたことを知ったので試しに使ってみました。
Introducing Vector Search in Azure Cosmos DB for MongoDB vCore
どんなものを作ったか
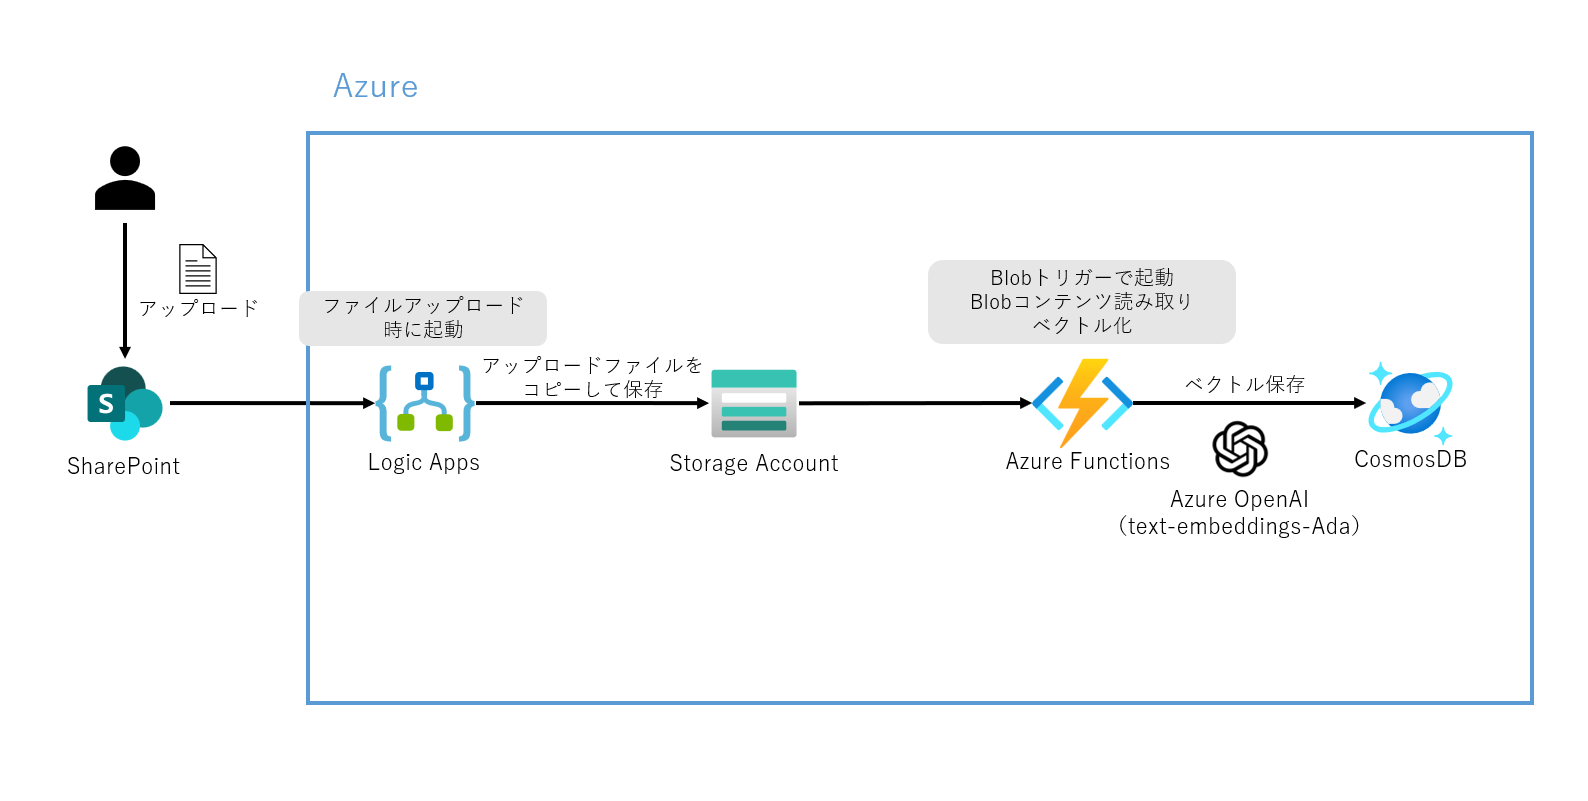
- SharePointへアップロードされたファイルのCosmos DBへのベクトル保存
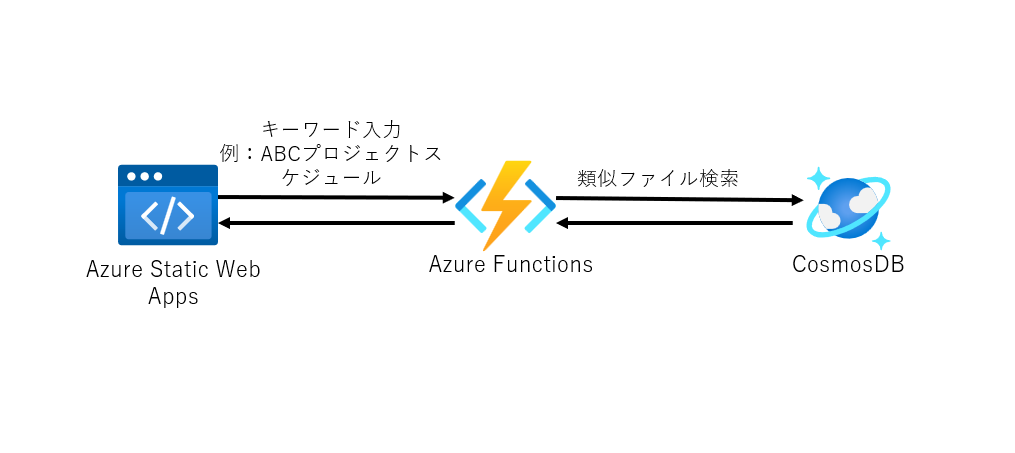
- Cosmos DBのベクトルインデックスを用いた類似ファイルの検索
※2に関して、ファイルはテキストファイルのみで行っています。
1. Cosmos DBへのベクトル保存
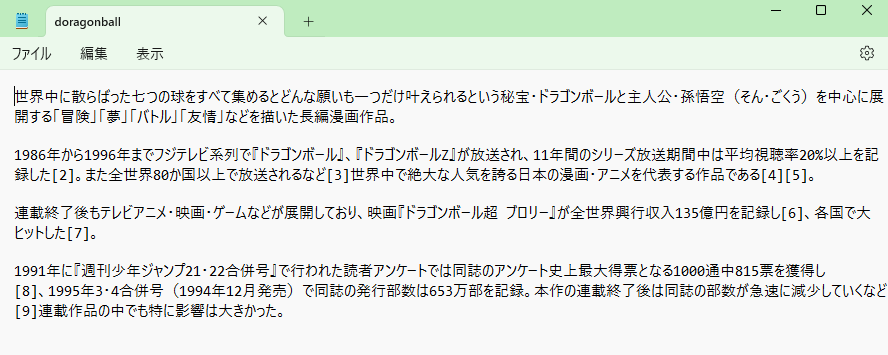
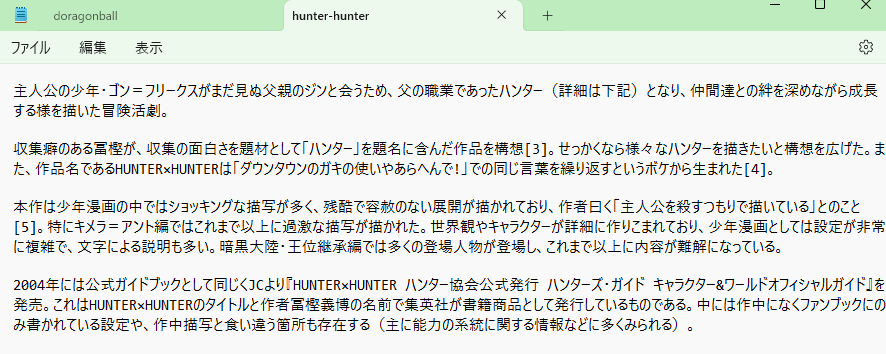
Wikipediaからドラゴンボールとハンターハンターの文章を取ってきて、それぞれをテキストファイルにしてSharePointにアップロードします。
ドラゴンボール
ハンターハンター
SharePointにアップロード
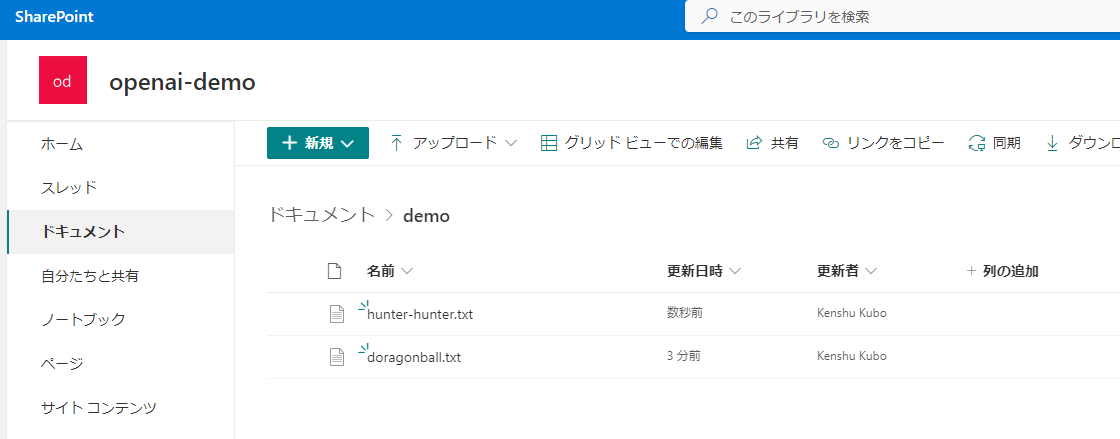
...しばらくたつと(数秒)
Cosmos DBにドキュメントが作成されている!
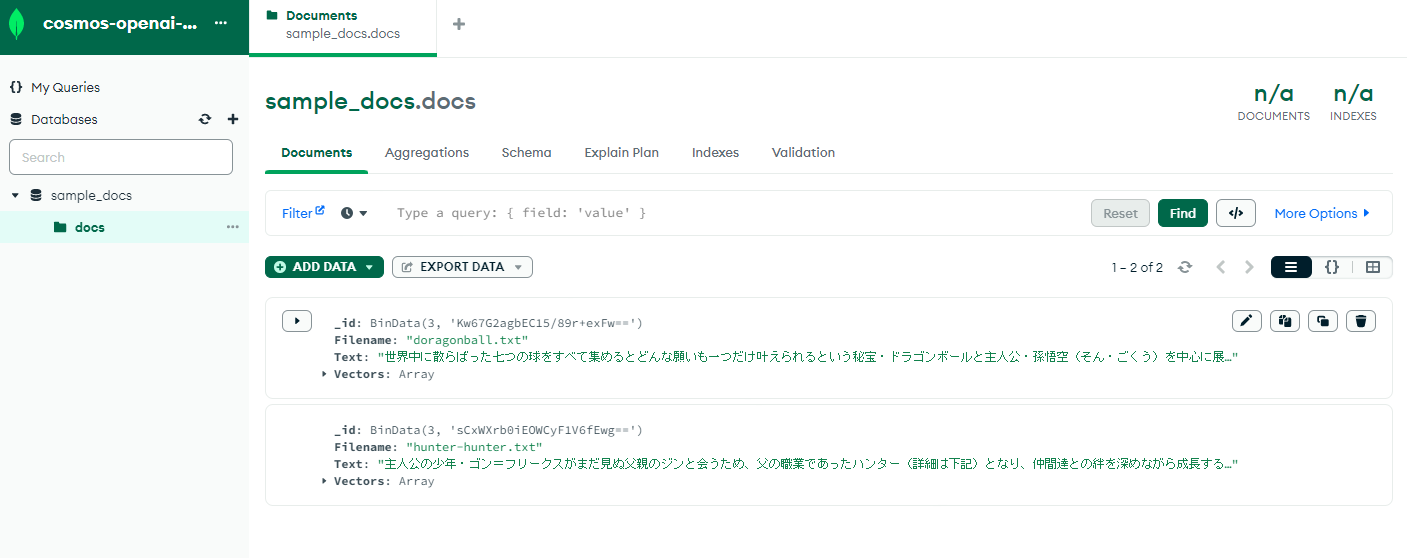
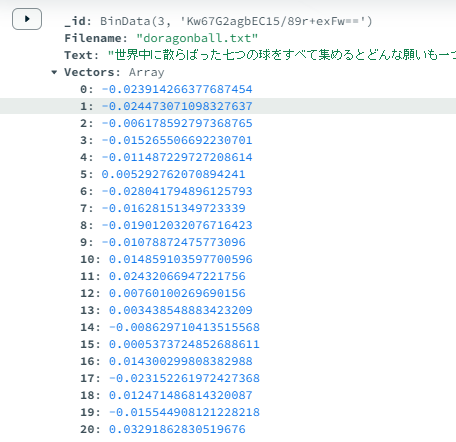
ベクトル化もされており、保存されています。
ベクトル検索
上記で保存したファイルの検索を行っていきます。
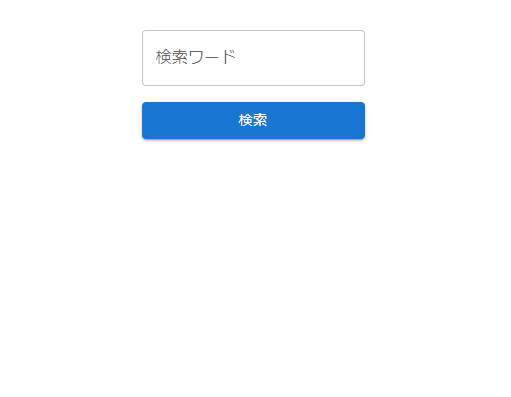
Azure Static Web Appsで以下のような簡単なフォームを用意しました。こちらにキーワードを入力し、それに近しいファイルを取得します。
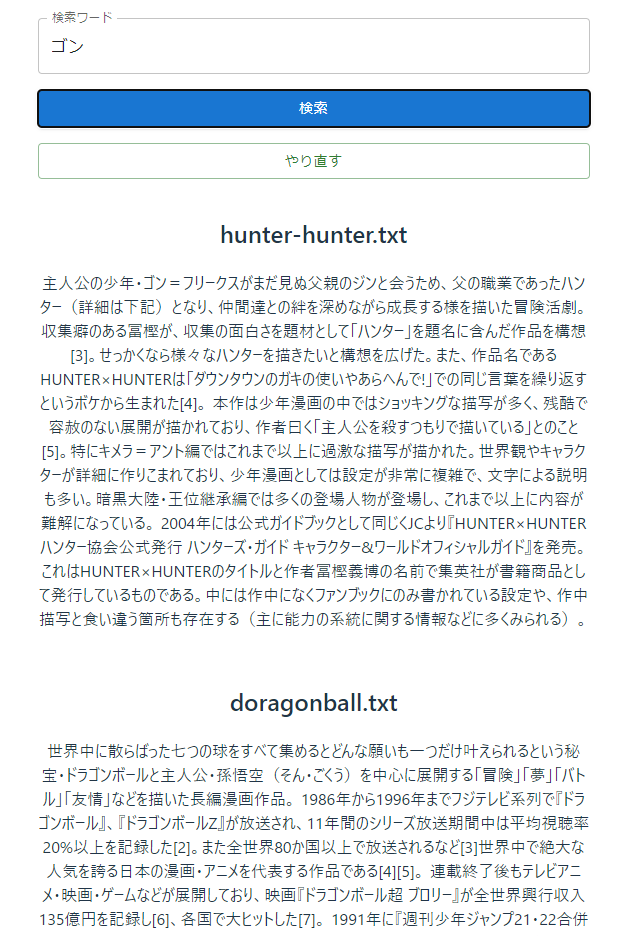
「ゴン」と入力し、検索すると結果が返ってきました。
近しい順に結果を返すようにしているので、ハンターハンターのデータが先に来ているので正しいです。
構成
※Azure FunctionsではC#を用いています。
実装方法
以下2つに分けて説明します。
- ベクトル保存の実装
- ベクトル検索の実装
ベクトル保存の実装
各Azureリソースにおける実装の説明をします。
- LogicApps
- Azure Functions
- Cosmos DB
LogicApps
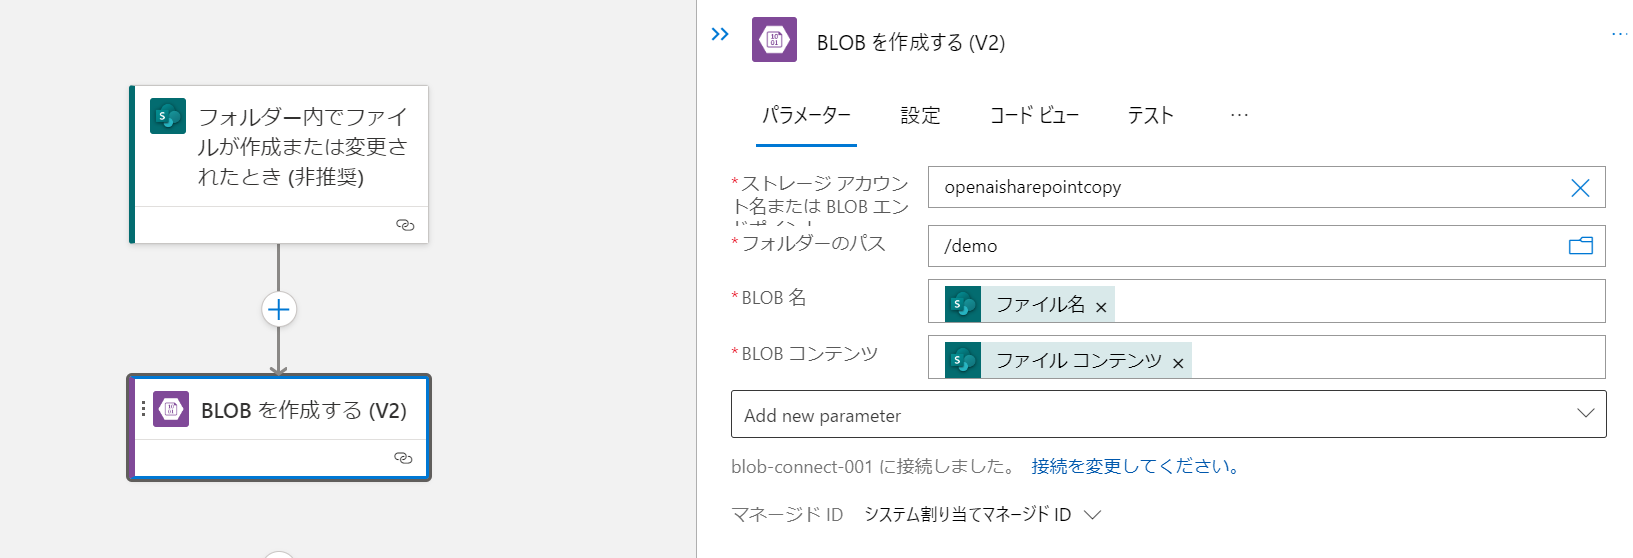
トリガーはSharePointのファイル作成時のものを使用します。
使用しているコネクタは1つだけです。AzureストレージアカウントのBlob作成を使用します。
Azure Functions
Azure FunctionsはC#で記述しています。
コントローラー
demoコンテナーにBlobファイルが作成時にトリガーされます。
public class DocumentVectorRegister
{
    private readonly IVectorService vectorService;

    public DocumentVectorRegister(IVectorService vectorService)
    {
        this.vectorService = vectorService;
    }

    [FunctionName("DocumentVectorRegister")]
    public async Task Run([BlobTrigger("demo/{name}", Connection = "StorageConnectionString")]Stream myBlob, string name, ILogger log)
    {
        await vectorService.RegisterDocumentVector(name);
    }
}
Blobコンテンツ読み取りのリポジトリ
public class BlobRepository : IBlobRepository
{
    private readonly BlobServiceClient blobServiceClient;
    private readonly IConfiguration configuration;

    public BlobRepository(IAzureClientFactory<BlobServiceClient> clientFactory, IConfiguration configuration)
    {
        blobServiceClient = clientFactory.CreateClient("OpenAI");
        this.configuration = configuration;
    }

    async Task<string> IBlobRepository.GetBlobContent(string filename)
    {
        var containerClient = blobServiceClient.GetBlobContainerClient(configuration["OpenAIContainerName"]);
        var blobClient = containerClient.GetBlobClient(filename);
        Response<BlobDownloadInfo> downloadResponse = await blobClient.DownloadAsync();
        using (StreamReader reader = new StreamReader(downloadResponse.Value.Content))
        {
            return await reader.ReadToEndAsync();
        }
    }
}
ベクトル化部分のリポジトリ(Azure OpenAI使用)
public class OpenAIRepository : IOpenAIRepository
{
    private readonly OpenAIClient openAIClient;

    public OpenAIRepository(OpenAIClient openAIClient)
    {
        this.openAIClient = openAIClient;
    }

    async Task<List<float>> IOpenAIRepository.GetVector(string text)
    {
        EmbeddingsOptions embeddingOptions = new(text);
        var returnValue = await openAIClient.GetEmbeddingsAsync("EmbeddingAda002", embeddingOptions);
        var vectores = new List<float>();
        foreach (float item in returnValue.Value.Data[0].Embedding)
        {
            vectores.Add(item);
        }
        return vectores;
    }
}
ベクトル保存部分のリポジトリ
public class VectorRepository : IVectorRepository
{
    private readonly IMongoClient mongoClient;

    public VectorRepository(IMongoClient mongoClient)
    {
        this.mongoClient = mongoClient;
    }

    async Task IVectorRepository.RegisterDocument(Doc document)
    {
        var db = mongoClient.GetDatabase("sample_docs");
        var _docs = db.GetCollection<Doc>("docs");
        await _docs.InsertOneAsync(document);
    }
{
Cosmos DB
手順としては以下になります。
- Cosmos DB for MongoDB vcore のリソースを作成
- MongoDB Compassのダウンロード
- データベースとコレクションの作成
Cosmos DB for MongoDB vcore のリソースを作成
Azure Portalから作成します。特記事項はありません。
MongoDB Compassのダウンロード
2023年6月時点でCosmos DB for MongoDB vcoreがプレビュー版のため、Azure Portalでデータエクスプローラーがありませんでした。データベースの作成やコレクション作成をためダウンロードしました。
https://www.mongodb.com/ja-jp/products/compass
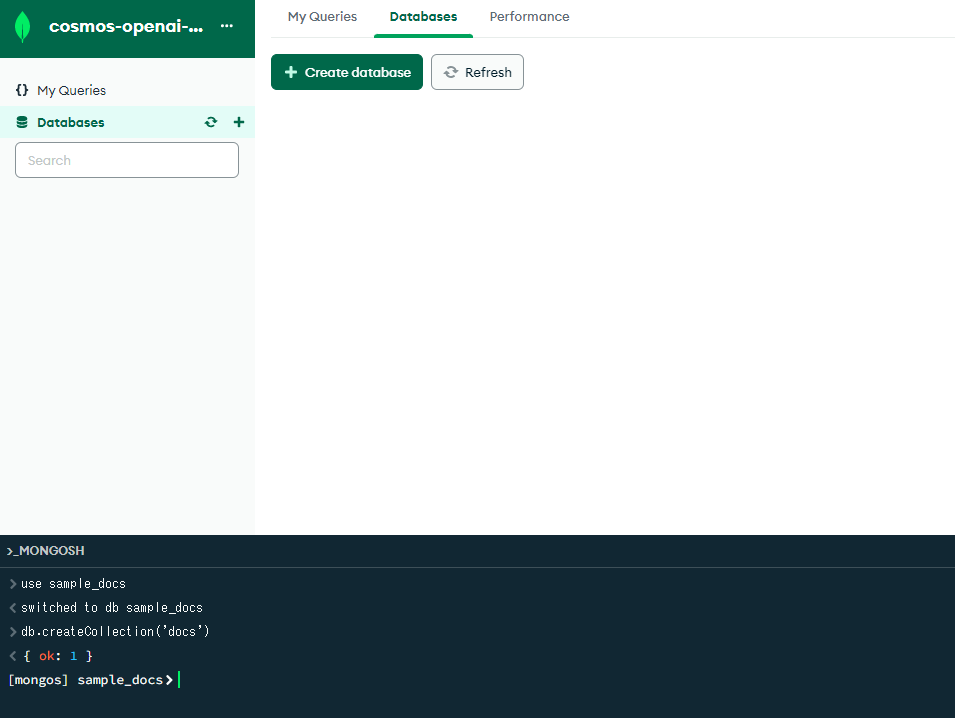
データベースとコレクションの作成
MongoDB Compassにて、先ほど作成したCosmos DB for MongoDB vcoreの接続文字列を使用し、接続します。以下黄色ライン部分に入力して接続します。
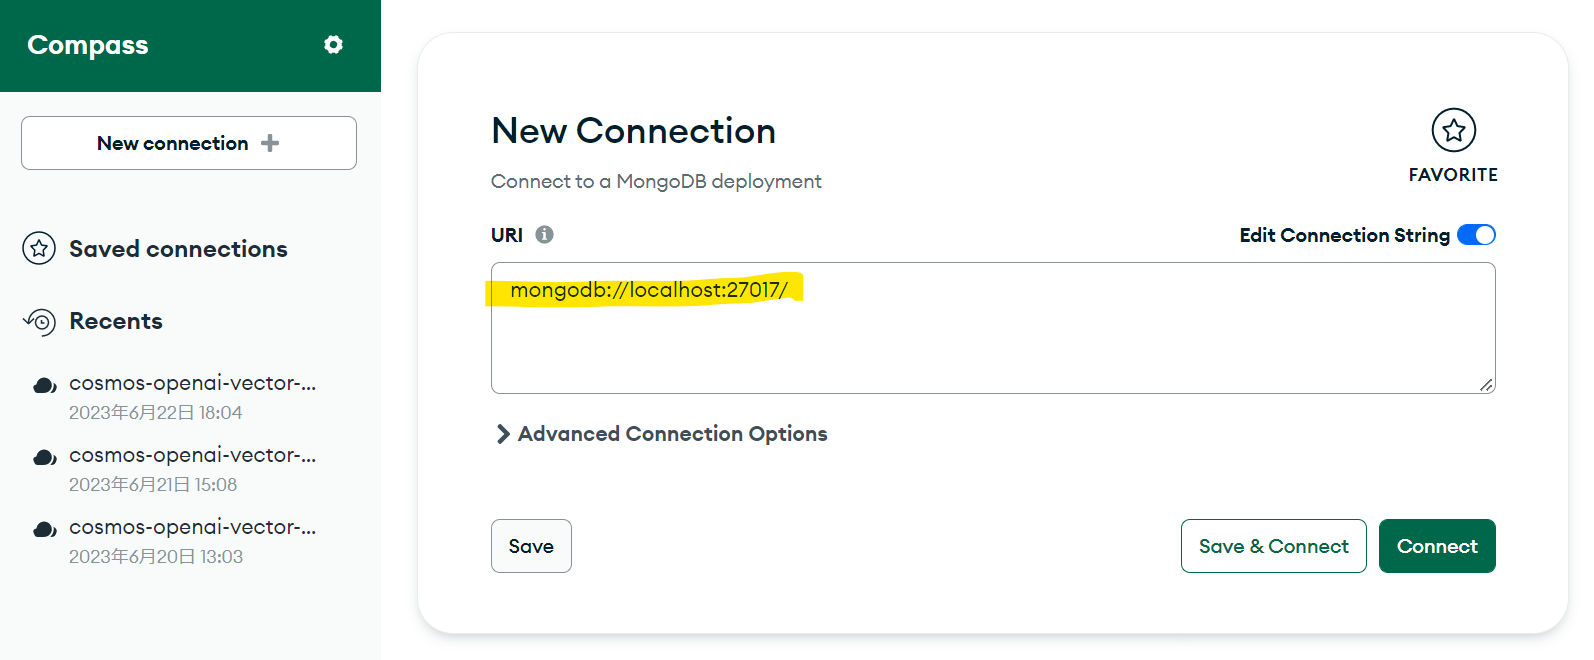
接続後、mongoshellよりデータベースとコレクションの作成を行います。
データベース作成
use 'データベース名'
コレクション作成
db.createCollection('コレクション名')
これで、ベクトル保存の実装が終わりました。
SharePointにファイルをアップロードして、実際にCosmos DBにデータが作成されるか試してみてください。
ベクトル検索の実装
各Azureリソースにおける実装の説明をします。
- Azure Functions
- Cosmos DB
Azure Functions
HTTPトリガーで作成します。
コントローラー
public class SearchDocument
{
    private readonly IVectorService vectorService;

    public SearchDocument(IVectorService vectorService)
    {
        this.vectorService = vectorService;
    }

    [FunctionName("SearchDocument")]
    public async Task<IActionResult> Run(
        [HttpTrigger(AuthorizationLevel.Anonymous, "get")] [FromQuery]SearchRequestModel request)
    {
        var input = new SearchInputModel()
        {
            Keyword = request.Keyword,
        };
        var res = await vectorService.GetDocuments(input);
        var result = new List<SearchDocumentsResponseModel>();
        foreach (var item in res)
        {
            result.Add(new SearchDocumentsResponseModel() {
                Text = item.Text,
                Filename = item.Filename,
            });
        }
        return new JsonResult(result);
    }
}
入力キーワードのベクトル化のリポジトリ
先ほどのベクトル保存で用いたものと同じものを使用します。
ベクトル検索のリポジトリ
MSの公式ドキュメントでは、2023年6月時点で、monogoshellでの検索の仕方しか記載されてなく、上手いやり方が分からなかったので、BsonDocumentを使ってMongoDBクエリを作成しています。
参考:$search を使用して vectorIndex に対してクエリを実行する
public class VectorRepository : IVectorRepository
{
    private readonly IMongoClient mongoClient;

    public VectorRepository(IMongoClient mongoClient)
    {
        this.mongoClient = mongoClient;
    }

    async Task<List<Doc>> IVectorRepository.GetDocuments(List<float> vectors)
    {
        var db = mongoClient.GetDatabase("sample_docs");
        var _docs = db.GetCollection<Doc>("docs");

        BsonArray bsonVectorArray = new BsonArray();
        foreach ( var v in vectors )
        {
            bsonVectorArray.Add(v);
        }

        PipelineDefinition<Doc, BsonDocument> pipeline = new BsonDocument[]
        {
            new BsonDocument("$search",
            new BsonDocument
            {
                { "cosmosSearch", new BsonDocument{ { "vector", bsonVectorArray }, { "path", "Vectors" }, { "k", 3 } } },
                { "returnStoredSource", true }
            })
        };

        var resultDocuments = _docs.Aggregate(pipeline).ToList();
        var result = BsonSerializer.Deserialize<List<Doc>>(resultDocuments.ToJson());

        return result;
    }
}
Cosmos DB
検索用に今回新たに実装された、検索用ベクターインデックスも作成していきます。
参考:Azure Cosmos DB for MongoDB 仮想コアの埋め込みでのベクター検索の使用
use '先ほど作成したデータベース名'
インデックス作成
db.runCommand({
  createIndexes: 'exampleCollection',
  indexes: [
    {
      name: 'vectorSearchIndex',
      key: {
        "vectorContent": "cosmosSearch"
      },
      cosmosSearchOptions: {
        kind: 'vector-ivf',
        numLists: 100,
        similarity: 'COS',
        dimensions: 3
      }
    }
  ]
});
exampleCollectionに先ほど作成したコレクション名を指定します。
vectorContentにはDBでのベクターが保存されるカラム名を指定します。
※dimentionsの値について
ドキュメント通り3で指定すると以下のエラーになります。
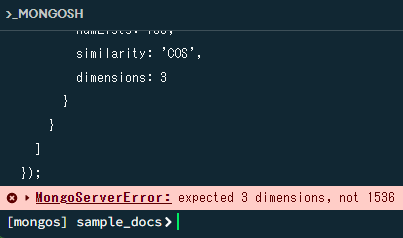
Azure OpenAIのベクトル化に使用するモデル(text-embeddings-ada)でベクトル化行った結果、1536のベクトル数になるので、1536を指定します。
インデックス作成成功すると、以下のレスポンスが返ってきます。
{
  raw: {
    defaultShard: {
      numIndexesBefore: 1,
      numIndexesAfter: 2,
      createdCollectionAutomatically: false,
      ok: 1
    }
  },
  ok: 1
}
これでベクトル検索の実装は終わりました。
実際にキーワードを投げてみて、そのキーワードが含まれるファイルが取得できるか試してみましょう。
さいごに雑記
- 今回はテキストファイルのみだったので、PDFやPowerPointなどにも対応できるといい。その際はAzure Functions内で、その形式に合わせたコンテンツ読み取りの実装を行う必要がありそう。
- SharePoint自体の検索にコンテンツ検索ができるため、SharePoint内の検索のみであれば今回の実装を使う必要はない。
- Azureのベクトル保存の実装方法は他にもたくさんあるので、要件に応じてどれを使うか選ぶ必要がある。
