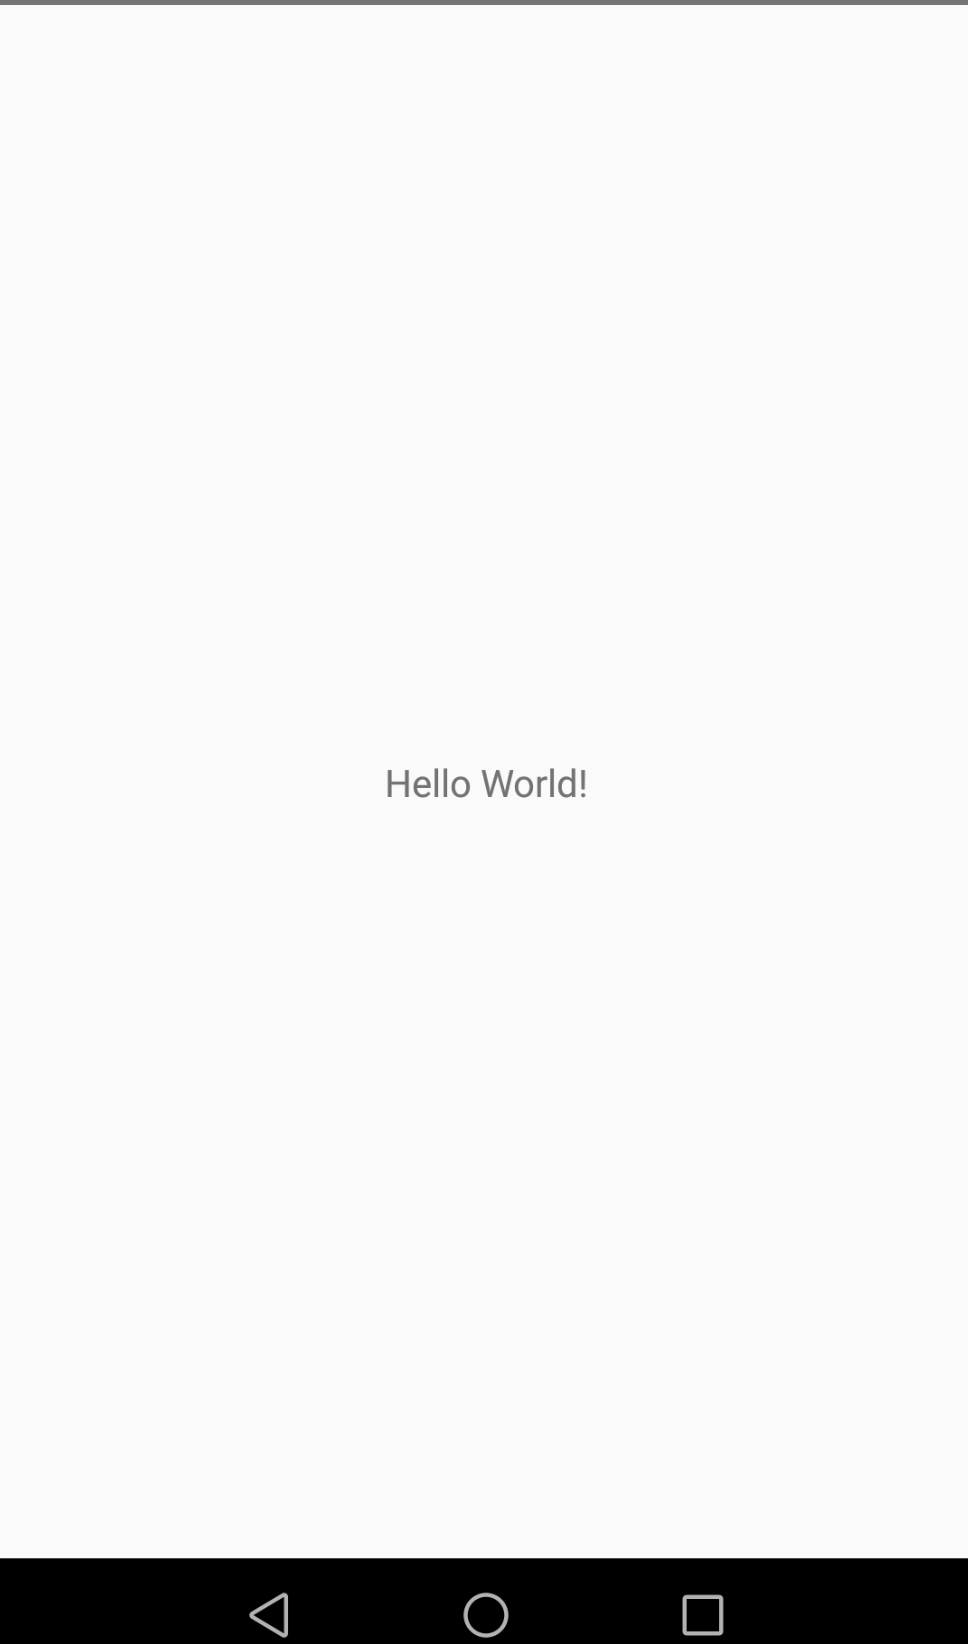
最初に
プログラミングを始めた時、C言語、JavaでHello Worldを作成したことを思い出した。
IDEがなくて、テキストエディターとコマンドラインで作成、コンパイルして実行できました。
Androidの勉強ですが、Android Studioを使って、Hello Worldのプロジェクトを作成する記事はほとんどです。
Androidアプリの構成とビルドについて、もっと深く理解するため、本編はIDEを使わなくて一からプロジェクトを作成し、実行するまで紹介します。
ビルドツール
まず、Gradleをインストールします。
AndroidプロジェクトはGradleベースで複雑なビルドシステムを構築しているため、Gradleの勉強は必須になります。
https://gradle.org/releases/ にて最新バージョンのGradleをダウンロードしてインストールします。
すでにAndroid Studioで実行したことがあれば、ダウンロード、インストールしなくてもいいです。
Linux、Mac:
~/.gradle/wrapper/dists
Windows:
ユーザーフォルダのは配下、隠しフォルダになっています
Android SDK
Android SDKがインストールされていないんら、https://developer.android.google.cn/studio#downloads にてCommand line toolsをインストールします。
cmdline-toolsのbin配下にsdkmanagerを実行してSDKをインストールします。
しかし、Android Studioがインストールしたことがあれば、SDKがすでにインストールされています。
プロジェクト初期化
今回はGradle 6.7でプロジェクトの初期化をおこないます。
プロジェクトディレクトリにて gradle initを実施
~/Projects/NoIde : gradle init

Welcome to Gradle 6.7!

Here are the highlights of this release:
 - File system watching is ready for production use
 - Declare the version of Java your build requires
 - Java 15 support

For more details see https://docs.gradle.org/6.7/release-notes.html

Starting a Gradle Daemon (subsequent builds will be faster)

Select type of project to generate:
  1: basic
  2: application
  3: library
  4: Gradle plugin
Enter selection (default: basic) [1..4] 1

Select build script DSL:
  1: Groovy
  2: Kotlin
Enter selection (default: Groovy) [1..2] 2

Project name (default: NoIde): Test


> Task :init
Get more help with your project: Learn more about Gradle by exploring our samples at https://docs.gradle.org/6.7/samples

BUILD SUCCESSFUL in 2m 23s
2 actionable tasks: 2 executed
ビルド成功したら、プロジェクトディレクトリ配下に以下のファイルを作成されます。

項目設定
- build.gradle.ktsに下記の内容を追加します。
buildscript {

    repositories {
    	google()
        jcenter()
    }

    dependencies {
        classpath("com.android.tools.build:gradle:4.1.1")
        classpath("org.jetbrains.kotlin:kotlin-gradle-plugin:1.4.10")
    }
}

allprojects {
    repositories {
    	google()
        jcenter()
    }
}

tasks.register("clean",Delete::class){
    delete(rootProject.buildDir)
}
- app ディレクトリを作成し、その配下、build.gradle.ktsを作成して下記の内容を追加します。
import org.gradle.kotlin.dsl.kotlin
import org.gradle.kotlin.dsl.*
import org.jetbrains.kotlin.config.KotlinCompilerVersion

plugins {
    id("com.android.application")
    kotlin("android")
    kotlin("kapt")
}

android {
    compileSdkVersion(29)
    buildToolsVersion("30.0.0")

    defaultConfig {
        applicationId = "com.test"
        minSdkVersion(26)
        targetSdkVersion(29)
        versionCode = 1
        versionName = "1.0"
    }

    buildTypes {
        getByName("release") {
            isMinifyEnabled = false
            proguardFiles("proguard-rules.pro")
        }
    }

    kotlinOptions {
        jvmTarget = "1.8"
    }
}

dependencies {
    implementation(kotlin("stdlib-jdk8", KotlinCompilerVersion.VERSION))
    implementation("org.jetbrains.kotlin:kotlin-stdlib:1.4.10")
    implementation("androidx.core:core-ktx:1.3.2")
    implementation("androidx.appcompat:appcompat:1.2.0")
}
- プロジェクトのルートディレクトリにある
settings.gradle.ktsに下記の内容を追加します。
include(":app")
- プロジェクトのルートディレクトリに
gradle.propertiesを作成し、下記の内容を追加します。
android.useAndroidX=true
-
app/src/mainディレクトリを作成して、その配下にAndroidManifest.xmlを作成します。
<?xml version="1.0" encoding="utf-8"?>
<manifest xmlns:android="http://schemas.android.com/apk/res/android"
    package="com.test">

    <application
        android:label="Test App"
        android:theme="@style/AppTheme">

        <activity android:name=".MainActivity">
            <intent-filter>
                <action android:name="android.intent.action.MAIN" />
                <category android:name="android.intent.category.LAUNCHER" />
            </intent-filter>
        </activity>
    </application>

</manifest>
- AndroidManifest.xmlの設定にてThemeが設定されているので、
app/src/main/res/valuesディレクトリを作成し、style.xmlを作成します。
<resources>
    <style name="AppTheme" parent="Theme.AppCompat.Light.NoActionBar">
    </style>
</resources>
- パッケージディレクトリ
app/src/main/java/com/testを作成して、ソースコードMainActivity.ktを作成します。
package com.test

import androidx.appcompat.app.AppCompatActivity
import android.os.Bundle

class MainActivity : AppCompatActivity() {
    override fun onCreate(savedInstanceState: Bundle?) {
        super.onCreate(savedInstanceState)
        setContentView(R.layout.activity_main)
    }
}
- レイアウトディレクトリ
app/src/main/res/layoutを作成して、activity_main.xmlレイアウトファイルを作成します。
<?xml version="1.0" encoding="utf-8"?>
<androidx.constraintlayout.widget.ConstraintLayout
    xmlns:android="http://schemas.android.com/apk/res/android"
    xmlns:app="http://schemas.android.com/apk/res-auto"
    xmlns:tools="http://schemas.android.com/tools"
    android:layout_width="match_parent"
    android:layout_height="match_parent"
    tools:context=".MainActivity"
    >

    <TextView
        android:layout_width="wrap_content"
        android:layout_height="wrap_content"
        android:text="Hello World!"
        app:layout_constraintBottom_toBottomOf="parent"
        app:layout_constraintLeft_toLeftOf="parent"
        app:layout_constraintRight_toRightOf="parent"
        app:layout_constraintTop_toTopOf="parent"
        />

</androidx.constraintlayout.widget.ConstraintLayout>
- Android SDKを指定します。(事前にAndroid SDKをインストールした)
プロジェクトルートディレクトリの配下にlocal.propertiesファイルを作成して、sdkのパスを設定します。
sdk.dir=~/Library/Android/sdk
ビルド
Androidビルドシステムは、デフォルトでデバッグビルドタイプとリリースビルドタイプがあります。アプリを端末にインストールして確認するにはコードサインニングが必要です。(デバッグビルドタイプはSDKツールで自動的にサインニングしてくれます)
デバッグアプリをビルドするには、プロジェクのトルートディレクトリにて./gradlew assembleDebugを実行して、成功したらapp/build/outputs/apk/debug配下にapkファイルが作成されます。
adb installを使って端末にインストールします。./gradlew installDebugでもインストールできます。
~/Projects/NoIde : ./gradlew assembleDebug
Starting a Gradle Daemon, 1 incompatible Daemon could not be reused, use --status for details

Deprecated Gradle features were used in this build, making it incompatible with Gradle 7.0.
Use '--warning-mode all' to show the individual deprecation warnings.
See https://docs.gradle.org/6.7/userguide/command_line_interface.html#sec:command_line_warnings

BUILD SUCCESSFUL in 17s
28 actionable tasks: 8 executed, 20 up-to-date
~/Projects/NoIde : ./gradlew installDebug

> Task :app:installDebug
Installing APK 'app-debug.apk' on 'Samsung Galaxy S10 (preview) - 10' for app:debug
Installed on 1 device.

Deprecated Gradle features were used in this build, making it incompatible with Gradle 7.0.
Use '--warning-mode all' to show the individual deprecation warnings.
See https://docs.gradle.org/6.7/userguide/command_line_interface.html#sec:command_line_warnings

BUILD SUCCESSFUL in 3s
29 actionable tasks: 1 executed, 28 up-to-date
これでビルド、インストール完了。


