本記事でやること
- Next.js(SSR)をAmplifyにデプロイする
Next.jsアプリケーションの作成
% npx create-next-app
Amplify CLIのインストール
- Amplify CLIのインストール
% npm install -g @aws-amplify/cli
- インストールが成功されていることを確認(バージョンの確認)
% amplify -v
8.1.0
※ nodeのバージョンが8.11.0以上 がインストールされている必要がある。
参考記事: Amplify CLI - AWS Amplify Docs
Amplifyが使用するAWSアカウント情報の設定
- amplify configure を実行
- Amplifyの各種設定を行う
% amplify configure
Follow these steps to set up access to your AWS account:

Sign in to your AWS administrator account:
https://console.aws.amazon.com/
Press Enter to continue
上記を実行すると、AWSコンソール画面が開くので、利用するアカウントでそのままログインする。ログイン後は、リージョンの選択/IAMユーザーを作成する。user nameでは、そのままEnterを押すと、AWSコンソール画面のIAMユーザー作成ページが開きます。
....
Specify the AWS Region
? region:  ap-northeast-1
Specify the username of the new IAM user:
? user name:  amplify-pb3xl
Complete the user creation using the AWS console
https://console.aws.amazon.com/iam/home?region=ap-northeast-1#/users$new?step=....
Press Enter to continue
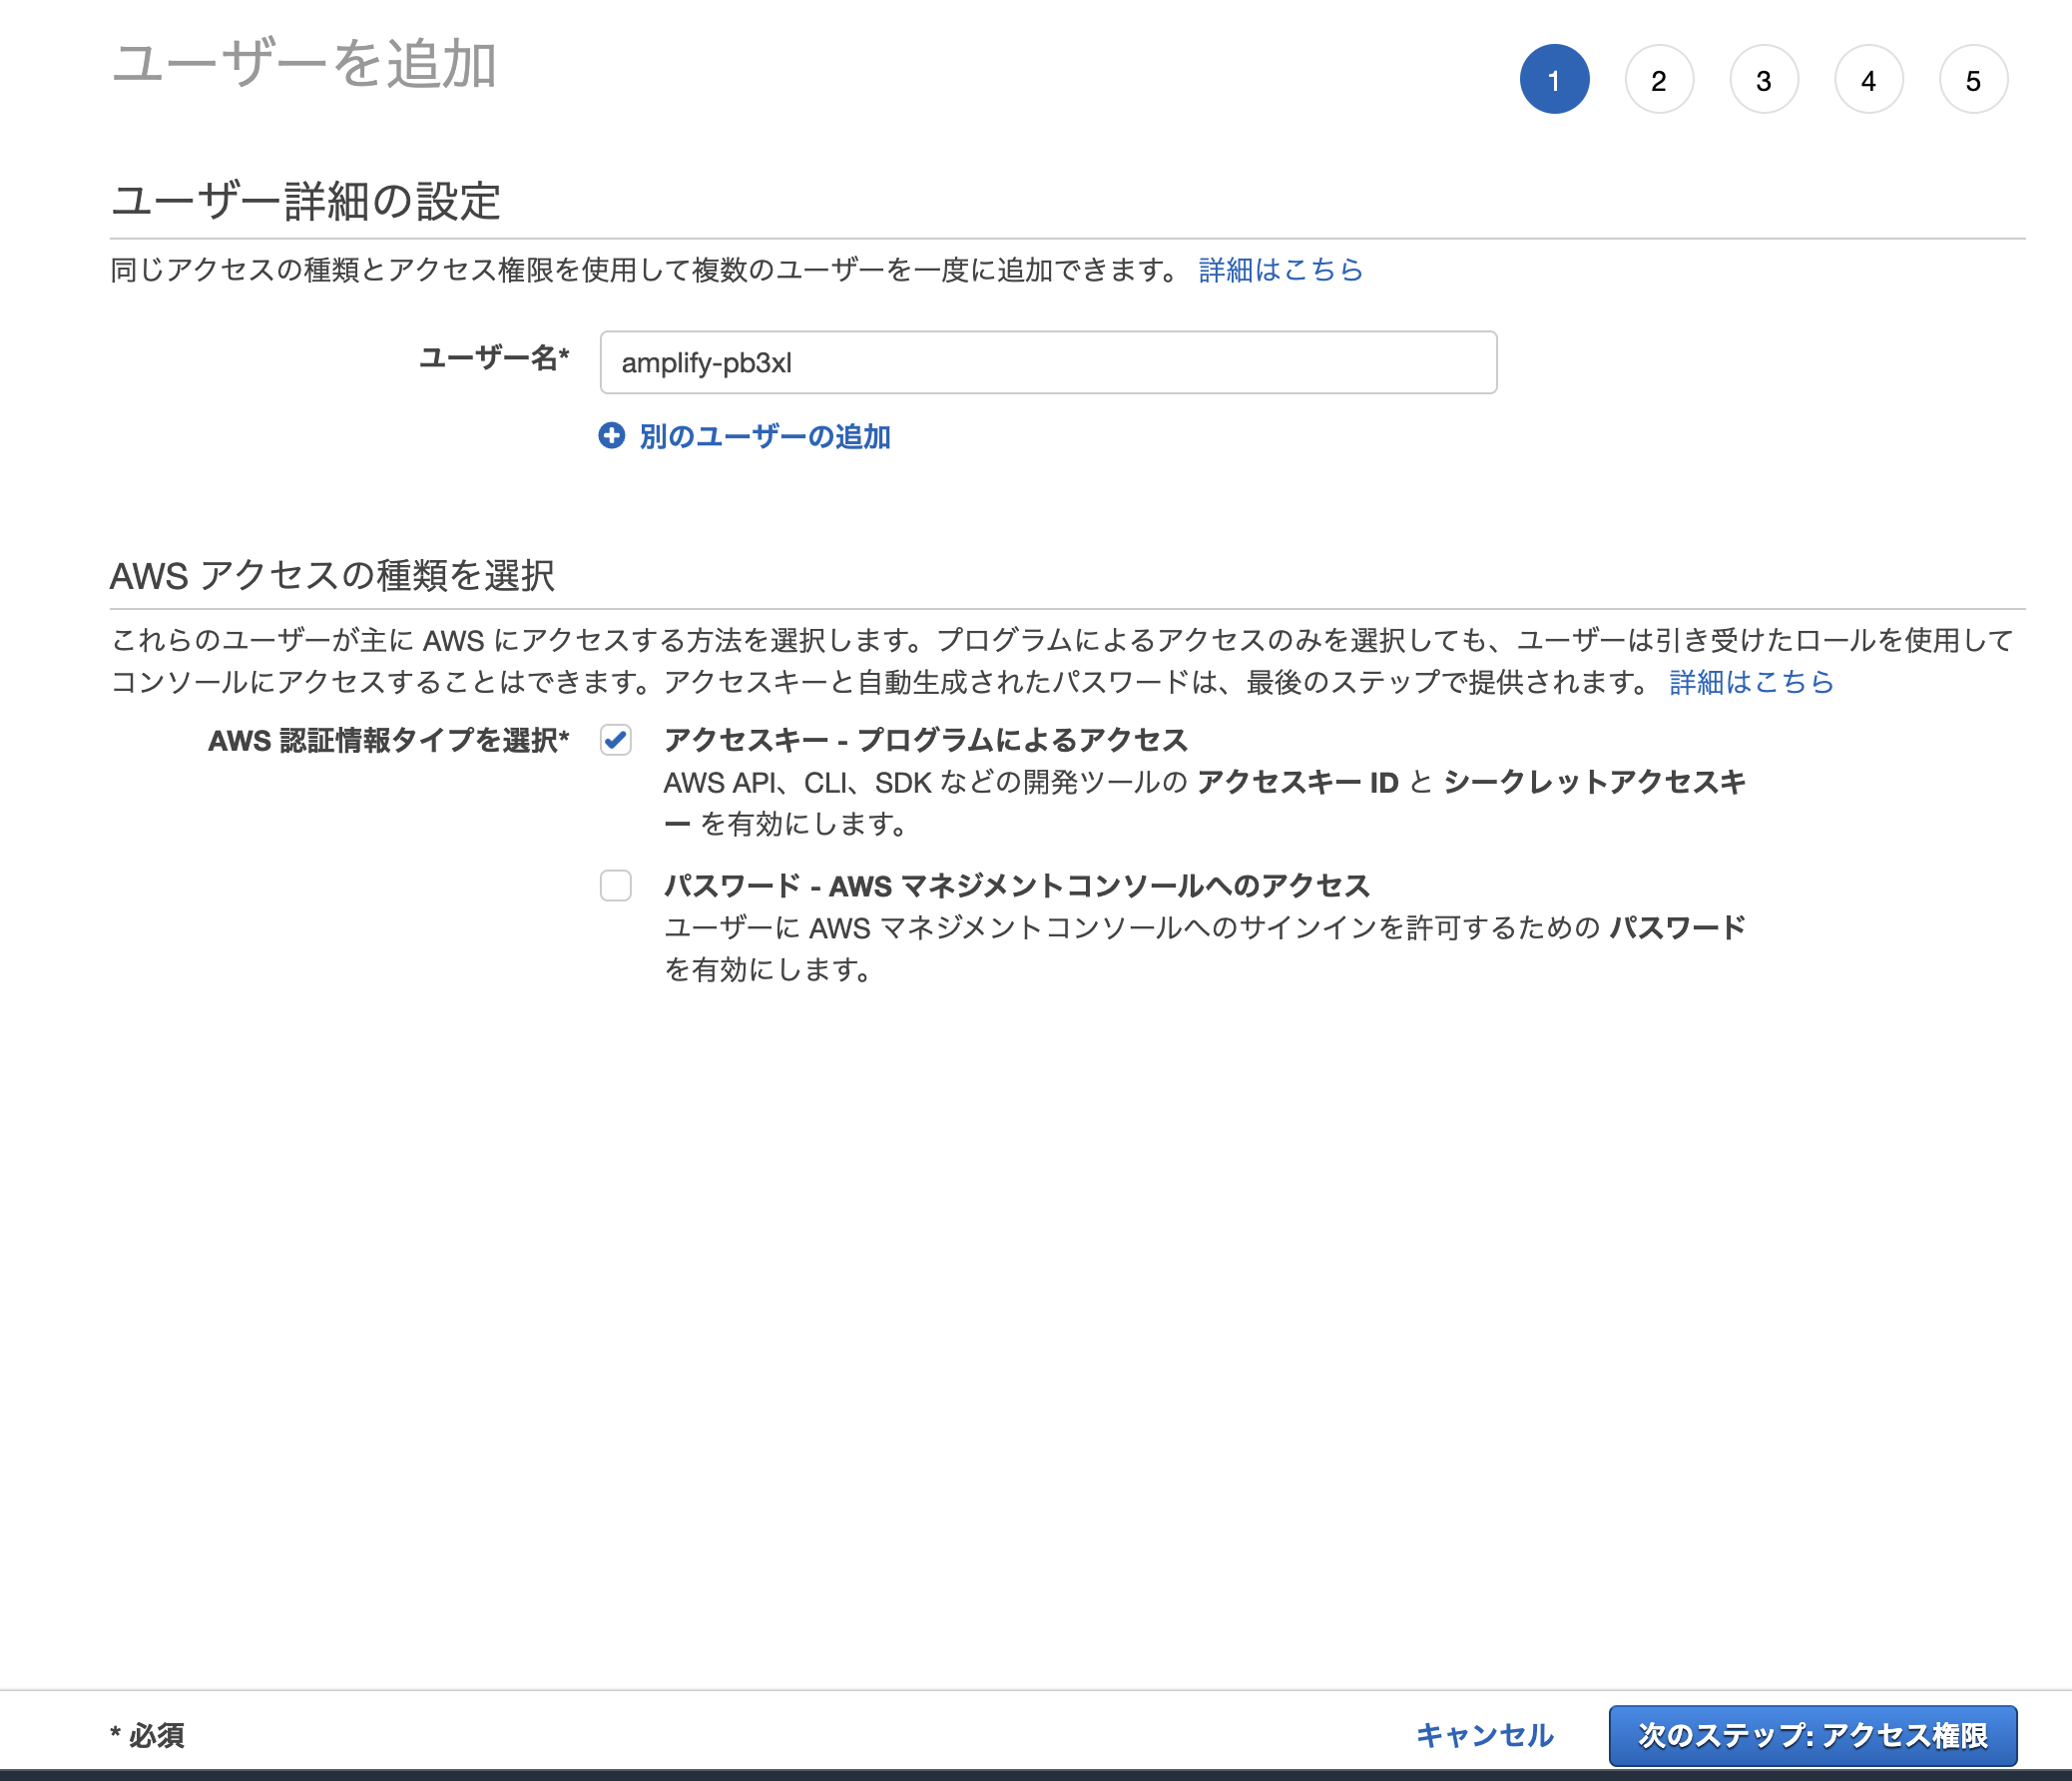
IAMユーザー作成ページでは、デフォルト値のまま次のステップ:アクセス権限を押下する。
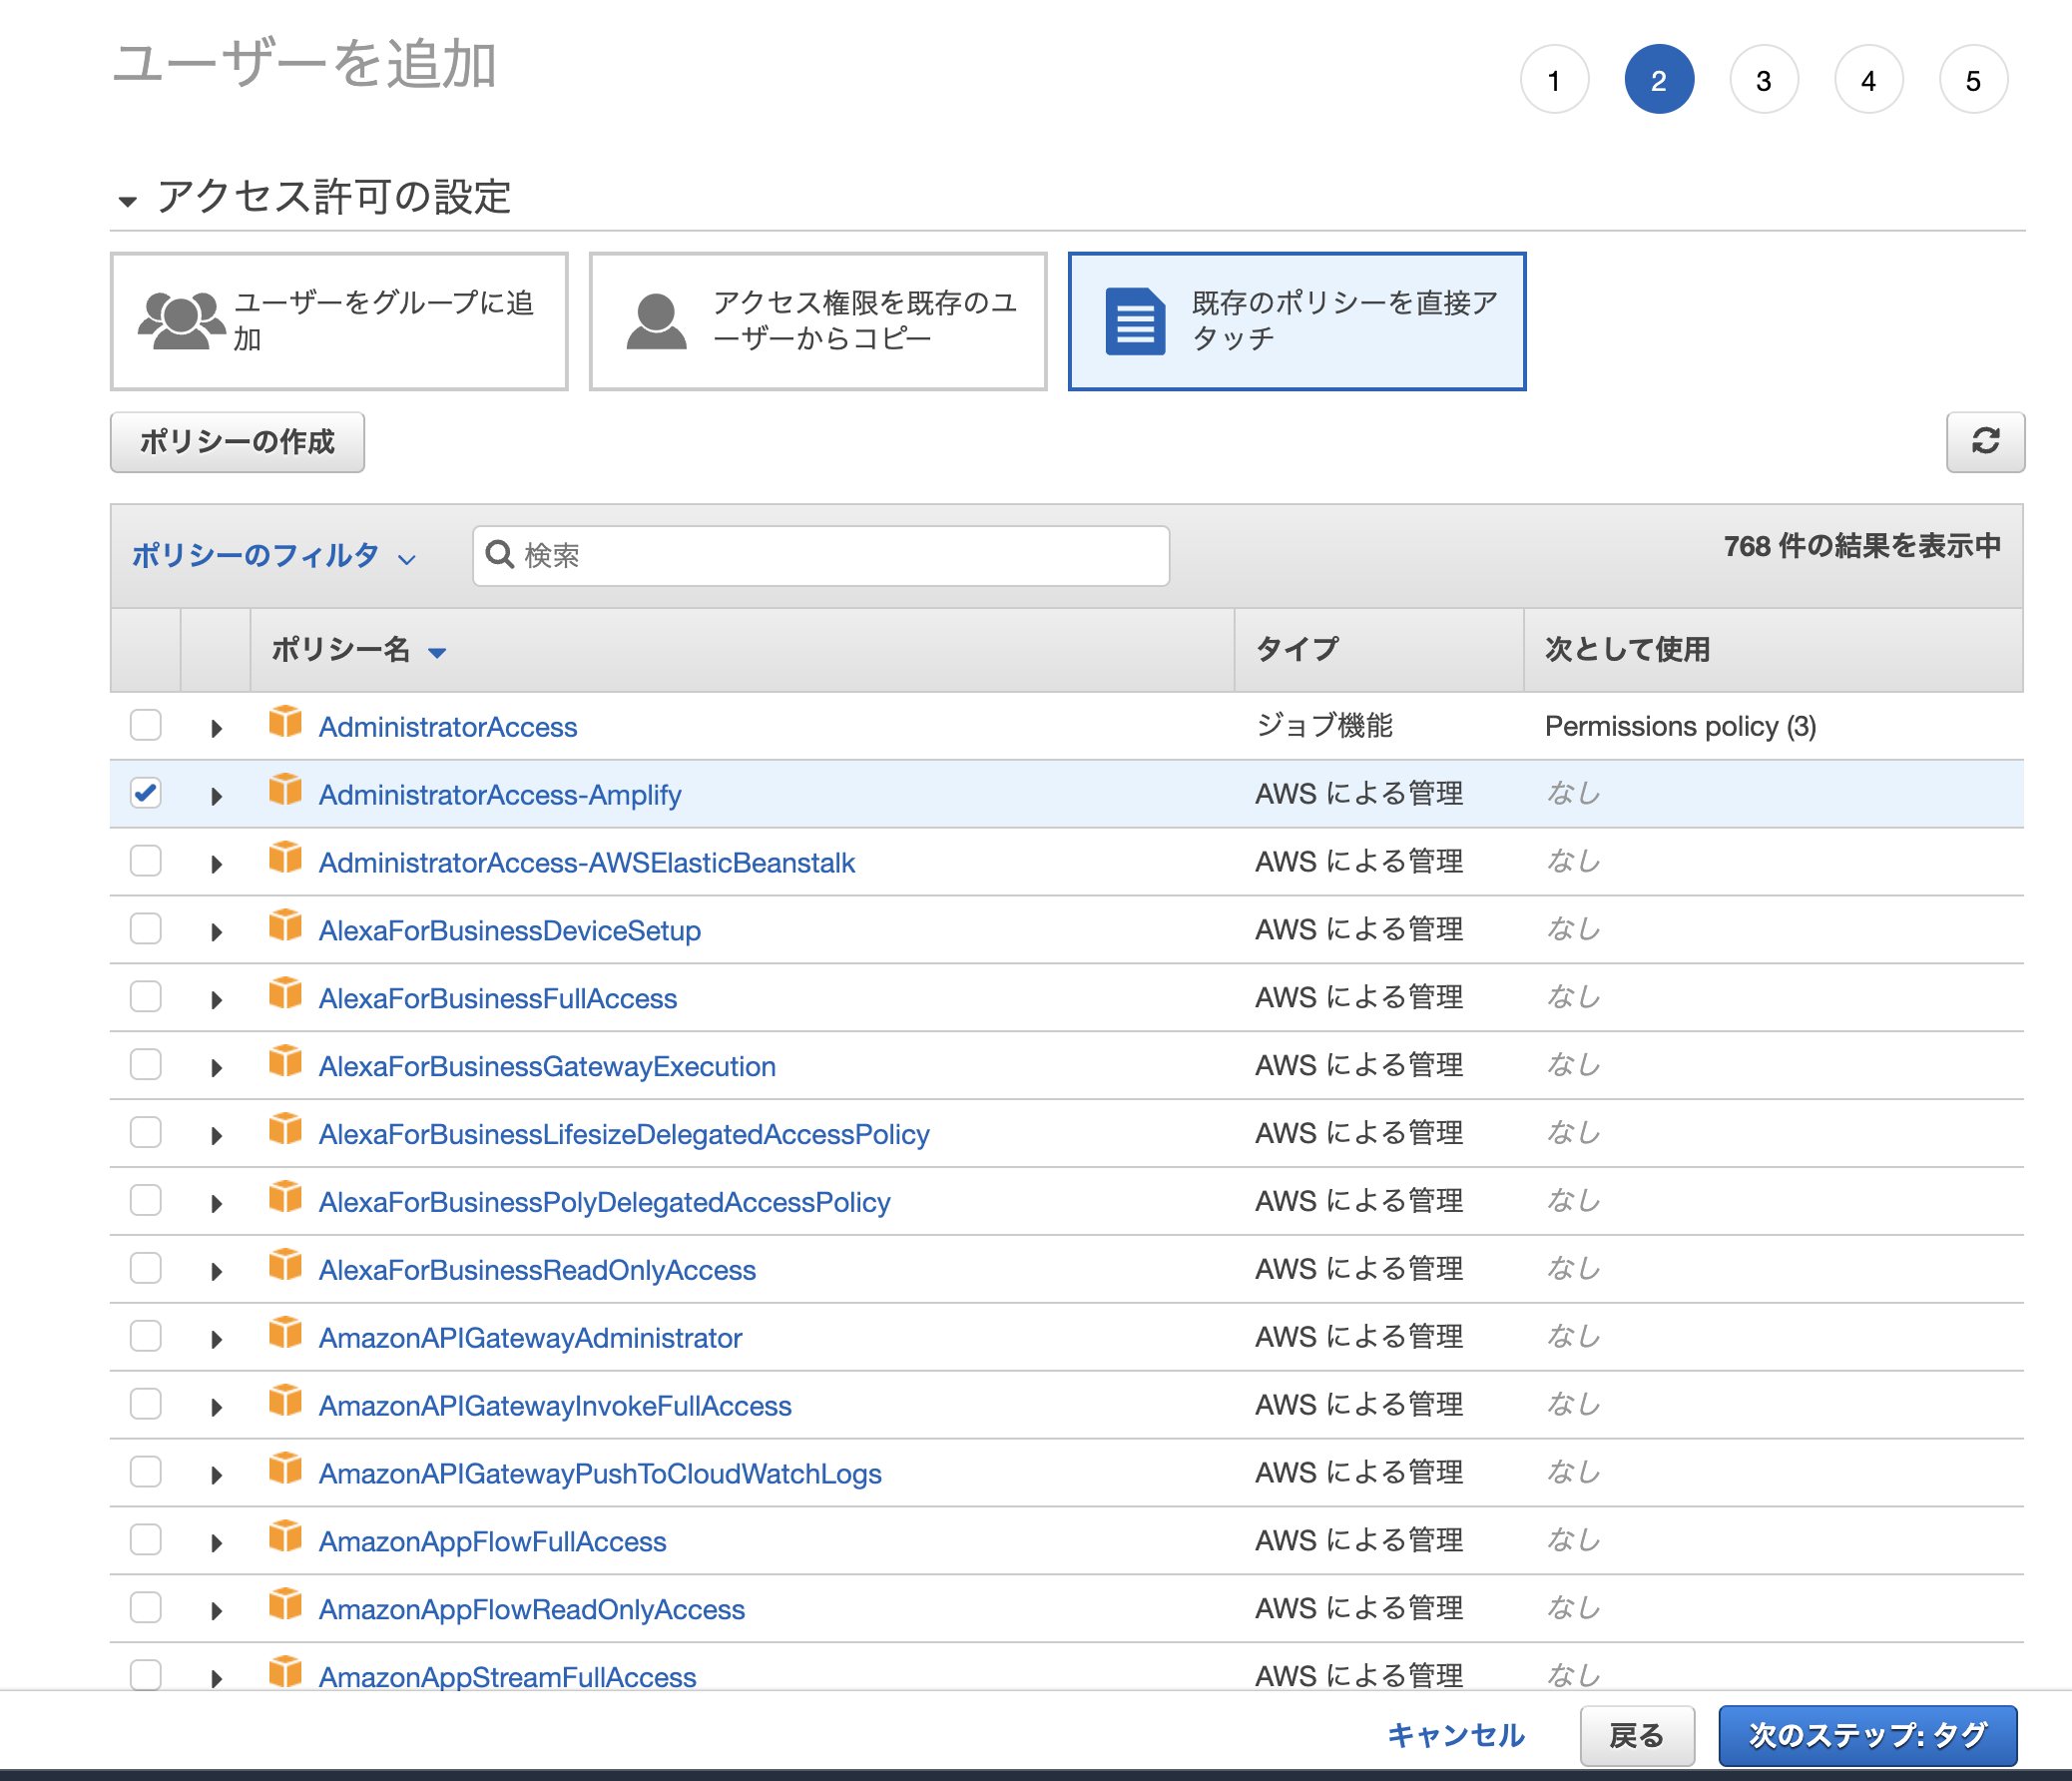
既存ポリシーのAdministratorAccess-Amplifyが選択されている状態となっていることを確認し次のステップ:タグを押下する。
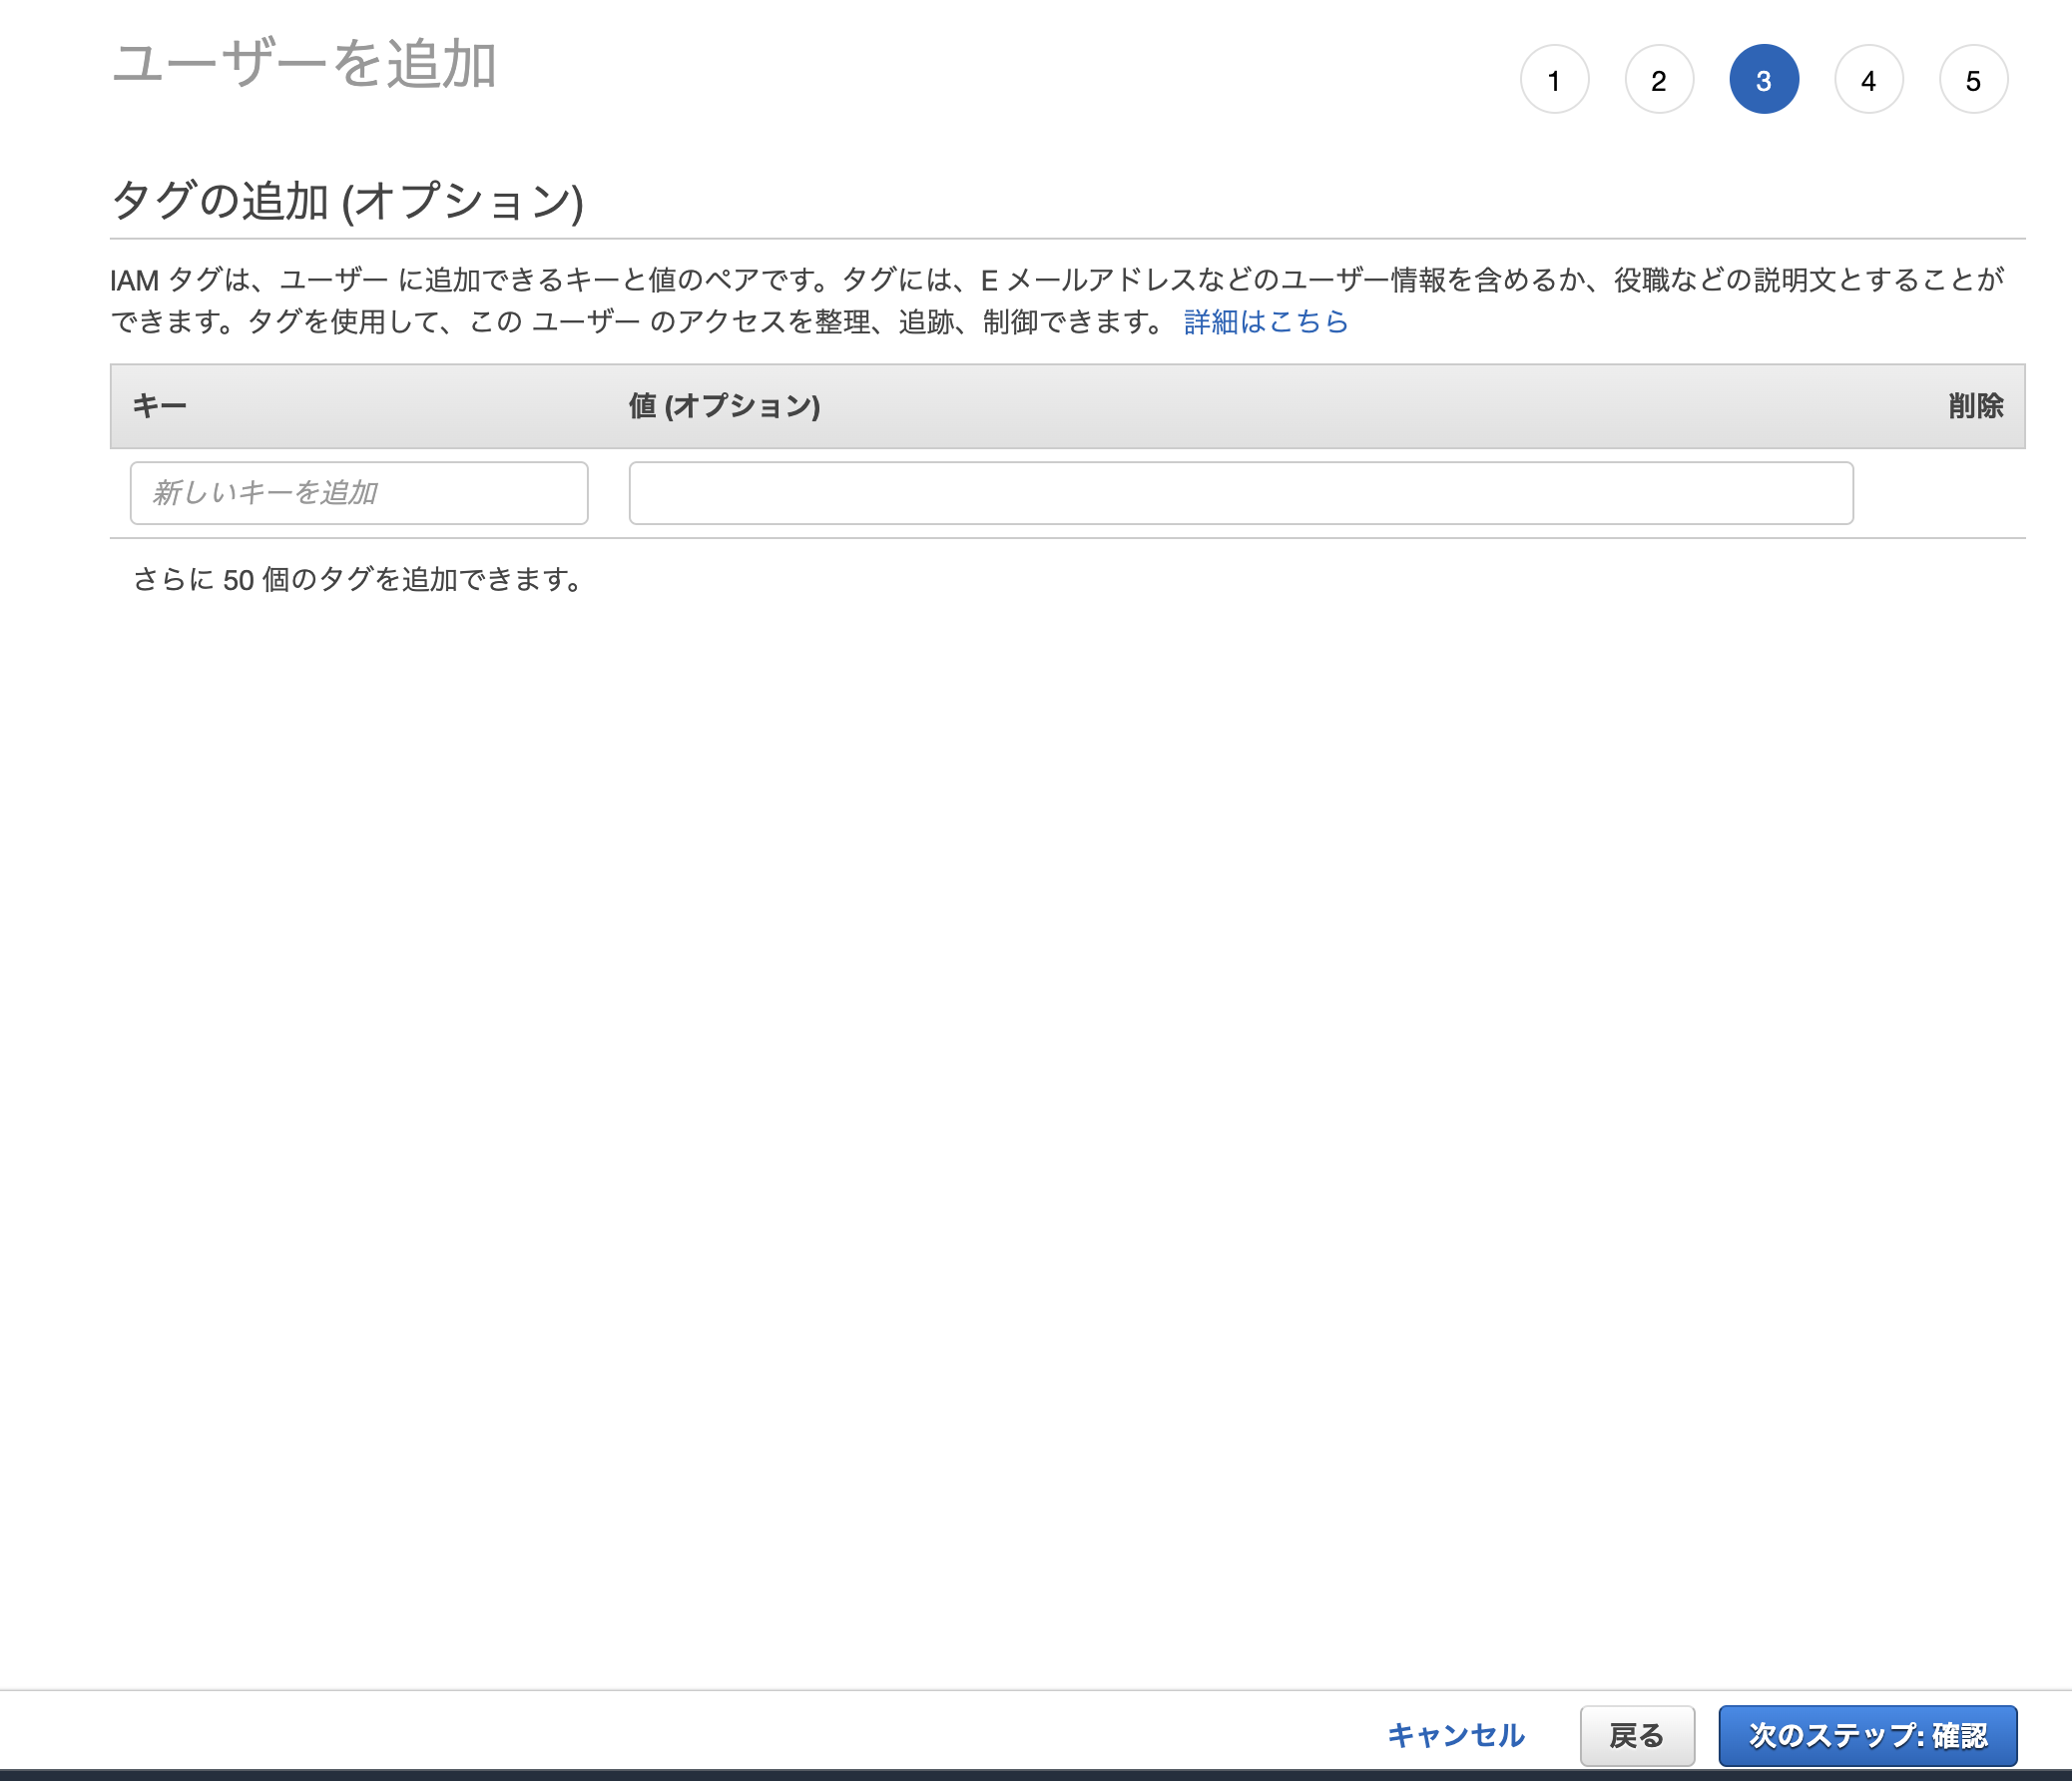
タグ設定画面でも、デフォルトのまま次のステップ:確認を押下。
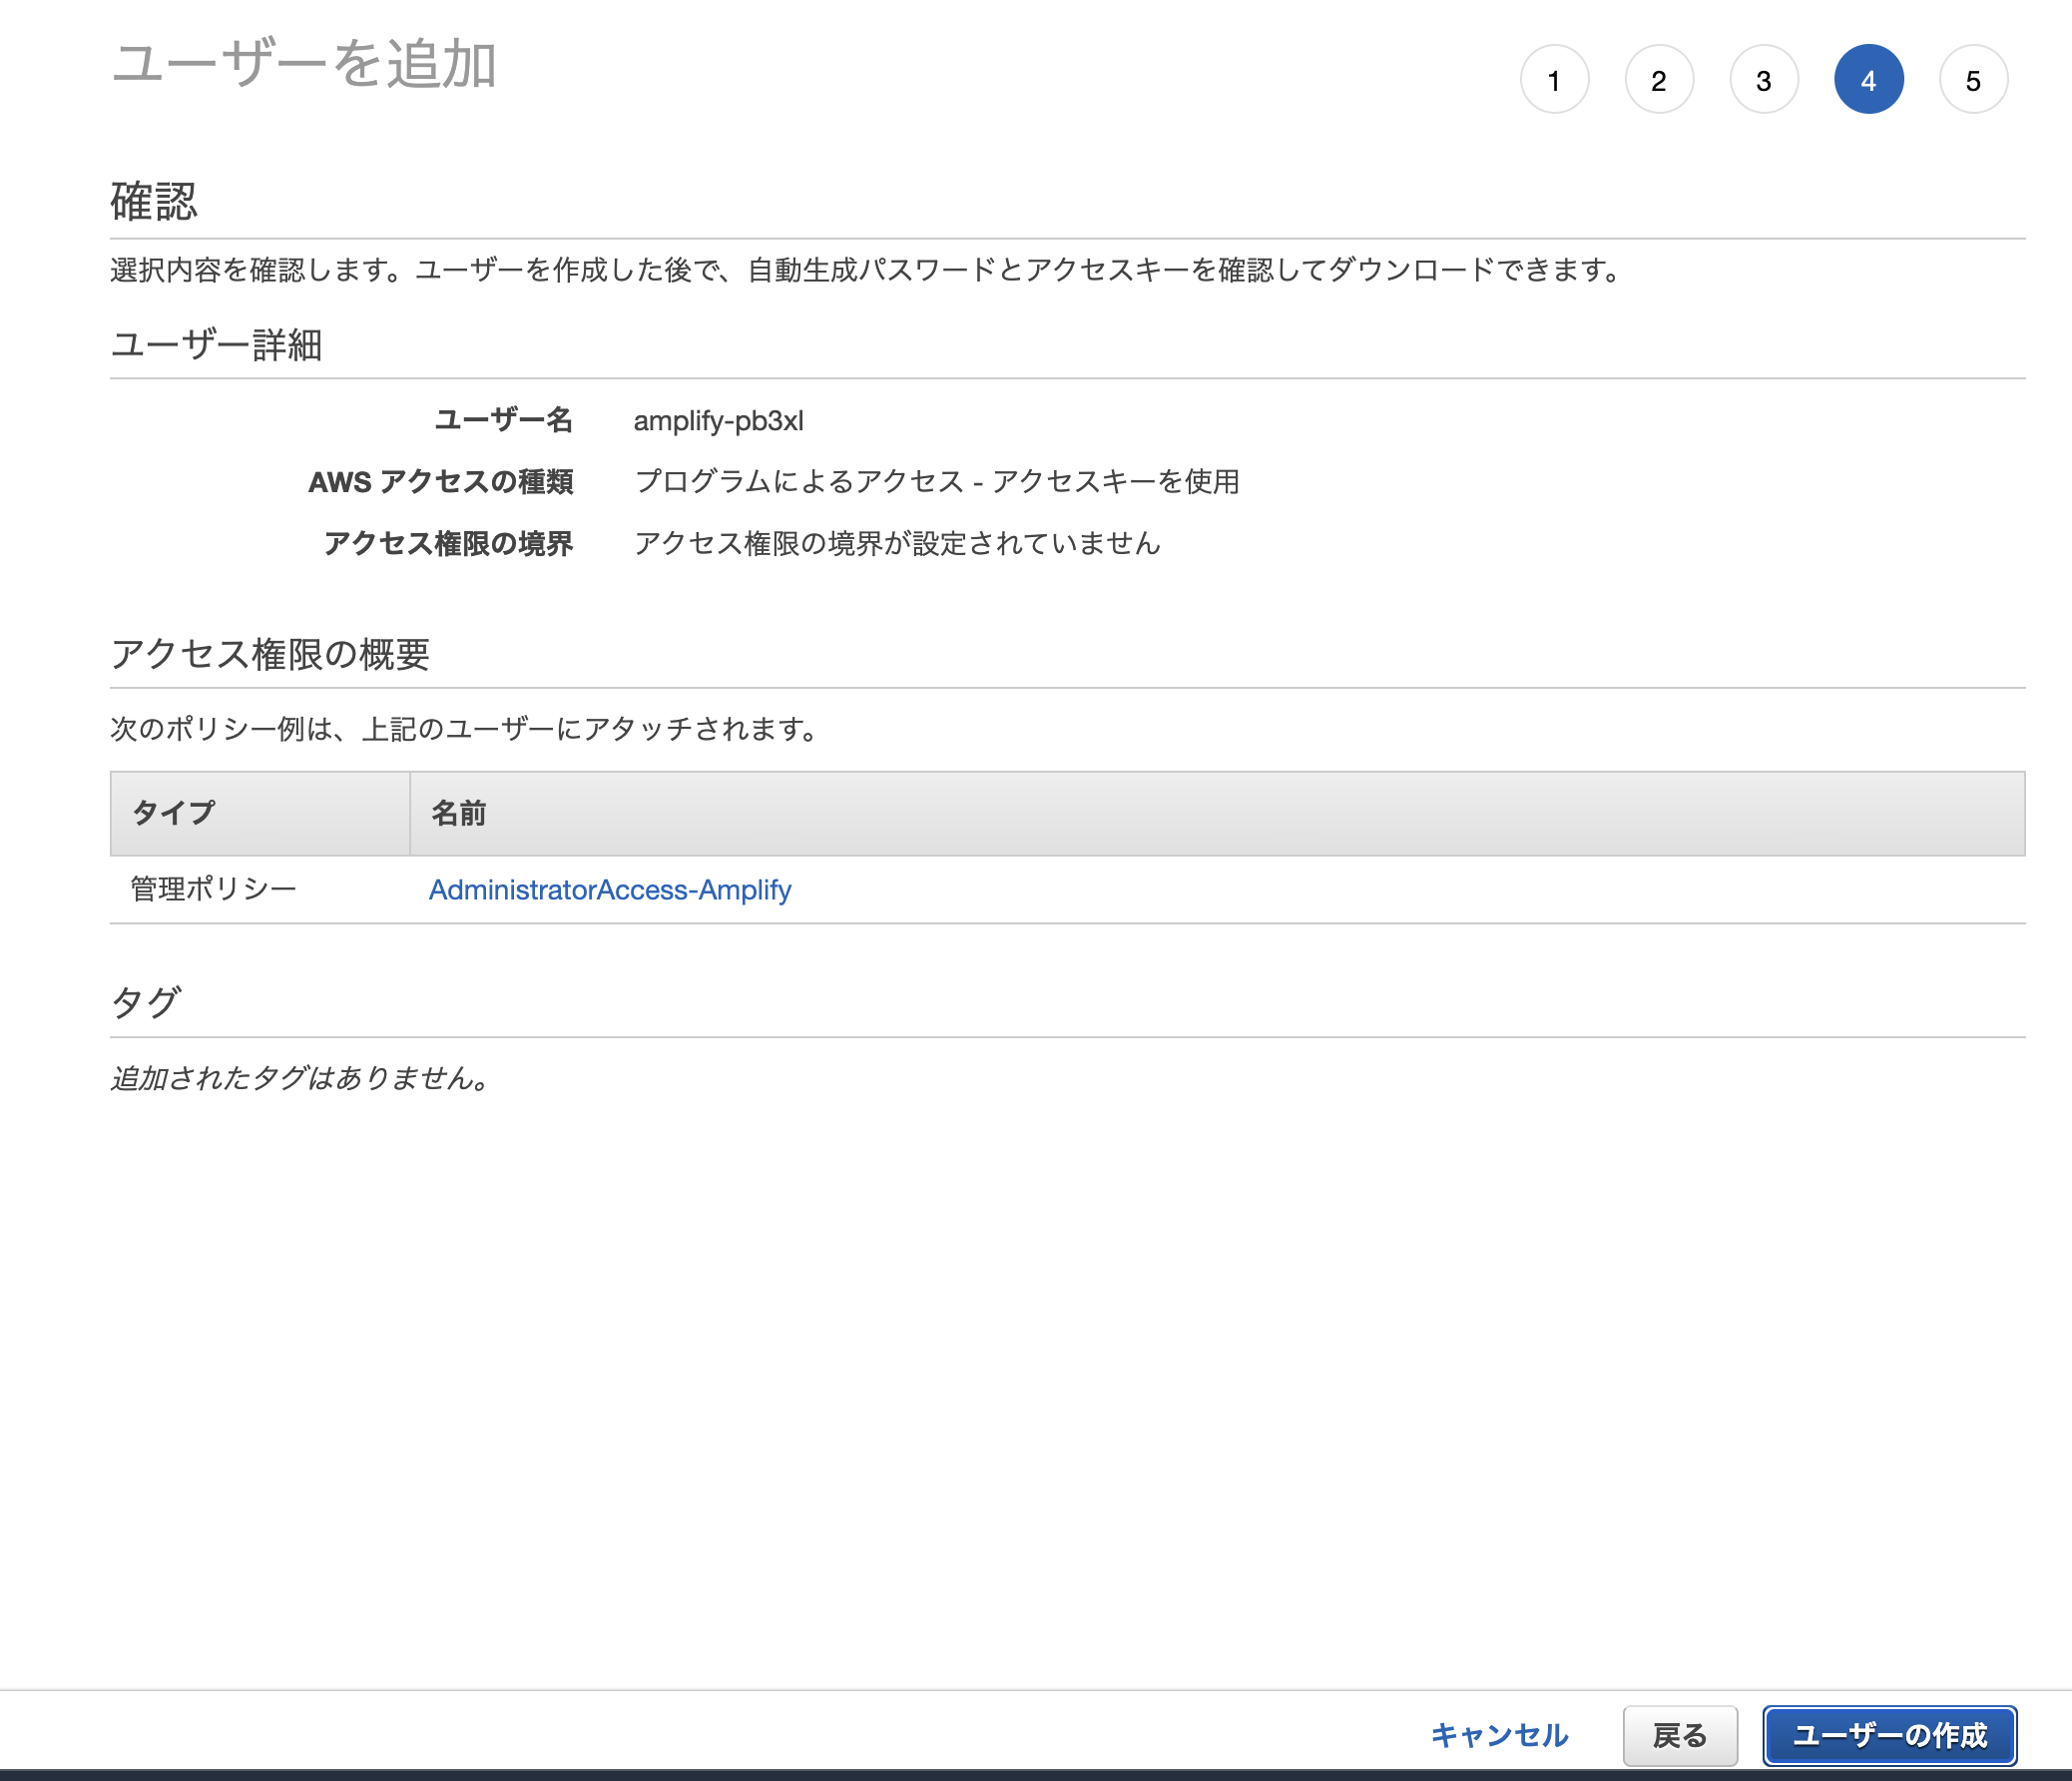
設定内容を確認しユーザーの作成を押下。
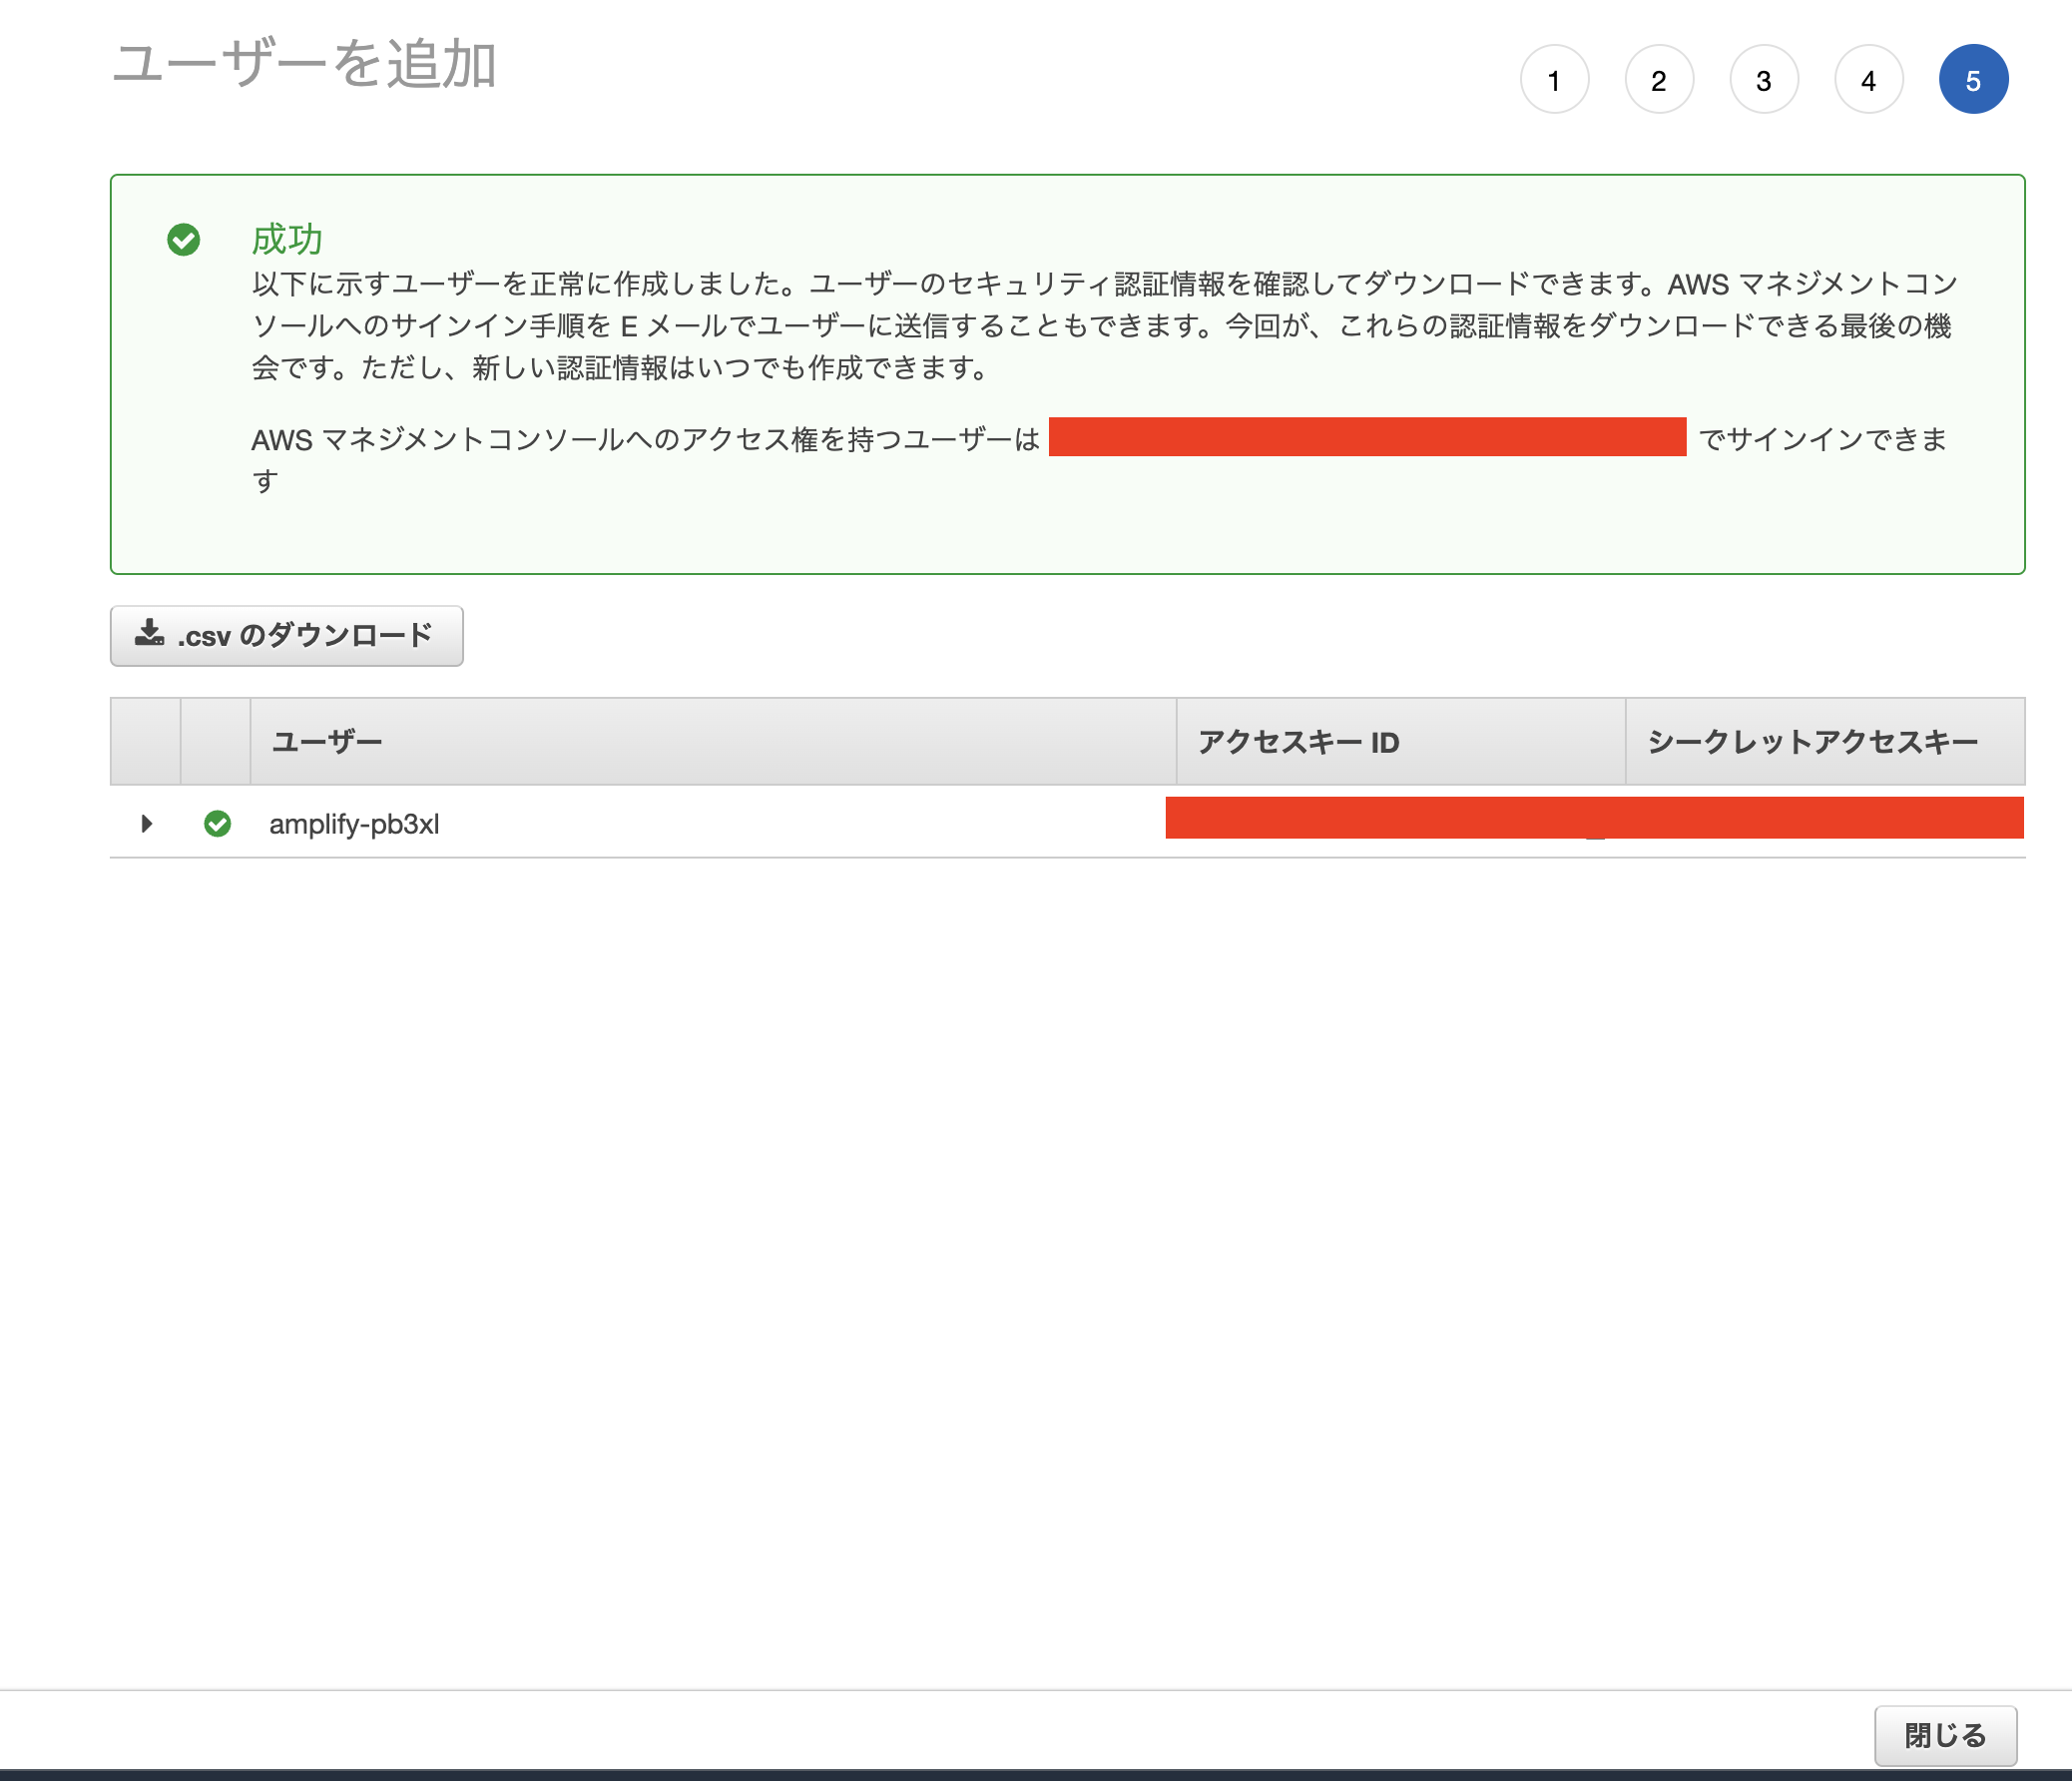
ここまでで、Amplify用のIAMユーザーが作成された。ターミナルの方では引き続き、Enterを押して後続の設定を進めていく。IAMユーザ作成完了画面のアクセスキーID/シークレットアクセスキーを入力する。
Complete the user creation using the AWS console
https://console.aws.amazon.com/iam/home?region=ap-northeast-1#/users$new?step=....
Press Enter to continue
Enter the access key of the newly created user:
? accessKeyId:  ********************
? secretAccessKey:  ****************************************
AWSプロファイル情報の名前を設定する。(一旦、defaultで進める)
This would update/create the AWS Profile in your local machine
? Profile Name:  default
Successfully set up the new user.
Amplifyが使用するAWSアカウント情報の設定が完了。
Amplify バックエンド環境の初期化
% amplify init
Note: It is recommended to run this command from the root of your app directory
? Enter a name for the project playgroundnext
The following configuration will be applied:

Project information
| Name: playgroundnext
| Environment: dev
| Default editor: Visual Studio Code
| App type: javascript
| Javascript framework: react
| Source Directory Path: src
| Distribution Directory Path: build
| Build Command: npm run-script build
| Start Command: npm run-script start

? Initialize the project with the above configuration? Yes
Using default provider  awscloudformation
? Select the authentication method you want to use: AWS profile

For more information on AWS Profiles, see:
https://docs.aws.amazon.com/cli/latest/userguide/cli-configure-profiles.html

? Please choose the profile you want to use default


Adding backend environment dev to AWS Amplify app: dd4yemdfpdbb6
⠋ Initializing project in the cloud...

...
...
...

Pro tip:
Try "amplify add api" to create a backend API and then "amplify push" to deploy everything
amplifyディレクトリが生成されるので、リポジトリにpushする。
静的WEBサイトホスティング環境の構築
% amplify add hosting
✔ Select the plugin module to execute · Hosting with Amplify Console (Managed hosting with custom domains, Continuous deployment)
? Choose a type Continuous deployment (Git-based deployments)
? Continuous deployment is configured in the Amplify Console. Please hit enter once you connect your repository
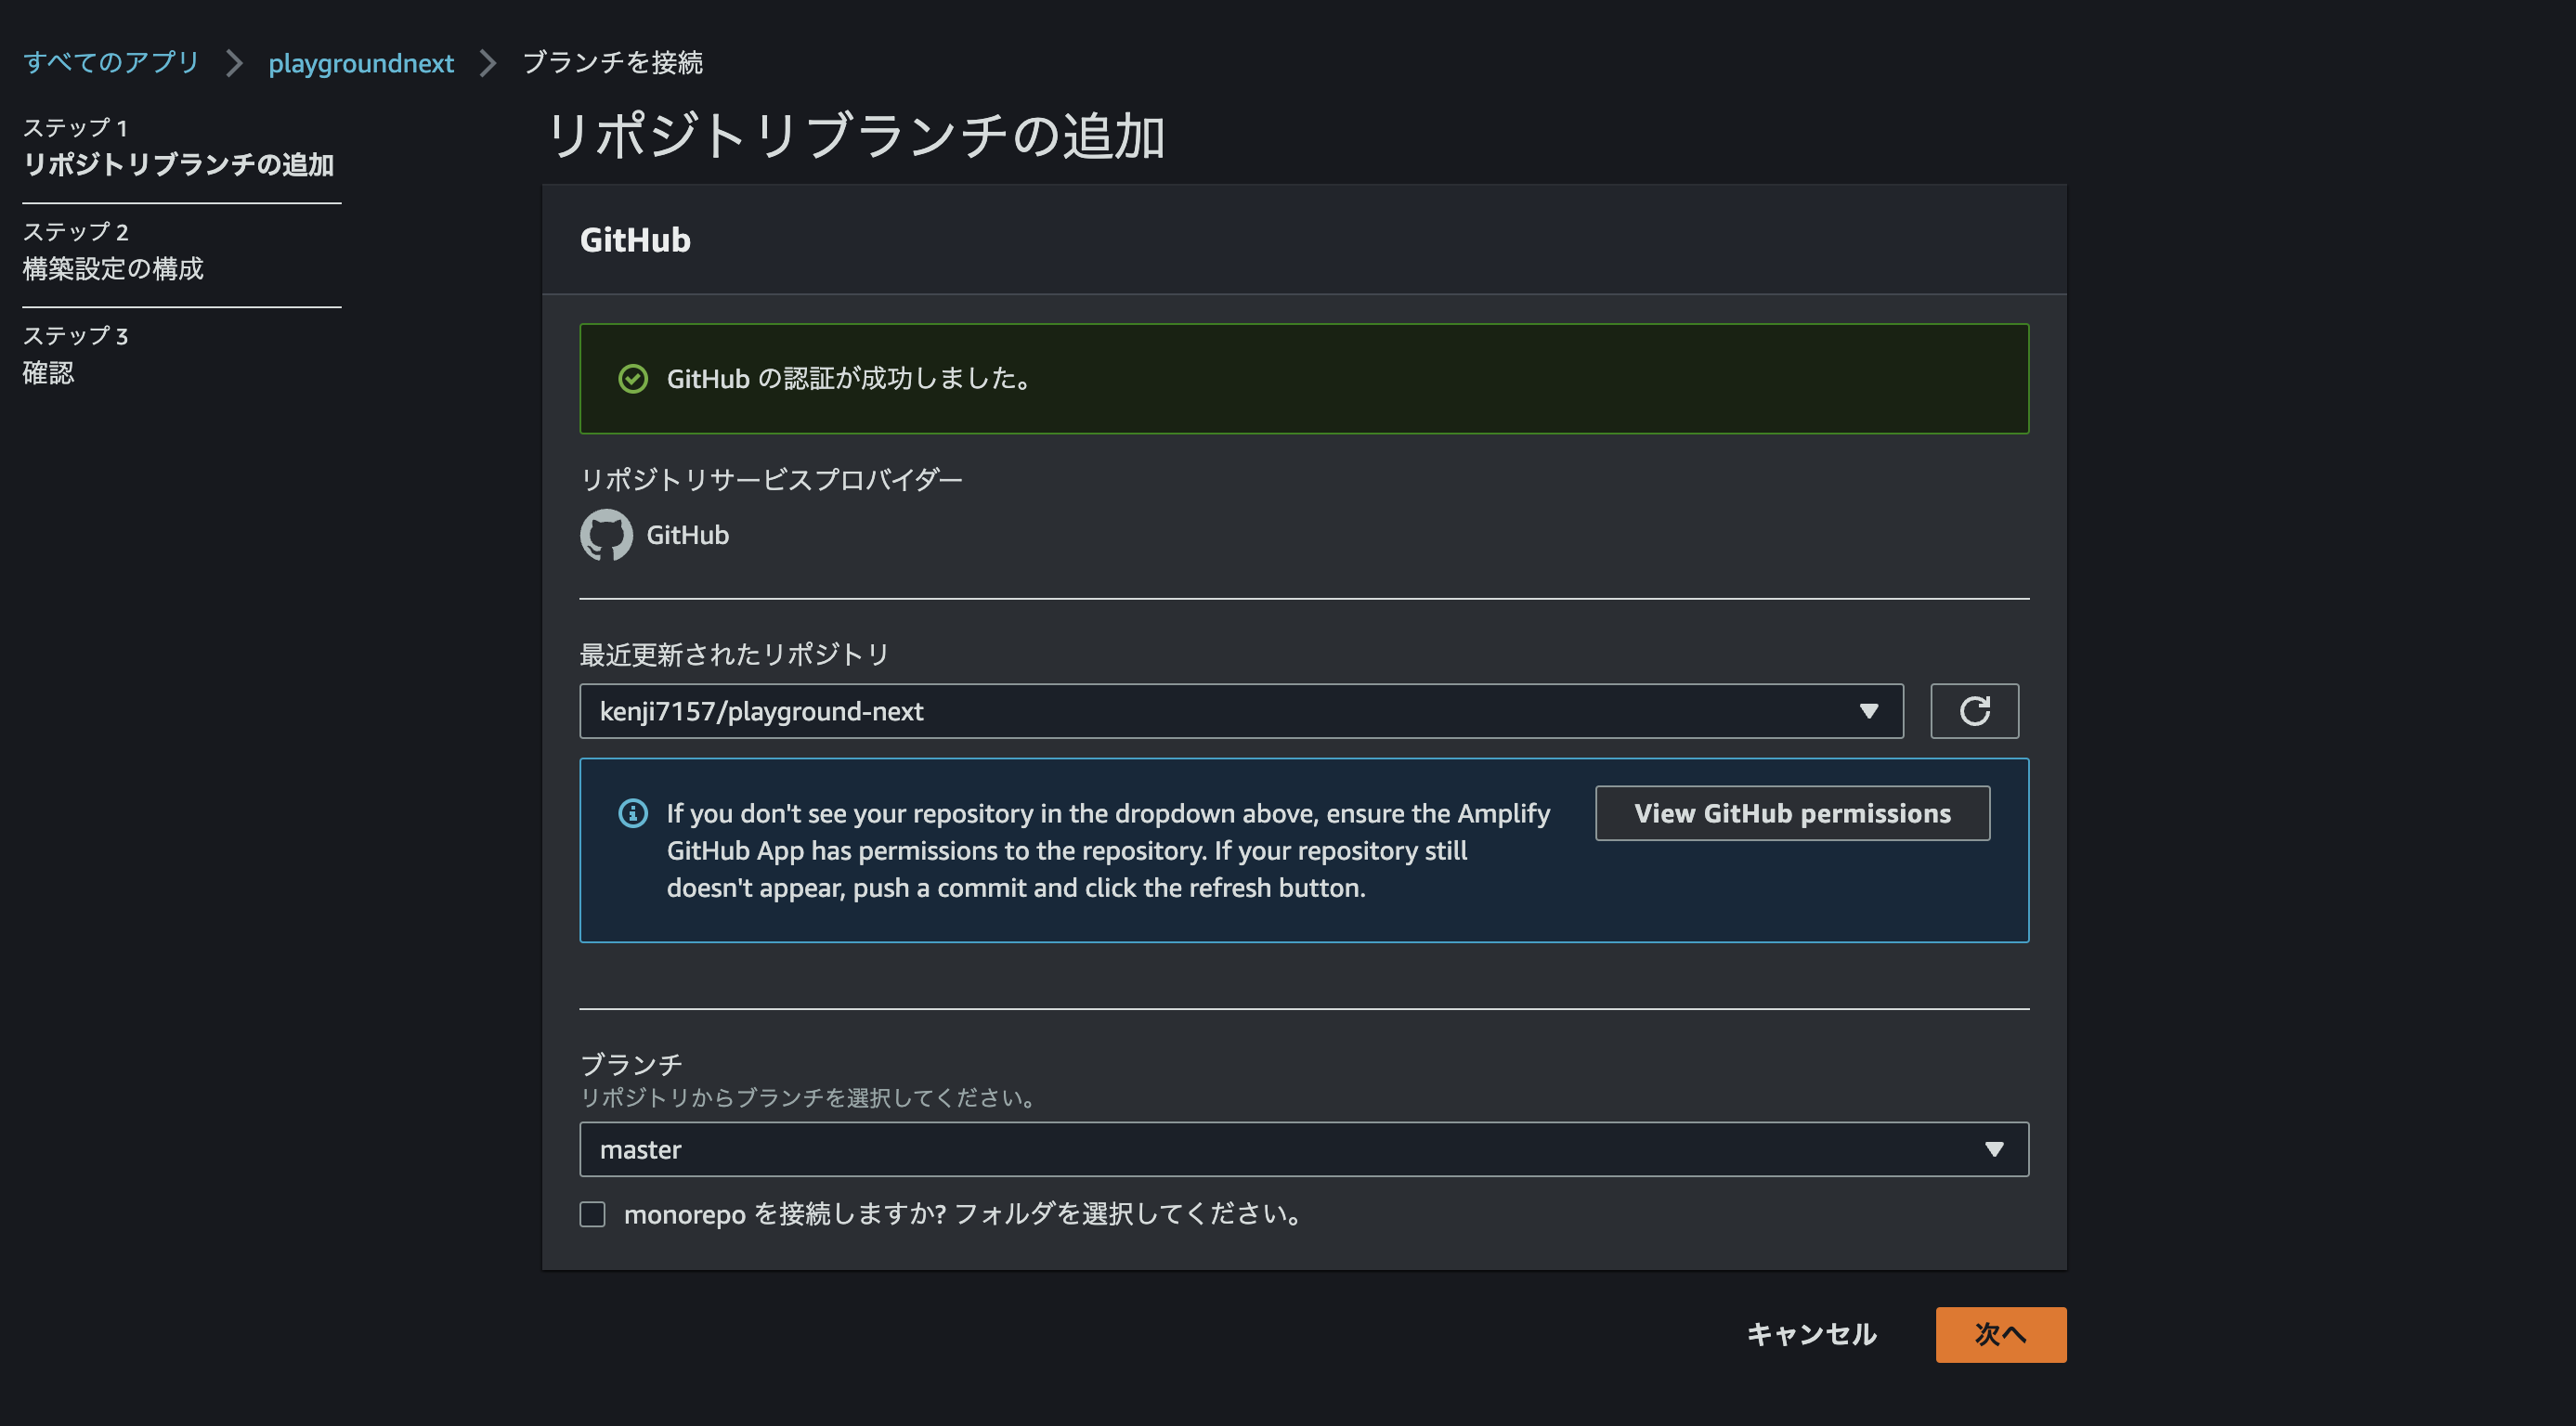
ブラウザが開くので GitHub を選択して次へ進みます。

リポジトリとブランチを選択して次へ進みます。
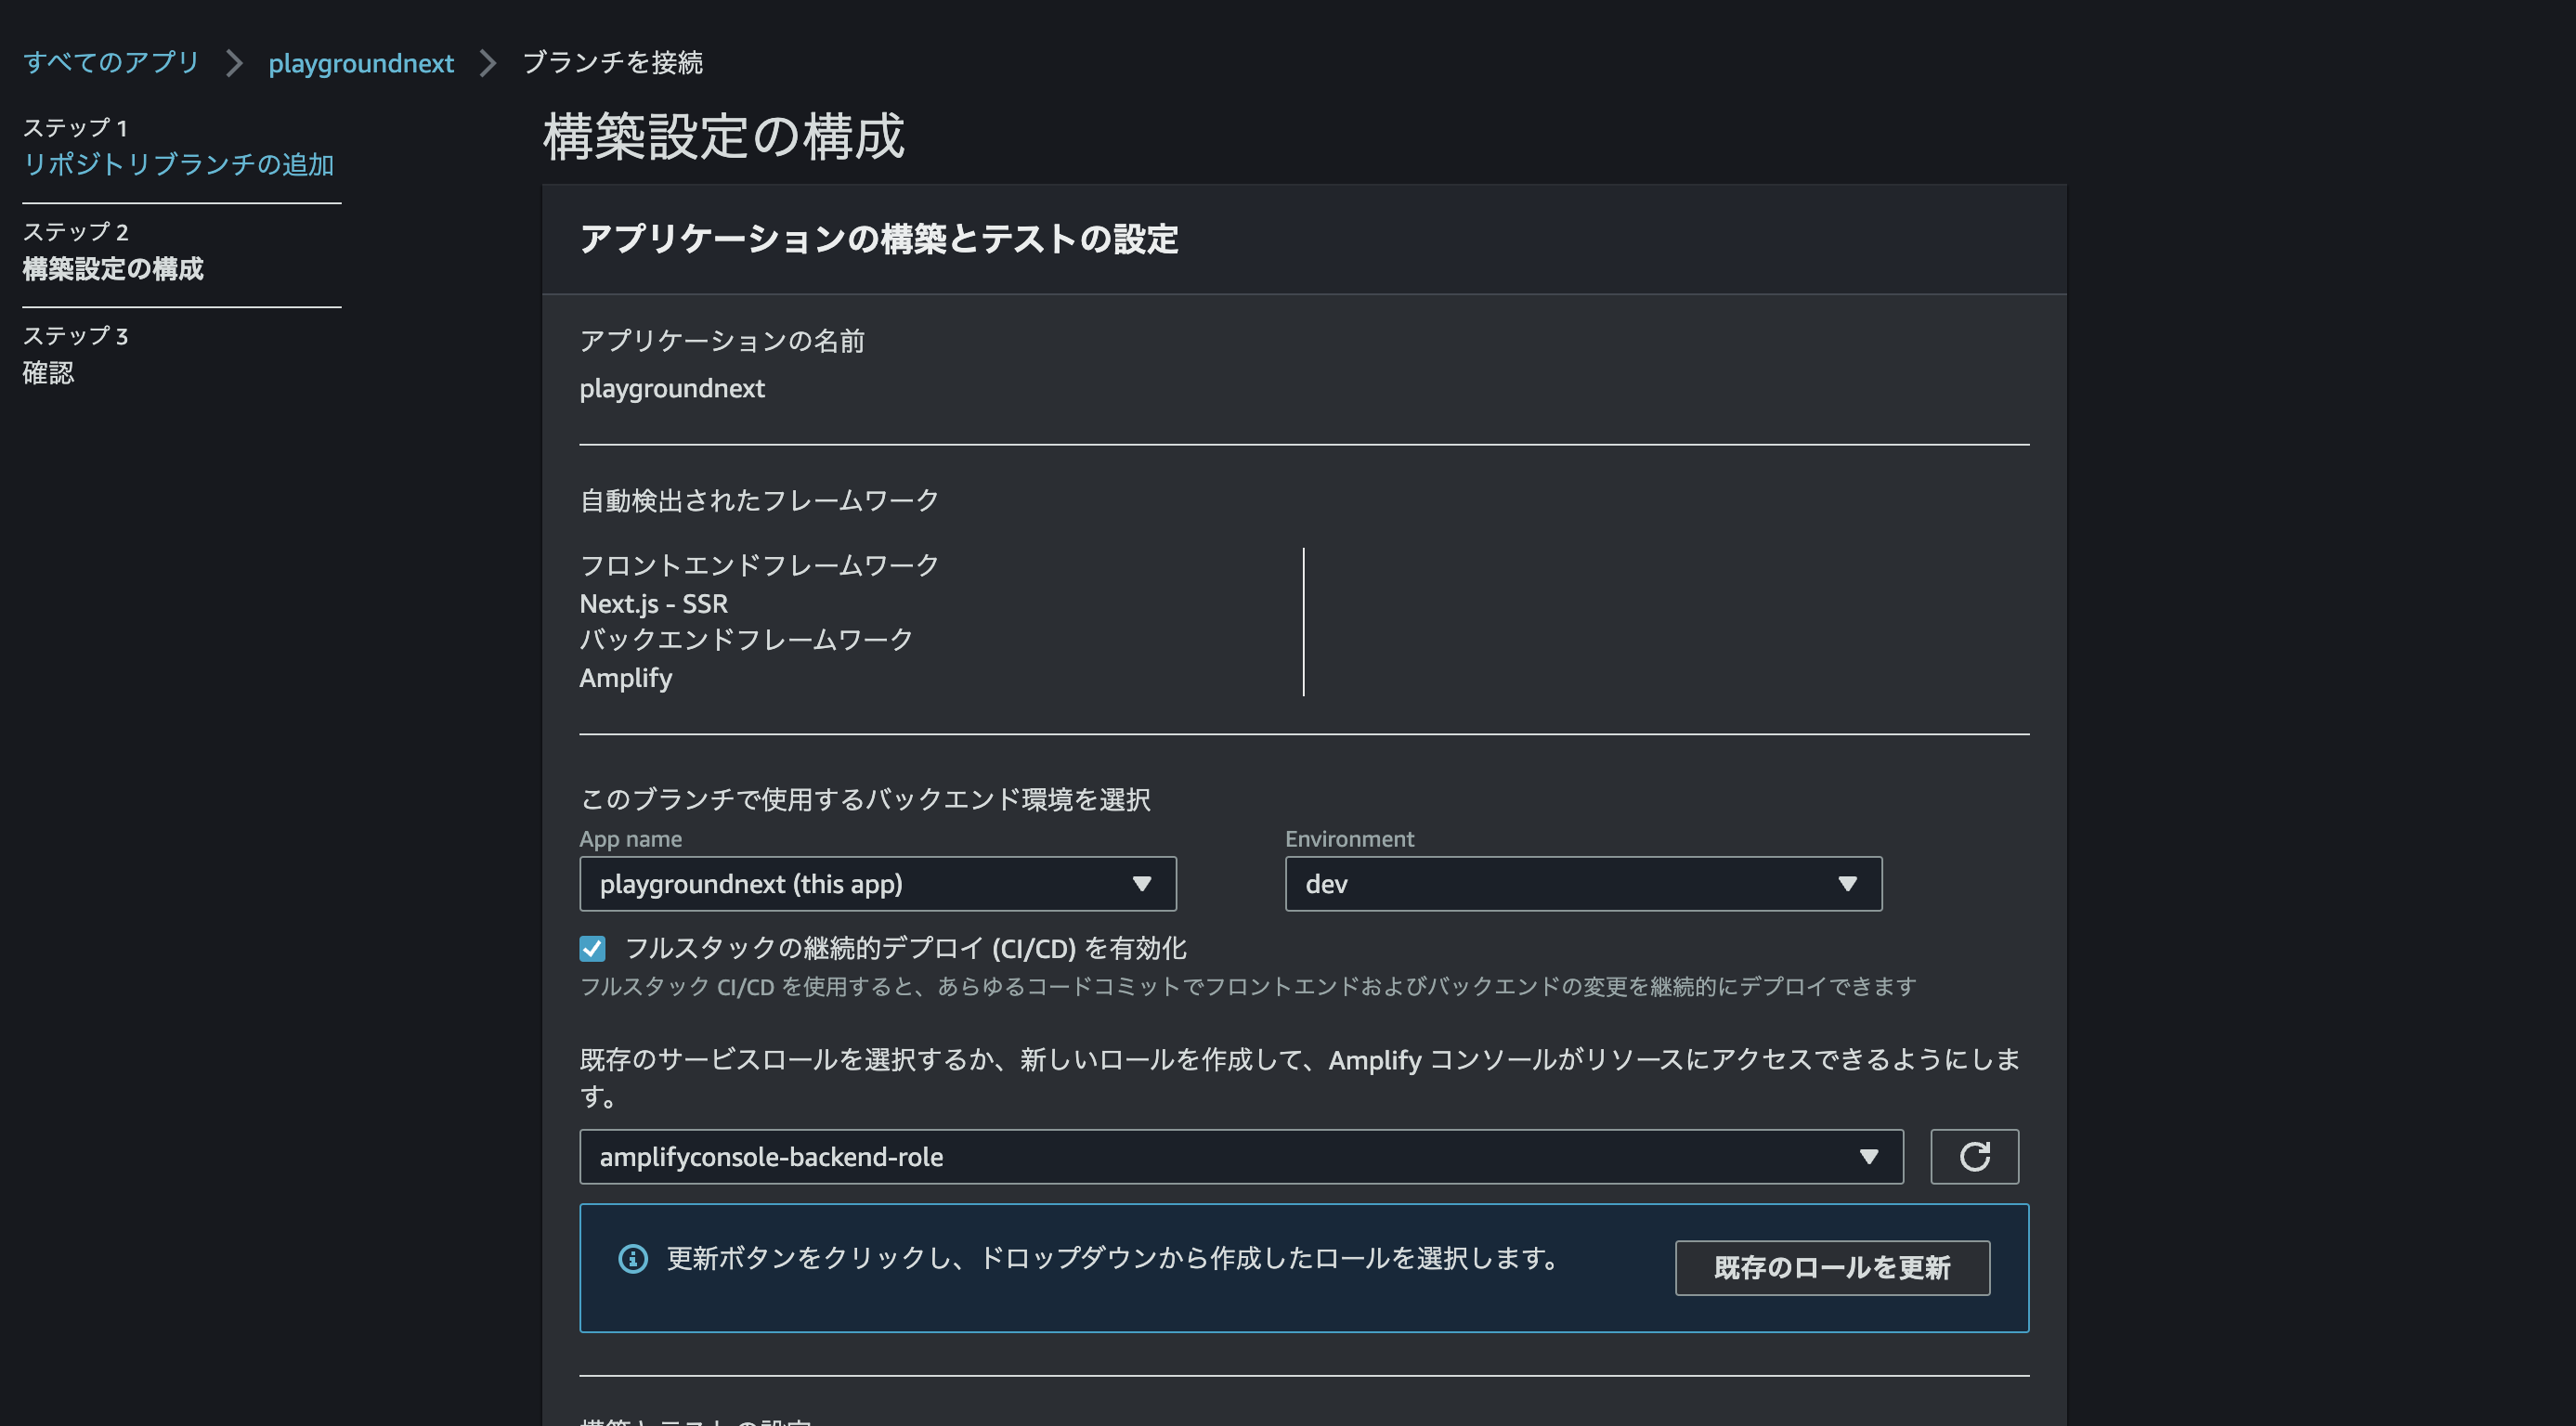
バックエンド環境に dev を選択して次へ進みます。(ロールも新規で追加した)
保存して、デプロイを実行。検証までグリーンになるのをまってから、ドメインをクリックします。
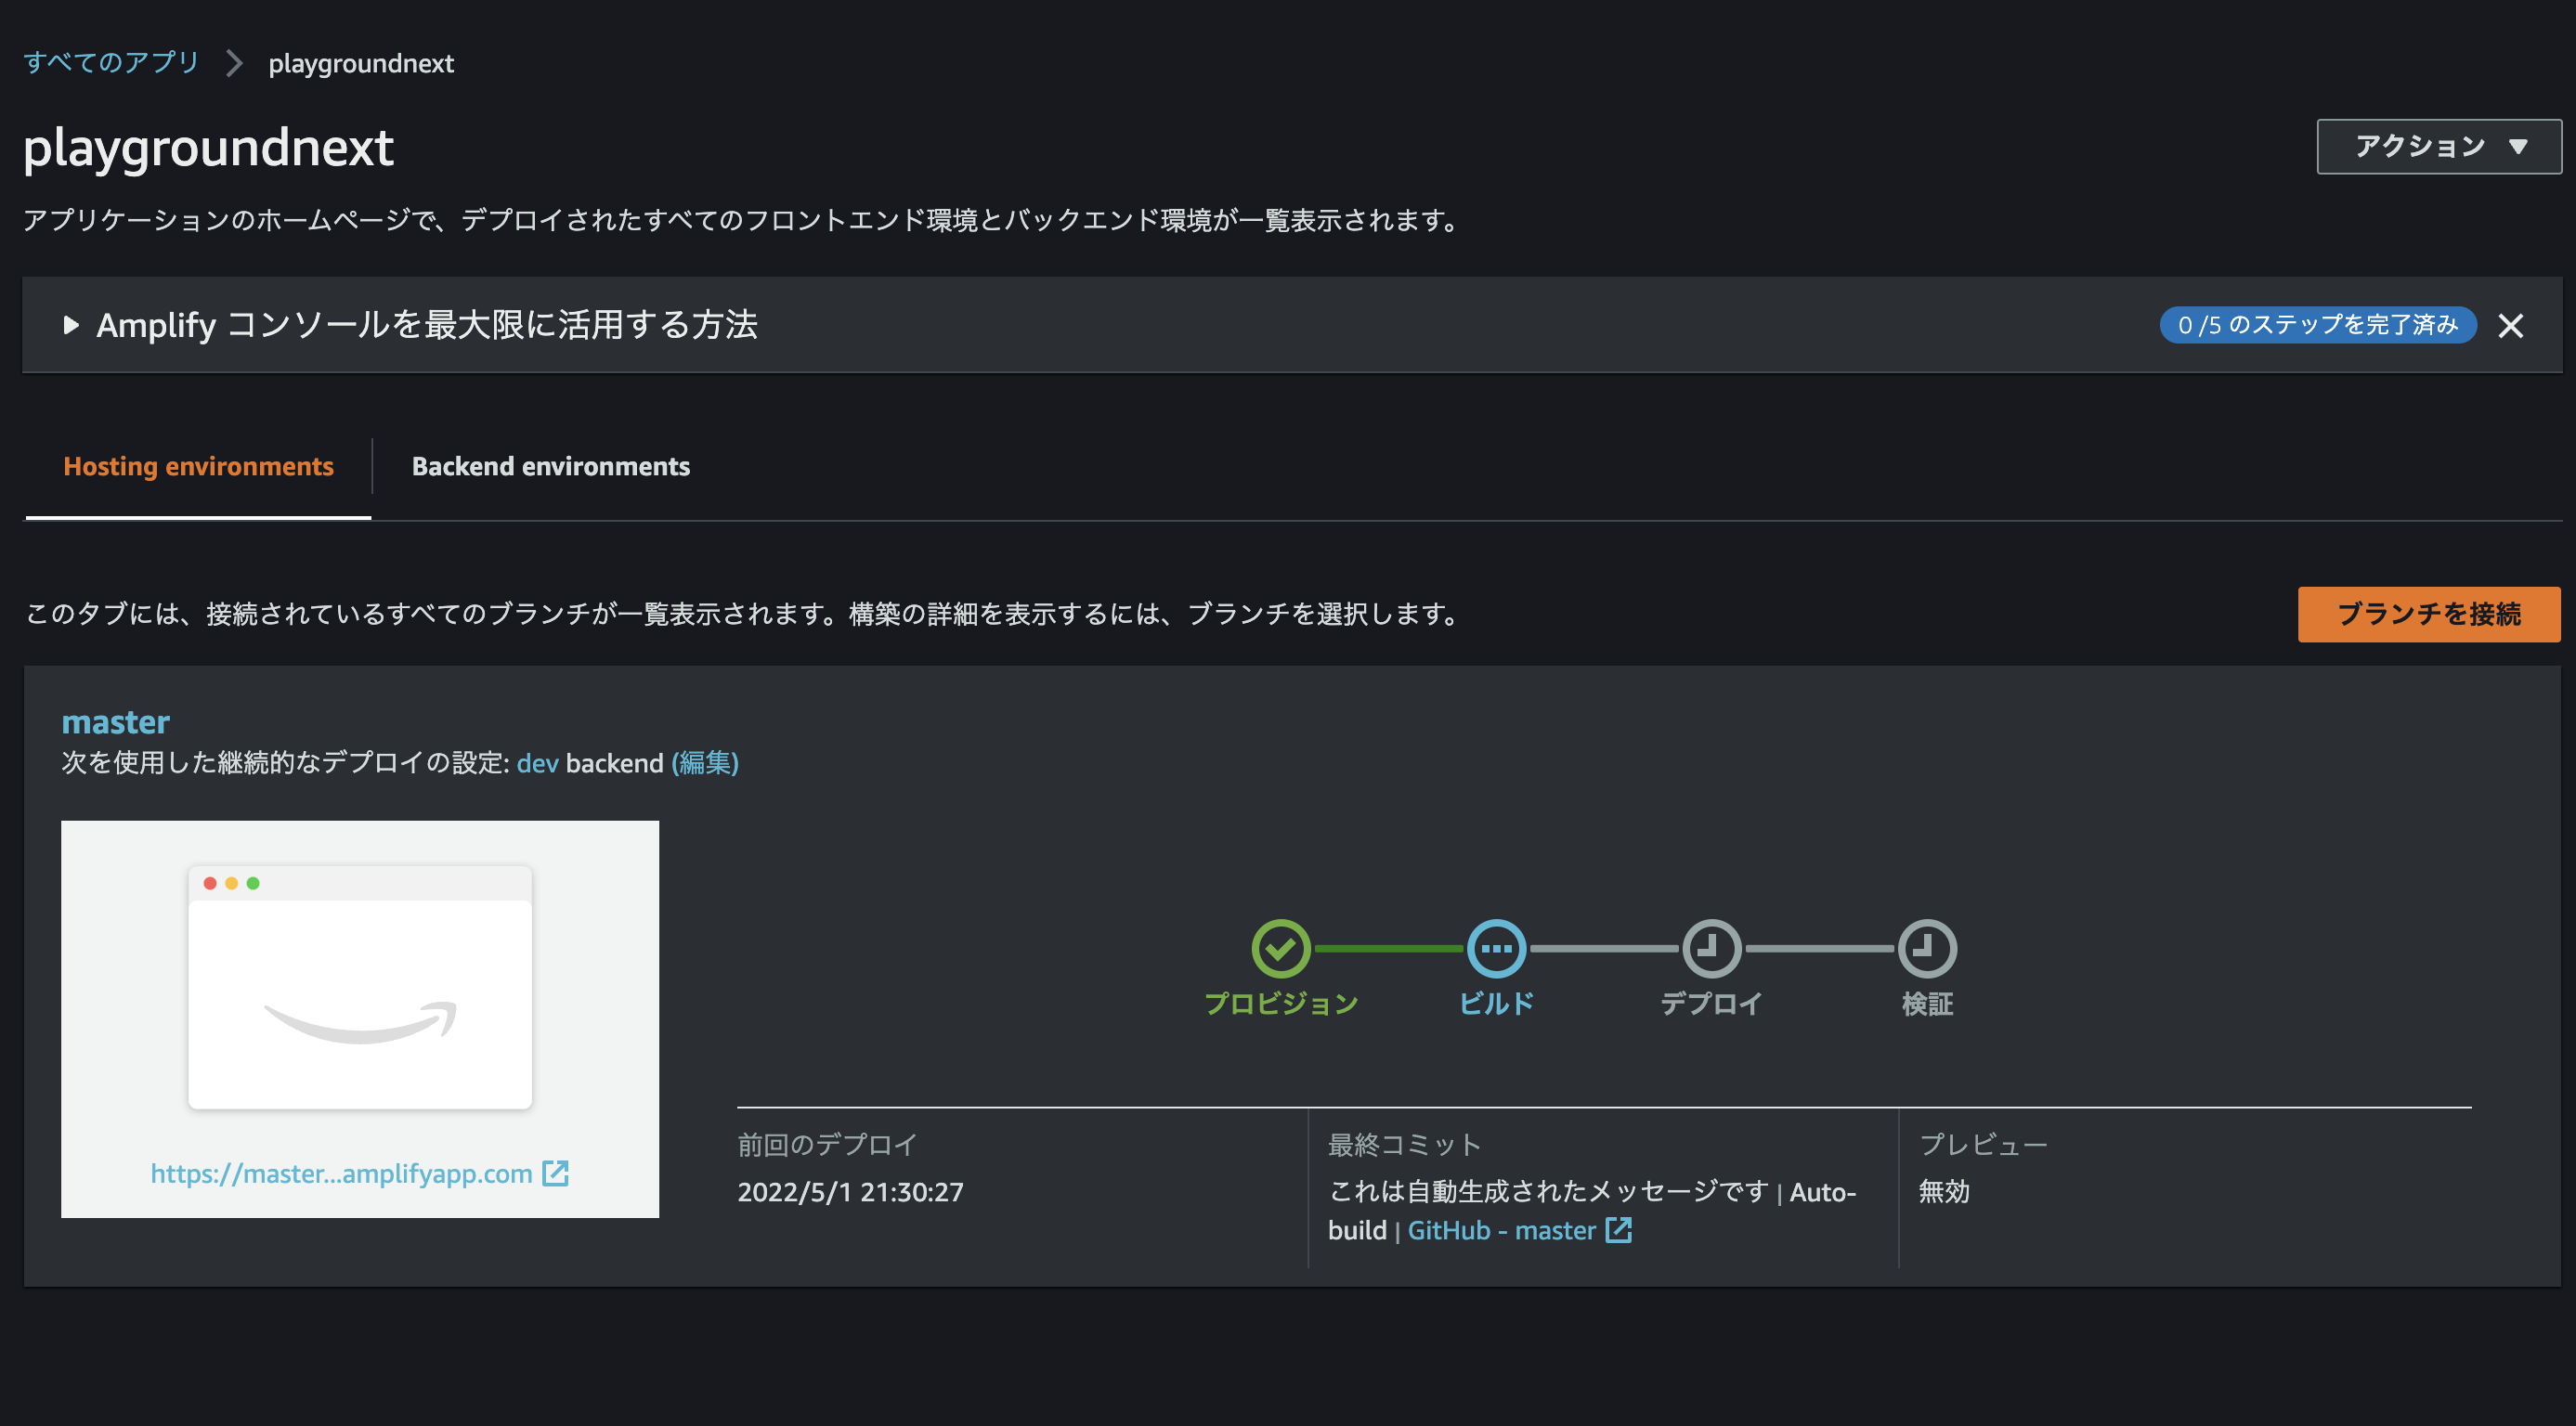
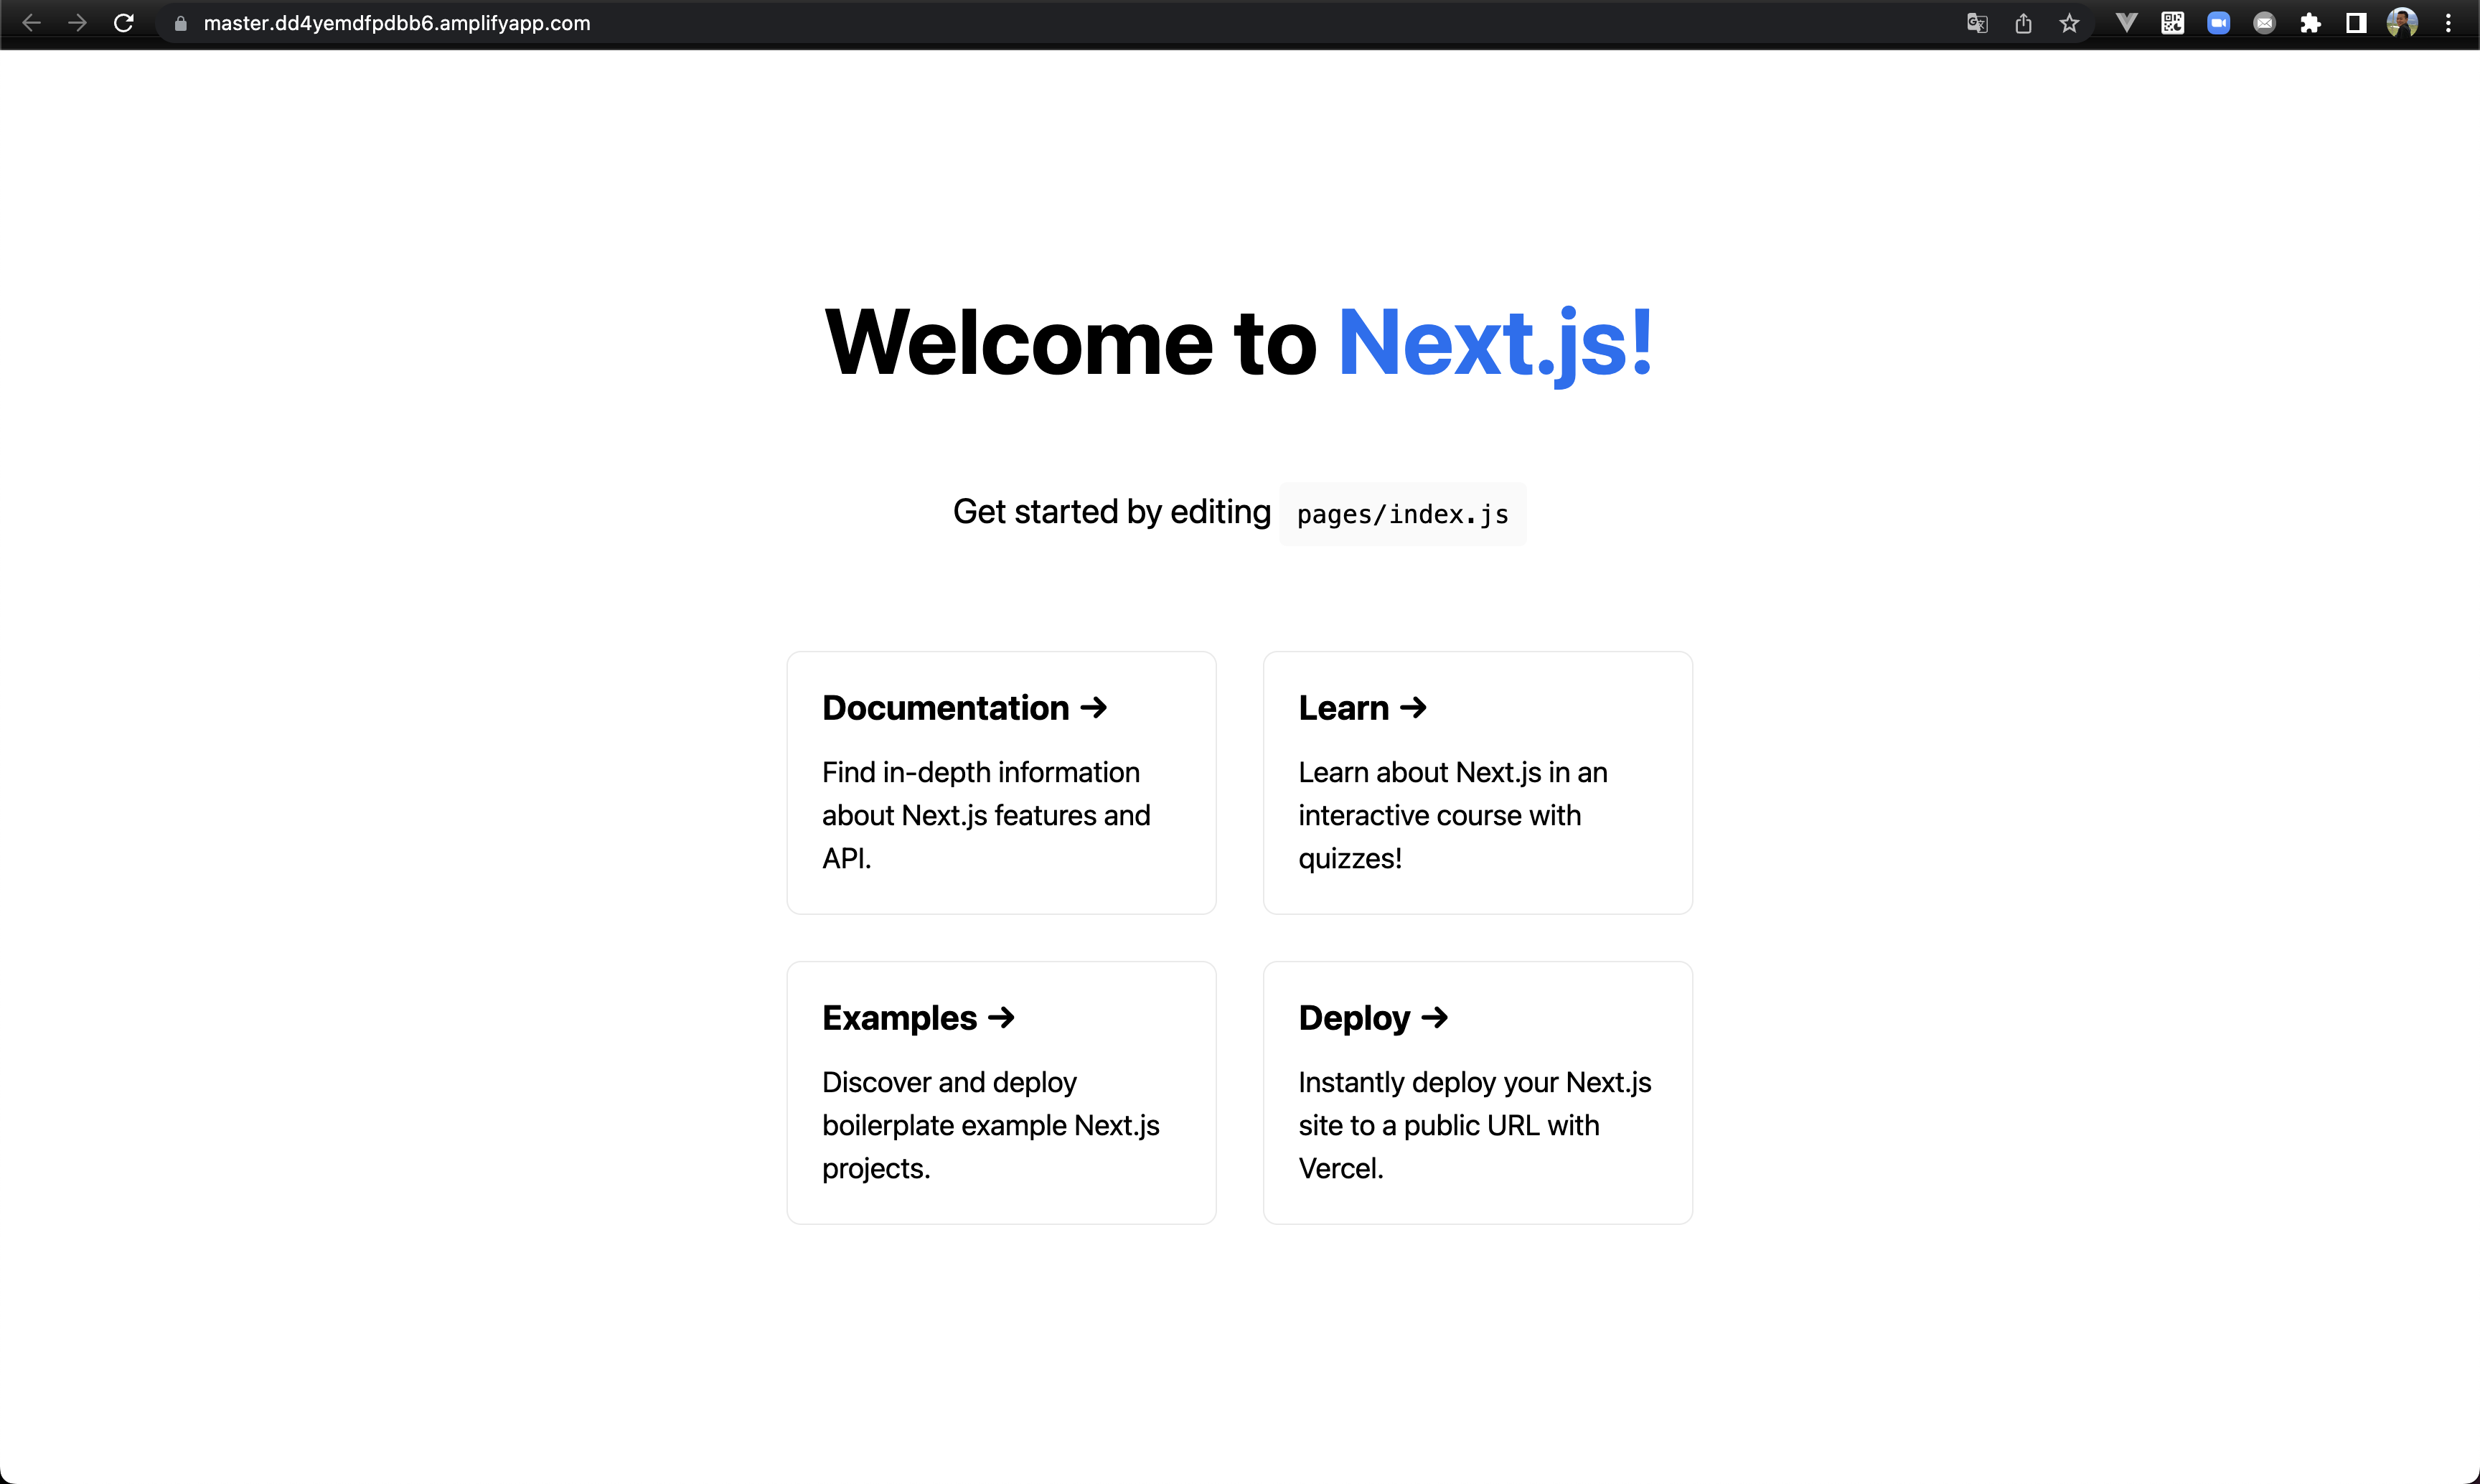
WEBサイトが表示されればOKです。(ターミナル側もEnterを押して、特に問題がなければドメインが表示される。)

その他メモ
next.js/v12でもデプロイ・表示できることを確認