本記事の目的
webpackの知識を応用できるよう身につけ、実務では調べながら対応できるようにする。
現状
webpackを扱い以下のこと等で翻弄された
・画像を取り入れたらバンドル時エラー発生
・bootstrapを入れたらエラー発生
・開発環境を整えるのに色々うまくいかない
・デバッグツールを入れても動かない
・圧縮がうまくいかない
・最適化という言葉に惑わされ、やってもうまくいかない
・jsに一つにして読みこもう、ある所ではパフォーマンスのためjsと分けよう
以上は基礎があれば何とかなると考えれ、この整理の機会にもう戸惑うことはないようにしたい。
整理方法
webpack4にて学習し、webpack5でためしていってみる。
まずcss、画像のバンドル抜きで開発、本番環境用のwebpackを整理して、css、画像のバンドルを行っていく。
出力されるjsのサイズを小さくするようにcss、画像をjsにバンドルせず、わけてjsとバンドルして実行できるようにする。
題材として、以前記載したソースのwebpack版で進める。
jsはあくまで例であり、外部ライブラリーとしてGISのオープンソース(openlayer)を利用している(外部ライブラリーはjqueryとかの意味合い)。
もしGISのオープンソース を使用することになったら押さえておくこと(OpenLayersを例にする)
できあがったソースをgitに記載しておく。
https://github.com/kenji345Sar/webpack-ol
準備
とりあえず地図を出す。
package.json作成
npm init -y でpackage.json作成後、不要なものを削除
{
  "name": "openlayer",
  "scripts": {
    "test": "echo \"Error: no test specified\" && exit 1"
  }
}
webpack、openlayerインストール,scripts追加
openlayersのチュートリアルを参考にする。
npm install --save-dev webpack webpack-cli
npm install ol
build用のscripts追加
"scripts": {
"build": "webpack"
},
{
  "name": "openlayer",
  "scripts": {
    "build": "webpack"
  },
  "devDependencies": {
    "webpack": "^5.36.2",
    "webpack-cli": "^4.6.0"
  },
  "dependencies": {
    "ol": "^6.5.0"
  }
}
webpackの設定ファイル作成
const path = require('path');

module.exports = {
  mode: 'development',
  entry: './src/js/app.js',
  output: {
    path: path.resolve(__dirname, 'public'),
    filename: 'js/bundle.js',
  },
};
エントリーポイント作成(app.js)作成
下記参照
https://openlayers.org/en/latest/doc/tutorials/bundle.html
// import 'ol/ol.css';//cssのバンドルは後で行う
import {Map, View} from 'ol';
import TileLayer from 'ol/layer/Tile';
import OSM from 'ol/source/OSM';

const map = new Map({
  target: 'map',
  layers: [
    new TileLayer({
      source: new OSM()
    })
  ],
  view: new View({
    center: [0, 0],
    zoom: 0
  })
});
準備段階ではcssに関しては最初は考慮しないのでコメントにする。
buildしてindex.html作成
npm run build
<!DOCTYPE html>
<html>
  <head>
    <meta charset="utf-8">
    <title>Using Parcel with OpenLayers</title>
    <style>
      #map {
        width: 400px;
        height: 250px;
      }
    </style>
  </head>
  <body>
    <div id="map"></div>
    <script src="js/bundle.js"></script>
  </body>
</html>
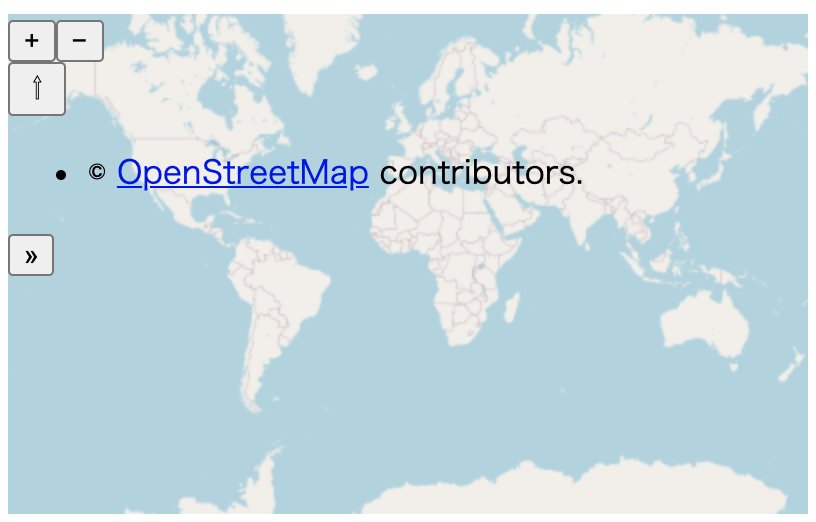
下記の画像が表示
cssは記載していないため、ちょっと、バランスがおかしい・・・
├── node_modules
├── package-lock.json
├── package.json
├── public
│   ├── index.html
│   └── js
├── src
│   └── js
└── webpack.config.js
css、画像のバンドルはおいといて、開発環境、本番環境を作る
開発用と本番用に分ける
・インストール、webpackファイルを修正、追加
npm install --save-dev webpack-merge
webpack.config.jsをwebpack.common.jsの名称に変更し、webpack.dev.js、webpack.prod.jsを追加
const path = require('path');

module.exports = {
  entry: './src/js/app.js',
  output: {
    path: path.resolve(__dirname, 'public'),
    filename: 'js/bundle.js',
  },
};
const { merge } = require('webpack-merge');
const commonConfig = require('./webpack.common.js');

module.exports = merge(commonConfig, {
  mode: 'development',
  watch: true,//watchモードを有効にする
});
const { merge } = require('webpack-merge');
const commonConfig = require('./webpack.common.js');

module.exports = merge(commonConfig, {
  mode: 'production',
});
・scripts修正
{
  "name": "openlayer",
  "scripts": {
  //開発用と本番用
    "dev": "webpack --config webpack.dev.js",
    "build": "webpack --config webpack.prod.js"
  },
  "devDependencies": {
    "webpack": "^5.36.2",
    "webpack-cli": "^4.6.0"
  },
  "dependencies": {
    "ol": "^6.5.0"
  }
}
console.logを削除
本番用のconsole.logを削除する。
プラグインをインストール
webpack.prod.js修正
npm install --save-dev terser-webpack-plugin
const { merge } = require('webpack-merge');
const commonConfig = require('./webpack.common.js');
//追記
const TerserPlugin = require('terser-webpack-plugin');

module.exports = merge(commonConfig, {
  mode: 'production',
 //追記
  optimization: {
    minimizer: [
      new TerserPlugin({
        extractComments: false,
        terserOptions: {
          compress: {
            drop_console: true,
          },
        },
      }),
    ],
  },
});
ソースマップを生成しデバッグに役立てる
バンドル前のソースで確認するために使用する。
使用してみたかったが、webpack5ではうまくいかず・・・
//省略
module.exports = merge(commonConfig, {
  mode: 'development',
  watch: true,
  //追記
  devtool: 'eval-cheap-module-source-map',
});
npm run buildより作成されたindex.htmlをpublic/index.htmlでブラウザで開き、コンソールで開くと、バンドル前のコードで出力される。
出力先をクリーンにしてからアップ
便利だが、バイナリベクトルデータの場合、データ容量が大きいため使用しない方がいい。
public以下に入っているディレクトリ 、ファイルを全部削除し、buildしたものを入れる。
webpack4ではclean-webpack-pluginのプラグインのインストールを行うが、webpack5では不要。
*** webpack4
プラグインインスール
npm install --save-dev clean-webpack-plugin
webpack.common.jsを修正
const path = require('path');
//追加
const { CleanWebpackPlugin } = require('clean-webpack-plugin');

module.exports = {
  entry: './src/js/app.js',
  output: {
    path: path.resolve(__dirname, 'public'),
    filename: 'js/bundle.js',
  },
 //追加
  plugins: [
    new CleanWebpackPlugin({
      cleanOnceBeforeBuildPatterns: ['**/*', '!**.html'],//削除対象外を指定
    }),
  ],
};
***webpack5
webpack.config.jsで、module.exports に clean:trueを追加
module.exports = {
  entry: './src/js/app.js',
  output: {
    path: path.resolve(__dirname, 'public'),
    filename: 'js/bundle.js',
    //追加
    clean:true
  },
htmlを自動で出力できるようにする
プラグインインストール
npm install --save-dev html-webpack-plugin
webpack.common.jsを編集
const path = require('path');
const { CleanWebpackPlugin } = require('clean-webpack-plugin');
//追加
const HtmlWebpackPlugin = require('html-webpack-plugin');

module.exports = {
  entry: './src/js/app.js',
  output: {
    path: path.resolve(__dirname, 'public'),
    filename: 'js/bundle.js',
  },
  plugins: [
    new CleanWebpackPlugin(),
        //追加
    new HtmlWebpackPlugin({
      template: './src/html/index.html',
    }),
  ],
};
publicフォルダ直下にあるindex.htmlを、src直下にhtmlフォルダに移動する。
bundle.jsのscriptも記載しない。
<!DOCTYPE html>
<html>
  <head>
    <meta charset="utf-8">
    <title>Using Parcel with OpenLayers</title>
    <style>
      #map {
        width: 400px;
        height: 250px;
      }
    </style>
  </head>
  <body>
    <div id="map"></div>
    //下記は記載する必要はない
    <!-- <script src="js/bundle.js"></script> -->
  </body>
</html>
開発用サーバを立てる
build後のファイルを開かなくても、自動で画面を開くようにする。
デバッグできるようにする。
ファイルの変更を監視し、自動でサーバーを起動するライブリロード機能を使用する。
→下記を試したが想定通りにはいかなかった。本記事では見送る。
webpack-dev-serverをインストールする。
npm install --save-dev webpack-dev-server
npmのscriptsでできるようにする。
package.jsonのscriptsに下記追加
"start": "webpack-dev-server --config webpack.dev.js",
上記では動かない。下記なら動く
"start": "webpack server --config webpack.dev.js",
webpack.dev.jsを編集
const path = require('path');//追加
const { merge } = require('webpack-merge');
const commonConfig = require('./webpack.common.js');

module.exports = merge(commonConfig, {
  mode: 'development',
  watch: true,
  devtool: 'inline-cheap-module-source-map',
  //追加
  devServer: {
    open: true,
    port: 9000,
    contentBase: path.resolve(__dirname, 'public'),
  },
});
現状のpackage.jon
{
  "name": "openlayer",
  "scripts": {
    "start": "webpack serve --config webpack.dev.js",
    "dev": "webpack --config webpack.dev.js",
    "build": "webpack --config webpack.prod.js"
  },
  "devDependencies": {
    "clean-webpack-plugin": "^4.0.0-alpha.0",
    "html-webpack-plugin": "^5.3.1",
    "terser-webpack-plugin": "^5.1.1",
    "webpack": "^5.36.2",
    "webpack-cli": "^4.6.0",
    "webpack-dev-server": "^3.11.2"
  },
  "dependencies": {
    "ol": "^6.5.0"
  }
}
css対応
cssをバンドルする
scssを兼ねて対応すればいいと思われるが、scssを使用していないのに使用するとエラーになるので、sassのローダーは含まない。
→(test記載をscss,cssどちらでもよいように修正すれば問題ない?)
ローダーインストール
npm install --save-dev sass-loader node-sass css-loader style-loader
はやめて、
npm install --save-dev css-loader style-loader
webpack.common.jsに追加
const path = require('path');
const { CleanWebpackPlugin } = require('clean-webpack-plugin');
const HtmlWebpackPlugin = require('html-webpack-plugin');

module.exports = {
  entry: './src/js/app.js',
  output: {
    path: path.resolve(__dirname, 'public'),
    filename: 'js/bundle.js',
  },
  //追加
  module: {
    rules: [
      {
        test: /\.css$/,
        use: ['style-loader', 'css-loader'],
      },
    ],
  },
  plugins: [
    new CleanWebpackPlugin(),
    new HtmlWebpackPlugin({
      template: './src/html/index.html',
    }),
  ],
};
app.jsのimport 'ol/ol.css';のコメントを外す。
地図がcssを適用して表示された
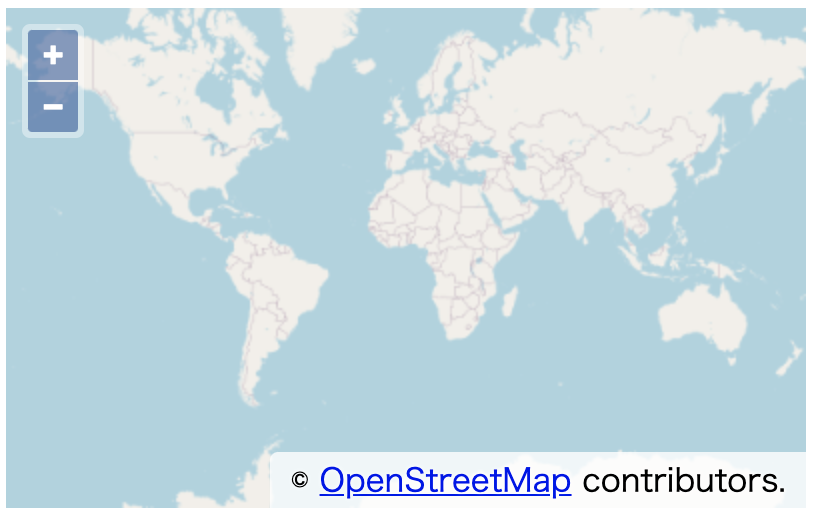
ただし、現状はcssはjsにバンドルされている状態であり、jsの起動に影響があるので、分けて出力するようにする。
バンドルされるcssを個別に出力するようにする
プラグインをインストール
npm install --save-dev mini-css-extract-plugin
style-loaderは不要になるので、アンインストール
npm uninstall style-loader
webpack.common.jsを修正
const path = require('path');
const { CleanWebpackPlugin } = require('clean-webpack-plugin');
const HtmlWebpackPlugin = require('html-webpack-plugin');
//追加
const MiniCssExtractPlugin = require('mini-css-extract-plugin');

module.exports = {
  entry: './src/js/app.js',
  output: {
    path: path.resolve(__dirname, 'public'),
    filename: 'js/bundle.js',
  },
 //変更
  module: {
    rules: [
      {
        test: /\.css$/,
        use: [MiniCssExtractPlugin.loader, 'css-loader', ],
      },
    ],
  },
  plugins: [
    new CleanWebpackPlugin(),
    new HtmlWebpackPlugin({
      template: './src/html/index.html',
    }),
    //追加
    new MiniCssExtractPlugin({
      filename: './css/[name].css',
    }),
  ],
};
以上でpublic下にcssフォルダおよびcssファイルが別にできる。
ここでindex.htmlと、app.jsを目標とするものに変更する。
<!DOCTYPE html>
<html lang="ja">
<head>
    <meta charset="UTF-8">
    <meta http-equiv="X-UA-Compatible" content="IE=edge">
    <meta name="viewport" content="width=device-width, initial-scale=1.0">
    <title>OpenLayers Starter</title>
</head>
<body>
    <div id="map"></div>
    <div id='popup'></div>

</body>
</html>
import 'ol/ol.css';
import {Map, View} from 'ol';
import {fromLonLat} from 'ol/proj';
import TileLayer from 'ol/layer/Tile';
import OSM from 'ol/source/OSM';
// import LineString from 'ol/geom/LineString';

import VectorSource from 'ol/source/Vector';
import VectorLayer from 'ol/layer/Vector';
import Feature from 'ol/Feature';
import Point from 'ol/geom/Point';
import Style from 'ol/style/Style';
import Icon from 'ol/style/Icon';
// import Stroke from 'ol/style/Stroke';
import Overlay from 'ol/Overlay';

var __map = null;
var __markerLayer=null;
/** ポップアップを表示するためのレイヤー */
var __overlay = null;

// 浜松町〜東京タワーの道のりを表す座標の配列
var coordinates = [

  {
    name:'住所1',
    coordinate:[139.75655240134424, 35.6553463380788],
  },
  {
    name:'住所2',
    coordinate:[139.75573020071425, 35.654585477741634],
  },
  {
    name:'住所3',
    coordinate:[139.75390308820317, 35.65482672692599],
  },
  {
    name:'住所4',
    coordinate:[139.74578081849876, 35.659007609306684],
  }


]


// マップの作成
__map = new Map({
  target: 'map',
  layers: [
    new TileLayer({
      source: new OSM()
    })
  ],
  view: new View({
    center: fromLonLat([139.745433, 35.658581]),
    zoom: 16
  })
});

// マーカーを載せるためのレイヤーを作成する
__markerLayer = new VectorLayer({
  source: new VectorSource()
});
__map.addLayer(__markerLayer);

// ポップアップを表示するためのオーバーレイを作成する
__overlay = new Overlay({
  element: document.getElementById('popup'),
  positioning: 'bottom-center'
});

// 点を出す
drawPolyilne();


/**
 * 点を出す
 */
function drawPolyilne() {
  // ジオメトリの作成
  // var lineStrings = new LineString([]);
  // lineStrings.setCoordinates(coordinates);

  // マーカーをレイヤーにプロットする
  for (var i in coordinates) {
    // 地物オブジェクトを作成
    var info = coordinates[i];

    var feature = new Feature({
        geometry: new Point(fromLonLat(info.coordinate))
    });
    feature.information = info;

    // マーカーのスタイルを設定
    var style = new Style({
        image: new Icon({
            src: 'img/icon.png',
            anchor: [0.5, 1.0],
            scale: 0.8
        })
    });
    feature.setStyle(style);

    // 地物を追加する
    __markerLayer.getSource().addFeature(feature);
  }

      // 地図のクリックイベントを設定
      __map.on('click', function (evt) {
        var feature = __map.forEachFeatureAtPixel(evt.pixel,
            function (feature) {
                return feature;
            });
        if (feature) {
            var coordinates = feature.getGeometry().getCoordinates();
            var info = feature.information;
            var element = __overlay.getElement();
            console.log(element);
            var descriptionHTML =
                "<div>" + info.name + "</div>";
            element.innerHTML = descriptionHTML;
            __overlay.setPosition(coordinates);
            __map.addOverlay(__overlay);
        } else {
            __map.removeOverlay(__overlay);
        }
    });


}
画像対応
Webpack@5 では file-loader と url-loader がいらなくなった
webpack5の場合、file-loader、url-loaderはいらないらしいが、webpack4を踏襲する。
cssの中で画像を扱う場合
cssの中でurlでパス指定、ルート相対パス。
build後、ローカルでpublic下のindex.htmlを開いても画像は表示されない。
サーバー上での起動が必要。
file-loaderをインストール
npm install --save-dev file-loader
webpack.common.jsに追加
const path = require('path');
const { CleanWebpackPlugin } = require('clean-webpack-plugin');
const HtmlWebpackPlugin = require('html-webpack-plugin');
const MiniCssExtractPlugin = require('mini-css-extract-plugin');

module.exports = {
  entry: './src/js/app.js',
  output: {
    path: path.resolve(__dirname, 'public'),
    filename: 'js/bundle.js',
  },
  module: {
    rules: [
      {
        test: /\.css$/,
        use: [MiniCssExtractPlugin.loader, 'css-loader', ],
      },
      //追加
      {
        test: /\.(jpe?g|gif|png|svg)$/,
        loader: 'file-loader',
        options: {
          name: '[name].[ext]',
          outputPath: 'images',
          publicPath: '/images',
        },
      },
    ],
  },
  plugins: [
    new CleanWebpackPlugin(),
    new HtmlWebpackPlugin({
      template: './src/html/index.html',
    }),
    new MiniCssExtractPlugin({
      filename: './css/[name].css',
    }),
  ],
};
htmlで利用している画像をfile-loaderで出力できるようにする
インストール
npm install --save-dev html-loader
webpack.common.jsに追加
const path = require('path');
const { CleanWebpackPlugin } = require('clean-webpack-plugin');
const HtmlWebpackPlugin = require('html-webpack-plugin');
const MiniCssExtractPlugin = require('mini-css-extract-plugin');

module.exports = {
  entry: './src/js/app.js',
  output: {
    path: path.resolve(__dirname, 'public'),
    filename: 'js/bundle.js',
  },
  module: {
    rules: [
      {
        test: /\.css$/,
        use: [MiniCssExtractPlugin.loader, 'css-loader', ],
      },
      {
        test: /\.(jpe?g|gif|png|svg)$/,
        loader: 'file-loader',
        options: {
          name: '[name].[ext]',
          outputPath: 'img',
          publicPath: '/img',
        },
      },
      //追記
      {
        test: /\.html$/,
        loader: 'html-loader',
      },
    ],
  },
  plugins: [
    new CleanWebpackPlugin(),
    new HtmlWebpackPlugin({
      template: './src/html/index.html',
    }),
    new MiniCssExtractPlugin({
      filename: './css/[name].css',
    }),
  ],
};
依存確認
npm info html-webpack--plugin@4.3.0
loadshがhtml解析で動く
何の場合も画像が表示されない時
本件の場合、file-loader、html-loaderを用いても表示されなかった!!
よって直接public下にimgを作成する。
webpack.common.jsに以下を追加する
//...略

  plugins: [
    new CleanWebpackPlugin({
    //追記(下記はクリーン対象外にする)
      cleanOnceBeforeBuildPatterns: ['**/*', '!img/**'],
    }),
    new HtmlWebpackPlugin({
      template: './src/html/index.html',
    }),
    new MiniCssExtractPlugin({
      filename: './css/[name].css',
    }),
  ],
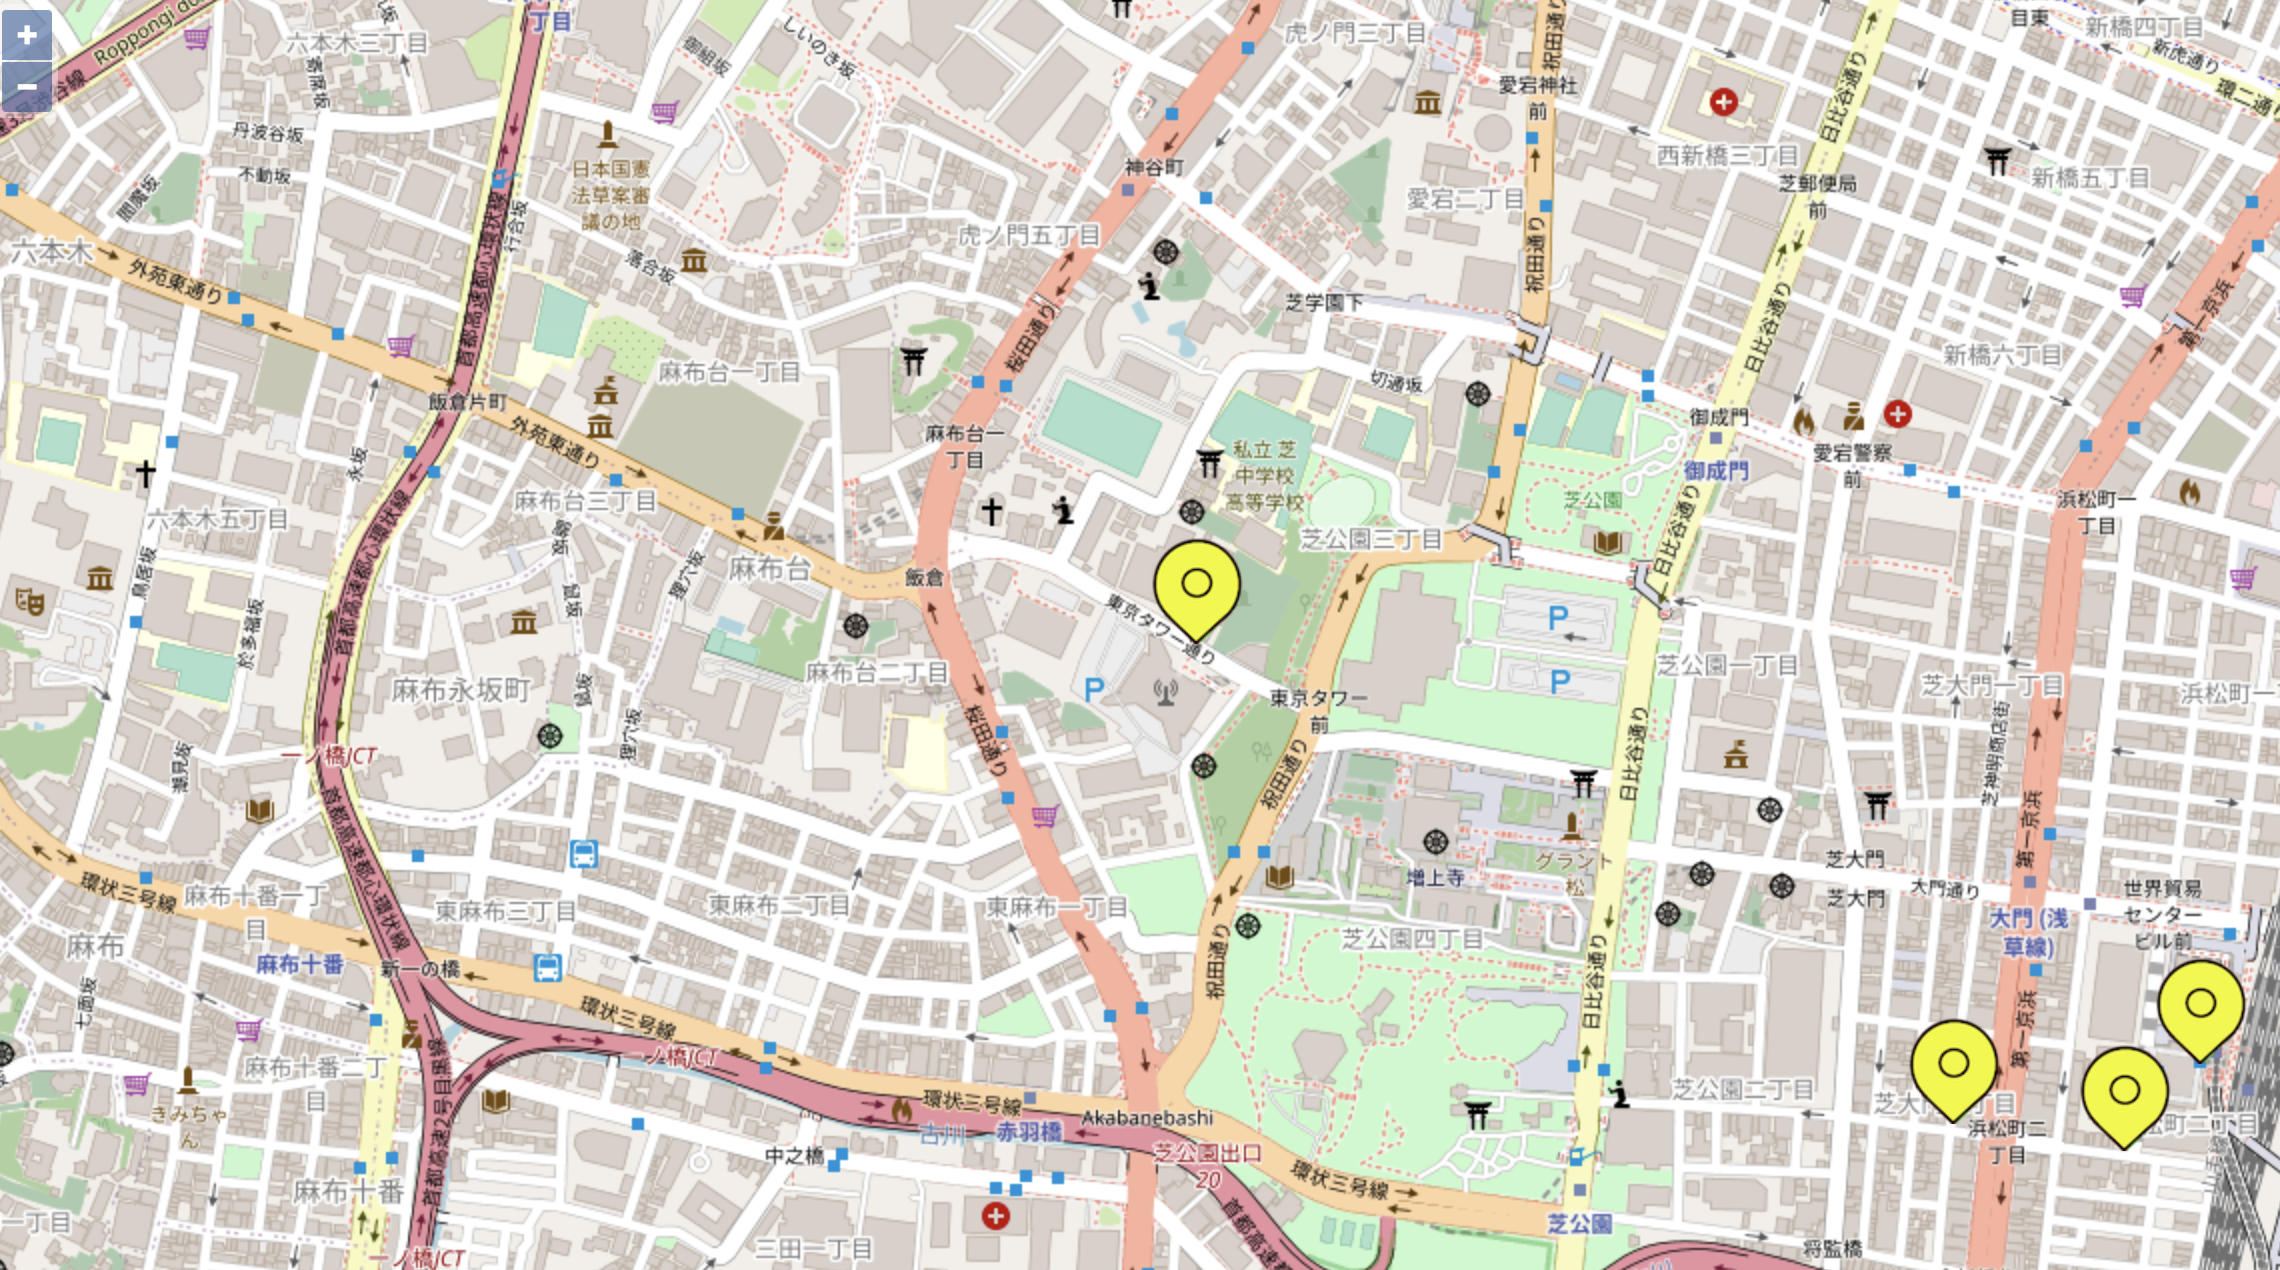
img画像が表示された
感想
開発環境で、バンドル前のjsでデバッグしたかったがwebpack5では正常に起動できなかった。
画像の取り込みだが、file-loader、html-loaderでもうまくいかなかったので、バンドル後のフォルダに置くことにした。
webpackで開発と本番に分け、css、画像をjsと分けて対応する方法を記載した。最初に記載した現状での疑問は解決すると考える。(私は解決した)
その他メモ
本件で実施したのはほんの一部であり、下記はメモ。いずれ試していくことになると思う。
・複数エントリ
複数エントリにおける最適化
・ブラウザキャッシュ対応
変更したらファイル名を変えてアップする。
・post-css-loader
cssのベンダープレフィックスを自動で追加する
・optimize-css-assets-webpack-plugin
最適化したCSSを出力する
・babel
・ESlint、Prettier
(注記)
主に下記udemy講座を参考にした。(下記作者にはzennでもお世話になったが、講義の流れが今回参考にしたいものだった。)
webpack 最速入門 〜実務でも利用できるフロントエンド開発環境を構築する方法を最短で学ぶ〜