ROSで、sensor_msgs::PointCloud2型のtopicをpcdファイルに保存する。また、その逆を行うときのメモ。
モチベーション
- sensor_msgs::PointCloud2 -> pcd
- GAZEBOシミュレーションなどで得た点群データをROS以外のソフトウェア(Matlab)に食わせるときに使う。
- pcd -> sensor_msgs::PointCloud2
- 静的な点群処理のサンプル・テスト・デバッグに使用する。
- rosbagを使ってもいいが、.pcdのほうが点群データだということがわかりやすい。あと、pcdのほうが可視化が楽。
準備
- pcl_rosをインストールしておく。本記事ではkineticで確認した。
sudo apt-get install ros-kinetic-pcl-ros
PointCloud2 -> pcd
ROSで、sensor_msgs/PointCloud2型のtopicをpcdファイルに保存する。
sample_to_pcd.launch
<launch>
    <!-- this simulation publish 2 pointCloud2; velodyne_points and velodyne_points2 -->
    <include file="$(find velodyne_description)/launch/example.launch"/>

    <node pkg="pcl_ros" type="pointcloud_to_pcd" name="pointcloud_to_pcd" output="screen">
        <remap from="input" to="velodyne_points"/>
        <!-- prefix : set output folder path. without this, save pcd files in.ros folder. -->
        <param name="prefix" value="velodyne_" />
        <param name="fixed_frame" value="base_footprint" />
        <param name="binary" value="false" />
        <param name="compressed" value="false" />
    </node>
</launch>
- 上記のサンプル用のlaunchファイルでは、点群生成シミュレータとしてvelodyne_simulatorのexample.launchを使っています。このサンプルを起動する場合は、別途インストールしてください。
-
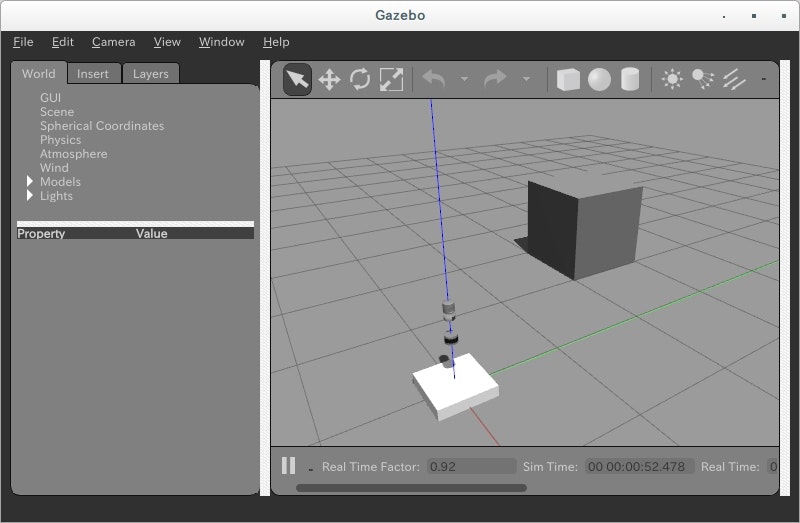
roslaunch sample_to_pcd.launchで起動させると、次のようなGAZEBO画面が立ち上がり、点群がpcdファイルに保存されていきます。

- 保存先は
prefixで指定します。上記のサンプルだと.ros/velodyne_[数値].pcdとして保存されます。絶対パスを指定して,特定のフォルダに保存することもできます。数値には、PointCloud2のheader.stampが反映されているようです。 -
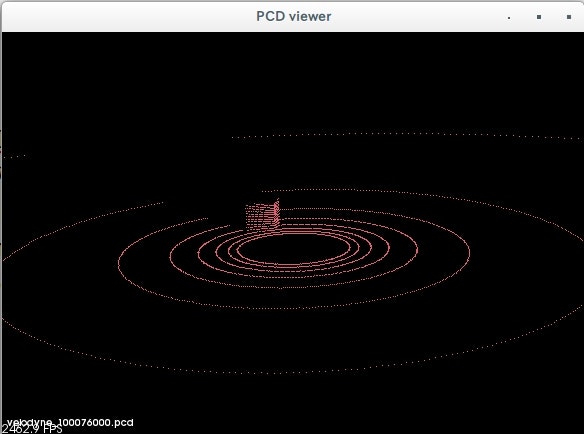
fixed_frameは、pcdファイルに保存するとき、ヘッダーのVIEWPOINTに、fixed_frameから点群データへの変換パラメタを挿入します。点群データ自体は座標変換せず、そのままの数値が保存されるようです。そのため、別の座標系で保存したいときは、別途座標変換ノードを挟む必要があります。 - pcl_viewerで保存されていることを確認します。
pcl_viewer (ファイルパス).pcdとすると、以下のように点群を可視化できます(ファイルパスは各自でご確認ください)。視点をグリグリできます。

pcd ー> PointCloud2
今度は逆に、pcdから点群をロードし、PoincCloud2トピックに配信します。
sample_from_pcd.launch
<launch>
    <!-- change your file path -->
    <arg name="file_name" value="/home/ken/Documents/bunny.pcd"/>
    <!-- rate : if publish at 10 Hz, set 0.1 -->
    <arg name="rate" value="0.1"/>
    <node pkg="pcl_ros" type="pcd_to_pointcloud" name="pcd_to_pointcloud" args="$(arg file_name) $(arg rate)" output="screen">
        <remap from="cloud_pcd" to="bunny"/>
        <param name="frame_id" value="map" />
    </node>
    <node pkg="rviz" type="rviz" name="rviz"/>
    <!-- After opening rviz, please open PointCloud2 topic by yourself. -->
</launch>
- 上記のサンプルでは、例のウサギを使用しています。配信したいファイルにパスを変更してください。
-
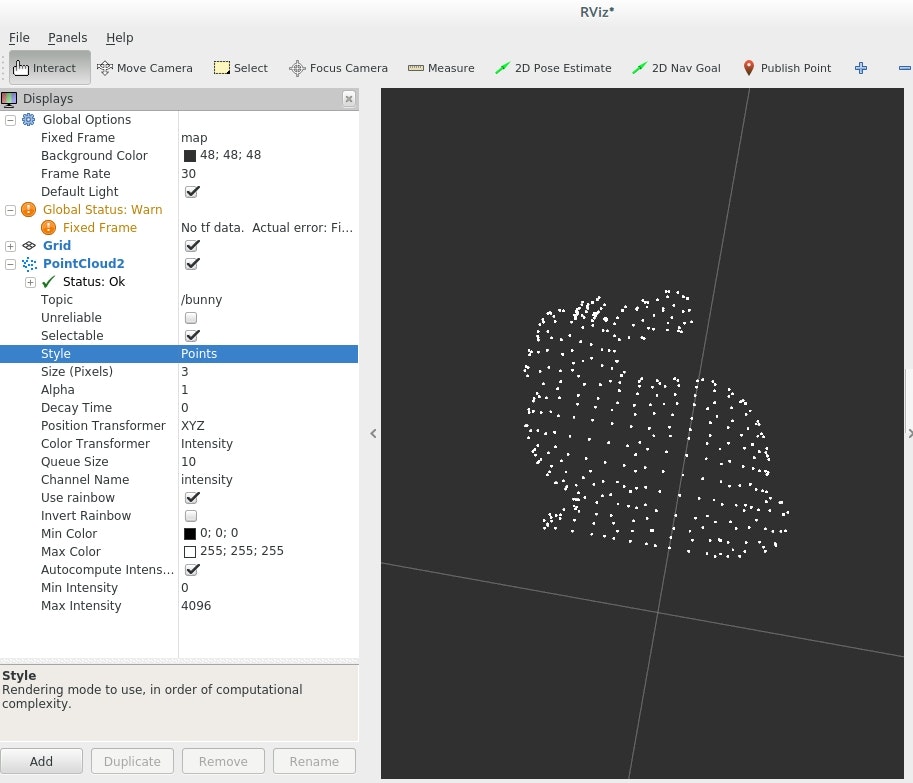
roslaunch sample_from_pcd.launchで起動させると、rvizが立ち上がるので、手動で点群トピックを追加すると、確かにウサギが確認できます。

実装の該当箇所
- perception_pcl/pcl_ros/src/tools/
- rosbagからpcdに変換するツールもあるようです。