AppStoreで公開しているShodoCAMの開発をしていて,あるボタンを押すとカスタムViewが下から出てくるアニメーションを実装したかった.その後カスタムViewを下にフェードアウトさせる機能も実装する.
手順
- カスタムViewのxibファイルを作る
- カスタムViewクラスを作る
- カスタムViewのxibとカスタムViewクラスを紐付け
- カスタムViewのフェードイン・フェードアウト実装
1. カスタムViewのxibファイルを作る
xibとは(XML Interface Builder)の略で,アプリのUIとして使いまわせるカスタムViewを作るファイルです.StoryboradではアプリのあるView全体を作り,xibでUIのパーツを作って複数のViewで使い回すと覚えておけば良い.
xibファイルはコンパイルされてnibファイル(NeXTSTEP Interface Builder)に変換されるみたい.
参考記事 (What’s a XIB and Why Would I Ever Use One?)
⌘Nでファイルの新規作成ウィンドウを開き,User Interfaces中のViewを選択.
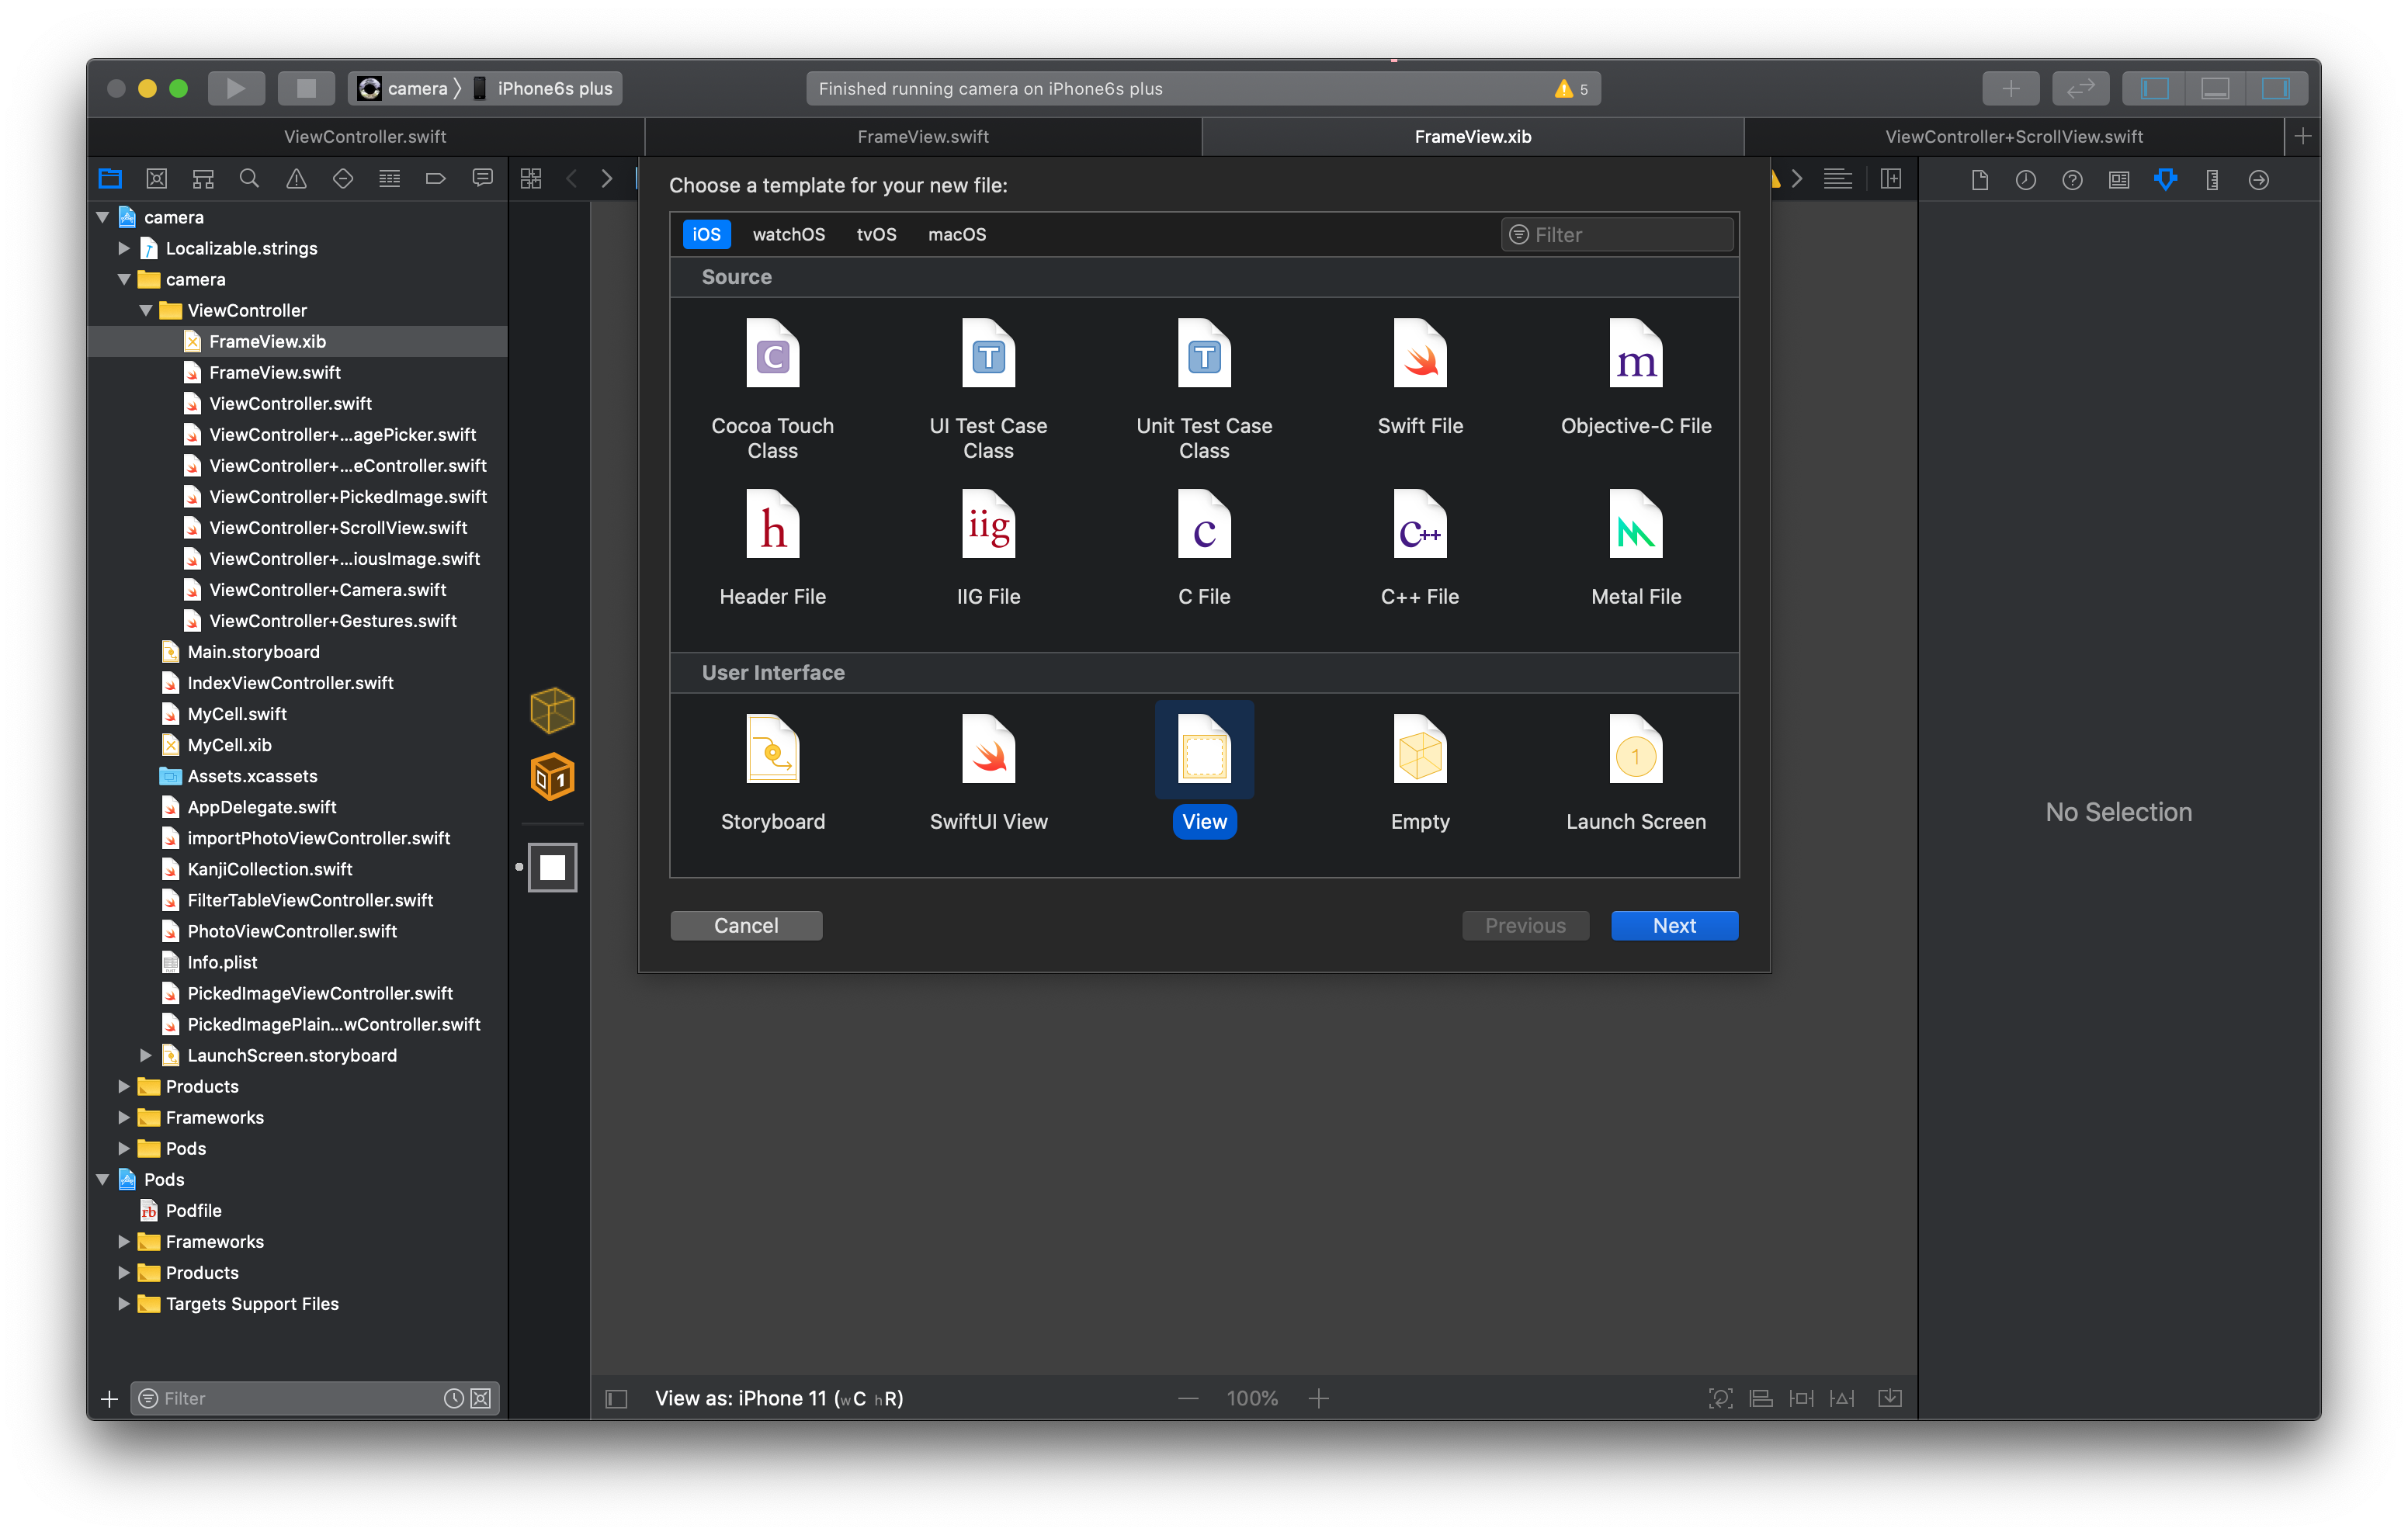
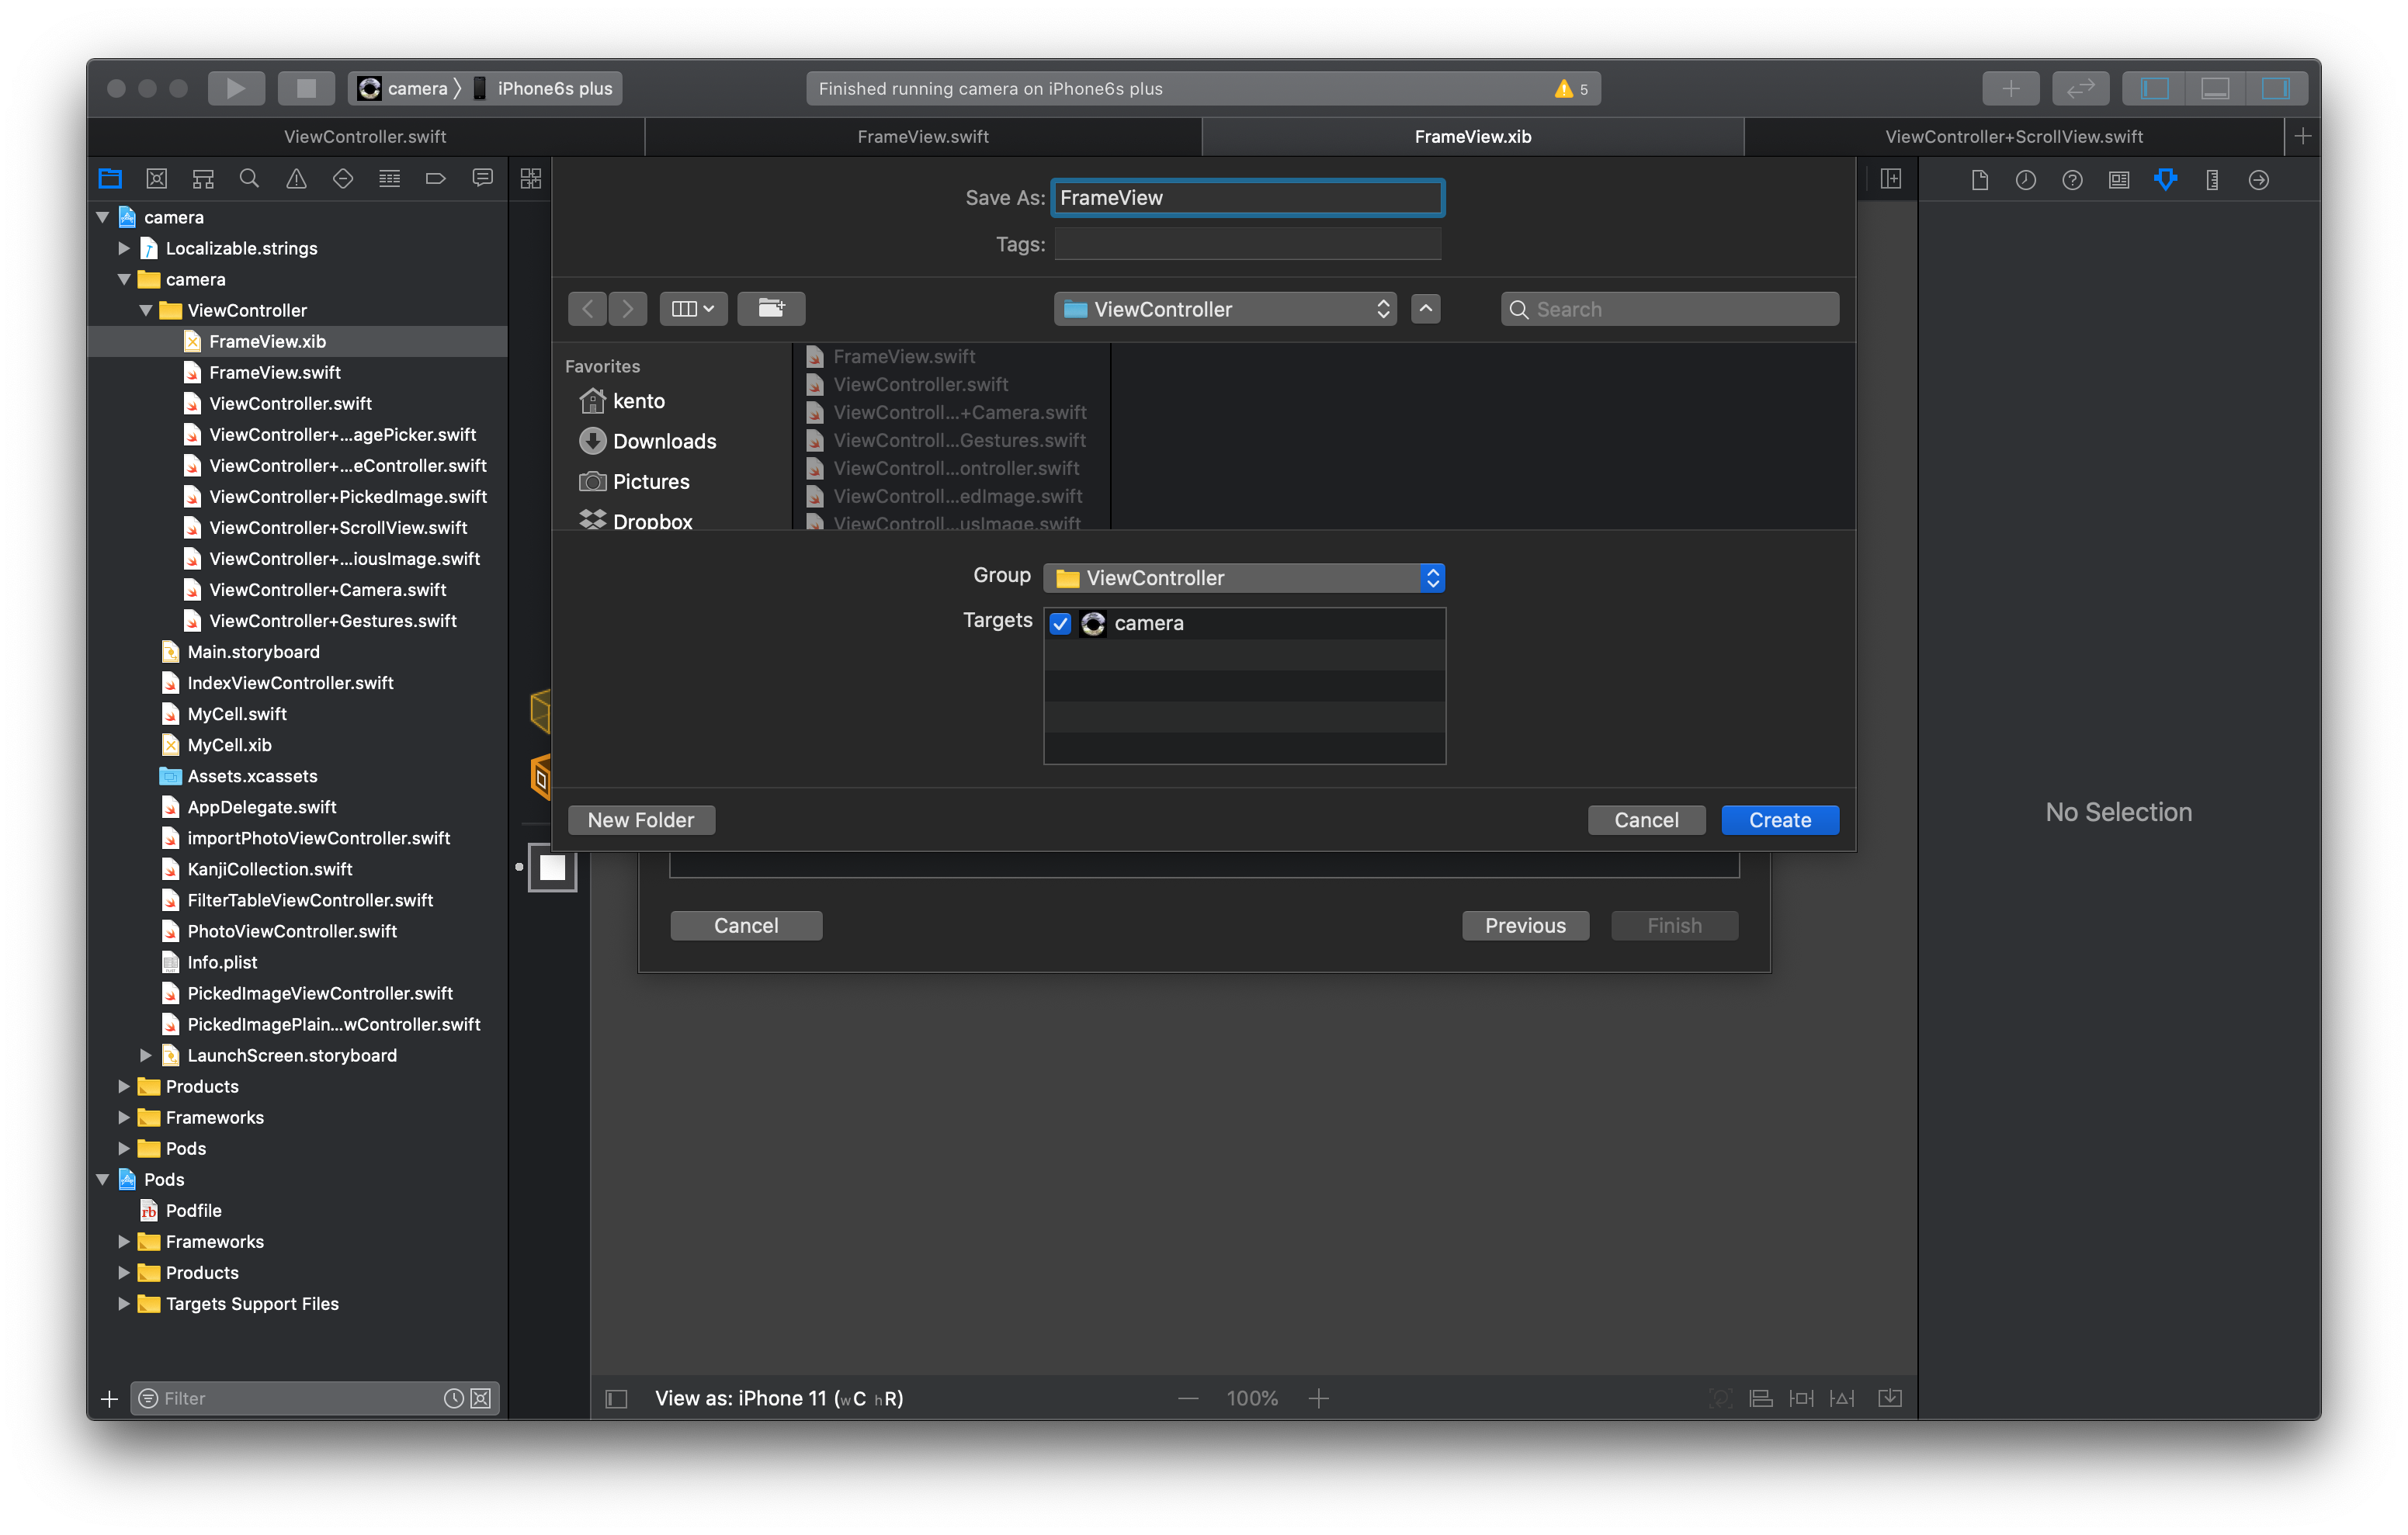
適当な名前をつけて保存.
Attributes InspectorからSizeをFreedomにして,適当にImageViewを6つ,背景をgreyにしている.Viewのwidthは414,heightを100に設定.

2. カスタムViewクラスを作る
作成したxibに対応するカスタムViewクラスを作る.
⌘Nでファイルの新規作成ウィンドウを開き,Cocoa Touch Classを選択.
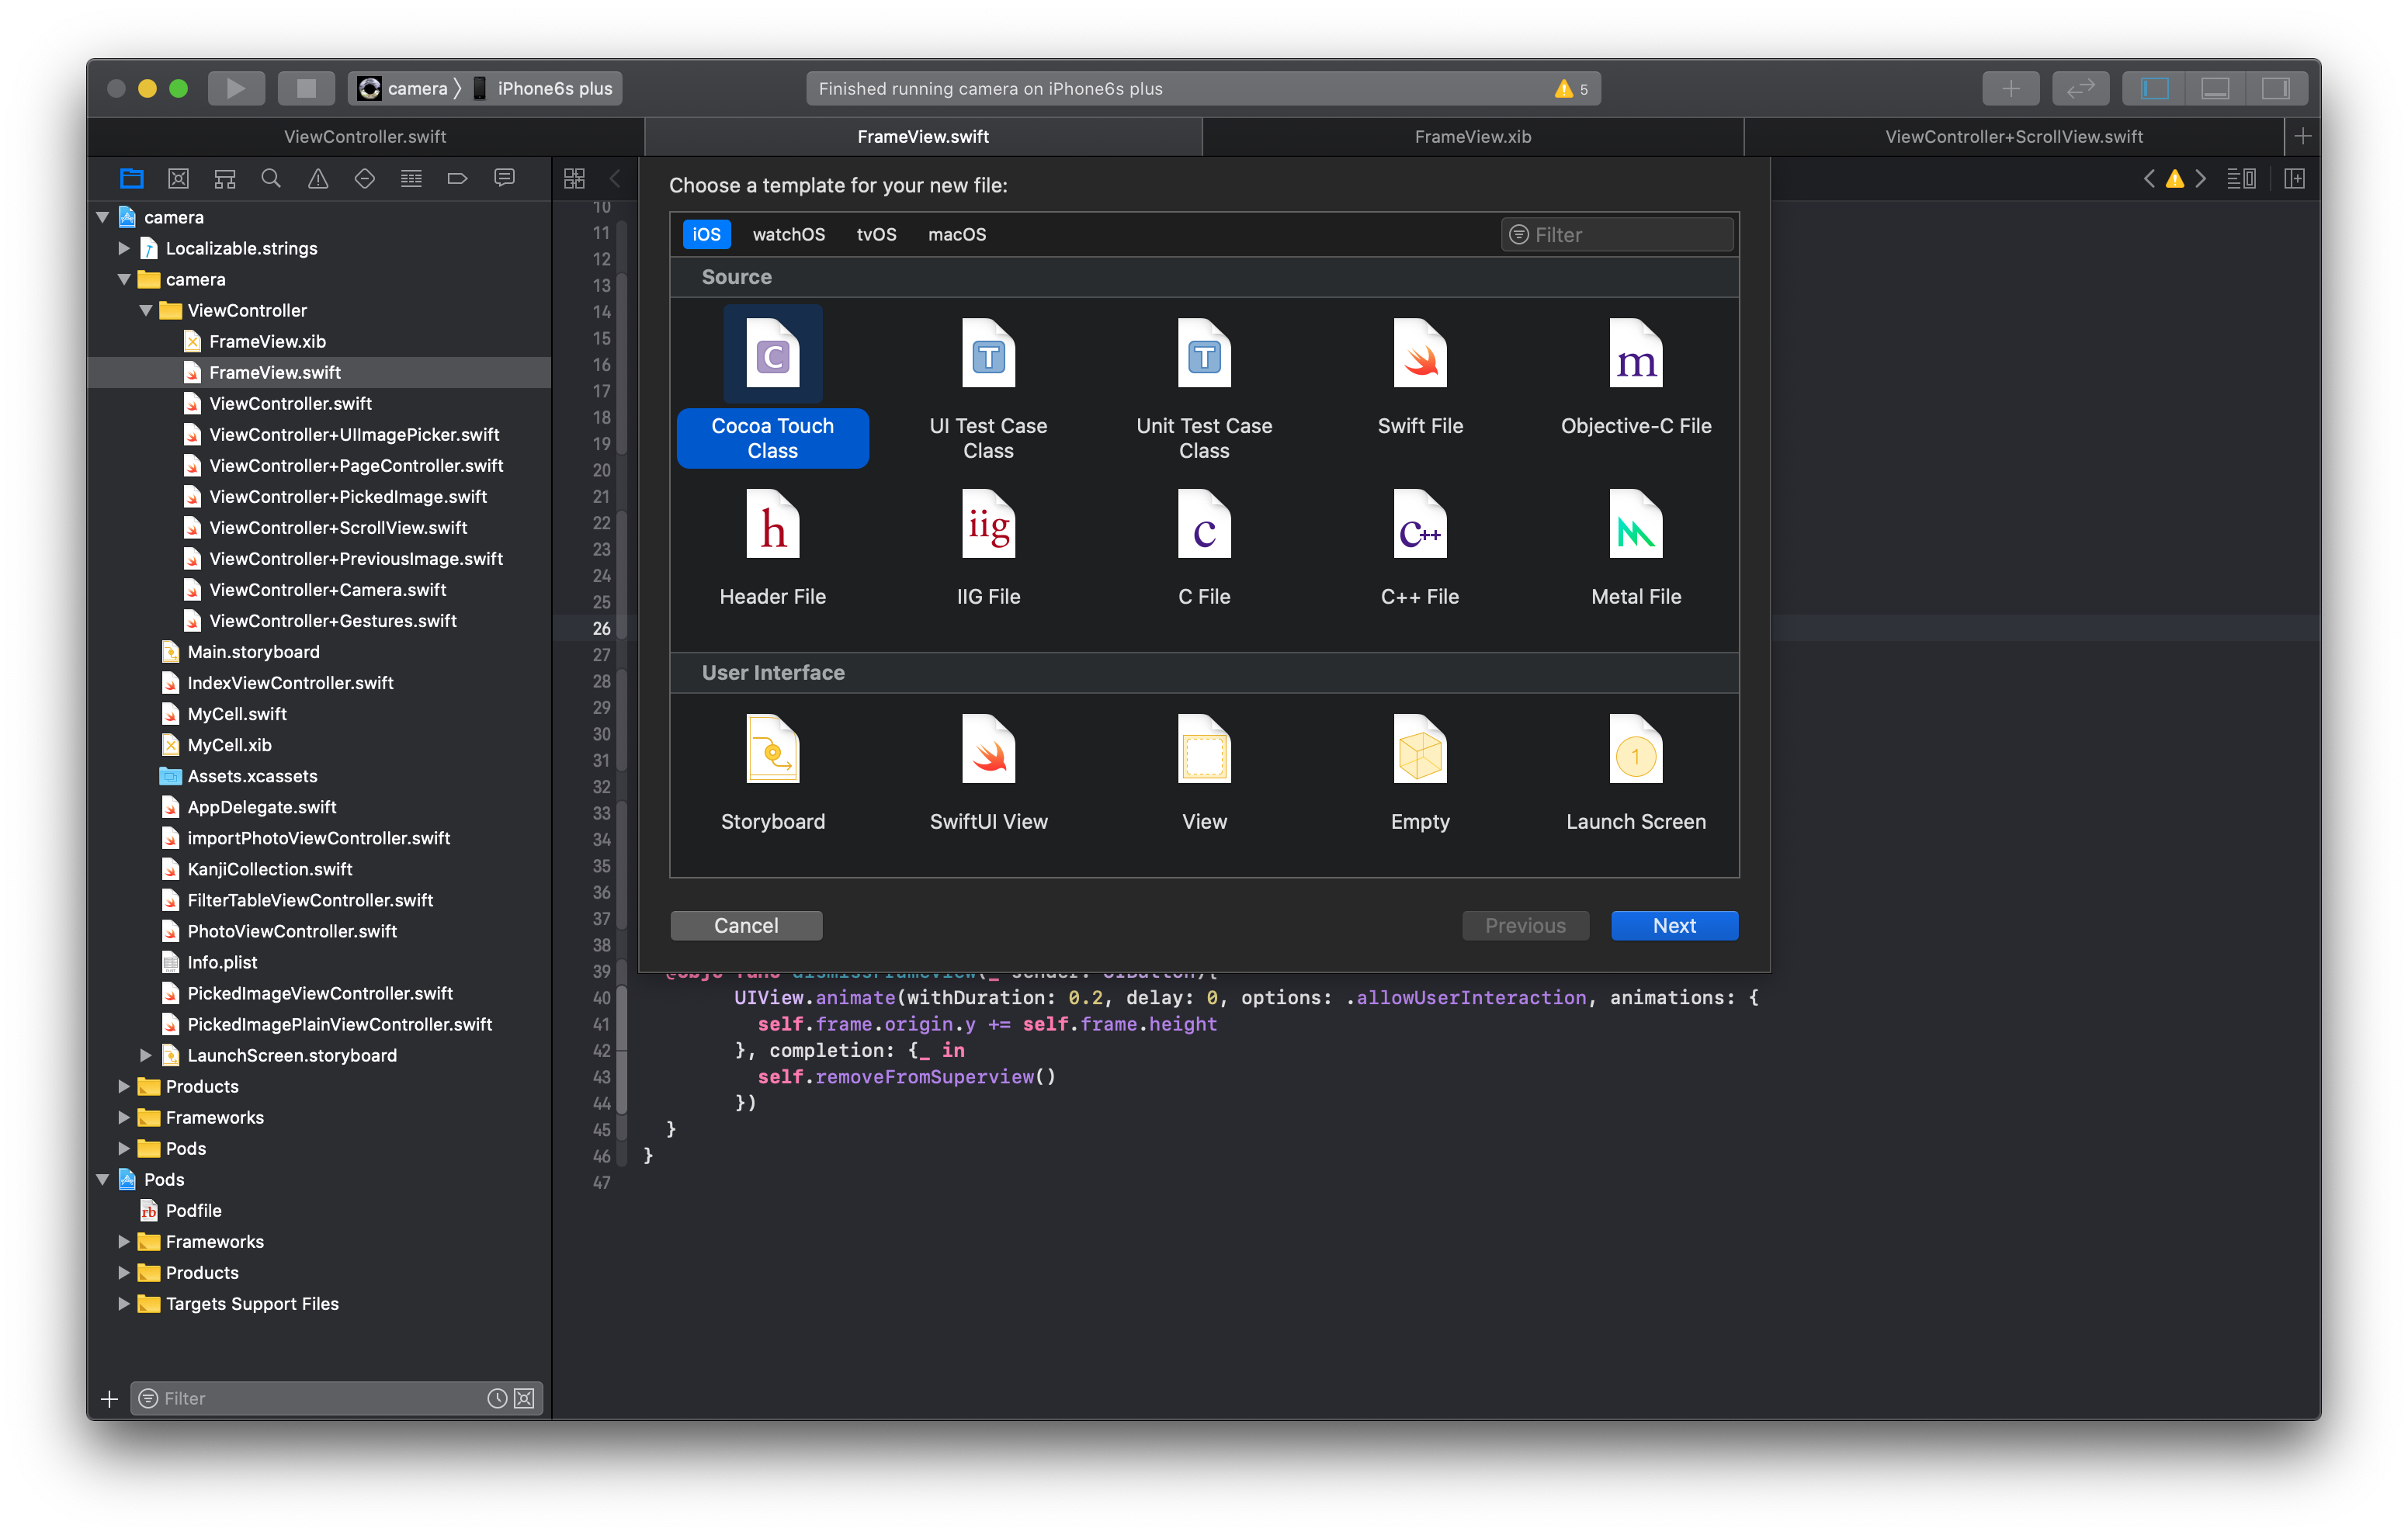
適当なクラス名(FrameView)をつけて保存.
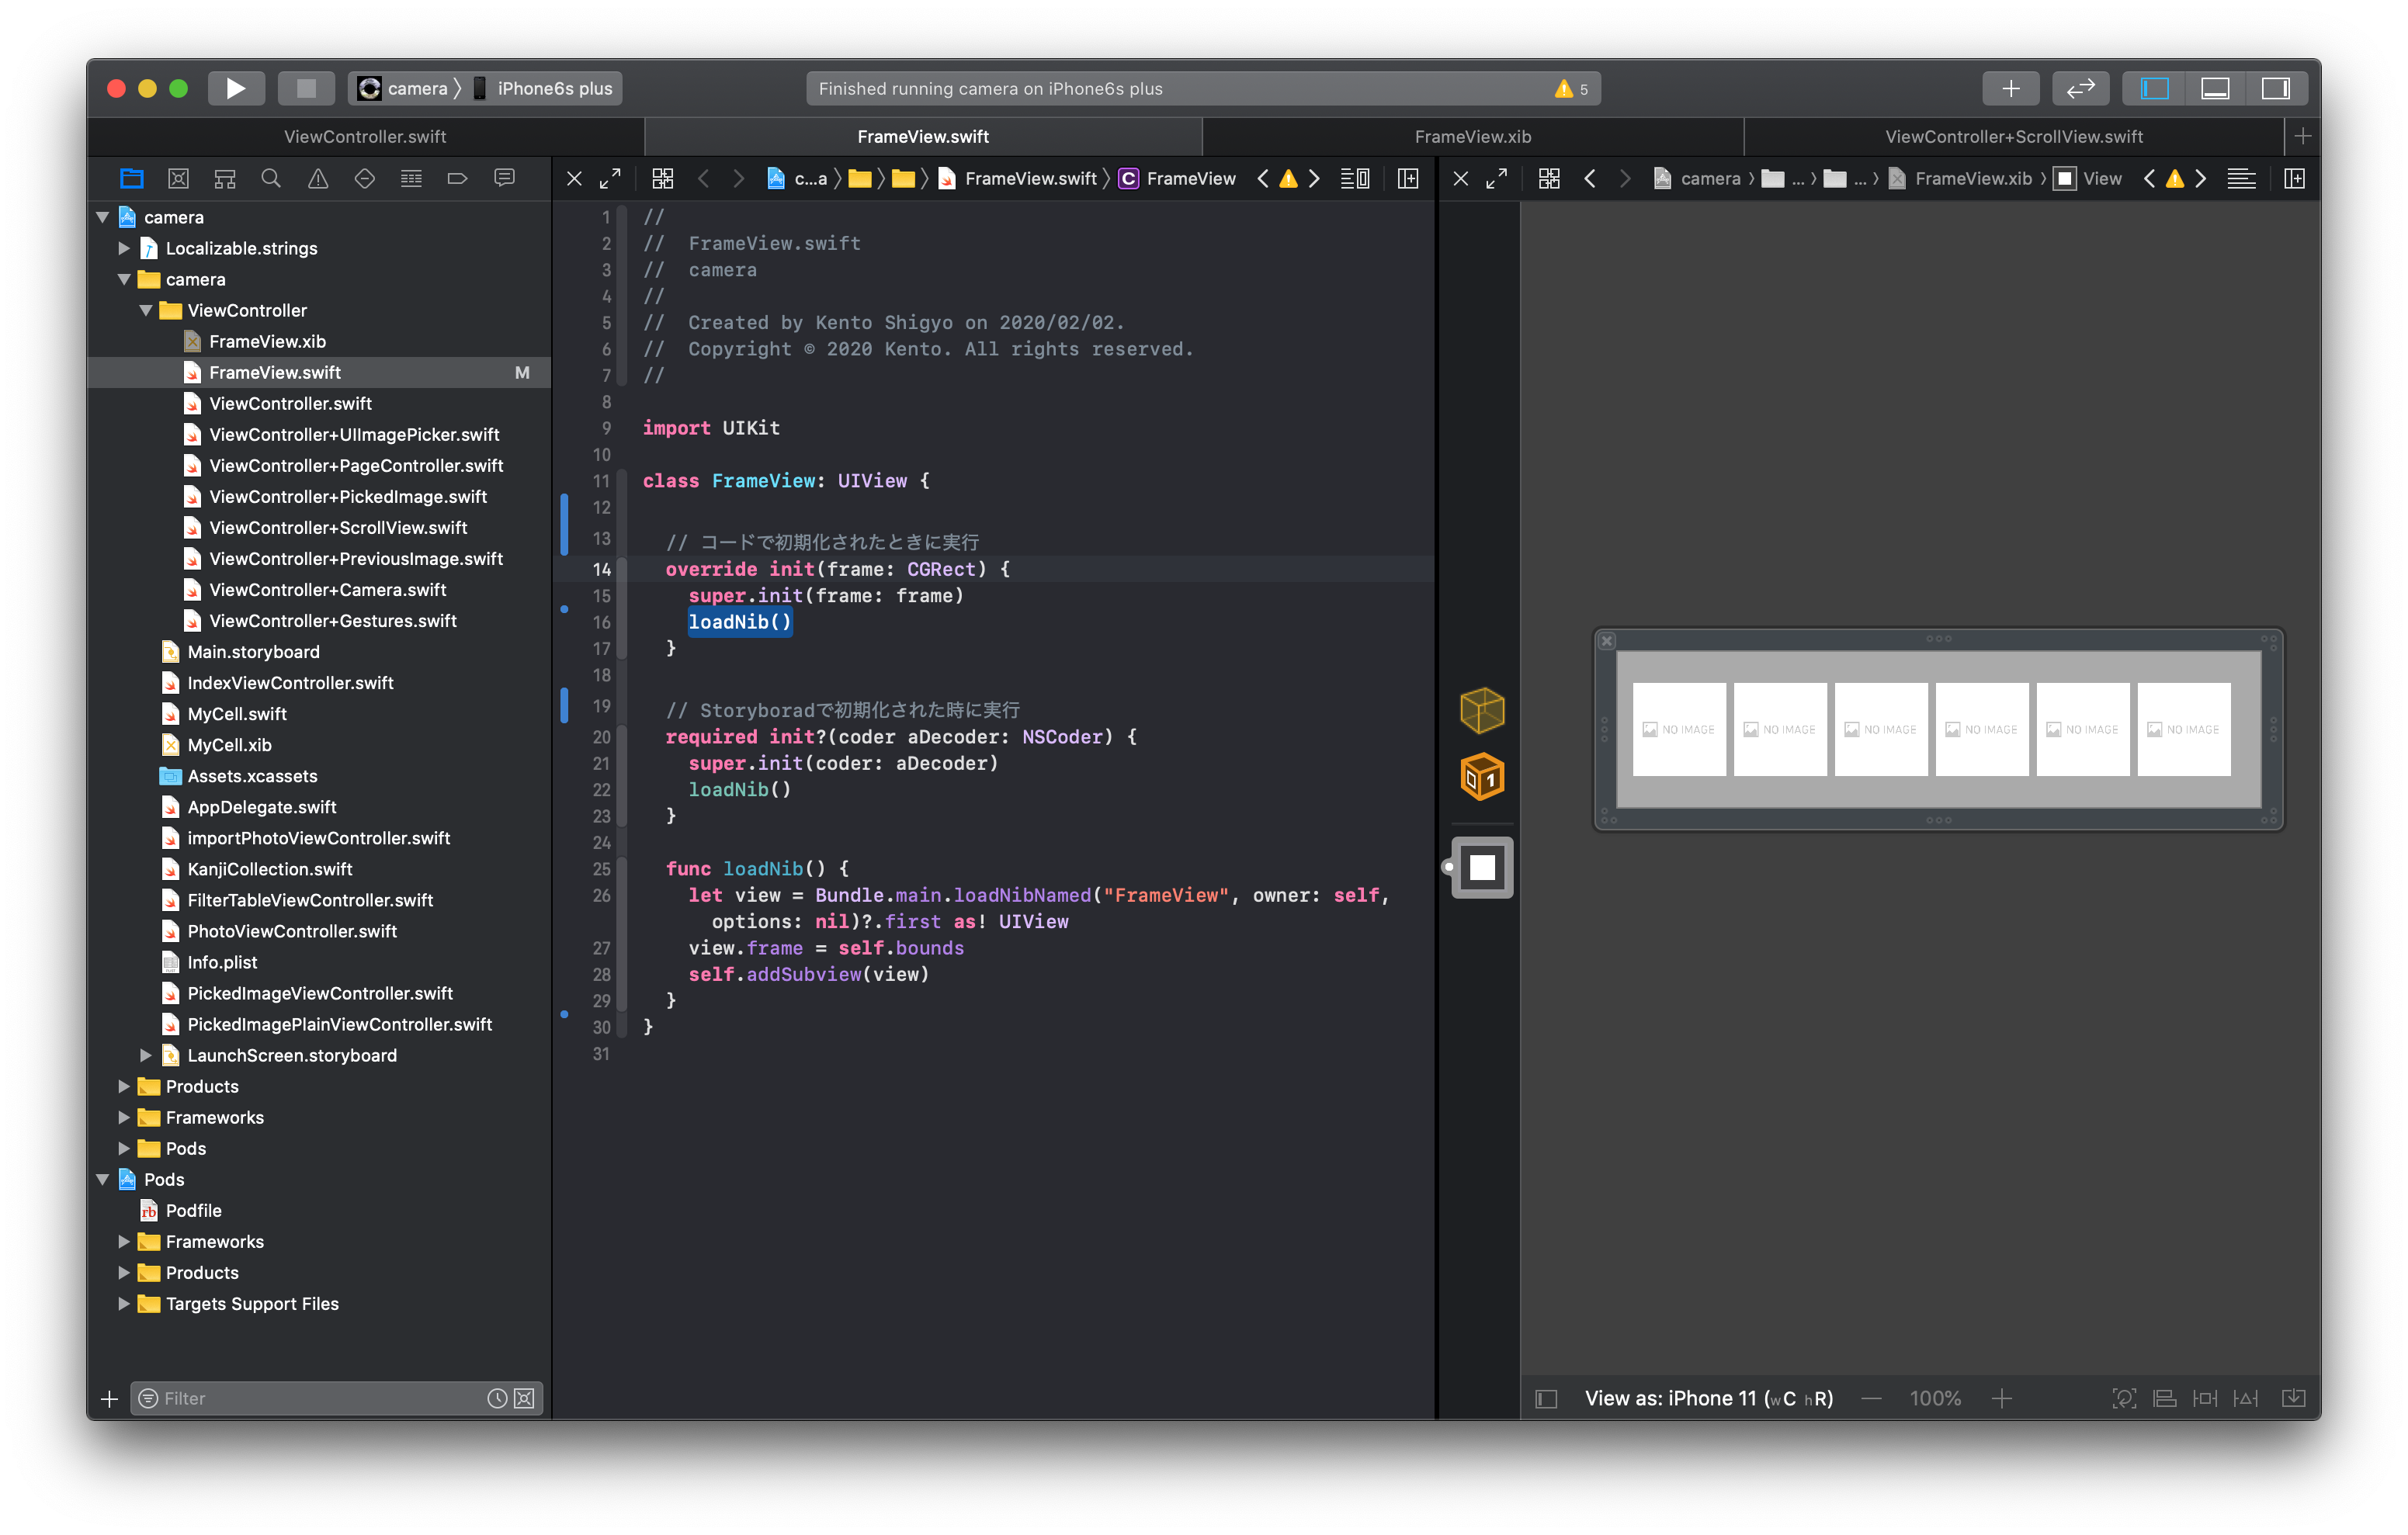 FrameView.swiftにコード を追加.
- override init:コードでカスタムViewを初期化した時に実行
- required init:StoryboradでカスタムViewを初期化した時に実行
- func loadNib :さっき作成したxibファイルを読み込んでUIとして表示させる関数
override init,required init両方の関数内にloadNib()と書いておく.
FrameView.swiftにコード を追加.
- override init:コードでカスタムViewを初期化した時に実行
- required init:StoryboradでカスタムViewを初期化した時に実行
- func loadNib :さっき作成したxibファイルを読み込んでUIとして表示させる関数
override init,required init両方の関数内にloadNib()と書いておく.
import UIKit

class FrameView: UIView {

  // コードで初期化されたときに実行
  override init(frame: CGRect) {
    super.init(frame: frame)
    loadNib()
  }

  // Storyboradで初期化された時に実行
  required init?(coder aDecoder: NSCoder) {
    super.init(coder: aDecoder)
    loadNib()
  }

  // xibファイルを読み込む処理
  func loadNib() {
    let view = Bundle.main.loadNibNamed("FrameView", owner: self, options: nil)?.first as! UIView
    view.frame = self.bounds
    self.addSubview(view)
  }
}
3. カスタムViewのxibとカスタムViewクラスを紐付け
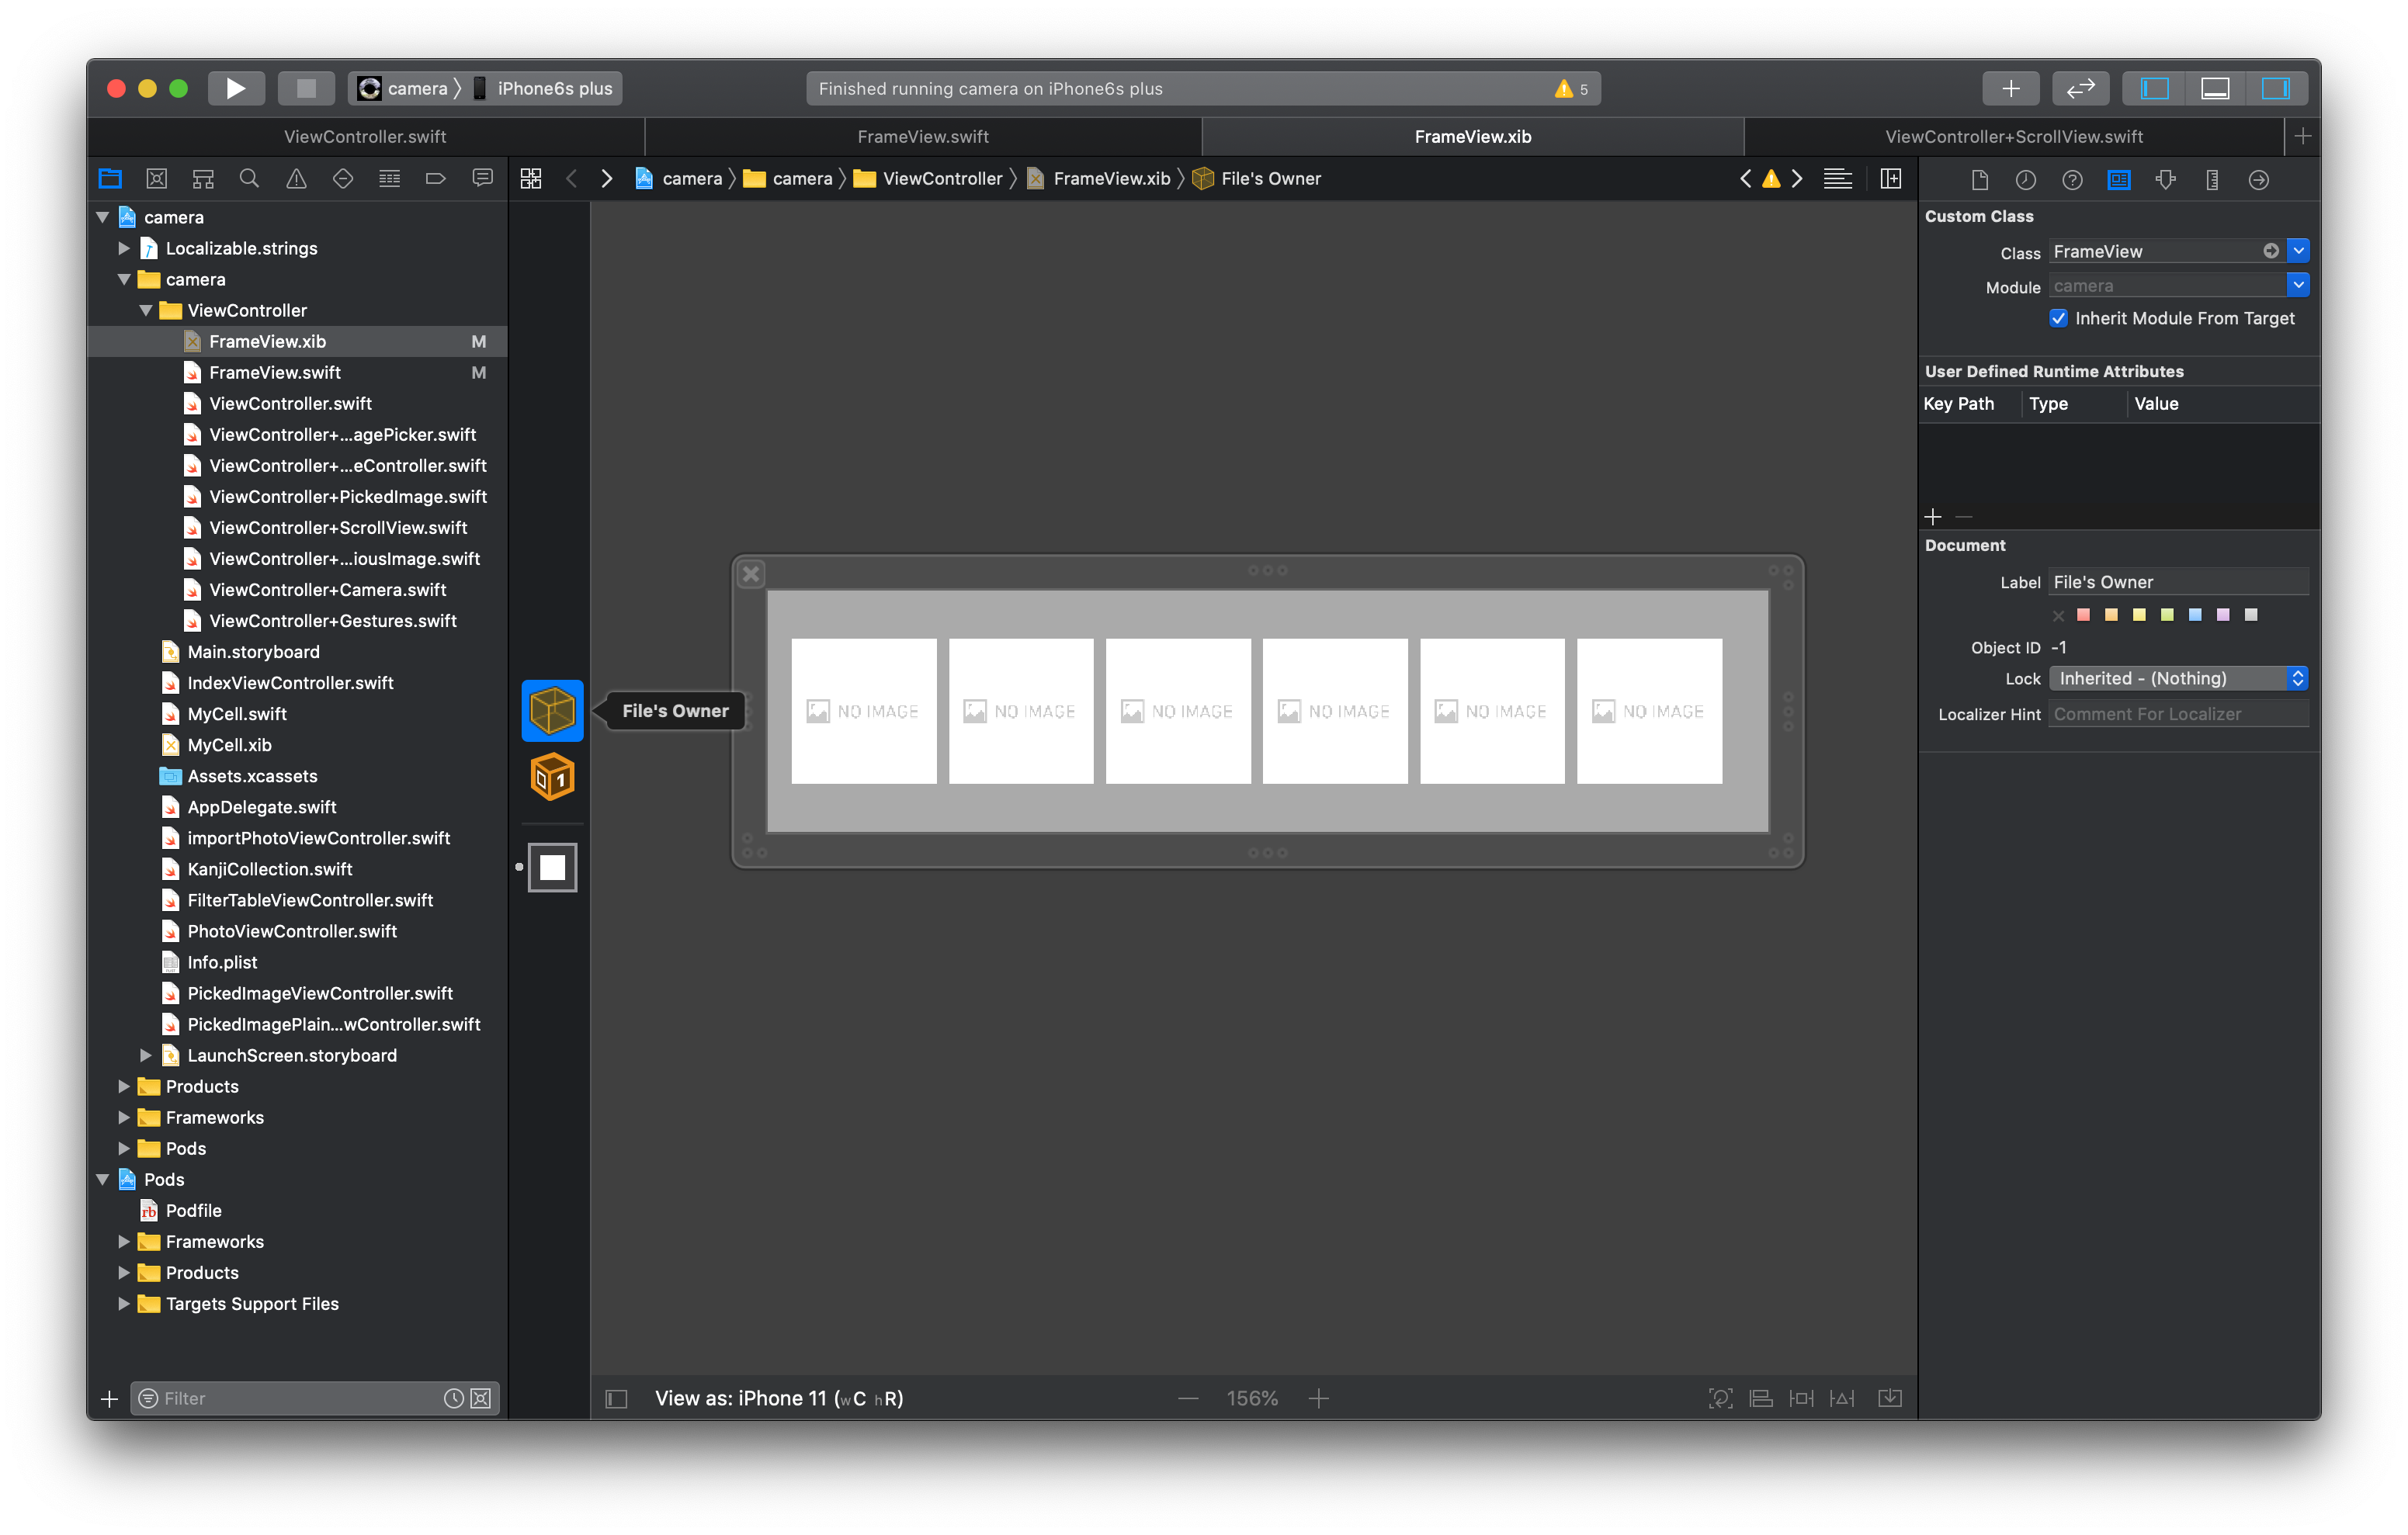
xibファイルのFile's Ownerをクリックし,identity inspectorでCustom ClassのClassをFrameViewにします.これでxibをカスタムViewクラスが紐付けされる.
4. カスタムViewのフェードイン・フェードアウト実装
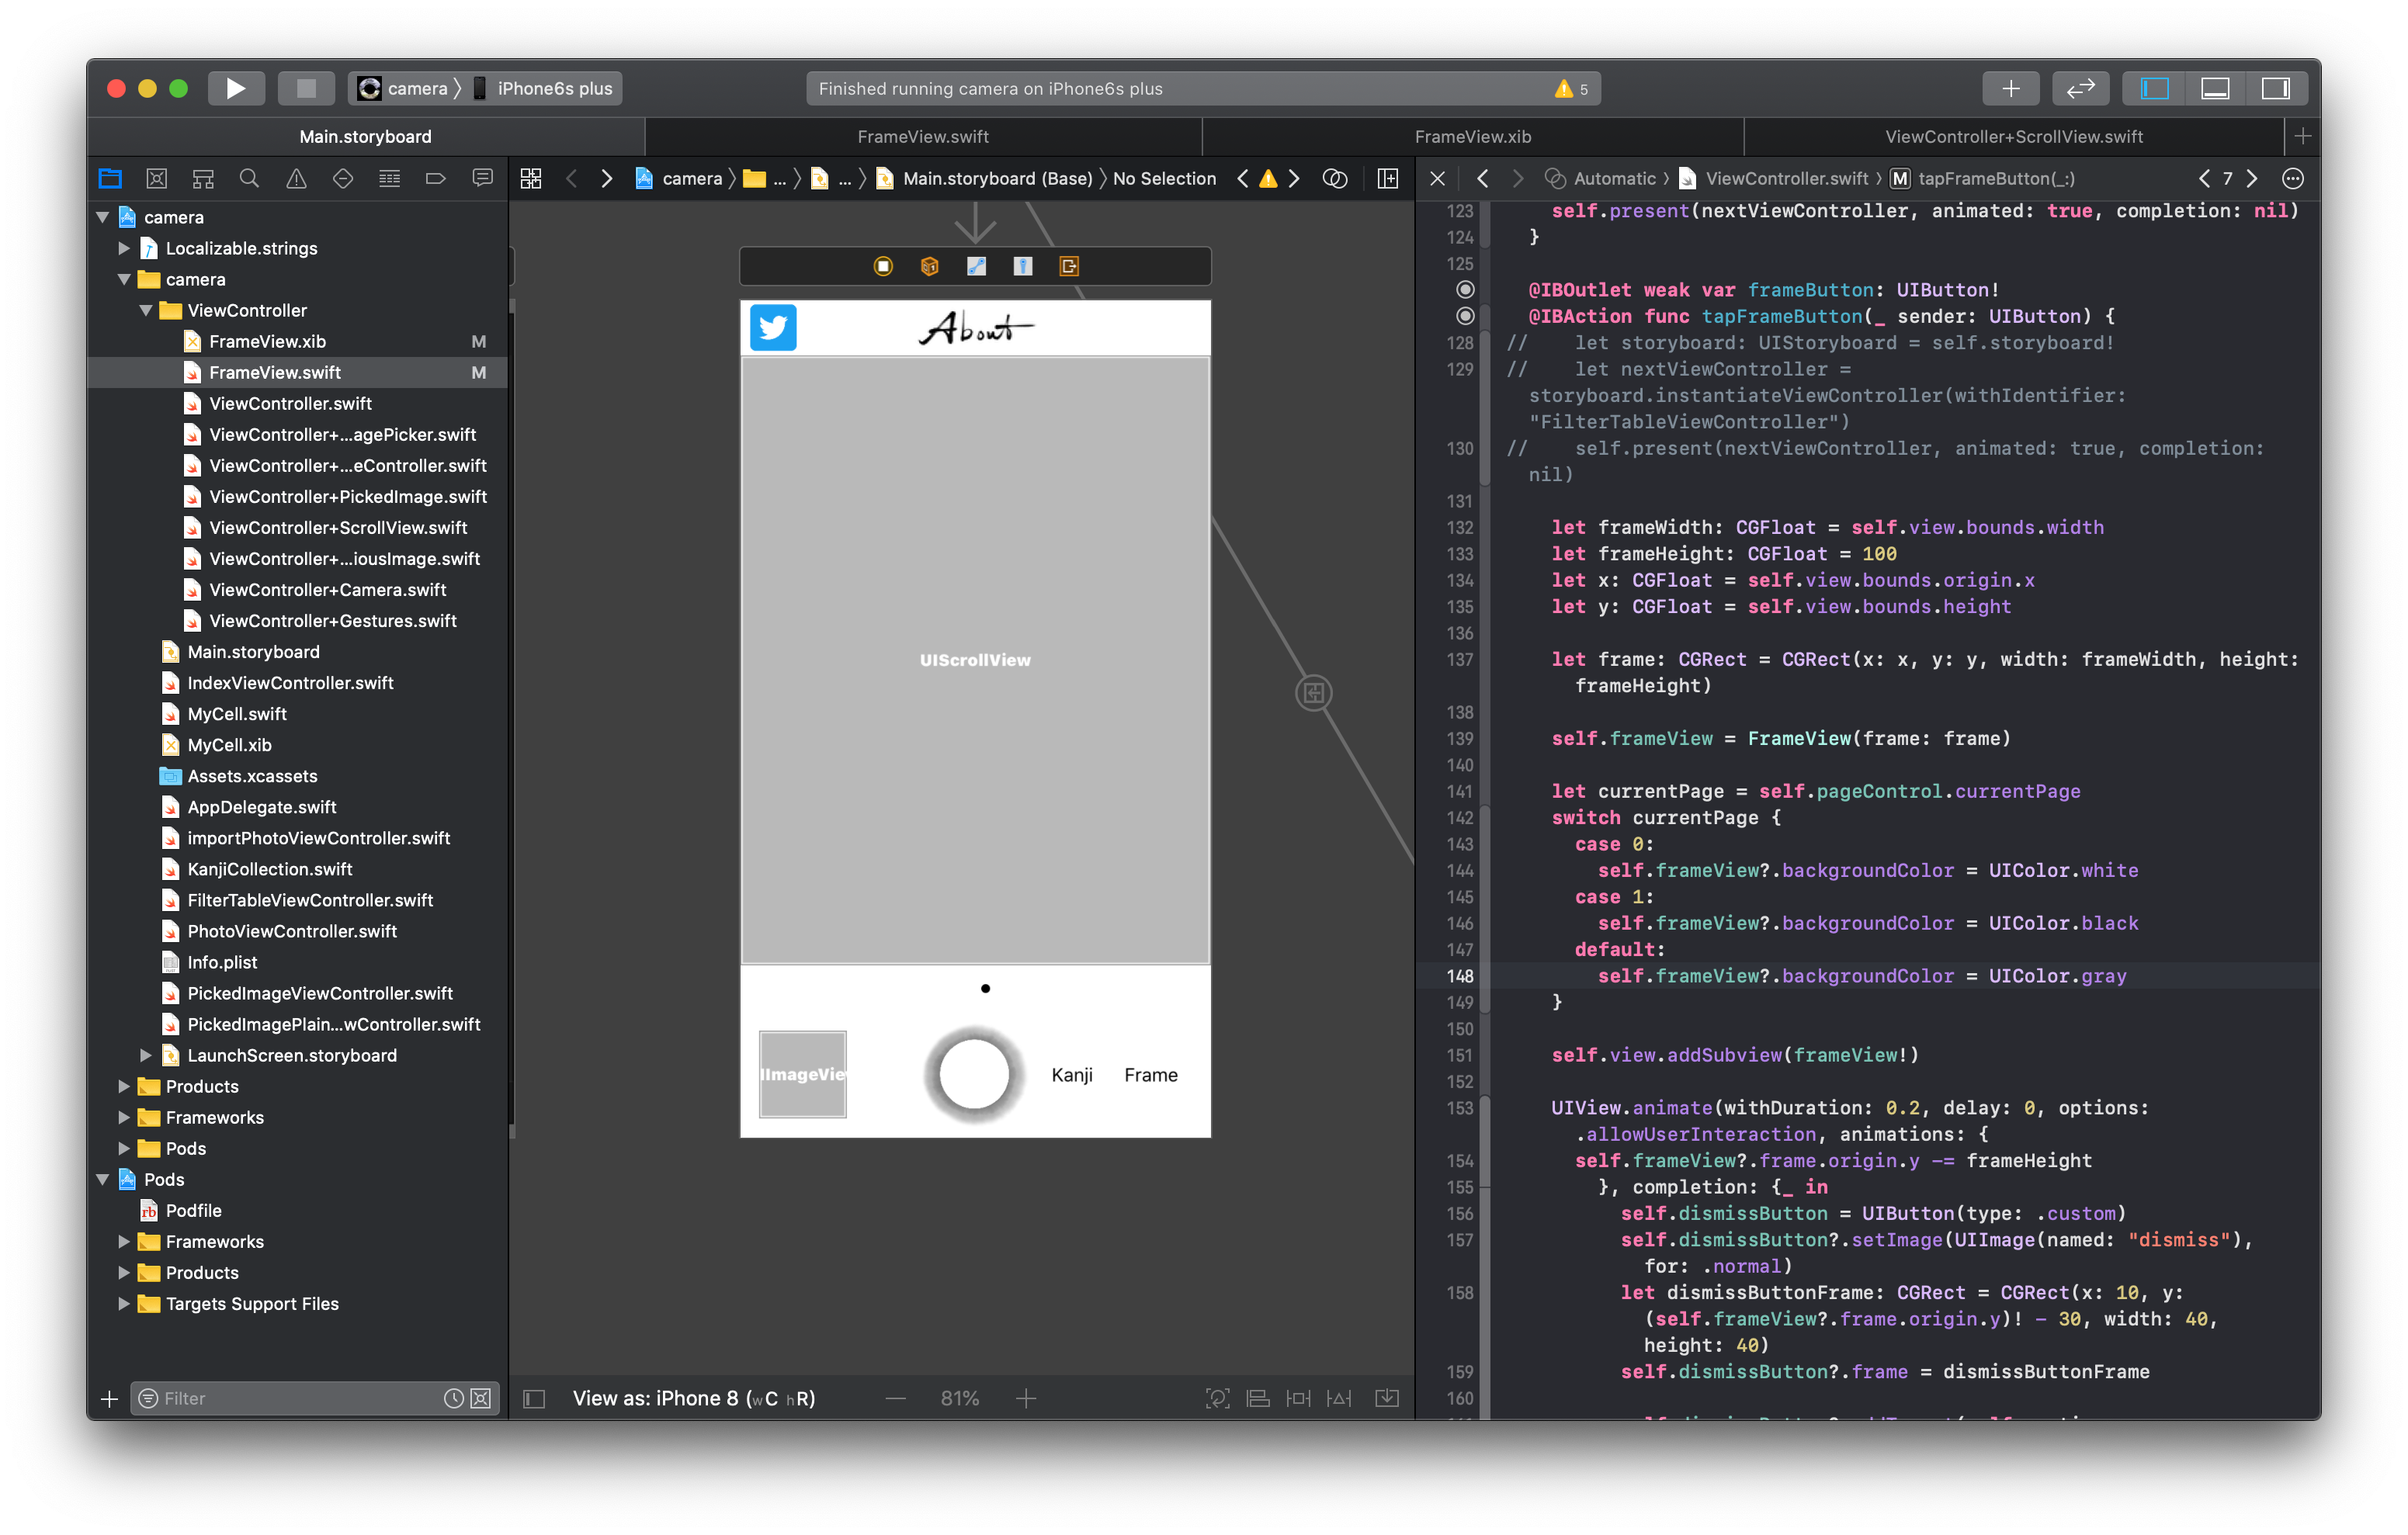
もともと下の画像のViewで,右下のFrameボタンを押すとカスタムViewが下からフェードインするようにしたかった.
その後にdissmissボタンを押すとカスタムViewを下にフェードアウトさせるようにする.この時に,ボタンを押された時に実行する関数内でカスタムViewにアクセスできなかった.そのためカスタムViewを保存するViewControllerのインスタンス変数を予め用意しておく.
var frameView: UIView?
var dismissButton: UIButton?

// FrameボタンのOutlet
@IBOutlet weak var frameButton: UIButton!
// Frameボタンが押されたら実行する処理
@IBAction func tapFrameButton(_ sender: UIButton) {
  let frameWidth: CGFloat = self.view.bounds.width
  let frameHeight: CGFloat = 100
  let x: CGFloat = self.view.bounds.origin.x
  let y: CGFloat = self.view.bounds.height

  // カスタムViewの左上頂点のx,y座標と幅・高さを決める
  let frame: CGRect = CGRect(x: x, y: y, width: frameWidth, height: frameHeight)
  self.frameView = FrameView(frame: frame)

  // カスタムViewをViewControllerに追加
  self.view.addSubview(frameView!)

  // 下からフェードインするアニメーション処理
  UIView.animate(withDuration: 0.2, delay: 0, options: .allowUserInteraction,     animations: {
    self.frameView?.frame.origin.y -= frameHeight
    }, completion: {_ in
      // カスタムViewを下にフェードアウトさせるためのボタン
      self.dismissButton = UIButton(type: .custom)
      // ボタンに適当な画像を貼る
      self.dismissButton?.setImage(UIImage(named: "dismiss"), for: .normal)

      // ボタンのframeを決める
      let dismissButtonFrame: CGRect = CGRect(x: 10, y:   (self.frameView?.frame.origin.y)! - 30, width: 40, height: 40)
      self.dismissButton?.frame = dismissButtonFrame

      // ボタンが押されたら下のdissmissFrameView関数を実行するように設定
      self.dismissButton?.addTarget(self, action: #selector(FrameView.dismissFrameView(_:)), for: .touchUpInside)

      // ボタンをViewControllerに追加
      self.view.addSubview(self.dismissButton!)
    })
  }

// カスタムViewを下にフェードアウトさせるためのアニメーション処理
@objc func dismissFrameView(_ sender: UIButton){
  UIView.animate(withDuration: 0.2, delay: 0, options: .allowUserInteraction, animations: {
    self.frameView?.frame.origin.y += self.frameView?.frame.height ??   100
    self.dismissButton?.frame.origin.y += (self.dismissButton?.frame.height)! +   100
    }, completion: {_ in
      // アニメーションが終わったらカスタムViewとボタンを削除する
      self.frameView?.removeFromSuperview()
      self.dismissButton?.removeFromSuperview()
  })
}
カスタムViewを出し入れするところ.Frameボタンを押すとカスタムView(frameView)が下からフェードインする.下矢印のdismissボタンを押すとカスタムViewとボタンが下にフェードアウトする.
ここではScrollImageViewのスクロールによってカスタムViewの背景色を変える処理を別のところに書いている.
