1
0

Delete article

Deleted articles cannot be recovered.

Draft of this article would be also deleted.

Are you sure you want to delete this article?

More than 5 years have passed since last update.

ゼロから始めるHDDフォーマット with Ubuntu

Last updated at Posted at 2018-01-31

今まで使っていたPCのHDDを初期化したいと思った時のために手順をまとめます。

あらすじ

フォーマットを、始めましょう。1から…いいえ、ゼロから!

使うもの

Ubuntu16.04 のLiveDVD
Ubuntuが入っているPC

手順

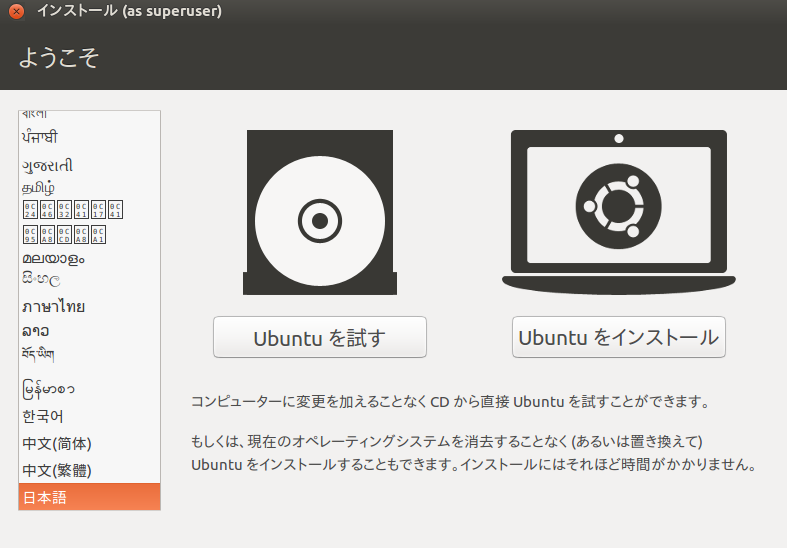
  1. LiveDVDで起動し、「Ubuntuを試す」を選択します
    スクリーンショット (15).png


  2. UbuntuメニューのSearch Your Computerから「gparted」と入力し、GParted Partition Editor を検索します
    スクリーンショット (16).png


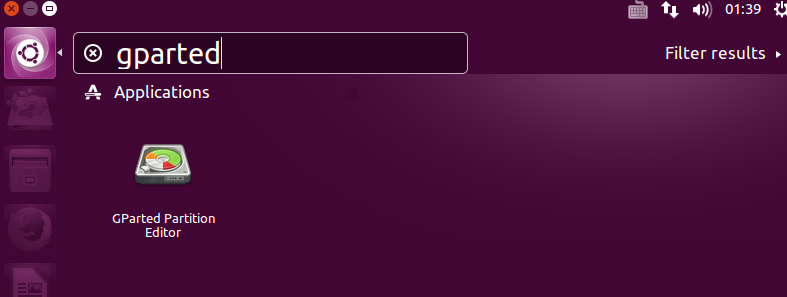
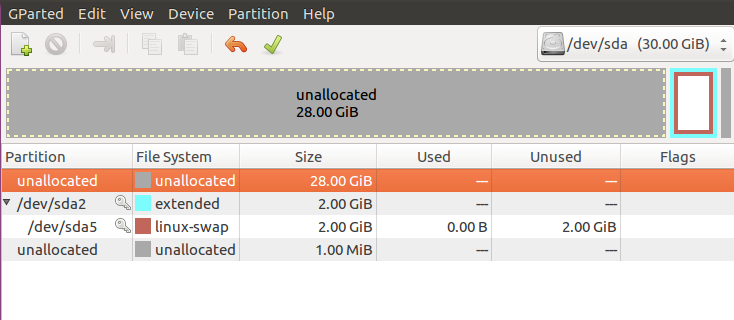
  3. GParted Partition Editorを開きます
    スクリーンショット (17).png


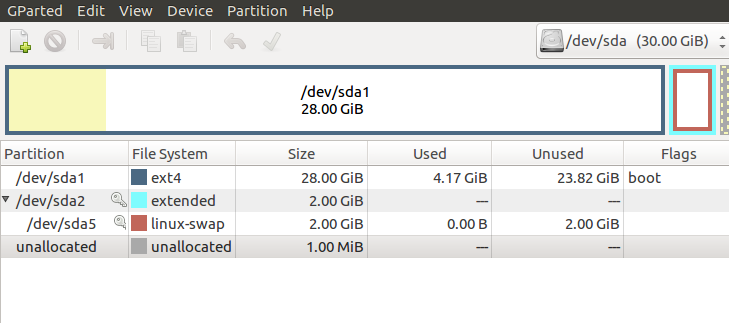
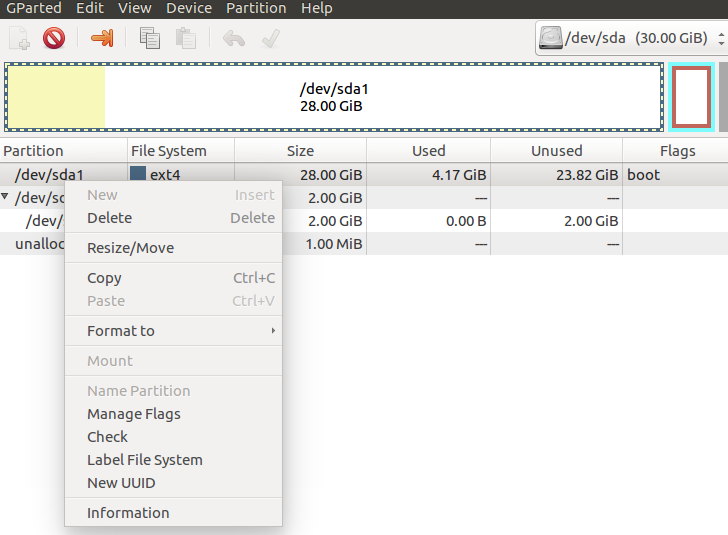
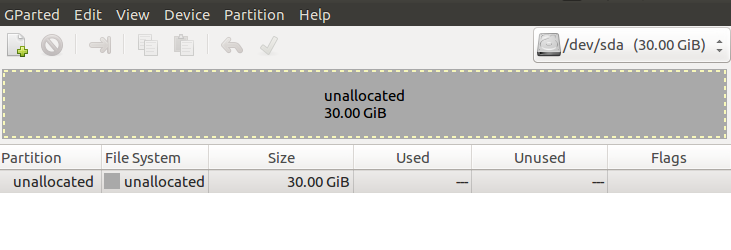
  4. パーティションを右クリックしてメニューのDeleteを選択します
    スクリーンショット (18).png


  5. DeleteしたパーティションはUnAllocated(未割当)と表示されます
    スクリーンショット (19).png


  6. Swap領域が確保されているパーティションは右クリックでSwapoffを選
    択します
    スクリーンショット (20).png


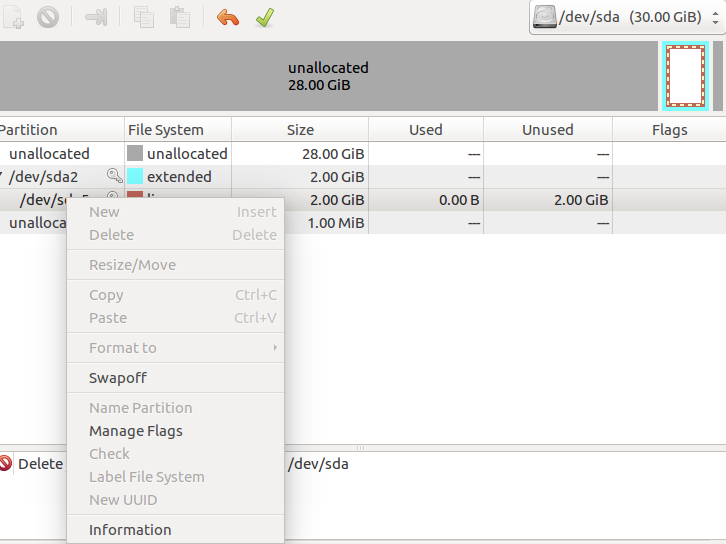
  7. Swapoffした領域を右クリックしてメニューのDeleteを選択します
    スクリーンショット (21).png


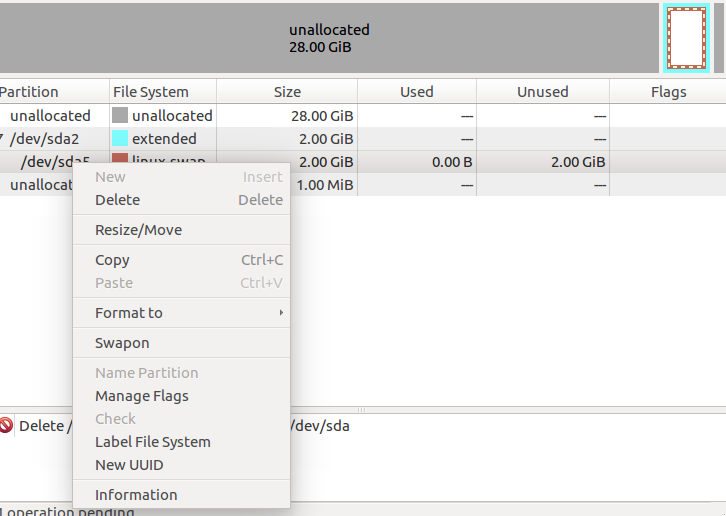
  8. Delete出来たらUnAllocated状態になるので、パーティションをDelete
    します
    スクリーンショット (22).png


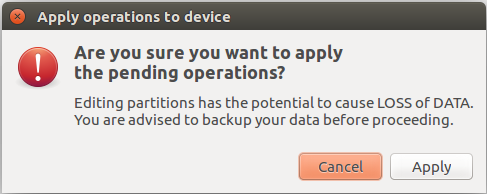
  9. 使っていたHDDのパーティションが全て削除されたら、画面上のApply ALl Operationsというチェックマークをクリックします
    スクリーンショット (23).png


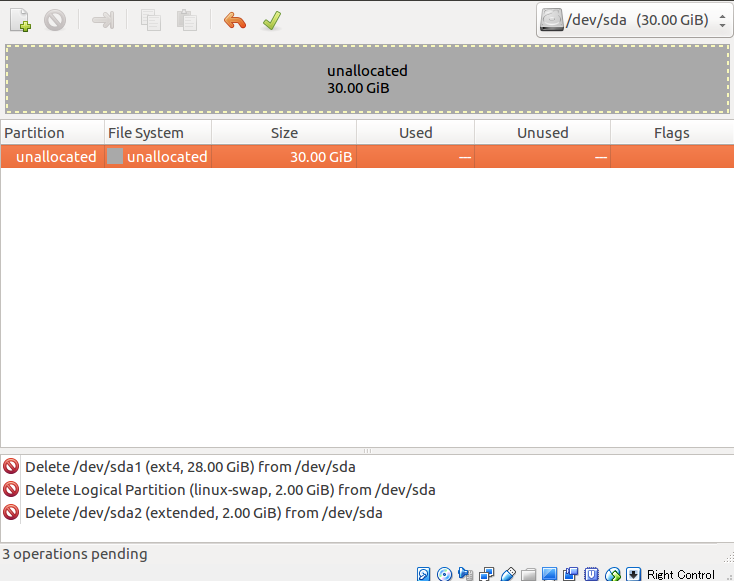
  10. メッセージが表示されるのでApplyを選択します
    スクリーンショット (24).png


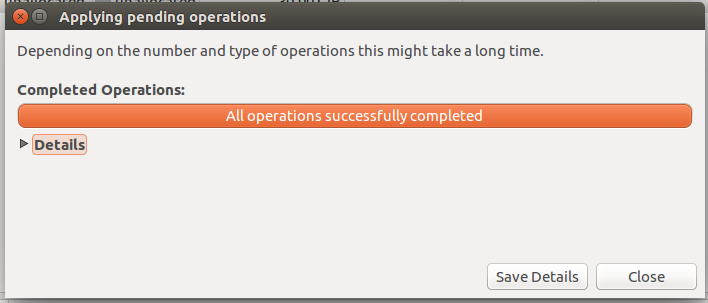
  11. 処理が完了したらCloseボタンを選択します
    スクリーンショット (25).png


  12. PCの中にHDDが物理的に2つ以上存在する場合は、画面右上のコンボボックスで選べるので、項目4~11を繰り返します。何度でも。
    スクリーンショット (26).png


  13. 終わったらシャットダウンします。


以上です

追記

CentOSのPCだとうまくいかない事象が発生しました。
あとで調べてまとめたいと思います。


1
0
0

Register as a new user and use Qiita more conveniently

  1. You get articles that match your needs
  2. You can efficiently read back useful information
  3. You can use dark theme
What you can do with signing up
1
0

Delete article

Deleted articles cannot be recovered.

Draft of this article would be also deleted.

Are you sure you want to delete this article?