前回に引き続き、今回は IFRAME を読み込むサンプルを解説します。このサンプルではフォーム上の緯度経度データを利用して Bing マップを読み込みます。
プロジェクトの作成
今回も既に作成した SampleSolution に追加するように開発していきます。
1. 前回まで作ってきた PCFControls フォルダに移動して、フィールド用のコントロールを作成。
mkdir IFrameControl
cd IFrameControl
2. 以下のコマンドを実行してプロジェクトを作成。
- 名前空間とプロジェクト名の指定
- template 引数は field を指定
pac pcf init --namespace SampleNamespace --name TSIFrameControl --template field
3. npm パッケージをリストアして任意の IDE でフォルダを開く。ここでは Visual Studio Code を利用。
npm install
code .
コントロールマニフェストの編集とリソースの追加
これまで同様にまずはマニフェストから編集します。
1. ControlManifest.Input.xml を以下の様に編集。
- 文字列フィールドをバインド用に指定 (今回値は利用しない)
- 緯度経度を floating point 型で input として使用
- resources に ts と css を指定
<?xml version="1.0" encoding="utf-8" ?>
<manifest>
	<control namespace="SampleNamespace" constructor="TSIFrameControl" version="1.0.0" display-name-key="IFrame Control Sample" description-key="IFrame Control Sample" control-type="standard">
		<property name="stringProperty" display-name-key="string field to bind" description-key="string field to bind. But the control won't use the value" of-type="SingleLine.Text" usage="bound" required="true" />
		<property name="latitudeValue" display-name-key="Latitude" description-key="Select longitude type field" of-type="FP" usage="input" required="true" />
		<property name="longitudeValue" display-name-key="Longitude" description-key="Select longitude type field" of-type="FP" usage="input" required="true" />
		<resources>
			<code path="index.ts" order="1" />
			<css path="css/TS_IFrameControl.css" order="2" />
		</resources>
	</control>
</manifest>
2. ファイルの作成から css フォルダパスを含めて TS_IFrameControl.css を作成。中身を以下に差し替え。
.SampleNamespace\.TSIFrameControl .TS_SampleControl_IFrame
{
    width: 300px;
    height: 400px;
}
3. ターミナルより以下コマンドでビルドを実行。
npm run build
index.ts の編集
1. まずは import の追加と定数の定義。
import { IInputs, IOutputs } from "./generated/ManifestTypes";
2. クラスとプロパティの定義。
export class TSIFrameControl implements ComponentFramework.StandardControl<IInputs, IOutputs>
{
	// Bing Map 用 IFrame HTMLElement
	private _bingMapIFrame: HTMLElement;
	// コントロールをホストするコンテナ
	private _container: HTMLDivElement;
	// コントロールの描写完了フラグ
	private _controlViewRendered: Boolean;
}
3. init 初期化メソッドを追加。
/**
 * init メソッド
 * @param context : 各種オブジェクトや API へのアクセスを提供するコンテキスト
 * @param notifyOutputChanged : 出力変更通知のコールバック
 * @param state : 前回保存したステート
 * @param container : UI コントロールを保持するコンテナ
 */
public init(context: ComponentFramework.Context<IInputs>,
	notifyOutputChanged: () => void,
	state: ComponentFramework.Dictionary,
	container: HTMLDivElement) {
	this._container = container;
	this._controlViewRendered = false;
}
4. PCF からの変更通知を処理する updateView メソッドを追加。
public updateView(context: ComponentFramework.Context<IInputs>) {

	// 描写完了のフラグと BingMap の読込み
	if (!this._controlViewRendered) {
		this._controlViewRendered = true;
		this.renderBingMapIFrame();
	}
	// 緯度経度の取得
	let latitude: number = context.parameters.latitudeValue.raw;
	let longitude: number = context.parameters.longitudeValue.raw;
	// Bing Map の更新
	this.updateBingMapURL(latitude, longitude);
}
5. updateView から呼ばれてコントロールの要素を描写する renderBingMapIFrame と updateBingMapURL メソッドを追加。
/**
 * Bing Map 用の IFrame エレメントを追加
 */
private renderBingMapIFrame(): void {
	// IFrame エレメントの作成と追加
	this._bingMapIFrame = this.createIFrameElement();
	this._container.appendChild(this._bingMapIFrame);
}

/**
 * IFrame に読み込む Bing Map の緯度経度を更新
 * @param latitude : latitude of center point of Bing map
 * @param longitude : longitude of center point of Bing map
 */
private updateBingMapURL(latitude: number, longitude: number): void {
	// Bing Map API:
	// https://msdn.microsoft.com/library/dn217138.aspx
	// Provide bing map query string parameters to format and style map view
	let bingMapUrlPrefix = "https://www.bing.com/maps/embed?h=400&w=300&cp=";
	let bingMapUrlPostfix = "&lvl=12&typ=d&sty=o&src=SHELL&FORM=MBEDV8";
	// Build the entire URL with the user provided latitude and longitude
	let iFrameSrc: string = bingMapUrlPrefix + latitude + "~" + longitude + bingMapUrlPostfix;
	// Update the IFrame to point to the updated URL
	this._bingMapIFrame.setAttribute("src", iFrameSrc);
}
6. createIFrameElement メソッドを追加。
- context.mode.setControlState: 引数に渡された ComponentFramework.Dictionary オブジェクトをステートとして保存
/**
 * IFrame HTML Element の作成
 */
private createIFrameElement(): HTMLElement {
	let iFrameElement: HTMLElement = document.createElement("iframe")
	iFrameElement.setAttribute("class", "TS_SampleControl_IFrame");
	return iFrameElement
}
7. 必須である getOutputs と destroy メソッドを追加。今回は処理はなし。
public getOutputs(): IOutputs {
    return {};
}

public destroy(): void {
}
コントロールのパッケージ化と配布
これまでと同じ方法でパッケージ化と配布を実行。
1. SampleSolution フォルダに移動し、以下のコマンドを実行。
pac solution add-reference --path ../IFrameControl
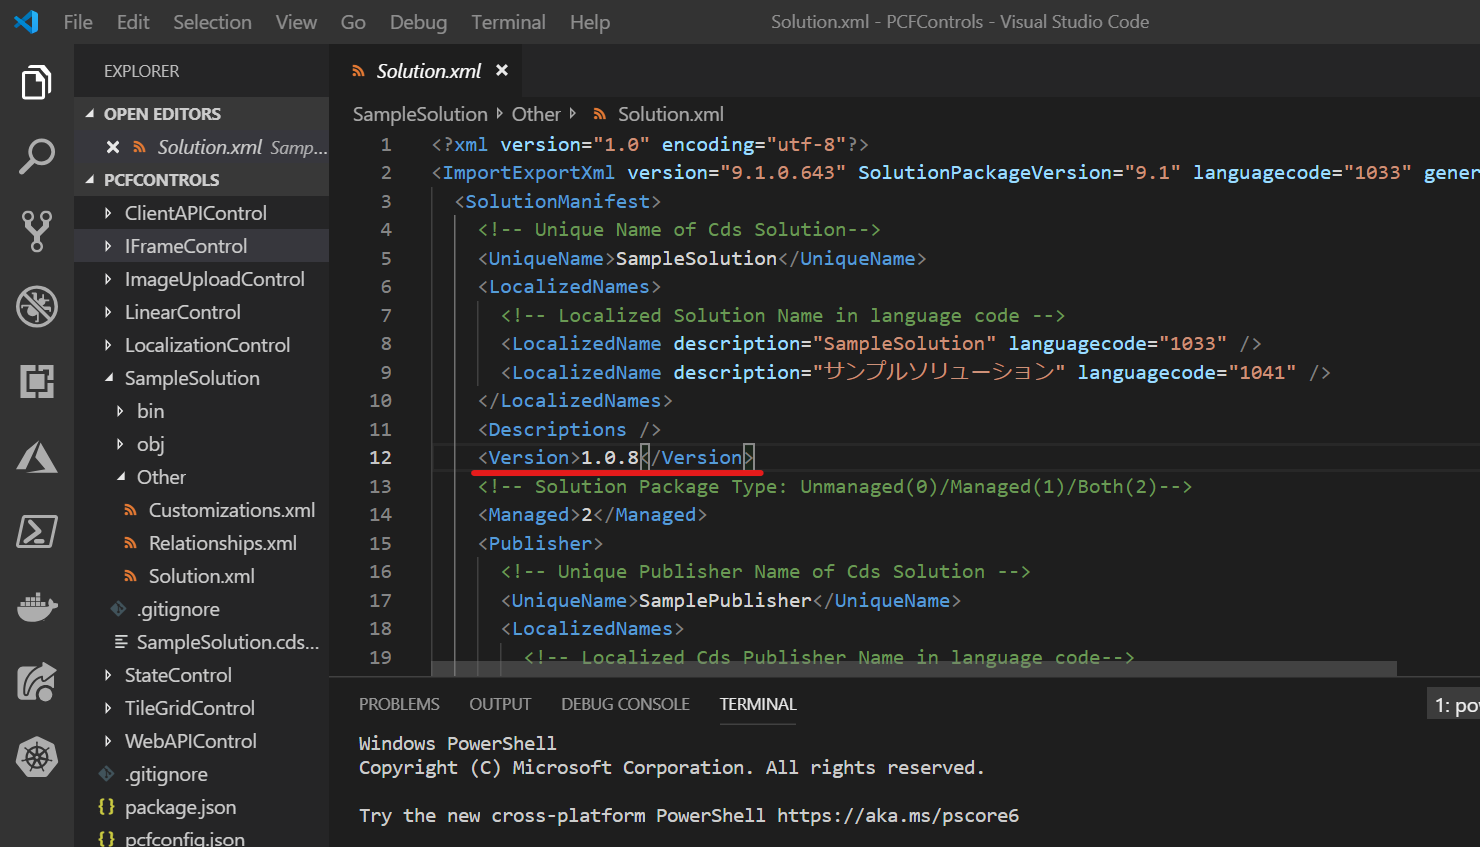
2. SampleSolution\Other\Solution.xml でバージョン情報を更新。
3. 以下コマンドでパッケージをビルド。
msbuild /restore
msbuild /p:configuration=Release
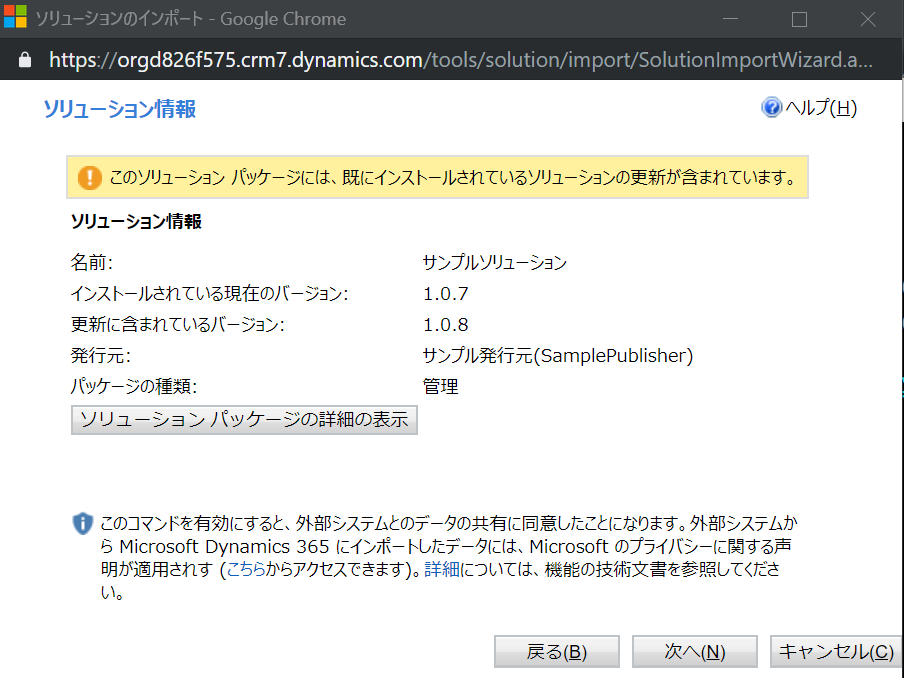
4. https://make.powerapps.com に接続。管理者権限でログイン。すでに SampleSolution を入れた環境で Solutions を選択し、Import をクリック。コンパイルした zip をインポート。インポート時にパッケージが更新される旨が表示されるので、そのまま次へ。
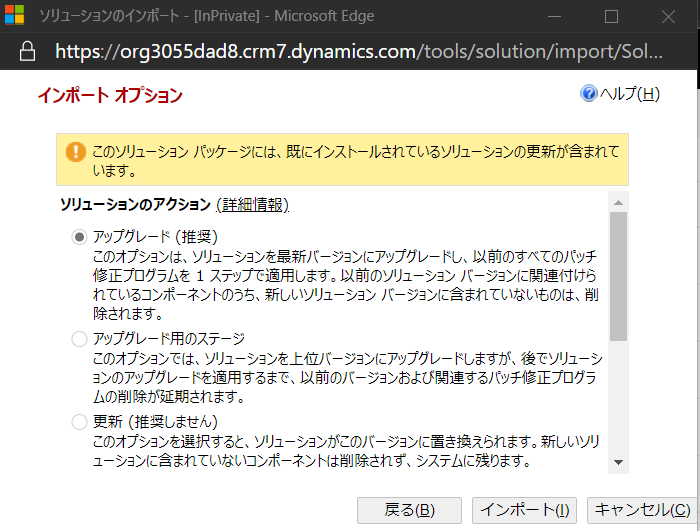
5. 次の画面も既定のまま「インポート」をクリック。
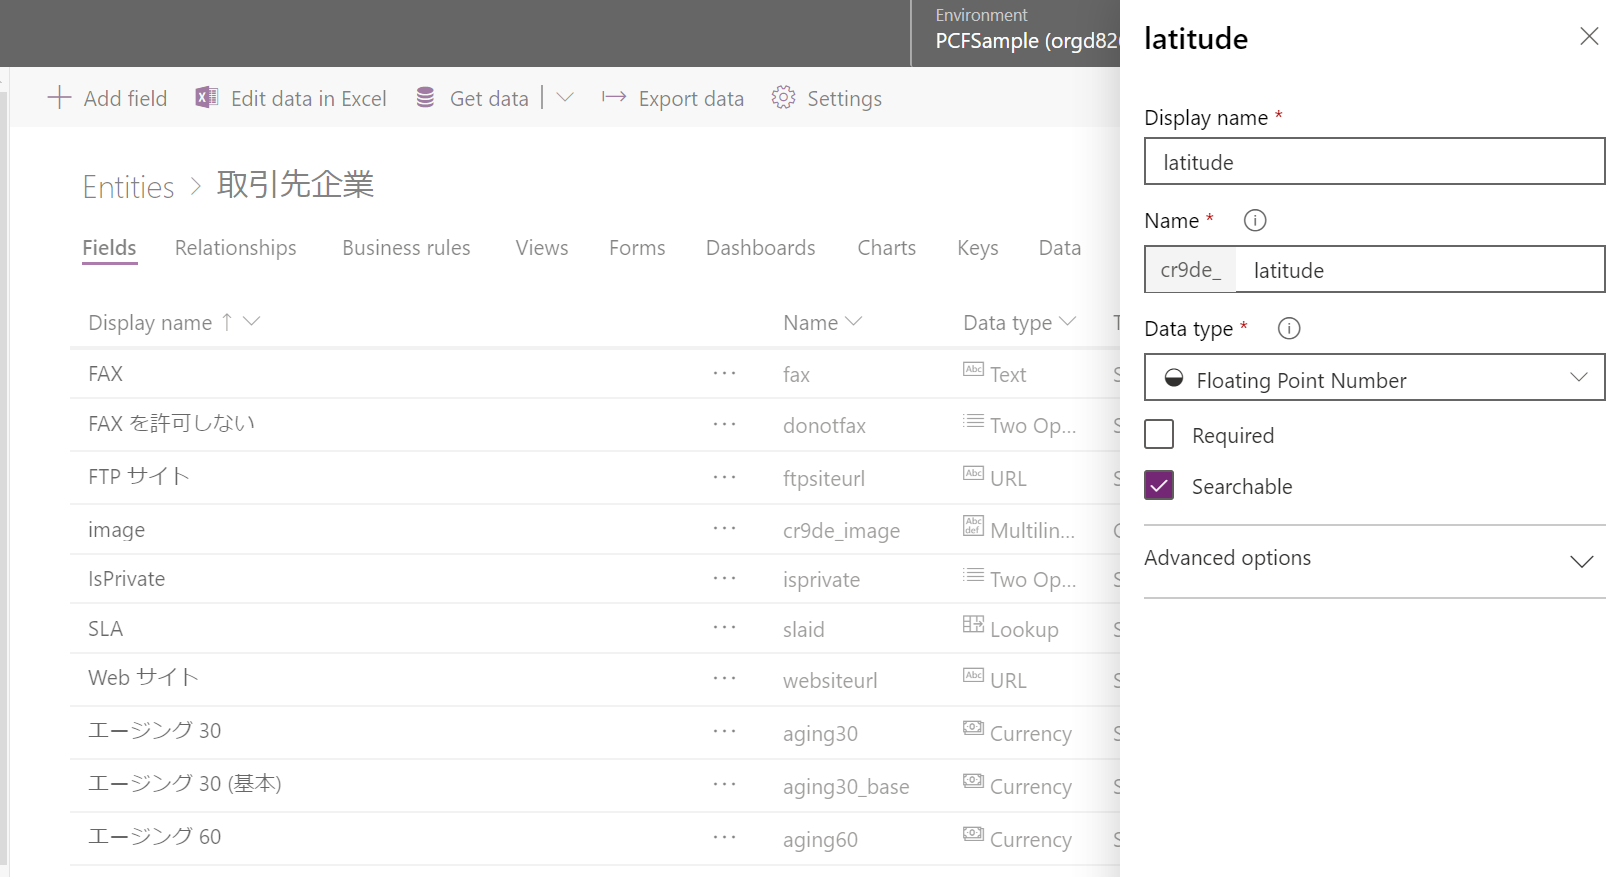
6. インポートが終わったら Data | Entities | 取引先企業 | Fields より「Add field」をクリック。Floating Point Number (浮動小数点型)、精度 5 桁で Latitude と Longitude フィールドを追加。
7.「Save Entity」をクリックして保存後、Forms | 取引先企業フォームを開き、「Switch to classic」をクリック。
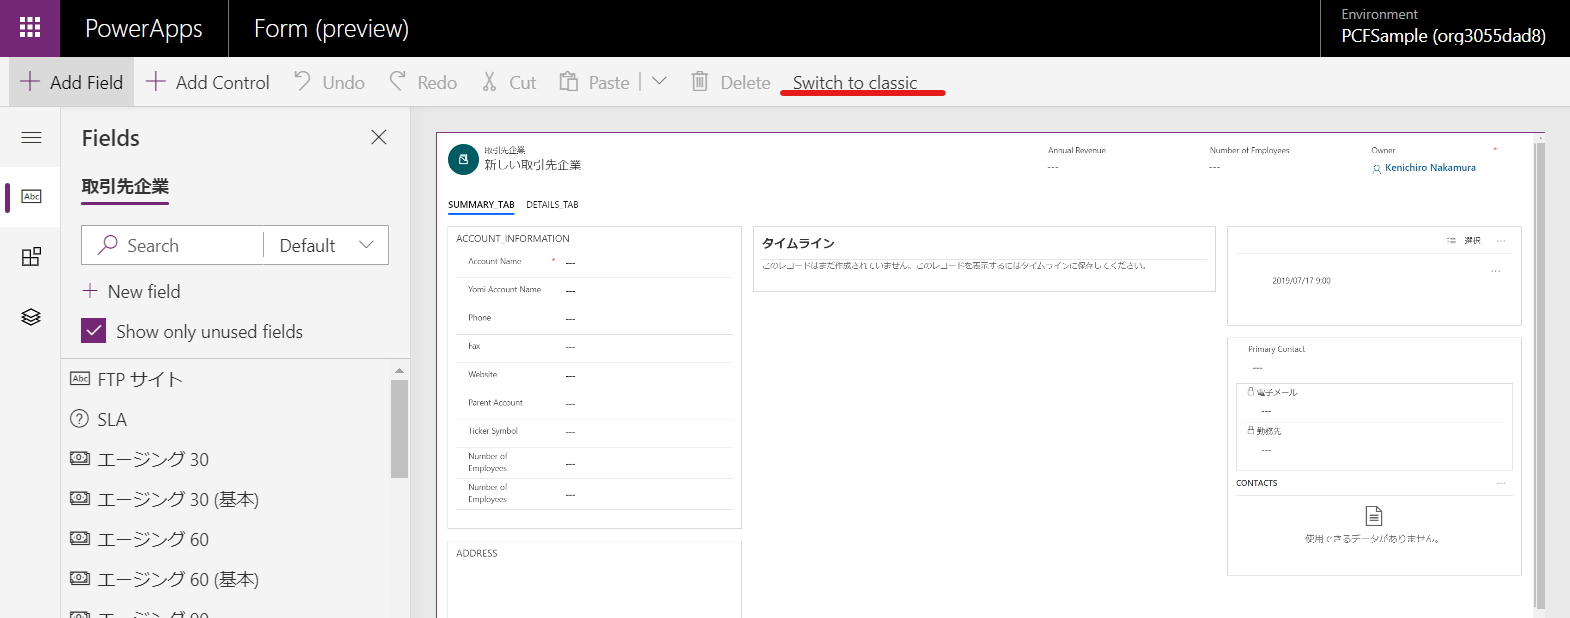
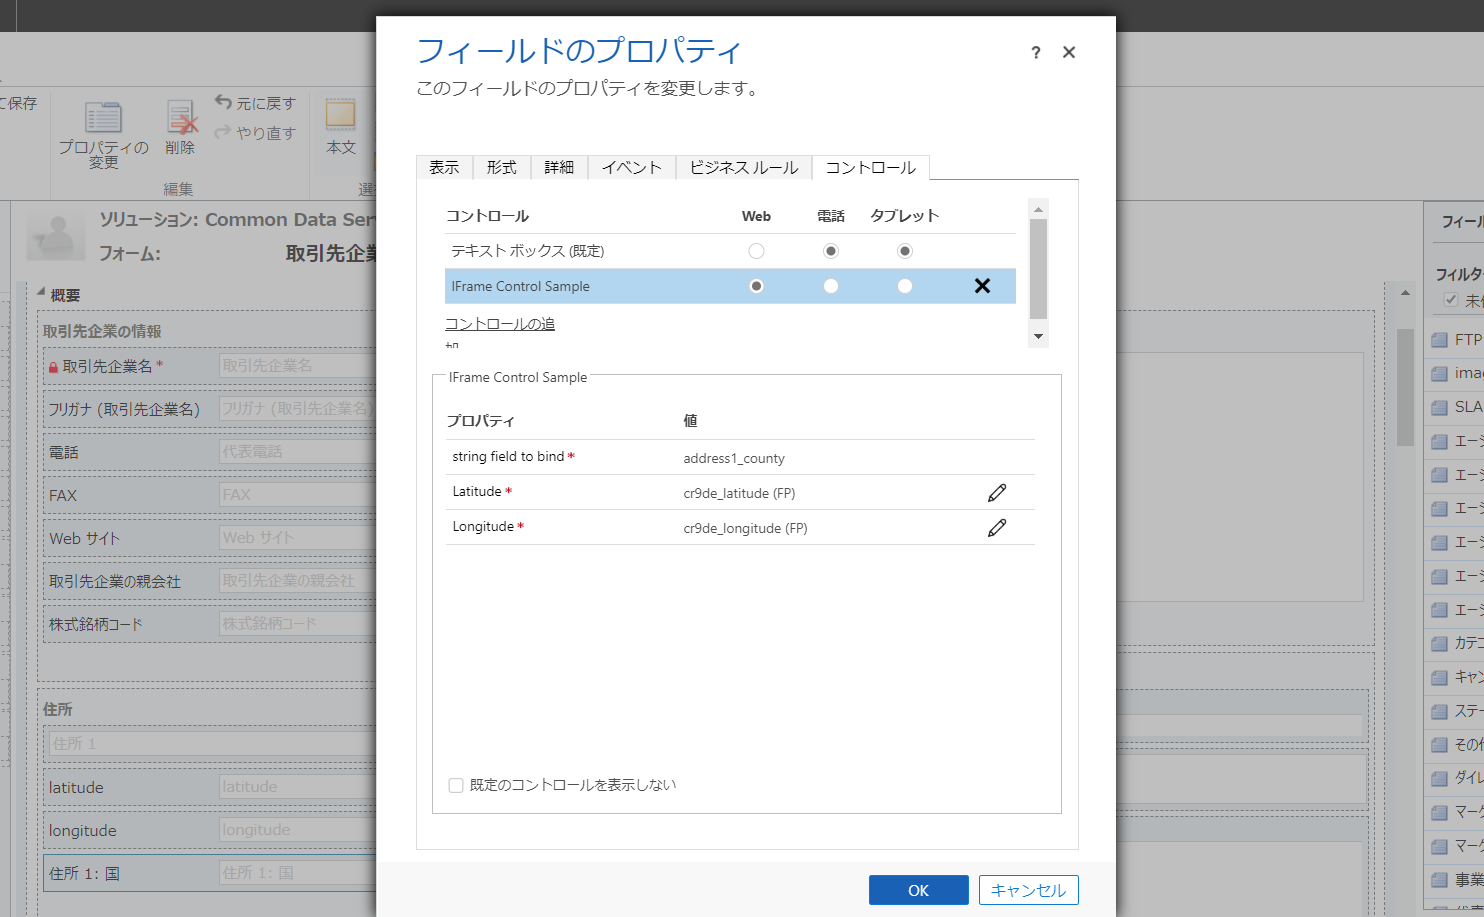
8. 住所セクションに作成した 2 フィールドと任意の文字列フィールドを配置。ここでは住所 1 : 国 を利用。「住所 1: 国」のプロパティよりコントロールを選択し、開発したコントロールを追加して、インプットにフィールドを設定。
9. すべて保存して公開。
動作確認
最後に動作を見てみましょう。
1. 任意の取引先レコードを開いて latitude、longitude に値を入力。
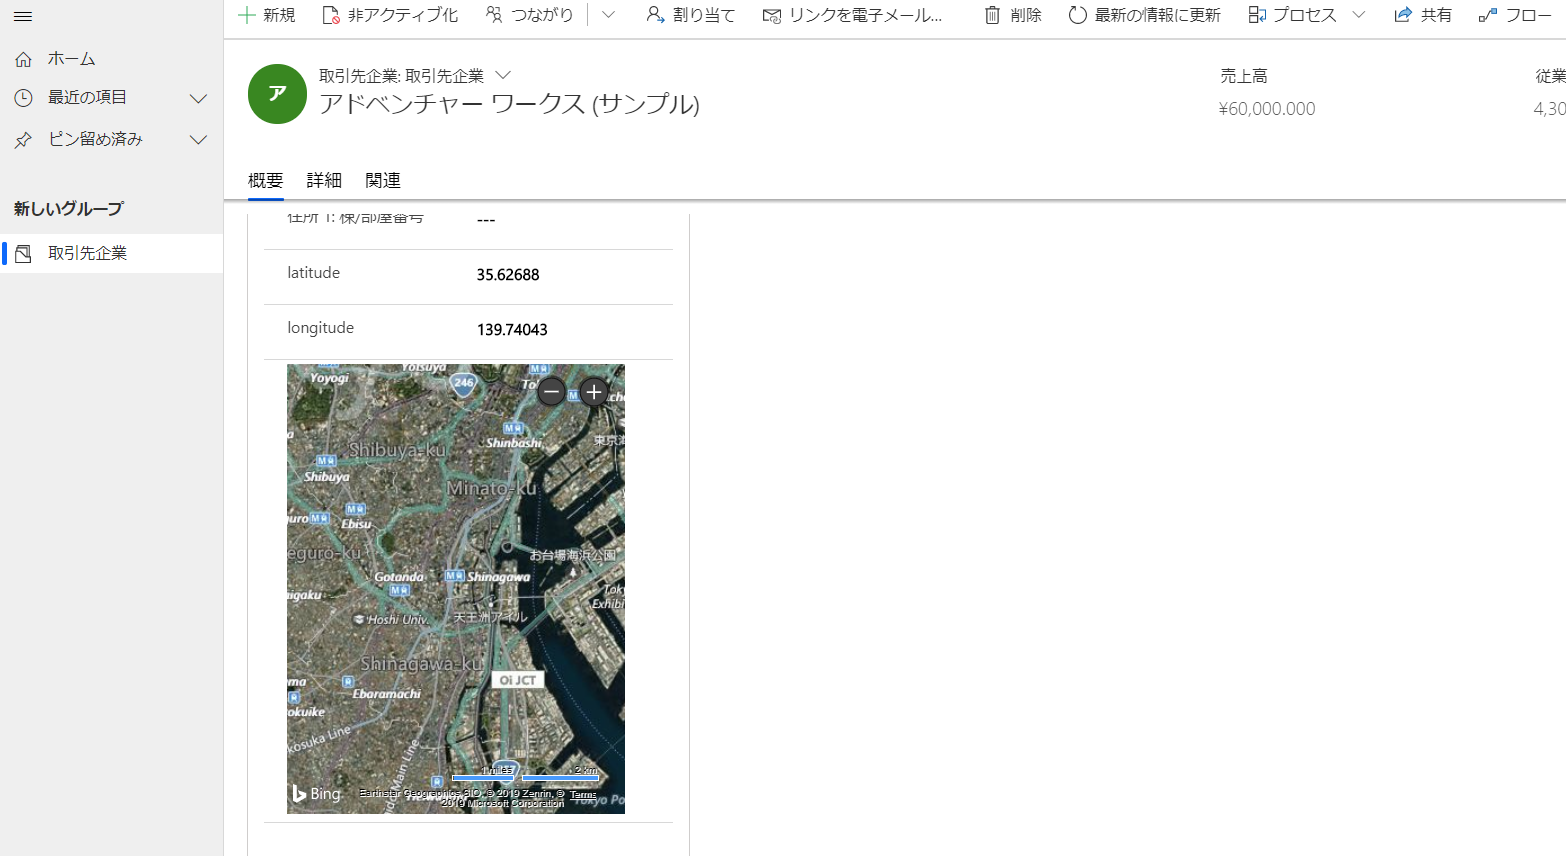
2. 値を変更して動的に変わることを確認。
まとめ
今回は IFrame の使い方を見ていきました。もともとは address1_latitude など既定のフィールドを使いたかったのですが、この記事を書いた時点では不具合で利用できないということでした。
こちら で問い合わせを投げた履歴が見れます。