前回に引き続き、今回は画像をアップロードするサンプルを解説します。
プロジェクトの作成
今回も既に作成した SampleSolution に追加するように開発していきます。
1. 前回まで作ってきた PCFControls フォルダに移動して、フィールド用のコントロールを作成。
mkdir ImageUploadControl
cd ImageUploadControl
2. 以下のコマンドを実行してプロジェクトを作成。
- 名前空間とプロジェクト名の指定
- template 引数は field を指定
pac pcf init --namespace SampleNamespace --name TSImageUploadControl --template field
3. npm パッケージをリストアして任意の IDE でフォルダを開く。ここでは Visual Studio Code を利用。
npm install
code .
コントロールマニフェストの編集とリソースの追加
これまで同様にまずはマニフェストから編集します。
1. ControlManifest.Input.xml を以下の様に編集。
- Multiple 文字列フィールドに画像データを保存
- resources に ts と css、既定の画像 を指定
- feature-usage : 今回は利用する機能として Device.pickFile を指定
<?xml version="1.0" encoding="utf-8" ?>
<manifest>
  <control namespace="SampleNamespace" constructor="TSImageUploadControl" version="1.0.0"
    display-name-key="Image Upload Control" description-key="Image Upload Control" control-type="standard">
    <property name="value" display-name-key="image value" description-key="image value"
      of-type="Multiple" usage="bound" required="true" />
    <resources>
      <code path="index.ts" order="1" />
      <css path="css/TS_ImageUploadControl.css" order="1" />
      <img path="img/default.png" />
    </resources>
    <feature-usage>
      <uses-feature name="Device.pickFile" required="true" />
    </feature-usage>
  </control>
</manifest>
2. ファイルの作成から css フォルダパスを含めて TS_ImageUploadControl.css を作成。中身を以下に差し替え。
.SampleNamespace\.TSImageUploadControl button{
text-decoration: none;
display: block;
font-size: 14px;
margin: 4px 6px;
cursor: pointer;
color: white;
border-radius: 0px;
background-color: rgb(59, 121, 183);
border: none;
padding: 5px;
text-align: center;
}
.SampleNamespace\.TSImageUploadControl img{
display: block;
box-shadow: 0 5px 10px 0 rgba(30, 30, 30, 0.3);
width: 100px;
height: 100px;
}
.SampleNamespace\.TSImageUploadControl .NoImage>.RemoveButton {
display: none;
}
.SampleNamespace\.TSImageUploadControl label{
display: none;
}
.SampleNamespace\.TSImageUploadControl .ShowError>label{
display: block;
color: red;
}
3. img フォルダを作成して、既定の画像を指定。今回は本家のサンプルにあった画像をそのまま利用。
4. ターミナルより以下コマンドでビルドを実行。
npm run build
index.ts の編集
1. まずは import の追加と定数の定義。
import {IInputs, IOutputs} from "./generated/ManifestTypes";
// 既定の画像名
const DefaultImageFileName:string = "default.png";
// エラー表示用クラス名
const ShowErrorClassName = "ShowError";
// 画像無し用クラス名
const NoImageClassName = "NoImage";
// 画像削除用クラス名
const RemoveButtonClassName = "RemoveButton";
2. クラスとプロパティの定義。
export class TSImageUploadControl implements ComponentFramework.StandardControl<IInputs, IOutputs>
{
    // 画像の値
    private _value: string | null;
    // コンテキスト
    private _context: ComponentFramework.Context<IInputs>;
    // 変更を画面に通知するイベントハンドラー
    private _notifyOutputChanged: () => void;
    // コントロールをホストするコンテナ
    private _container: HTMLDivElement;
    // 画像アップロードボタン
    private uploadButton: HTMLButtonElement;
    // 画像削除ボタン
    private removeButton: HTMLButtonElement;
    // 画像エレメント
    private imgElement: HTMLImageElement;
    // エラー用ラベル
    private errorLabelElement: HTMLLabelElement;
}
3. init 初期化メソッドを追加。
/**
    * init メソッド
    * @param context : 各種オブジェクトや API へのアクセスを提供するコンテキスト
    * @param notifyOutputChanged : 出力変更通知のコールバック
    * @param state : 前回保存したステート
    * @param container : UI コントロールを保持するコンテナ
    */
public init(context: ComponentFramework.Context<IInputs>, notifyOutputChanged: () => void, state: ComponentFramework.Dictionary, container:HTMLDivElement)
{
    this._context = context;
    this._notifyOutputChanged = notifyOutputChanged;
    // コンテナ
    this._container = document.createElement("div");
    // アップロードボタンの作成およびイベントの設定
    this.uploadButton = document.createElement("button");
    this.uploadButton.innerHTML = "画像のアップロード";
    this.uploadButton.addEventListener("click", this.onUploadButtonClick.bind(this));
    // 画像エレメントの作成
    this.imgElement = document.createElement("img");
    // 削除ボタンの作成およびイベントの設定
    this.removeButton = document.createElement("button");
    this.removeButton.classList.add(RemoveButtonClassName);
    this.removeButton.innerHTML = "画像の削除"
    this.removeButton.addEventListener("click", this.onRemoveButtonClick.bind(this));
    // エラーラベルの作成
    this.errorLabelElement = document.createElement("label");
    // 画像データがある場合は表示
    if(this._context.parameters.value.raw)
    {
        this.imgElement.src = context.parameters.value.raw;
    }
    else
    {
        this.setDefaultImage();
    }
    // すべてのコントロールをコンテナに設定し PCF に設定
    this._container.appendChild(this.uploadButton);
    this._container.appendChild(this.imgElement);
    this._container.appendChild(this.removeButton);
    this._container.appendChild(this.errorLabelElement);
    container.appendChild(this._container);
}
4. PCF からの変更通知を処理する updateView メソッドを追加。ここではコンテキストのみ保存。
public updateView(context: ComponentFramework.Context<IInputs>): void
{
    this._context = context;
}
5. ボタンクリック時の処理である onUploadButtonClick と onRemoveButtonClick メソッドを追加。
- context.device.pickFile: ファイル選択のダイアログを開く
private onUploadButtonClick(event: Event): void
{
    // context.device.pickFile(successCallback, errorCallback) でファイルを取得
    this._context.device.pickFile().then(this.processFile.bind(this), this.showError.bind(this));
}

private onRemoveButtonClick(event: Event): void
{
    // 規定の画像にセット
    this.setDefaultImage();
}
6. ボタンの処理から呼ばれる processFile メソッドを追加。
- string|undefined と記述することで複数の型を指定可能
- pop() : 配列の最後を取得
private processFile(files: ComponentFramework.FileObject[]): void
{
    // ファイルが選択された場合
    if(files.length > 0)
    {
        // 初めのファイルだけ処理
        let file: ComponentFramework.FileObject = files[0];
        try
        {
            // string または undefined 型として拡張子を取得
            let fileExtension: string|undefined;
            if(file && file.fileName)
            {
                fileExtension = file.fileName.split('.').pop();
            }
            if(fileExtension)
            {
                this.setImage(true, fileExtension, file.fileContent);
                this._container.classList.remove(NoImageClassName);
            }
            else
            {
                this.showError();
            }
        }
        catch(err)
        {
            this.showError();
        }
    }
}
7. 画像設定関連のメソッドを追加。
- context.resources.getResource : リソースを取得。ここでは既定の画像を取得
private setDefaultImage():void
{
    // context.resources よりリソースとして登録している画像を取得
    this._context.resources.getResource(DefaultImageFileName, this.setImage.bind(this, false, "png"), this.showError.bind(this));
    this._container.classList.add(NoImageClassName);
    // 画像がある場合は値を削除
    if(this._context.parameters.value.raw)
    {
        this._value = null;
        this._notifyOutputChanged();
    }
}

/**
* 画像の設定
* @param shouldUpdateOutput PCF 側の値を戻すか指定
* @param fileType ファイルの種類。"png", "gif", "jpg"
* @param fileContent base64 フォーマットの画像データ
*/
private setImage(shouldUpdateOutput:boolean, fileType: string, fileContent: string): void
{
    // 画像のタイプと合わせて画像エレメント用にソースデータを作成して設定
    let imageUrl:string = this.generateImageSrcUrl(fileType, fileContent);
    this.imgElement.src = imageUrl;
    if(shouldUpdateOutput)
    {
        this._container.classList.remove(ShowErrorClassName);
        this._value = imageUrl;
        this._notifyOutputChanged();
    }
}

/**
* 画像ソース用のデータ作成
* @param fileType ファイルの種類。"png", "gif", "jpg"
* @param fileContent base64 フォーマットの画像データ
*/
private generateImageSrcUrl(fileType: string, fileContent: string): string
{
    return  "data:image/" + fileType + ";base64, " + fileContent;
}
8. エラー出力用のメソッドを追加。
private showError(): void
{
    this.errorLabelElement.innerText = "ファイルが見つかりませんでした";
    this._container.classList.add(ShowErrorClassName);
}
9. 必須である getOutputs と destroy メソッドを追加。
public getOutputs(): IOutputs
{
    let result: IOutputs =
        {
            value: this._value!
        };
        return result;
}

public destroy(): void
{
}
コントロールのパッケージ化と配布
これまでと同じ方法でパッケージ化と配布を実行。
1. SampleSolution フォルダに移動し、以下のコマンドを実行。
pac solution add-reference --path ../ImageUploadControl
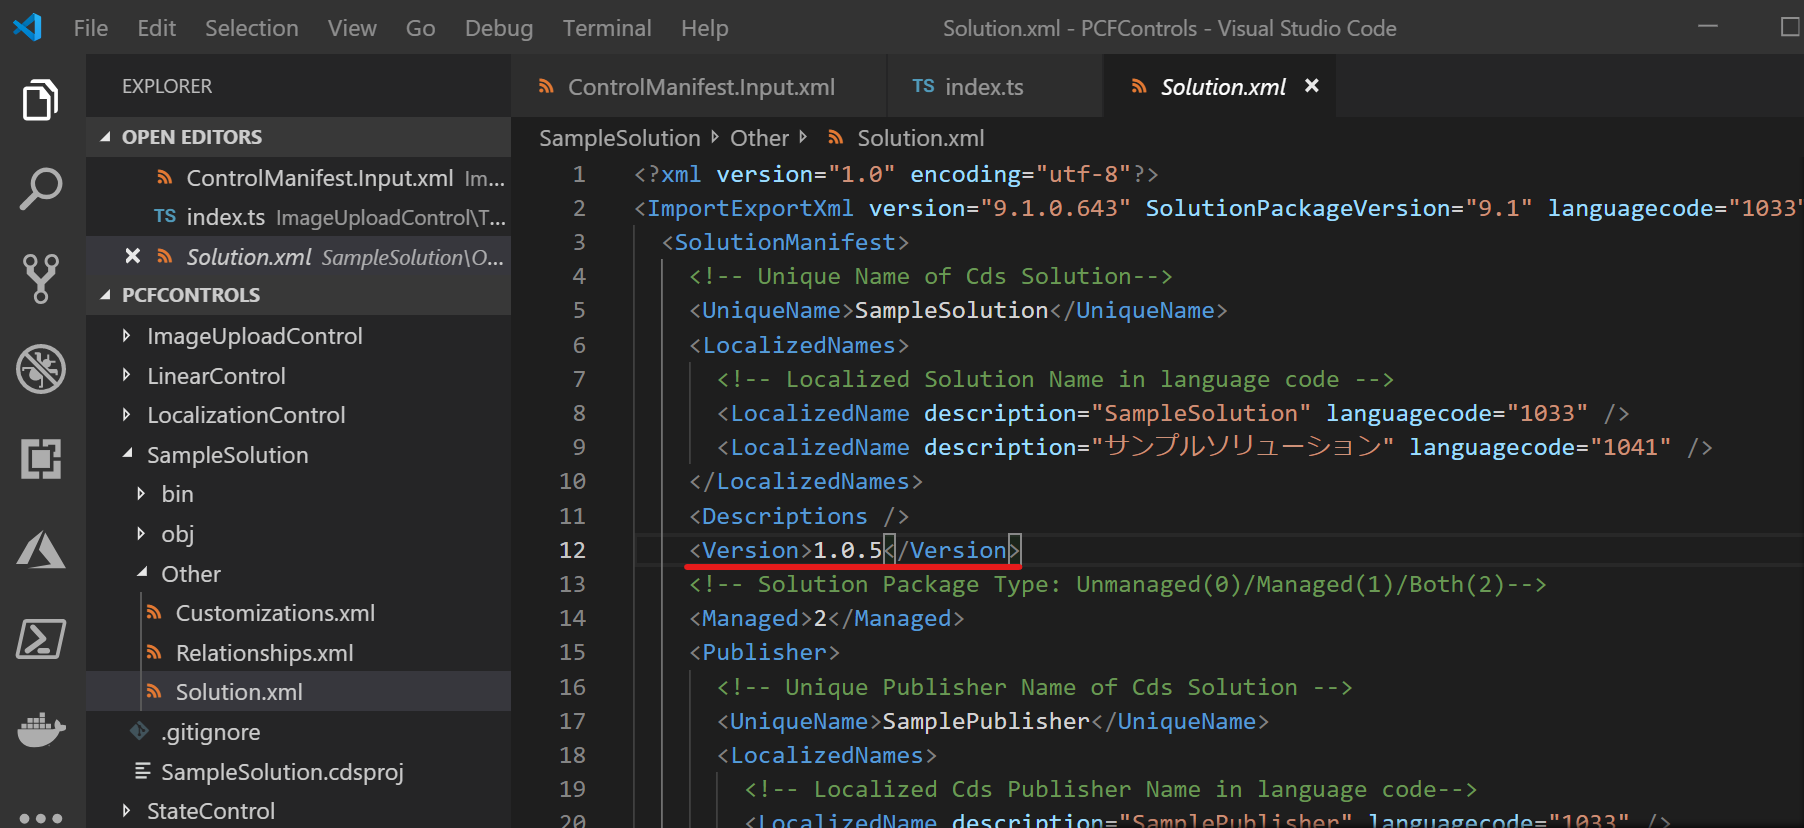
2. SampleSolution\Other\Solution.xml でバージョン情報を更新。
3. 以下コマンドでパッケージをビルド。
msbuild /restore
msbuild /p:configuration=Release
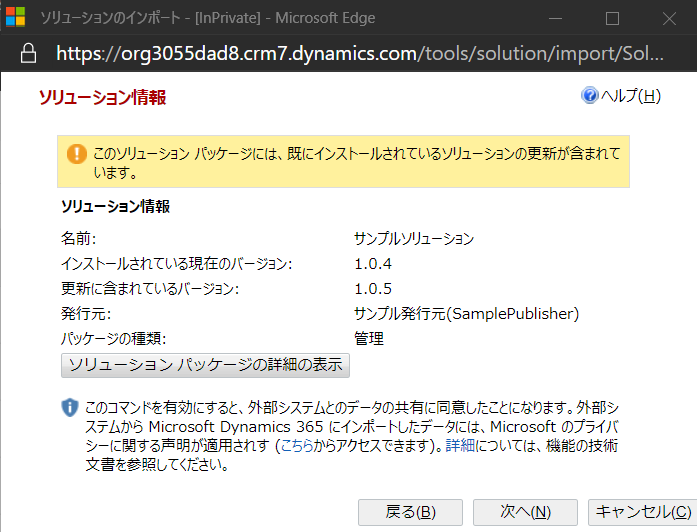
4. https://make.powerapps.com に接続。管理者権限でログイン。すでに SampleSolution を入れた環境で Solutions を選択し、Import をクリック。コンパイルした zip をインポート。インポート時にパッケージが更新される旨が表示されるので、そのまま次へ。
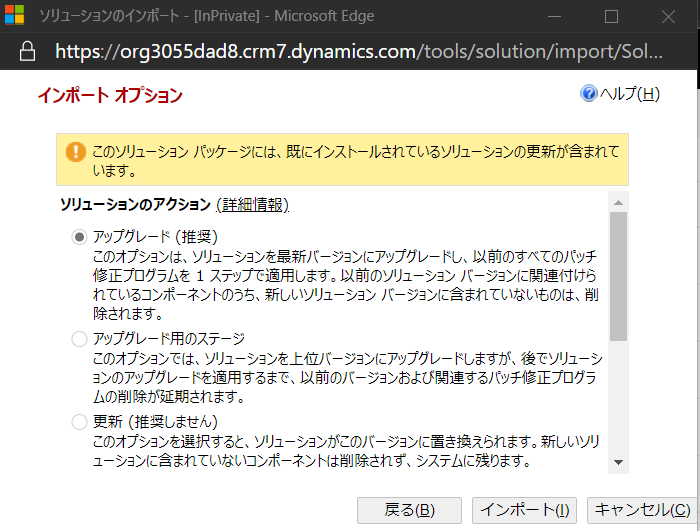
5. 次の画面も既定のまま「インポート」をクリック。
6. インポートが終わったら Data | Entities | 取引先企業 | Fields で「Add field」をクリック。

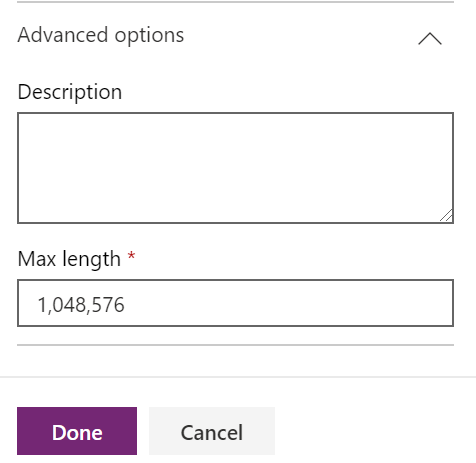
7. Data Type で 「Multiline Text」を選択し、「Advanced options」をクリック。
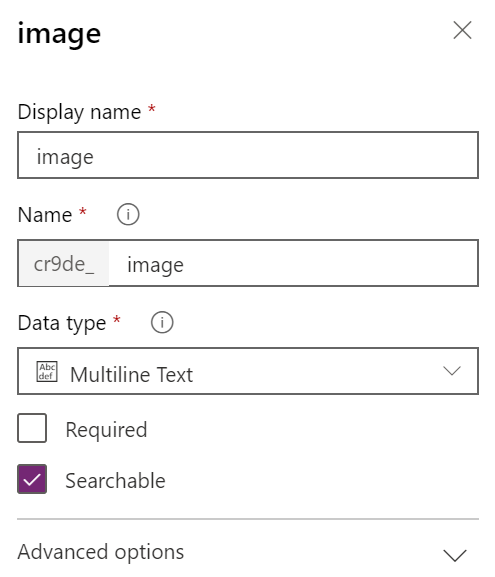
8. 値に最大値である 1,048,576 を設定して OK をクリック。フィールド一覧で「Save Entity」をクリックして変更を確定。
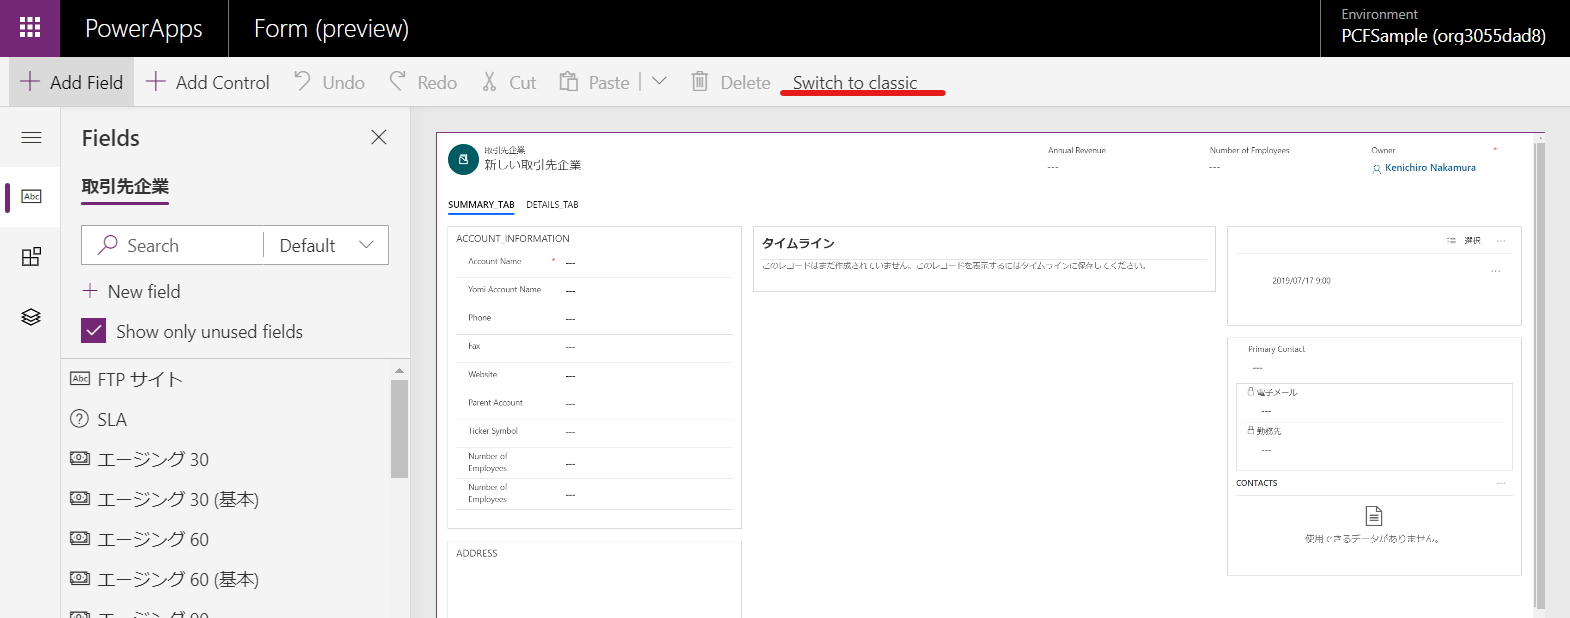
9. Forms | 取引先企業フォームを開き、「Switch to classic」をクリック。
10. 作成した image フィールドをフォームに配置。プロパティよりコントロールを選択し、開発したコントロールを追加。
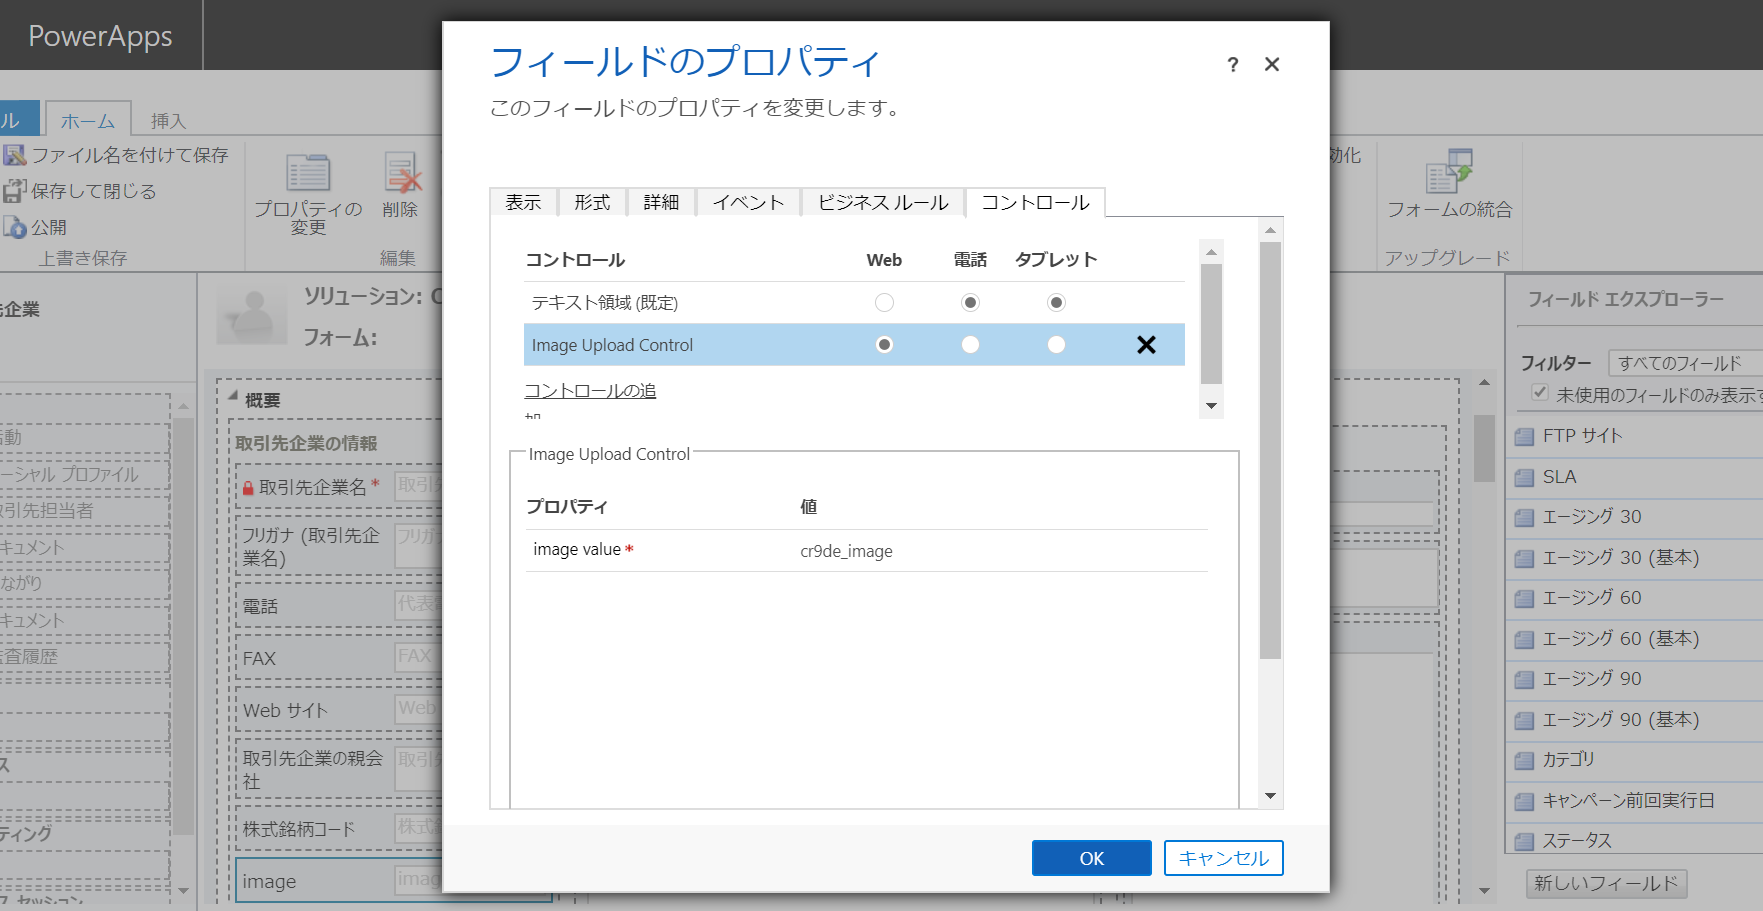
11. すべての保存してフォームを公開。
動作確認
最後に動作を確認しましょう。
1. アプリより取引先企業のレコードを開き、開発したコントロールを確認。
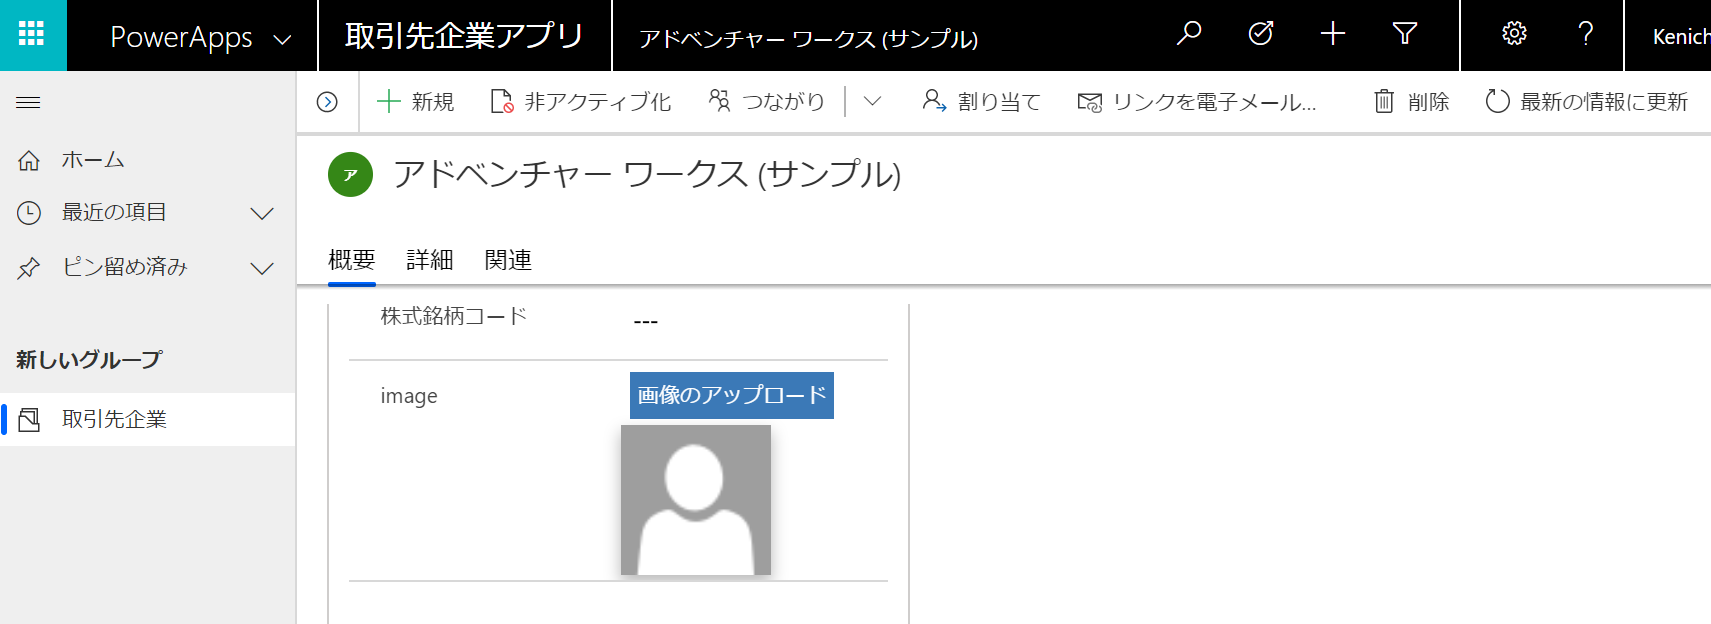
2. 「画像のアップロード」をクリックして任意の画像を開く。
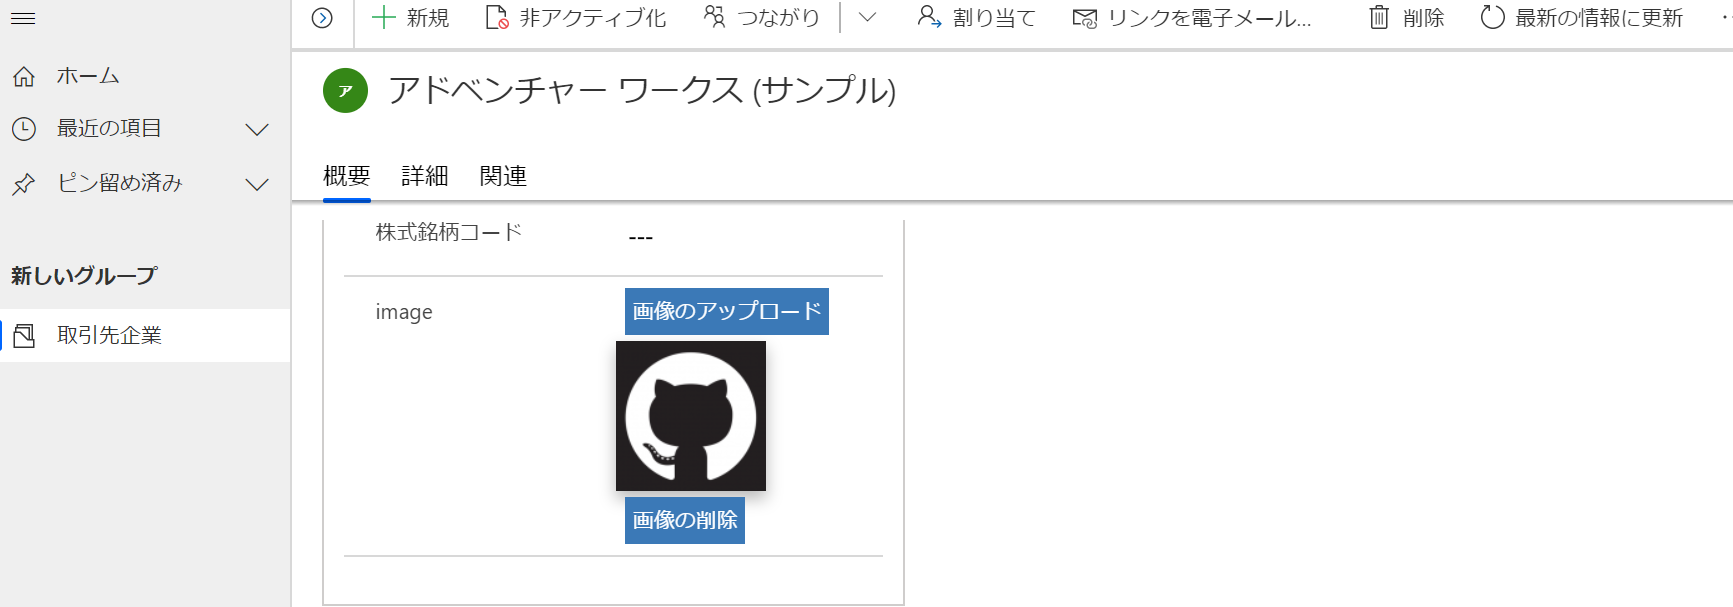
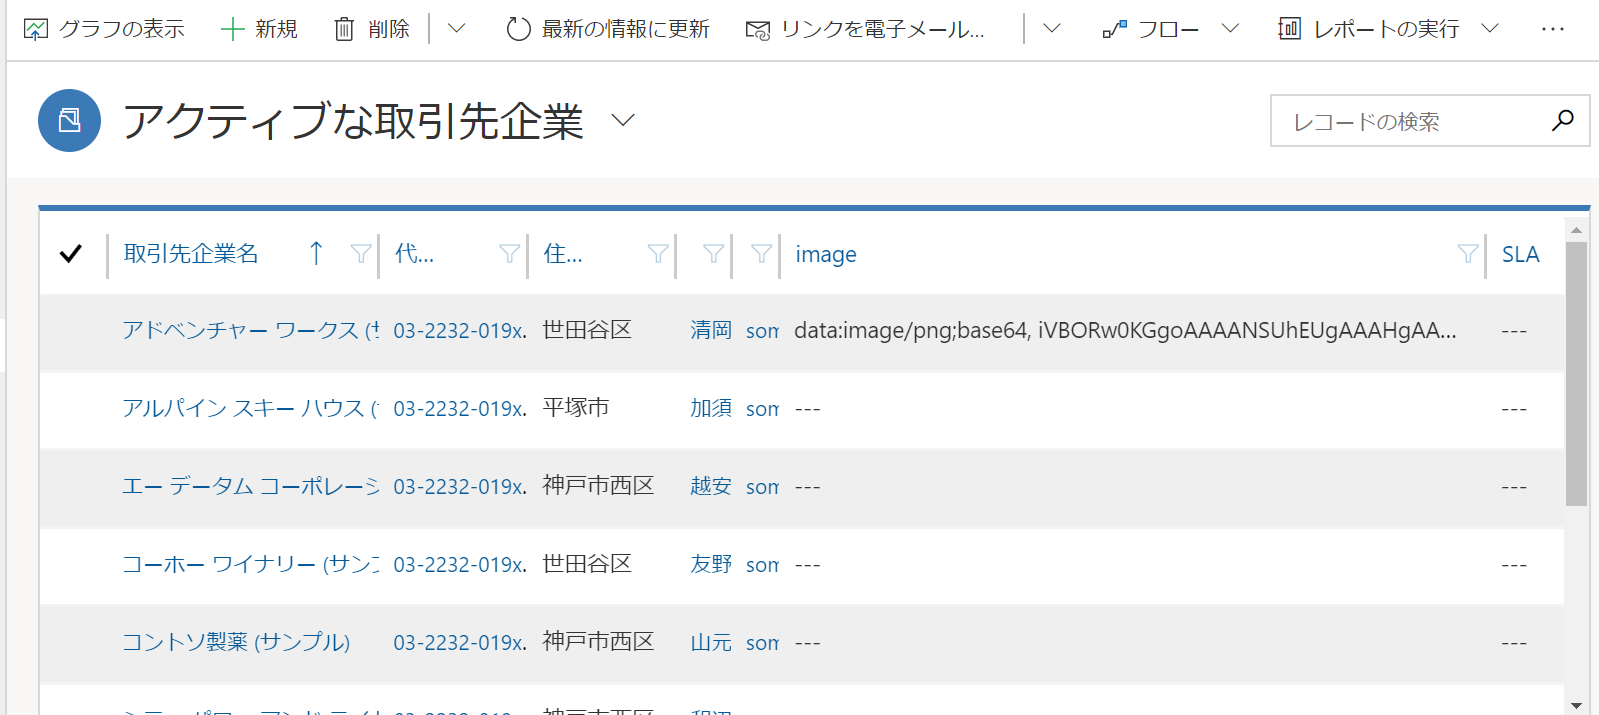
3. レコードを保存後、レコードを開きなおして画像が存在することを確認。ビューで image 列を表示すれば実際のデータも確認可能。
まとめ
今回のソリューションは画像を base64 文字列としてそのまま保存していますが、Azure Storage に保存するなどいろいろやり方は考えられます。次回は Web API のサンプルを見ていきます。