前回はウォーターフォールダイアログを使って、複数のプロンプトを扱う方法を紹介しました。今回は複数の ComponentDialog ダイアログを既存のボットに追加して、管理する方法を見ていきます。
追加するダイアログとシナリオ
今回の記事では、前回追加した ProfileDialog に加え、以下のダイアログを追加します。
- MenuDialog : ボットの機能を伝えるダイアログ
- WeatherDialog : 天気を知らせてくれるダイアログ
- ScheduleDialog : 予定を知らせてくれるダイアログ
また、ProfileDialog はユーザーが初回にボットに話しかけたタイミングで実行するようにします。
ダイアログスタック
ダイアログにはスタックという考え方があります。
- まず初めのダイアログがスタックに追加される (BeginDialogAsync)
- 子ダイアログを呼ぶと、現在のダイアログの上に追加される (BeginDialogAsync)
- 子ダイアログが終了するとスタックから削除され元のダイアログに戻る (EndDialogAsync)
- 繰り返し同じダイアログを呼ぶ場合は、スタックが増えないよう入れ替える (ReplaceDialogAsync)
ダイアログスタックはダイアログコンテキストで管理されるため、以下コードで現在実行中のダイアログに遷移することが出来ます。
var dialogContext = await dialogs.CreateContextAsync(turnContext, cancellationToken);
var results = await dialogContext.ContinueDialogAsync(cancellationToken);
ConversationUpdate アクティビティ タイプ
ユーザーとボットの間で発生するアクティビティには以下の種類があります。
message
ユーザーからメッセージが送られて来た。
conversationUpdate
ボットが会話に追加されたこと、他のメンバーが会話に追加された、または会話から削除されたこと、会話のメタデータが変更されたことを示す。
contactRelationUpdate
ユーザーの連絡先リストに対してボットが追加または削除されたことを示す。
typing
会話の相手側のユーザーまたはボットが応答を準備していることを示す。
deleteUserData
ボットに保存されている可能性のあるユーザー データを削除するようにユーザーが要求したことをボットに示す。
endOfConversation
会話の終了を示す。
conversationUpdate アクティビティタイプでユーザーに対する初期応答を行います。またユーザーに対してのみ処理を行うように、Actvity の Recepient と、MembersAdded で追加されたユーザー情報で確認します。
1. プロジェクトに Dialogs フォルダを追加。
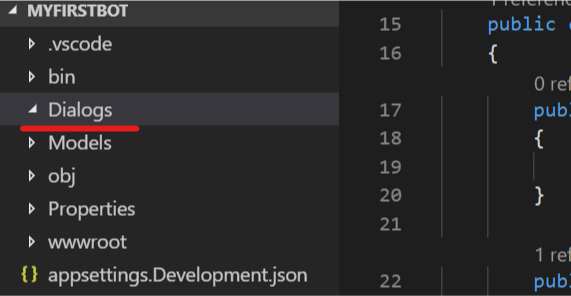
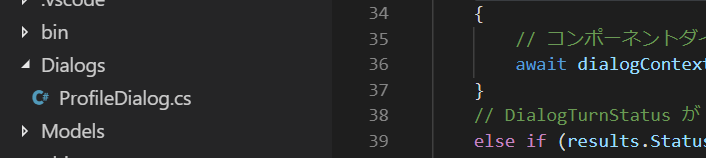
2. ProfileDialog.cs を Dialogs フォルダに移動。
3. MyBot.cs の OnTurnAsync を以下の様に変更。ダイアログコンテキストの作成および保存場所を変更し、ConversationUpdate でプロファイルダイアログを実行。
public async Task OnTurnAsync(ITurnContext turnContext, CancellationToken cancellationToken = default(CancellationToken))
{
// DialogSet からコンテキストを作成
var dialogContext = await dialogs.CreateContextAsync(turnContext, cancellationToken);
// ユーザーからメッセージが来た場合
if (turnContext.Activity.Type == ActivityTypes.Message)
{
// まず ContinueDialogAsync を実行して既存のダイアログがあれば継続実行。
var results = await dialogContext.ContinueDialogAsync(cancellationToken);
// DialogTurnStatus が Complete の場合、ダイアログは完了したため結果を処理
if (results.Status == DialogTurnStatus.Complete)
{
var userProfile = await accessors.UserProfile.GetAsync(turnContext, () => new UserProfile(), cancellationToken);
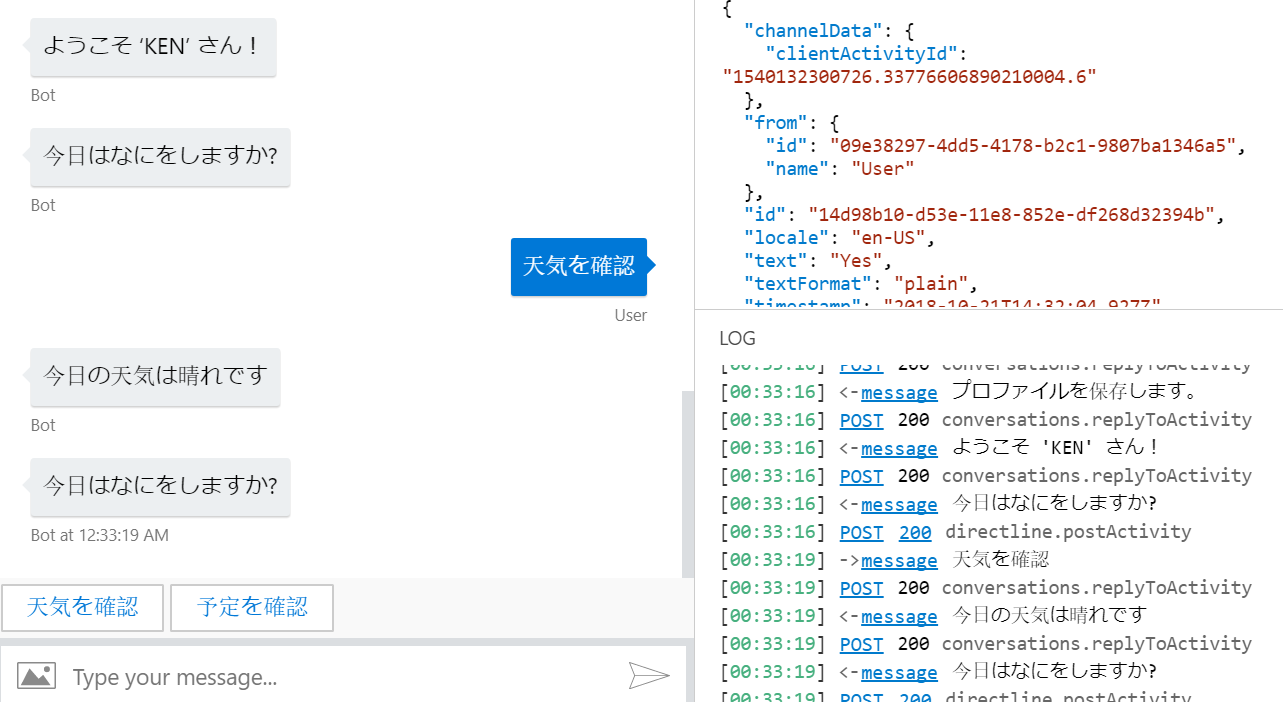
await turnContext.SendActivityAsync(MessageFactory.Text($"ようこそ '{userProfile.Name}' さん!"));
}
}
// ユーザーとボットが会話に参加した
else if (turnContext.Activity.Type == ActivityTypes.ConversationUpdate)
{
// turnContext より Activity を取得
var activity = turnContext.Activity.AsConversationUpdateActivity();
// ユーザーの参加に対してだけ、プロファイルダイアログを開始
if (activity.MembersAdded.Any(member => member.Id != activity.Recipient.Id))
{
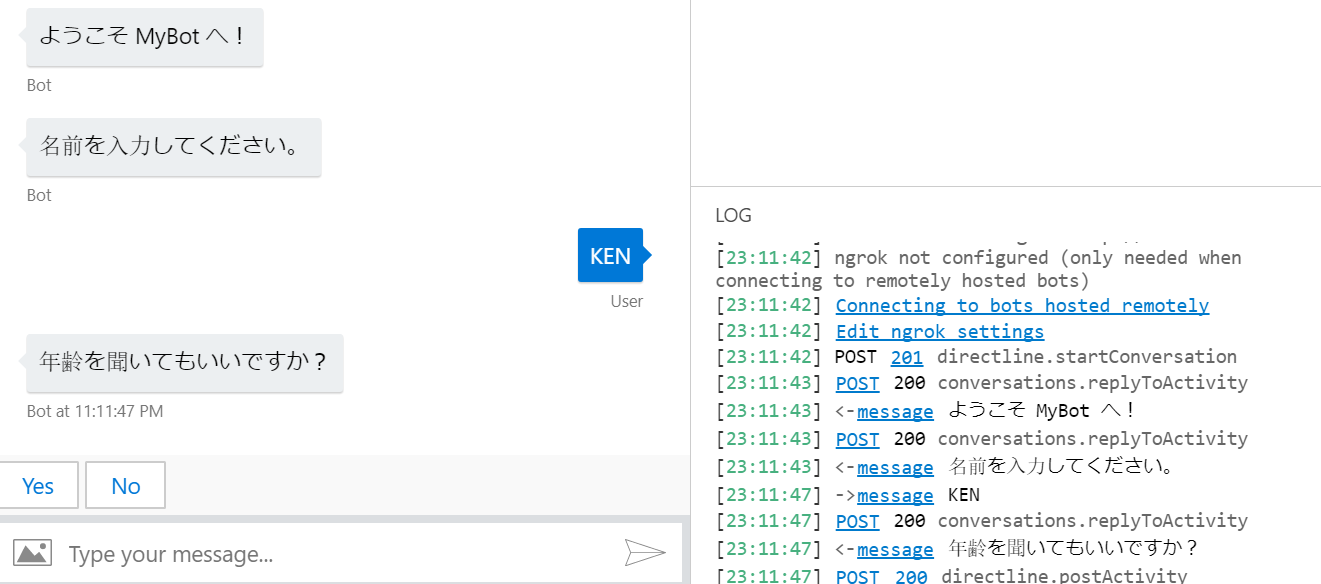
await turnContext.SendActivityAsync("ようこそ MyBot へ!");
await dialogContext.BeginDialogAsync(nameof(ProfileDialog), null, cancellationToken);
}
}
// 最後に現在の UserProfile と DialogState を保存
await accessors.UserState.SaveChangesAsync(turnContext, false, cancellationToken);
await accessors.ConversationState.SaveChangesAsync(turnContext, false, cancellationToken);
}
4. F5 でデバッグ開始して、エミュレータで動作を確認。
MenuDialog, WeatherDialog, ScheduleDialog の追加
残りのダイアログの追加を行います。
1. Dialogs フォルダ配下に MenuDialog.cs を追加し、以下のコードを追加。ポイントは以下の通り。
- 機能一覧を Choice で表示
- メニューの中身と子ダイアログの紐づけとして Dictionary を定義
- ChoiceFactory を使ってメニュー定義より Choice のリストを作成
- BeginDialogAsync で子ダイアログを実行
- ReplaceDialogAync で menu を再実行
- 子ダイアログを DialogSet に追加
using System.Threading;
using System.Threading.Tasks;
using System.Collections.Generic;
using Microsoft.Bot.Builder;
using Microsoft.Bot.Builder.Dialogs;
using Microsoft.Bot.Builder.Dialogs.Choices;
using System.Linq;

public class MenuDialog : ComponentDialog
{
    // メニューの作成。表示される文字と子ダイアログの名称をセットで登録
    private static Dictionary<string, string> menus = new Dictionary<string, string>(){
        { "天気を確認", nameof(WeatherDialog) },
        { "予定を確認", nameof(ScheduleDialog) }
    };

    // ChoiceFactory で選択肢に設定する IList<Choice> を作成
    private static IList<Choice> choices = ChoiceFactory.ToChoices(menus.Select(x => x.Key).ToList());

    public MenuDialog() : base(nameof(MenuDialog))
    {
        // ウォーターフォールのステップを定義。処理順にメソッドを追加。
        var waterfallSteps = new WaterfallStep[]
        {
            ShowMenuAsync,
            ProcessInputAsync,
            LoopMenu
        };

        // ウォーターフォールダイアログと各種プロンプトを追加
        AddDialog(new WaterfallDialog("menu", waterfallSteps));
        AddDialog(new ChoicePrompt("choice"));
        AddDialog(new WeatherDialog());
        AddDialog(new ScheduleDialog());
    }

    public static async Task<DialogTurnResult> ShowMenuAsync(WaterfallStepContext stepContext, CancellationToken cancellationToken)
    {
        // Choice プロンプトでメニューを表示
        return await stepContext.PromptAsync(
            "choice",
            new PromptOptions
            {
                Prompt = MessageFactory.Text("今日はなにをしますか?"),
                Choices = choices,
            },
            cancellationToken);
    }

    private async Task<DialogTurnResult> ProcessInputAsync(WaterfallStepContext stepContext, CancellationToken cancellationToken)
    {
        // 答えを確認して次のダイアログ名を取得
        var choice = (FoundChoice)stepContext.Result;
        var dialogId = menus[choice.Value];
        // 子ダイアログの実行
        return await stepContext.BeginDialogAsync(dialogId, null, cancellationToken);
    }

    private async Task<DialogTurnResult> LoopMenu(WaterfallStepContext stepContext, CancellationToken cancellationToken)
    {
        // スタックに乗せないように、Replace でメニューを再表示
         return await stepContext.ReplaceDialogAsync("menu", null, cancellationToken);
    }
}
2. MyBot.cs で MenuDialog を使えるように変更。
- コンストラクタで DialogSet に MenuDialog を追加
- DialogTurnStatusComplete で MenuDialog を開始するよう設定
using System;
using System.Linq;
using System.Threading;
using System.Threading.Tasks;
using Microsoft.Bot.Builder;
using Microsoft.Bot.Builder.Dialogs;
using Microsoft.Bot.Schema;
public class MyBot : IBot
{
    private MyStateAccessors accessors;
    private DialogSet dialogs;
    // DI で MyStateAccessors は自動解決
    public MyBot(MyStateAccessors accessors)
    {
        this.accessors = accessors;
        this.dialogs = new DialogSet(accessors.ConversationDialogState);

        // コンポーネントダイアログを追加
        dialogs.Add(new ProfileDialog(accessors));
        dialogs.Add(new MenuDialog());
    }

    public async Task OnTurnAsync(ITurnContext turnContext, CancellationToken cancellationToken = default(CancellationToken))
    {
        // DialogSet からコンテキストを作成
        var dialogContext = await dialogs.CreateContextAsync(turnContext, cancellationToken);

        // ユーザーからメッセージが来た場合
        if (turnContext.Activity.Type == ActivityTypes.Message)
        {
            // まず ContinueDialogAsync を実行して既存のダイアログがあれば継続実行。
            var results = await dialogContext.ContinueDialogAsync(cancellationToken);

            // DialogTurnStatus が Complete または Empty の場合、メニューへ。
            if (results.Status == DialogTurnStatus.Complete || results.Status == DialogTurnStatus.Empty)
            {
                var userProfile = await accessors.UserProfile.GetAsync(turnContext, () => new UserProfile(), cancellationToken);
                await turnContext.SendActivityAsync(MessageFactory.Text($"ようこそ '{userProfile.Name}' さん!"));
                // メニューの表示
                await dialogContext.BeginDialogAsync(nameof(MenuDialog), null, cancellationToken);
            }
        }
        // ユーザーとボットが会話に参加した
        else if (turnContext.Activity.Type == ActivityTypes.ConversationUpdate)
        {
            // turnContext より Activity を取得
            var activity = turnContext.Activity.AsConversationUpdateActivity();
            // ユーザーの参加に対してだけ、プロファイルダイアログを開始
            if (activity.MembersAdded.Any(member => member.Id != activity.Recipient.Id))
            {
                await turnContext.SendActivityAsync("ようこそ MyBot へ!");
                await dialogContext.BeginDialogAsync(nameof(ProfileDialog), null, cancellationToken);
            }
        }

        // 最後に現在の UserProfile と DialogState を保存
        await accessors.UserState.SaveChangesAsync(turnContext, false, cancellationToken);
        await accessors.ConversationState.SaveChangesAsync(turnContext, false, cancellationToken);
    }
}
3. Dialogs フォルダに WeatherDialog.cs を追加し以下コードを張り付け。
- EndDialogAsync でダイアログを終了
using System.Threading;
using System.Threading.Tasks;
using Microsoft.Bot.Builder.Dialogs;

public class WeatherDialog : ComponentDialog
{
    public WeatherDialog() : base(nameof(WeatherDialog))
    {
        // ウォーターフォールのステップを定義。処理順にメソッドを追加。
        var waterfallSteps = new WaterfallStep[]
        {
            ShowWeatherAsync,
        };

        // ウォーターフォールダイアログと各種プロンプトを追加
        AddDialog(new WaterfallDialog("weather", waterfallSteps));
    }

    public static async Task<DialogTurnResult> ShowWeatherAsync(WaterfallStepContext stepContext, CancellationToken cancellationToken)
    {
        await stepContext.Context.SendActivityAsync("今日の天気は晴れです");
        return await stepContext.EndDialogAsync(true, cancellationToken);
    }
}
4. 同様に ScheduleDialog.cs を追加し以下コードを張り付け。
using System.Threading;
using System.Threading.Tasks;
using Microsoft.Bot.Builder.Dialogs;

public class ScheduleDialog : ComponentDialog
{
    public ScheduleDialog() : base(nameof(ScheduleDialog))
    {
        // ウォーターフォールのステップを定義。処理順にメソッドを追加。
        var waterfallSteps = new WaterfallStep[]
        {
            ShowScheduleAsync,
        };

        // ウォーターフォールダイアログと各種プロンプトを追加
        AddDialog(new WaterfallDialog("schedule", waterfallSteps));
    }

    public static async Task<DialogTurnResult> ShowScheduleAsync(WaterfallStepContext stepContext, CancellationToken cancellationToken)
    {
        await stepContext.Context.SendActivityAsync("今日は予定はありません。");
        return await stepContext.EndDialogAsync(true, cancellationToken);
    }
}
5. デバッグを開始して動作を確認。
まとめ
今回は複数のダイアログを管理する方法と、ユーザーに対する初回応答の方法を紹介しました。次回はグローバルコマンドについて紹介します。
参照
基本的には同じことをしていますが、より詳細なコードを試したい場合は以下を参照。
Manage complex conversation flows with dialogs