概要
本記事では、PythonでGoogle Slides/Spread Sheets/Documentation/GmailをAPIで操作する際に必要な認証情報のセットアップと疎通確認を解説します。(所要時間20分程度)
なお、Google Cloud Platform自体のアーキテクチャは常にアップデートされているため、本記事は実際のGUIやUXと異なる可能性がありますがご了承ください。(2019/11/4時点最新)
手順(認証情報のダウンロード)
本記事では、G Suite系APIの代表として、Spread SheetsをCallするSheets APIを例に実施します。
-
右記ののページにアクセスします。
Sheets API Python Quick Start -
画面右上の"ログイン"を押下し、自身のGoogleアカウントでログインします。

- "Enable the Google Sheets API"を押下し、APIを有効にします。

- 同意事項を確認し、ラジオボタンの”Yes”にチェックを入れ、"NEXT"を押下します。
project nameはデフォルトで"Quickstart"になっていますが、任意のもので構いません。

- ”DOWNLOAD CLIENT CONFIGRATION”を押下します。
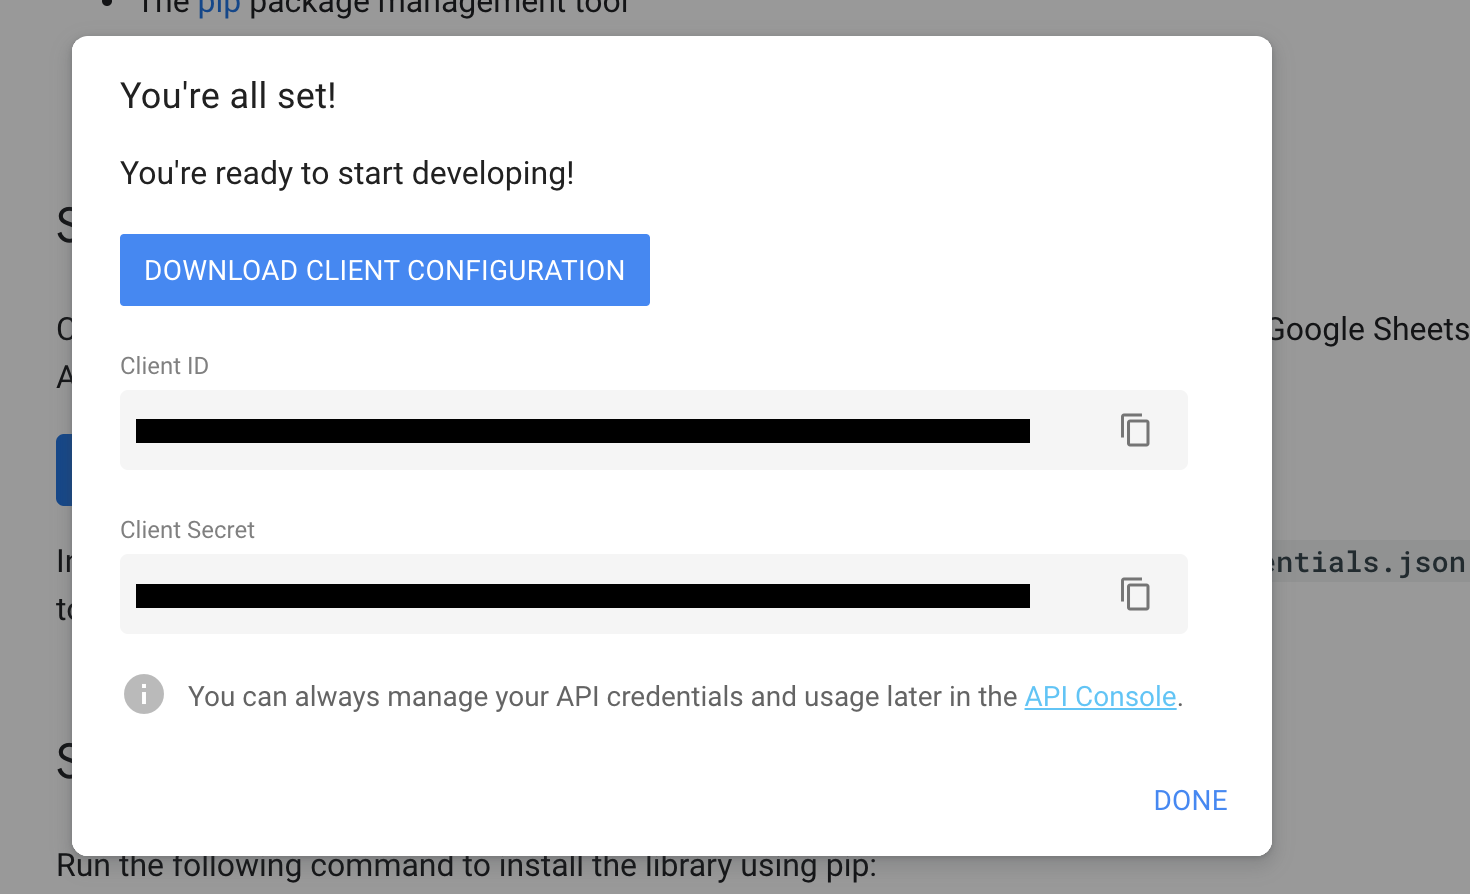
- credentials.json がダウンロードされます。
これにて、認証情報のセットアップは完了です。
認証の疎通確認をしたい方は以下の手順を実施しましょう。
手順(認証の疎通)
a. pip installで必要なライブラリをインストールします。
b. 任意のディレクトリにquickstart.pyというpyファイルを作成し、以下のコードをコピペします。
- 注意①:下記の2つのパラメータにはご自身のSpread Sheetの情報を記入してください。
- SAMPLE_SPREADSHEET_ID = '<自身のSpread Sheet URLに記載されているID>'
- SAMPLE_RANGE_NAME = '<自身のSpread Sheetの抽出元Sheet名>'
- 注意②:Googleの公式HPに書いてあるScriptを若干修正しています。(print(row)部分)
quickstart.py
from __future__ import print_function
import pickle
import os.path
from googleapiclient.discovery import build
from google_auth_oauthlib.flow import InstalledAppFlow
from google.auth.transport.requests import Request

# If modifying these scopes, delete the file token.pickle.
SCOPES = ['https://www.googleapis.com/auth/spreadsheets.readonly']

# The ID and range of a sample spreadsheet.
SAMPLE_SPREADSHEET_ID = '1BxiMVs0XRA5nFMdKvBdBZjgmUUqptlbs74OgvE2upms'
SAMPLE_RANGE_NAME = 'Class Data!A2:E'

def main():
    """Shows basic usage of the Sheets API.
    Prints values from a sample spreadsheet.
    """
    creds = None
    # The file token.pickle stores the user's access and refresh tokens, and is
    # created automatically when the authorization flow completes for the first
    # time.
    if os.path.exists('token.pickle'):
        with open('token.pickle', 'rb') as token:
            creds = pickle.load(token)
    # If there are no (valid) credentials available, let the user log in.
    if not creds or not creds.valid:
        if creds and creds.expired and creds.refresh_token:
            creds.refresh(Request())
        else:
            flow = InstalledAppFlow.from_client_secrets_file(
                'credentials.json', SCOPES)
            creds = flow.run_local_server(port=0)
        # Save the credentials for the next run
        with open('token.pickle', 'wb') as token:
            pickle.dump(creds, token)

    service = build('sheets', 'v4', credentials=creds)

    # Call the Sheets API
    sheet = service.spreadsheets()
    result = sheet.values().get(spreadsheetId=SAMPLE_SPREADSHEET_ID,
                                range=SAMPLE_RANGE_NAME).execute()
    values = result.get('values', [])

    if not values:
        print('No data found.')
    else:
        print('Name, Major:')
        for row in values:
            # Print columns A and E, which correspond to indices 0 and 4.
            print(row)

if __name__ == '__main__':
    main()
c. 作成したquickstart.pyと同じディレクトリに、ダウンロードしたcredentials.jsonを配置します。
d. quickstart.pyの存在するディレクトリに移動し、以下のコマンドで実行します。
python quickstart.py
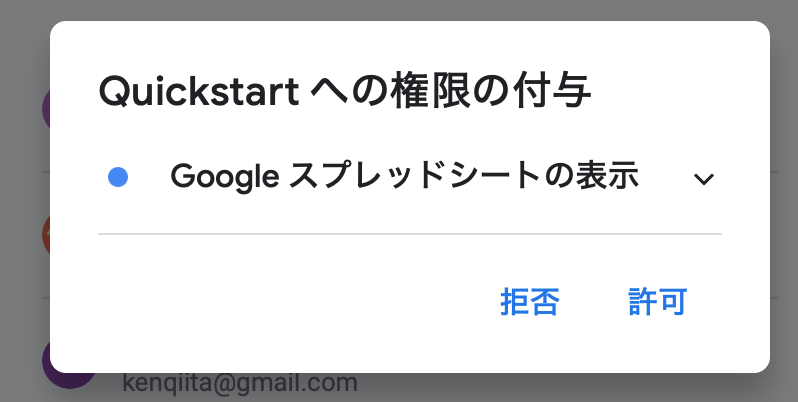
e. Web Browserにアクセスを許可する画面が出現したら認証を許可します。
※この画面の前にセキュリティの警告画面が出た場合は移動するリンクをクリックしてください

f. pyファイルの実行画面に結果が出力されれば成功です。
追記
2019/11/08:タイトルを編集しました