delegateについて
今回はdelegateについてまとめます。
多くのiOSエンジニアの方が理解するまでに苦戦すると言われる処理みたいです。
参考文献
delegateとは?
delegateとは、デザインパターンのひとつです。
delegateは英語で「人に任せる」「移譲」という意味を持っており、「あるクラスから他のクラスに処理を任せる」というデザインパターンです。
このdelegateを実現する上で登場人物は以下の3つです。
| 役割 | 説明 |
|---|---|
| Protocol(プロトコル) | 任せたい仕事の契約書(何をやってもらうかを決める) |
| Delegateを呼び出す側(子View) | 実際に誰かに仕事をお願いする人 |
| Delegateを受け取って実行する側(親View) | その仕事を実際にやってくれる人 |
サンプル実装:親子View間の連携
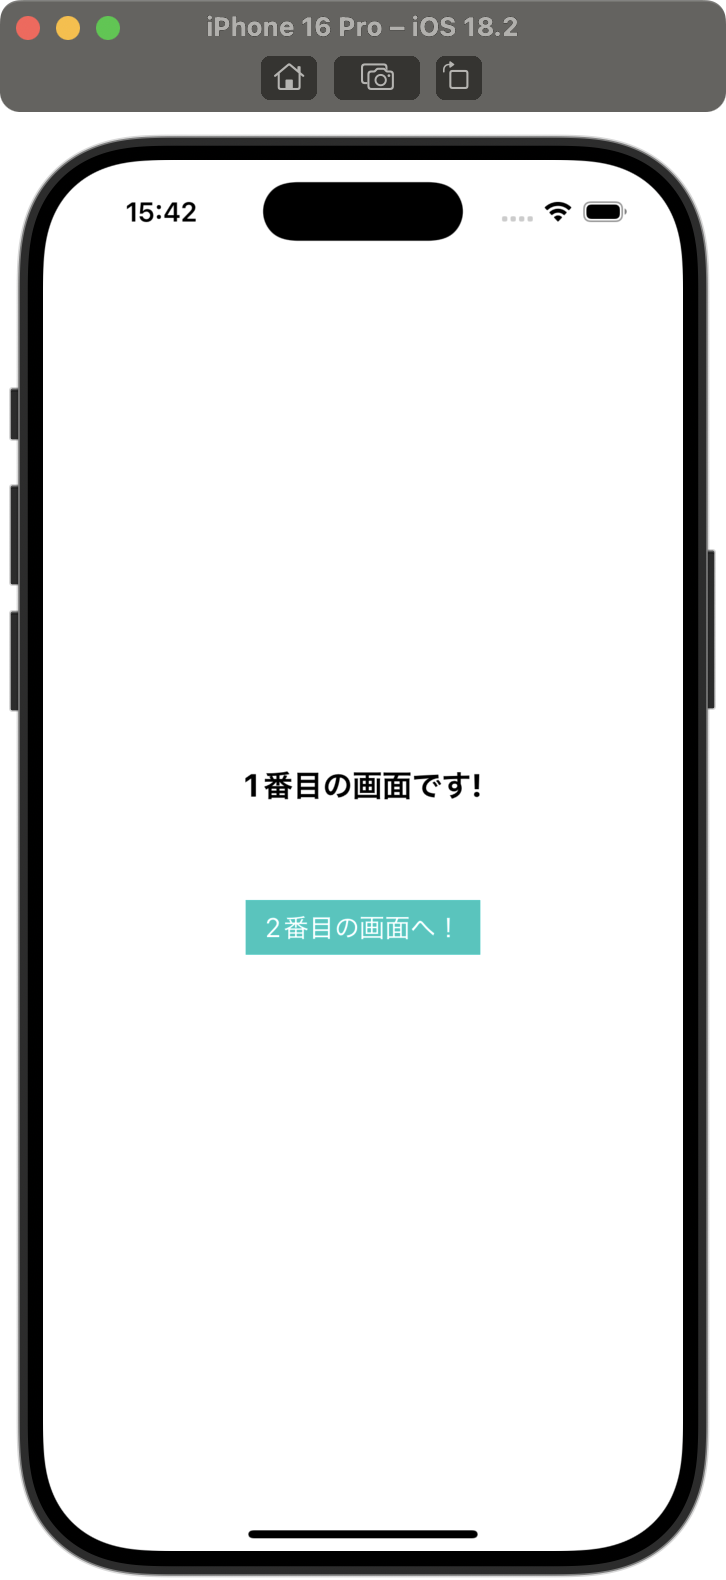
実際に簡単な実装してみます。今回は画面遷移の実装を行なっています。
2番目の画面で実装したボタンを押下すると、親Viewである1番目の画面に 「3番目の画面を表示して!」 と依頼します。
| 1番目の画面 | 2番目の画面 | 3番目の画面 |
|---|---|---|
 |
 |
 |
FirstViewController
import UIKit
import RxSwift
import RxCocoa

class FirstViewController: UIViewController {

    @IBOutlet weak private var goTosecondButton: UIButton!
    private let disposeBag = DisposeBag()

    override func viewDidLoad() {
        super.viewDidLoad()
        bind()
    }

}

extension FirstViewController {
    func bind() {
        goTosecondButton.rx.tap.asSignal()
            .emit(onNext: { [weak self] in
                guard let self else { return }
                let secondViewController = SecondViewController()
                secondViewController.delegate = self // 👈delegat実装で追加する場所1️⃣
                secondViewController.modalPresentationStyle = .fullScreen
                self.present(secondViewController, animated: true)
            })
            .disposed(by: disposeBag)
    }
}

extension FirstViewController: SecondViewControllerDelegate { // 👈delegat実装で追加する場所2️⃣
    func didTapGoToThird() {
        let thirdViewController = ThirdViewController()
        thirdViewController.modalPresentationStyle = .fullScreen
        dismiss(animated: false) {
            self.present(thirdViewController, animated: true)
        }
    }
}
SecondViewController
import UIKit
import RxSwift
import RxCocoa

protocol SecondViewControllerDelegate: AnyObject { // 👈delegate実装で追加する場所3️⃣
    func  didTapGoToThird()
}

class SecondViewController: UIViewController {

    @IBOutlet weak private var goToThirdButton: UIButton!
    weak var delegate: SecondViewControllerDelegate? // 👈delegate実装で追加する場所4️⃣
    private let disposeBag = DisposeBag()

    override func viewDidLoad() {
        super.viewDidLoad()
        bind()
    }

}

extension SecondViewController {
    func bind() {
        goToThirdButton.rx.tap.asSignal()
            .emit(onNext: {
                self.delegate?.didTapGoToThird() // 👈delegate実装で追加する場所5️⃣
            })
            .disposed(by: disposeBag)
    }
}
ThirdViewController
import UIKit

class ThirdViewController: UIViewController {

    @IBOutlet weak private var thirdLabel: UILabel!

    override func viewDidLoad() {
        super.viewDidLoad()

    }

}
なぜSecondViewControllerがThirdViewControllerを直接表示するのではなく、親に任せているのか?
一言で言うとアプリ設計で各ファイルの 「再利用性・責務分離・柔軟な設計」 が関係してます。
子View(SecondViewController)のボタンでそのまま別の画面(ThirdViewController)を呼び出すことは可能です。というかその方がシンプルに見えて一見良さそうに思えます。
しかし今後、子Viewが別の画面(例えば、プロフィール画面とか設定画面とか)からも使われる場合、そのたびにそこで記載したViewを直接呼び出していたら、子Viewはどこに行くかの「知識」がベタ書きされていて、再利用しにくい画面になります。
なので今回は子View(SecondViewController)自体、「ボタンが押された」ことだけを知っていればよくて、「どこに遷移するか」は知る必要がありません。
このようにして画面遷移の詳細は親Viewに任せることで、子VIewの責任をシンプルに保てます。
実務でdelegateが使われる場面の例
以下によく実務で利用されるケースを記載します。
- テーブルビューのセルで、ボタンタップを親ViewControllerに通知するとき
- カスタムダイアログやモーダルの中で、ユーザーの操作結果を親に伝えるとき
- ページ遷移の条件分岐(ログイン済みなら画面A、未ログインなら画面Bなど)
「部品側 → 親に通知したい場面」でdelegateはとてもよく使われます。
まとめ
今回はdelegateを使って、子画面から親画面へイベントを伝える方法を紹介しました。
実際のアプリでも使われる頻度が高いので、深く理解しておくことが重要だと思いました。