はじめに
GoogleCalendarの情報を取得してRubyで何かプログラムを作りたいと思い、その時のGoogle側の設定が少しややこしかったので記録します。
前提
- Googleアカウントを持っている
- macOS
- Ruby 2.0以上が実行できる環境 (公式ページより)
設定手順
大まかな流れは以下の通りです。
- GCPのコンソールを使えるようにする
- GCP内でプロジェクトを作成
- Google Calendar APIの有効化
- OAuth 同意画面の設定
- OAuth 2.0 クライアント IDの作成
- Ruby quickstart で動作確認
GCPのコンソールを使えるようにする
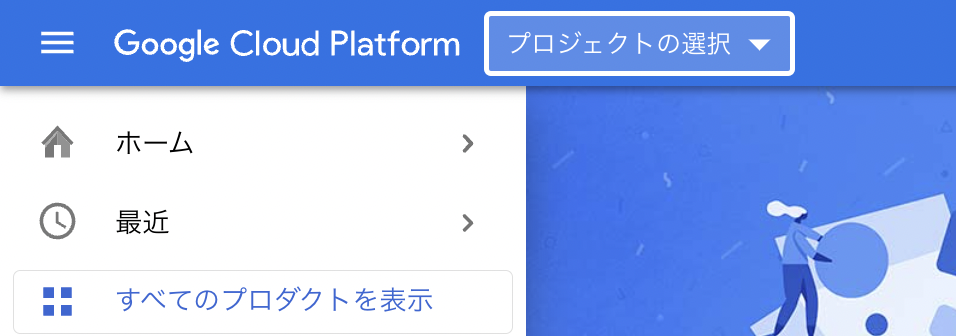
以下画面にアクセスしてトップ画面を開きます。
GCP内でプロジェクトを作成
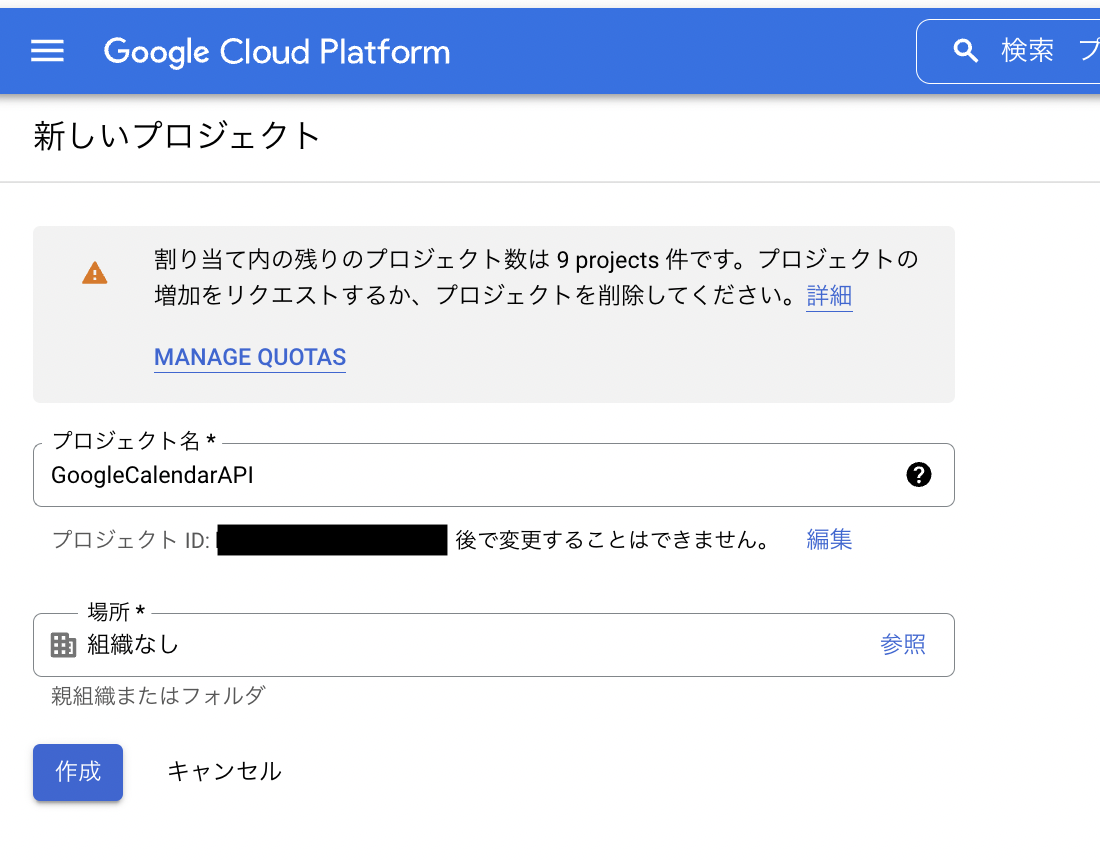
トップページのプロジェクトの選択を選び任意の名前でプロジェクトを作成します。
例)GoogleCalendarAPI
場所はデフォルトで組織なしにします。
Google Calendar APIの有効化
コンソールのトップページに戻り、APIとサービス -> 有効なAPI とサービスを選択します。
作成したプロジェクトを選択して+APIとサービスの有効化を選択します。
Google Calendar APIを検索して選択し、有効化します。
(GoogleCalendarなどで検索すると表示します。)
OAuth 同意画面の設定
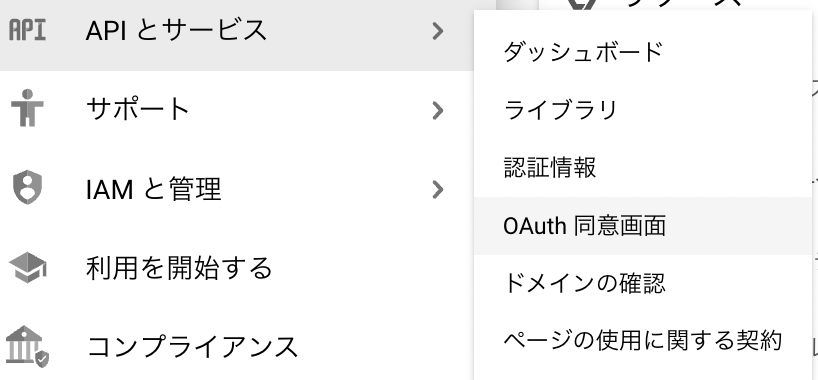
APIとサービス -> OAuth 同意画面の設定を選択します。
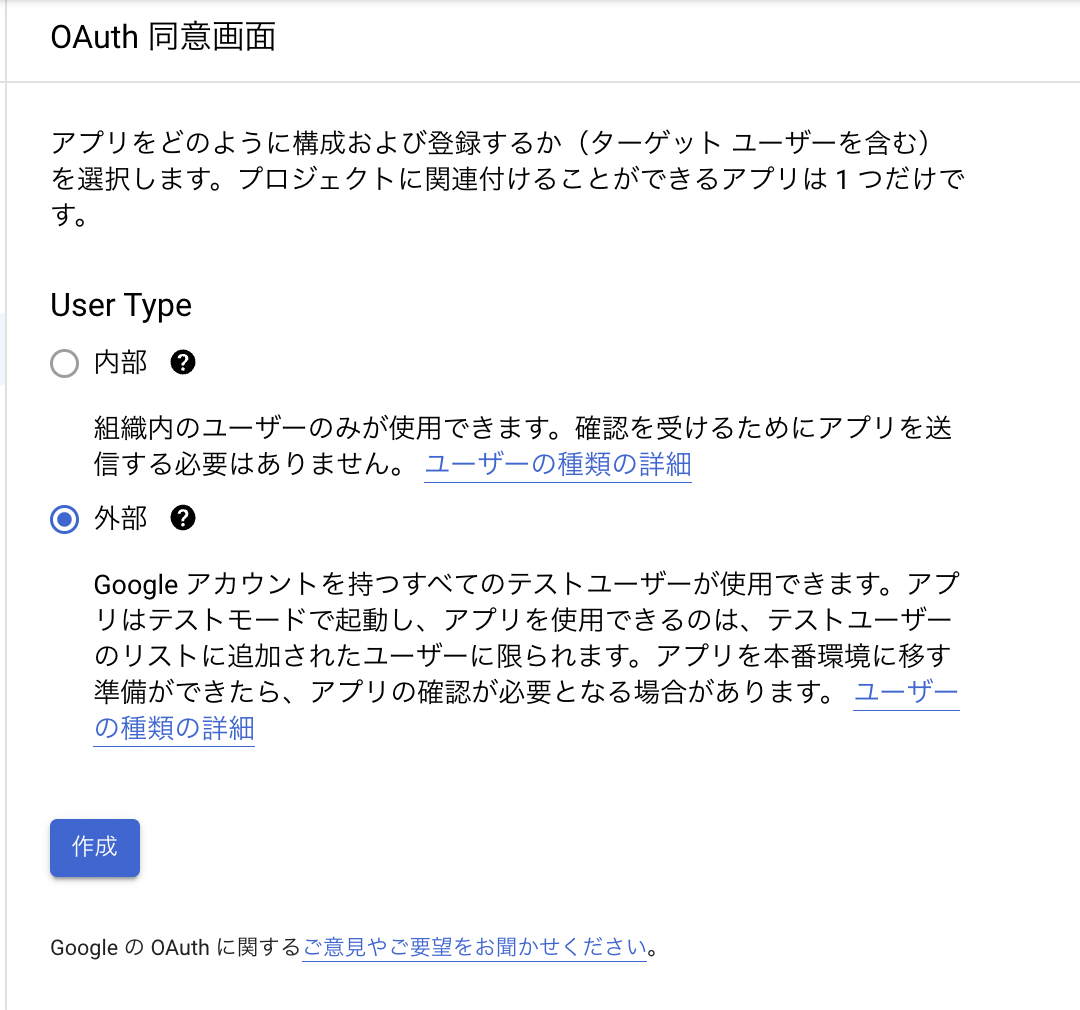
User Typeを外部に選択して作成を選択します。
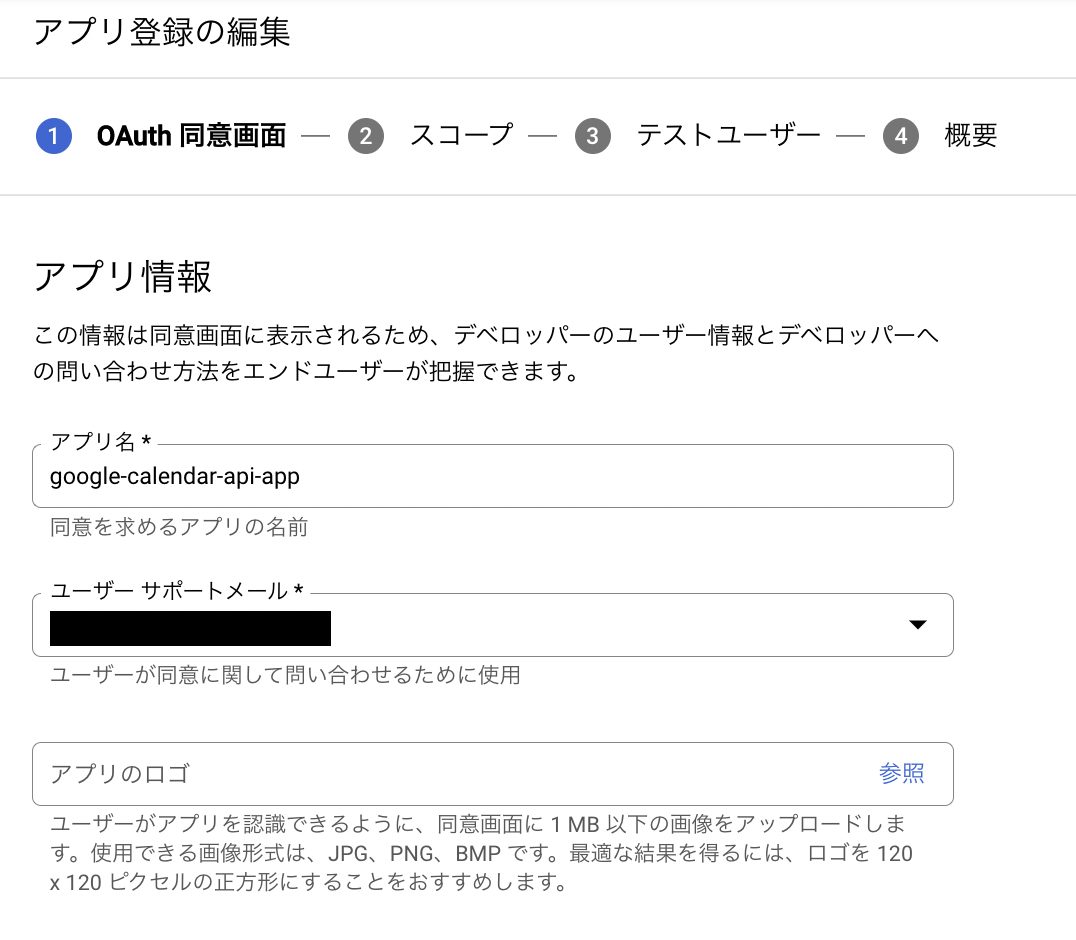
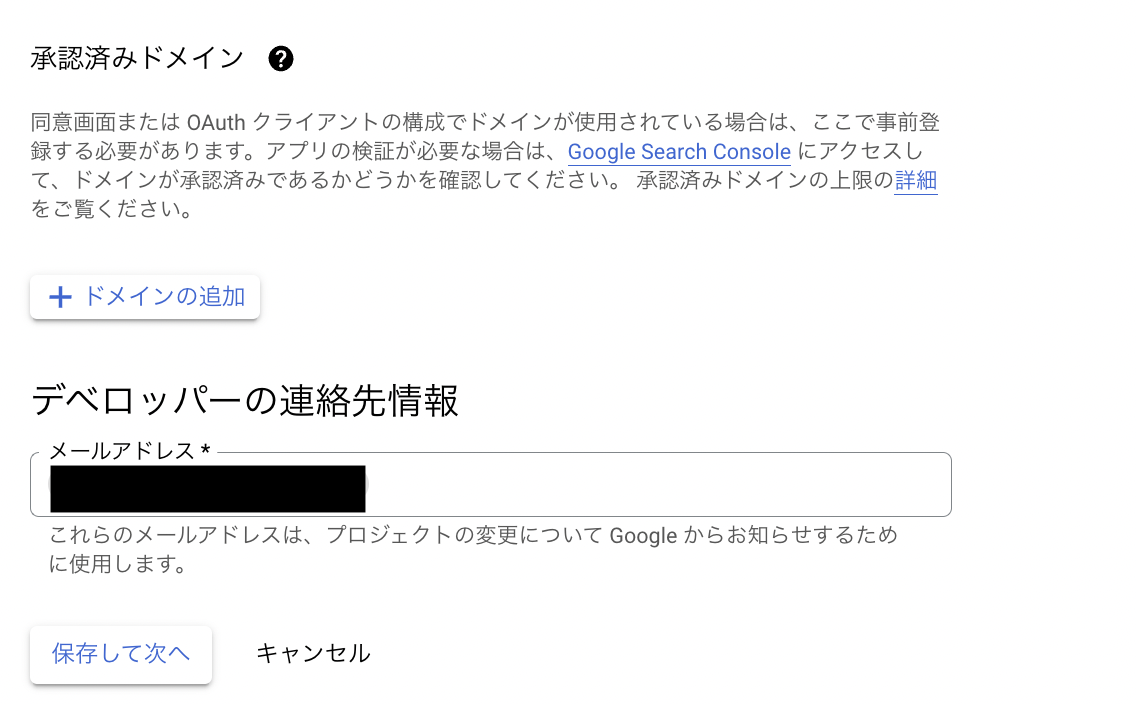
アプリ名、ユーザーサポートメール、デベロッパーの連絡先情報を入力して保存して次へを選択してください。
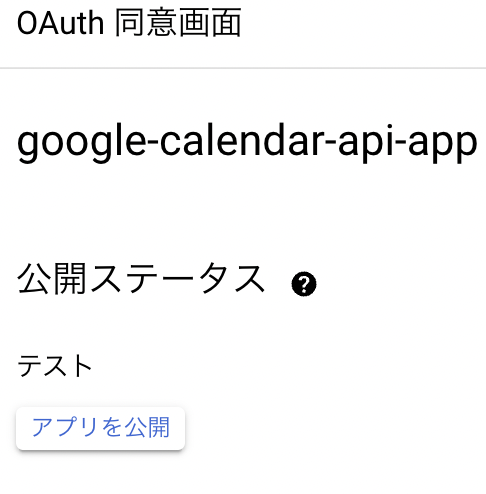
例)アプリ名 : google-calendar-api-app
(GoogleCalendarAPIAppのようなパスカルケースはエラーになり先に進めなかったので注意してください。)
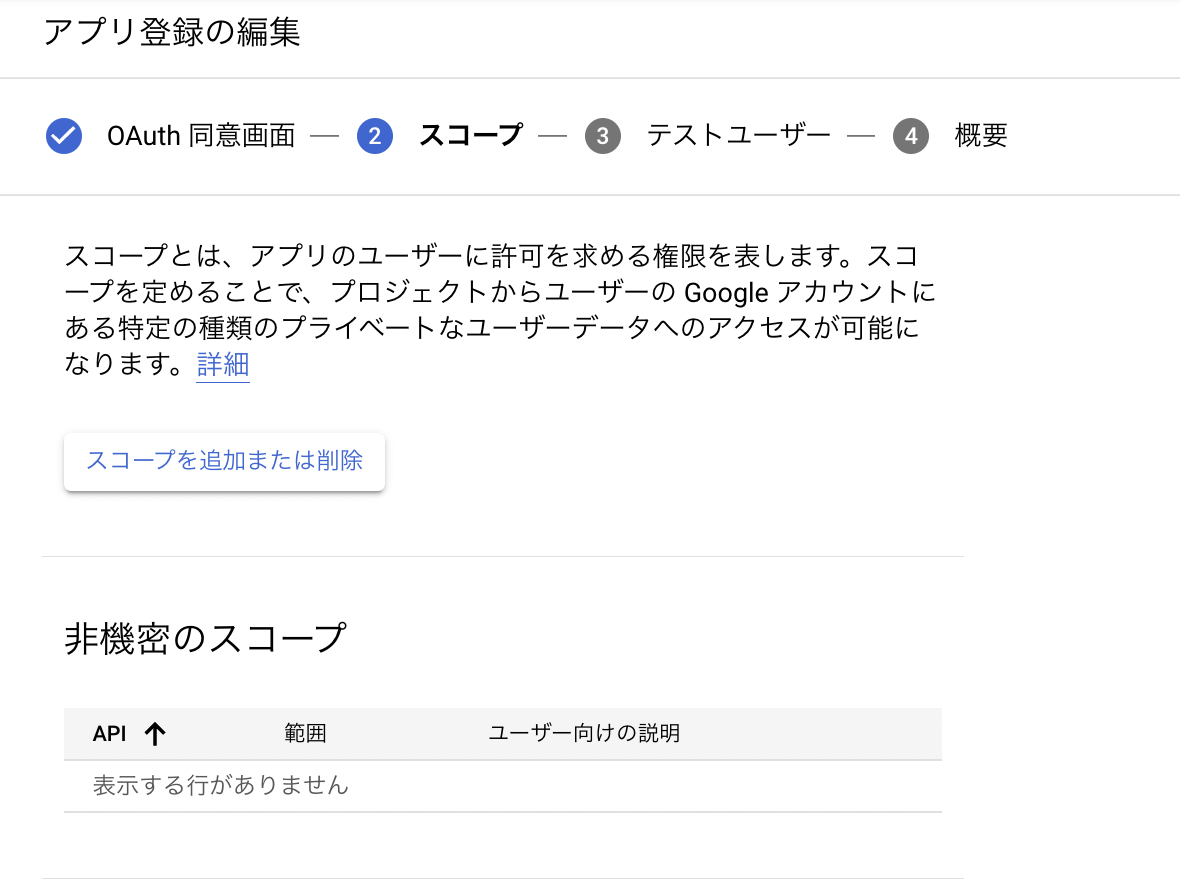
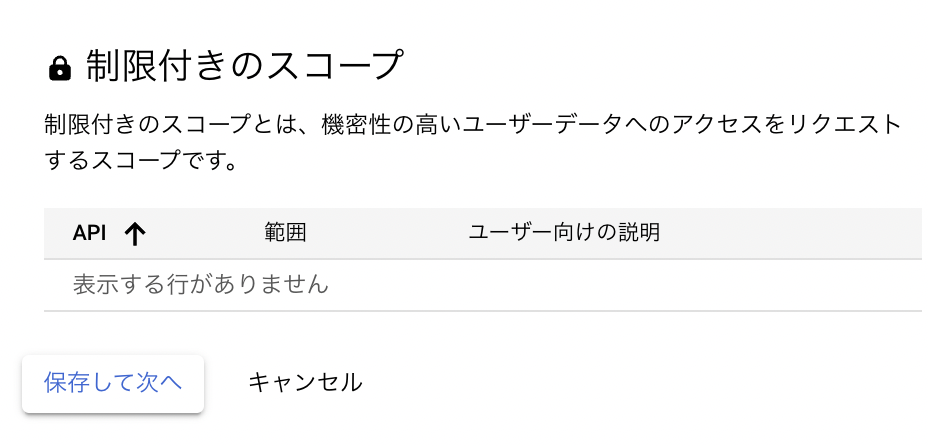
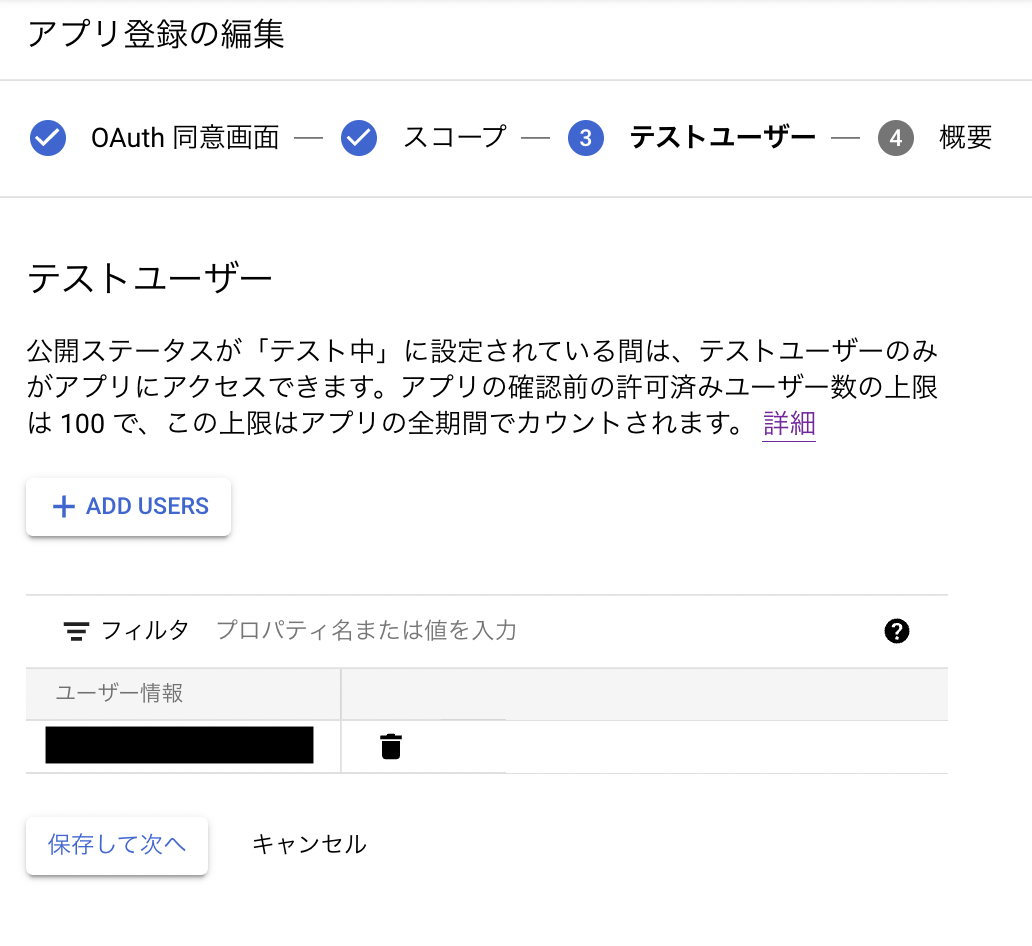
③テストユーザは自分のメールアドレスを設定して保存して先へ進むを選択します。
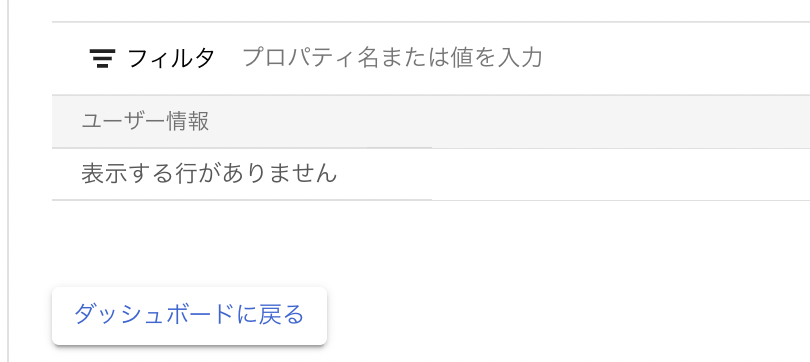
④概要まできたら設定終了、ダッシュボードに戻るを選択します。
公開ステータスをテストに設定します(手順通り行えばデフォルトでテストになっているはずです。)
テストステータスにすると登録したテストユーザのみ使用できる状態になります。
自分しか使わない場合はこの設定で十分だと思います。
OAuth 2.0 クライアント IDの作成
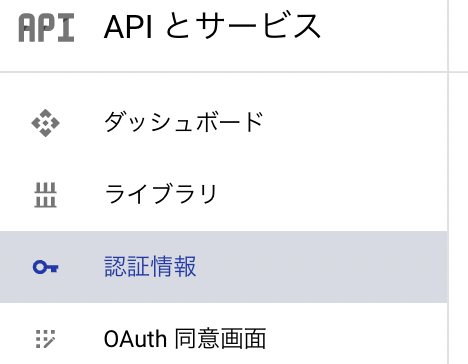
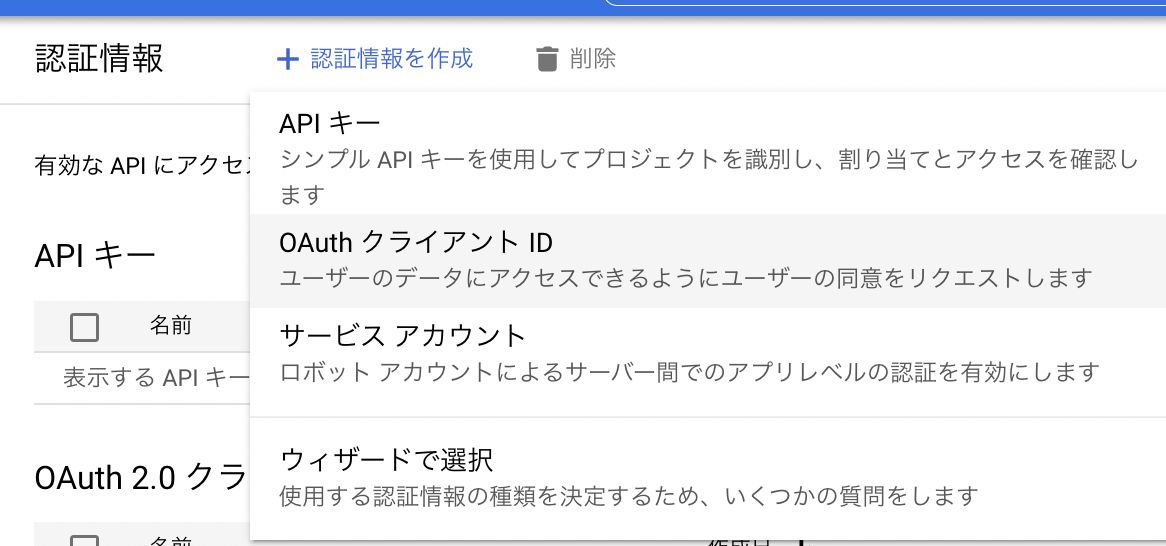
左メニューの認証情報を選択します。
+認証情報を作成-> OAuthクライアントIDを選択します。
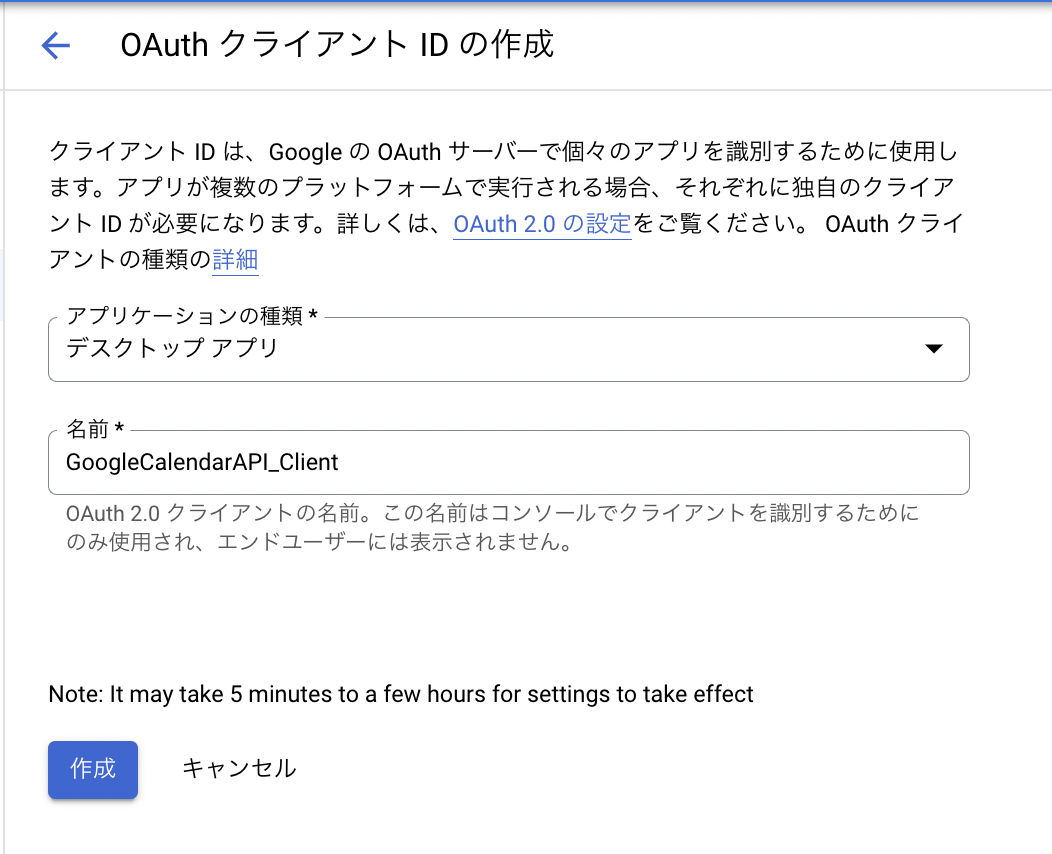
アプリケーションの種類をデスクトップアプリを選択します。
任意の名前を入力して作成を選択します。(例:GoogleCalendarAPI_Client)
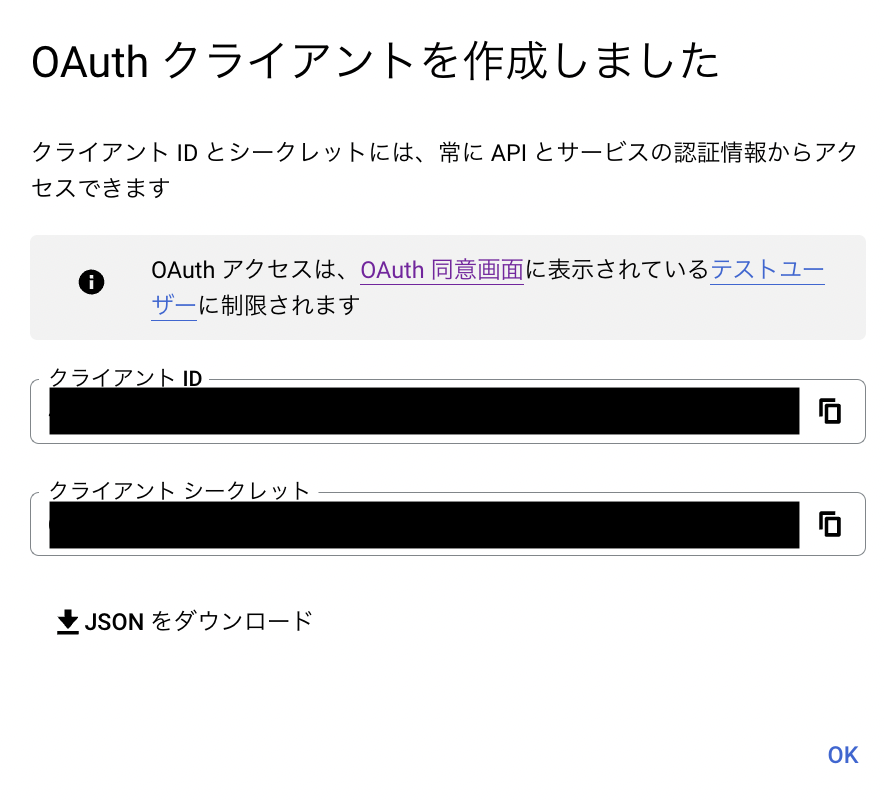
OAuthクライアントが作成されます。
ここでクライアントの情報を取得するためJSONをダウンロードを選択します。
(後に使います。)
Ruby quickstart で動作確認
以下を参考にします。
https://developers.google.com/calendar/api/quickstart/ruby
適当に作業用フォルダを作ります。
mkdir google-cal
GoogleCalendarAPIが使われているか確認するためにquickstart.rbを作成します。
quickstart.rbの内容は公式ページを引用します。
cd google-cal
touch quickstart.rb
require "google/apis/calendar_v3"
require "googleauth"
require "googleauth/stores/file_token_store"
require "date"
require "fileutils"

OOB_URI = "urn:ietf:wg:oauth:2.0:oob".freeze
APPLICATION_NAME = "Google Calendar API Ruby Quickstart".freeze
CREDENTIALS_PATH = "credentials.json".freeze
# The file token.yaml stores the user's access and refresh tokens, and is
# created automatically when the authorization flow completes for the first
# time.
TOKEN_PATH = "token.yaml".freeze
SCOPE = Google::Apis::CalendarV3::AUTH_CALENDAR_READONLY

##
# Ensure valid credentials, either by restoring from the saved credentials
# files or intitiating an OAuth2 authorization. If authorization is required,
# the user's default browser will be launched to approve the request.
#
# @return [Google::Auth::UserRefreshCredentials] OAuth2 credentials
def authorize
  client_id = Google::Auth::ClientId.from_file CREDENTIALS_PATH
  token_store = Google::Auth::Stores::FileTokenStore.new file: TOKEN_PATH
  authorizer = Google::Auth::UserAuthorizer.new client_id, SCOPE, token_store
  user_id = "default"
  credentials = authorizer.get_credentials user_id
  if credentials.nil?
    url = authorizer.get_authorization_url base_url: OOB_URI
    puts "Open the following URL in the browser and enter the " \
         "resulting code after authorization:\n" + url
    code = gets
    credentials = authorizer.get_and_store_credentials_from_code(
      user_id: user_id, code: code, base_url: OOB_URI
    )
  end
  credentials
end

# Initialize the API
service = Google::Apis::CalendarV3::CalendarService.new
service.client_options.application_name = APPLICATION_NAME
service.authorization = authorize

# Fetch the next 10 events for the user
calendar_id = "primary"
response = service.list_events(calendar_id,
                               max_results:   10,
                               single_events: true,
                               order_by:      "startTime",
                               time_min:      DateTime.now.rfc3339)
puts "Upcoming events:"
puts "No upcoming events found" if response.items.empty?
response.items.each do |event|
  start = event.start.date || event.start.date_time
  puts "- #{event.summary} (#{start})"
end
前述でダウンロードしたjsonファイルをcredentials.jsonに名前を変えてquickstart.rbと同じディレクトリに置きます。
google-cal
├── credentials.json
└── quickstart.rb
ruby quickstart.rbを実行すると認証用のURLが表示されれますのでブラウザで開くきます。
ruby quickstart.rb
Open the following URL in the browser and enter the resulting code after authorization:
https://accounts.google.com/o/oauth2/auth?XXXXXXXXXXXXXX
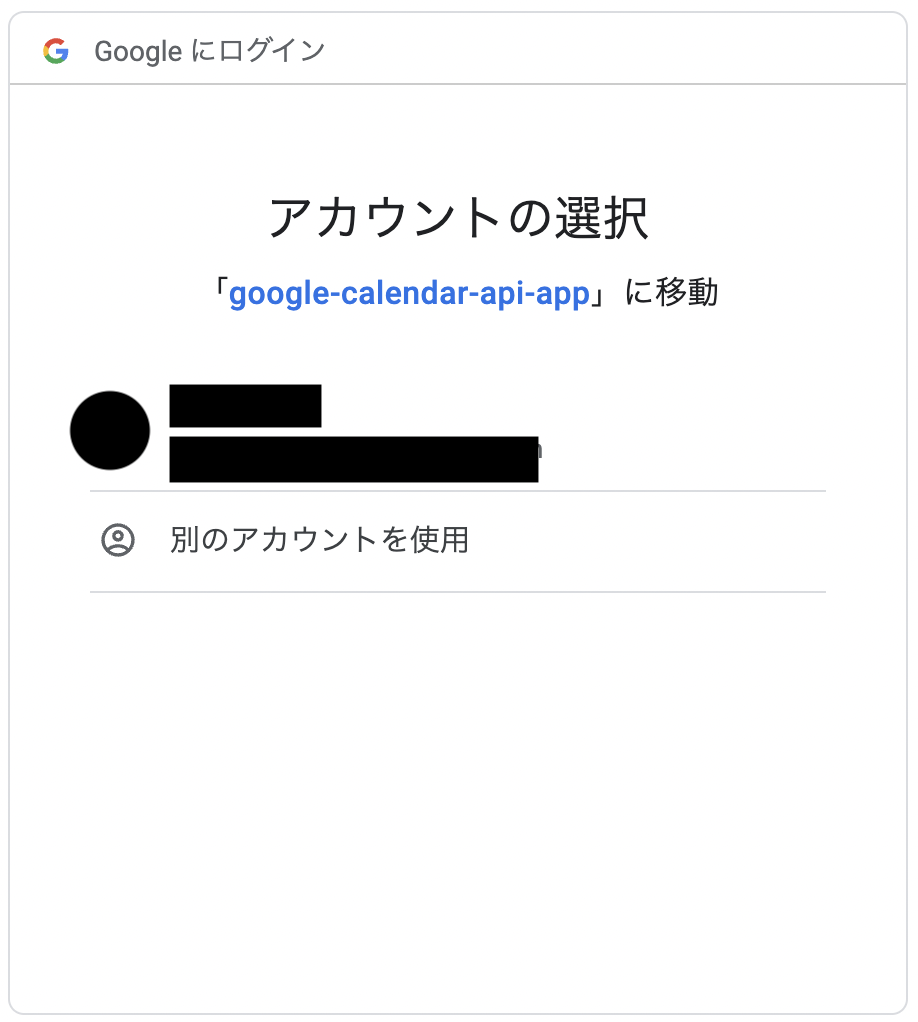
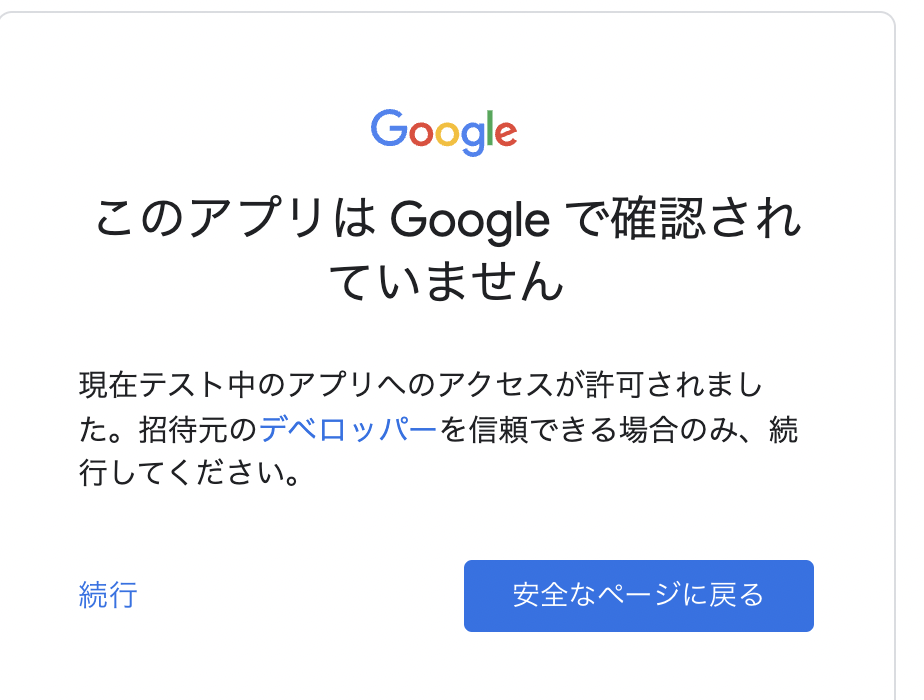
自分のGoogleアカウントでログインをします。
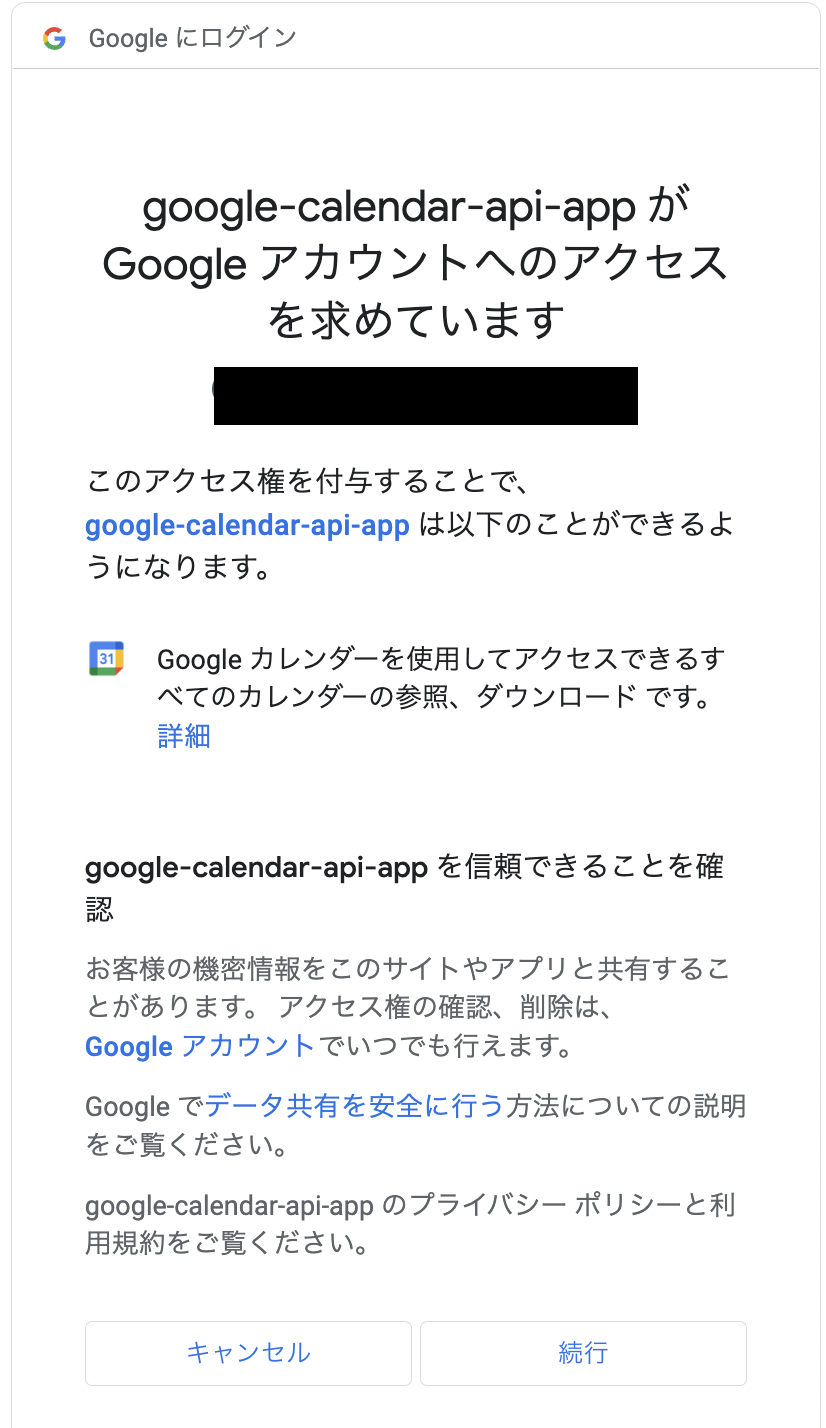
以下の画面が表示されますので、続行を選択します。
さらに以下の画面が表示されますので、続行を選択します。
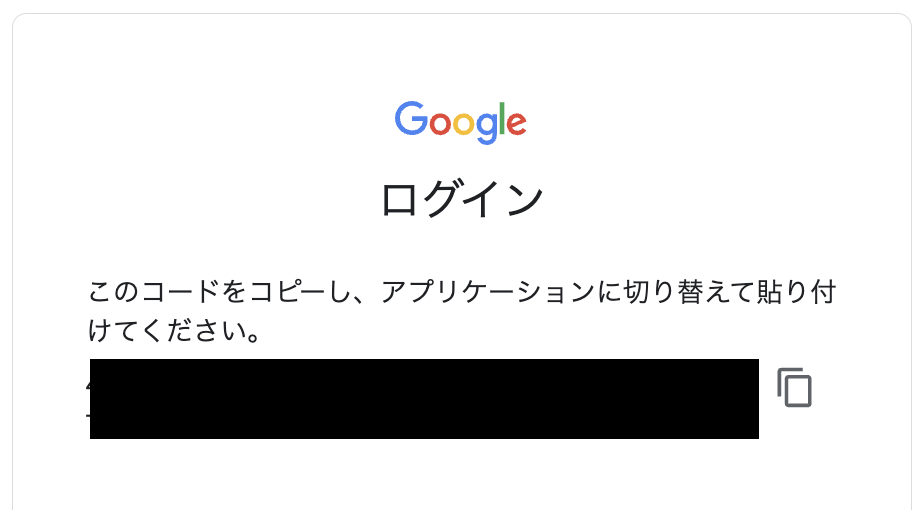
するとコードが表示されますのでコピーしておきます。
ターミナに戻りコードを入力すると以下のような形式でGoogleCalendarに予定された情報が出力されます。
Open the following URL in the browser and enter the resulting code after authorization:
https://accounts.google.com/o/oauth2/XXXXXXXXXXXXXXXXXXXXXXXXXXXXXXXXXx
[コードを入力する]
Upcoming events:
- XXXXXXXXX (2022-03-11T19:00:00+09:00)
- XXXXXXXXX (2022-03-15T18:00:00+09:00)
予定がない場合は以下のような表示になります。
Upcoming events:
No upcoming events found
これでRubyでGoogleCalendarAPIが使える環境が整いました![]()
あとはquickstart.rbを変更すれば自分の好きなプログラムが作れると思います。
色々と改造したい場合は以下のリファレンスが参考になります。
