この記事は Microsoft Azure Advent Calendar 2018 の 11 日目の記事です。
https://qiita.com/advent-calendar/2018/azure
はじめに
こんにちは。みなさん Azure Cognitive Service を使ってますか? Cognitive Service は簡単にAIを自分のアプリケーションに組み込むことができて便利ですよね。ちなみに、僕が好きな Cognitive Service は、Custom Vision (preview) です。少ないデータセットで学習済みモデルを作れるだけでなく、簡単にTensorFlow や ONNX、Docker向けに学習済みモデルをエクスポートできるところが素敵です。
ところで、2017年末から2018年にかけて ImageNet を使った ResNet-50 の学習時間を競うニュースが発表されてましたね。
ディープラーニングの分散学習で世界最高速を達成(2018/11)
https://www.sony.co.jp/SonyInfo/News/Press/201811/18-092/
Preferred Networks、深層学習の学習速度において世界最速を実現(2017/11)
https://www.preferred-networks.jp/ja/news/pr20171110
こういうのを見ると自分でもImageNetの学習をしてみたくなりますね。ためしにImageNetのデータセットをダウンロードしてみましたが、20%ぐらいのURLがリンク切れになっていました。残念なことに、これからDeep Learningを試したい人は、当時よりも少ないデータセットで学習することになってしまいます。7年ぐらい経つと状況も変わりますよね…。
今回はImageNetのURLだけではなく、同じSynsetsを Azure Cognitive Services Bing Image Search を使って取得してみようと思います。Azure Cognitive ServicesをAIとして使うのではなく、学習のためのデータセットを作るために使います。
Azure Cognitive Services Bing Image Searchの作成
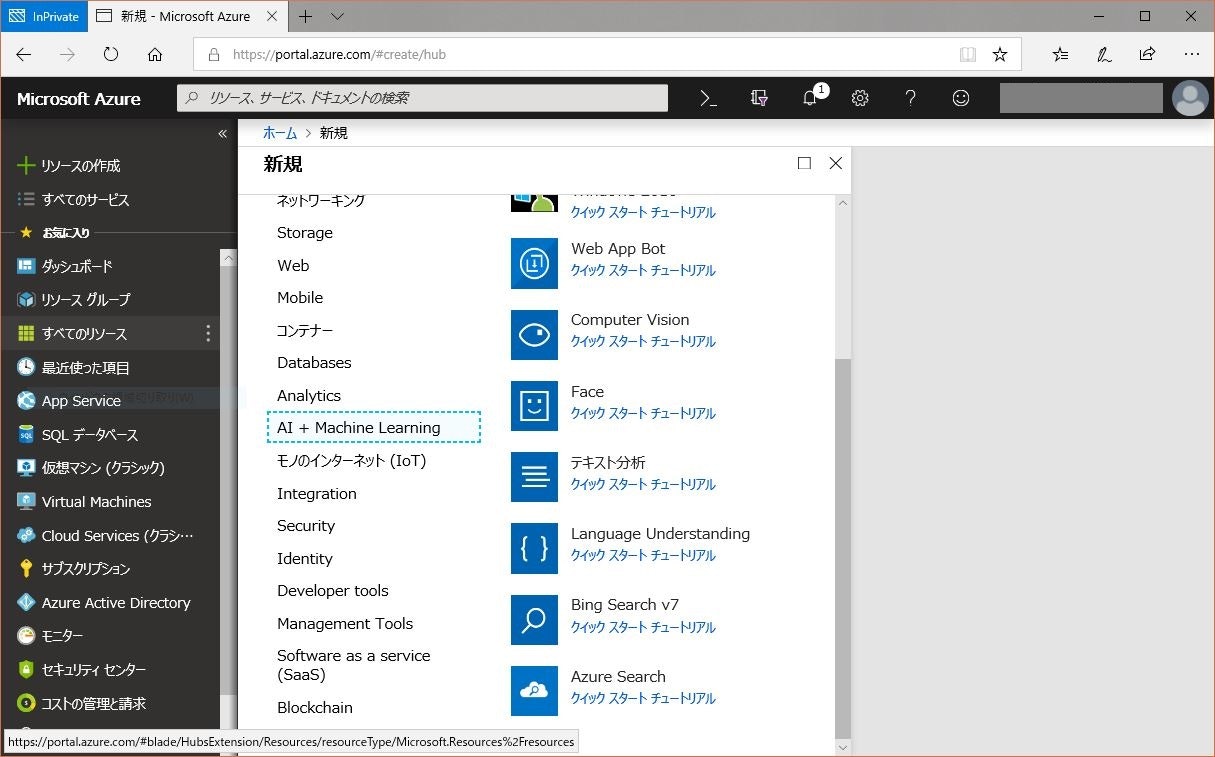
まずは、Microsoft Azureのポータルから、Azure Cognitive Services Bing Image Searchのサービスを作成します。「リソースの作成」から「AI + Machine Learning」の「Bing Search v7」を選択します。
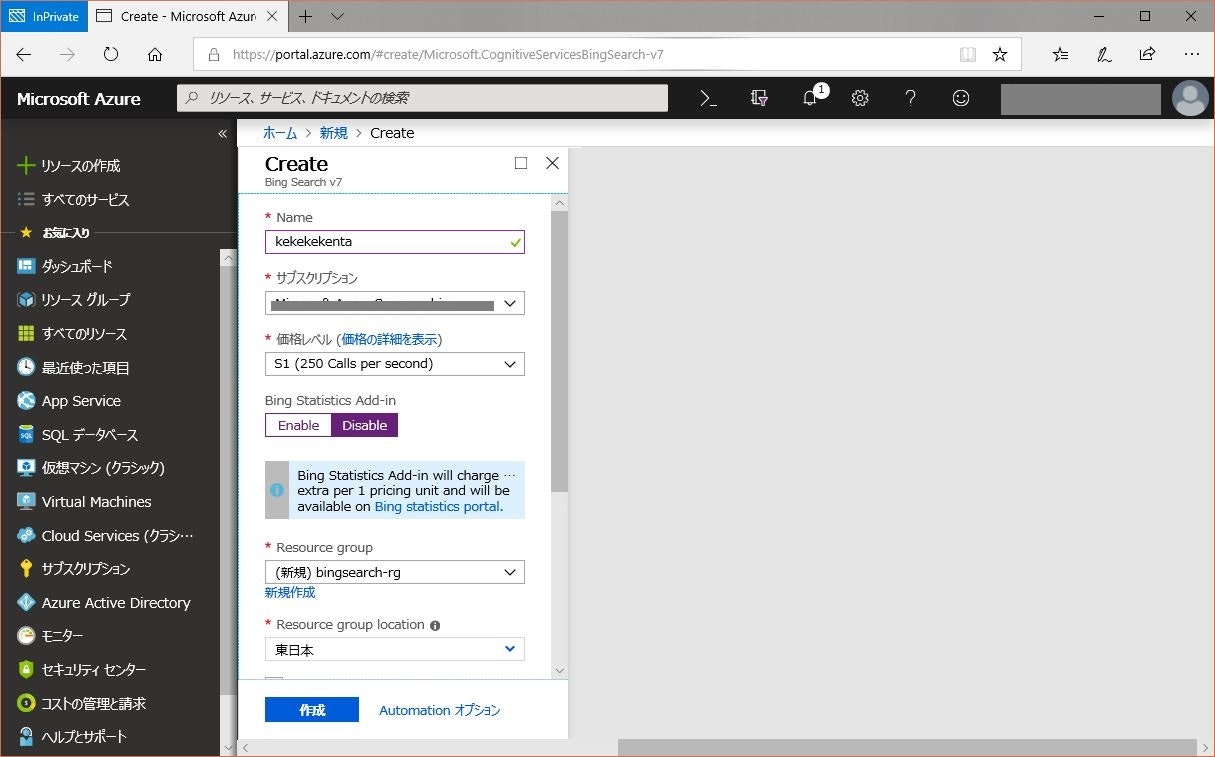
次に、Bing Search v7のリソース設定を行います。「価格レベル」によって使用可能なリクエスト数が決まっているので注意してください。設定が終わったら「作成」を押します。
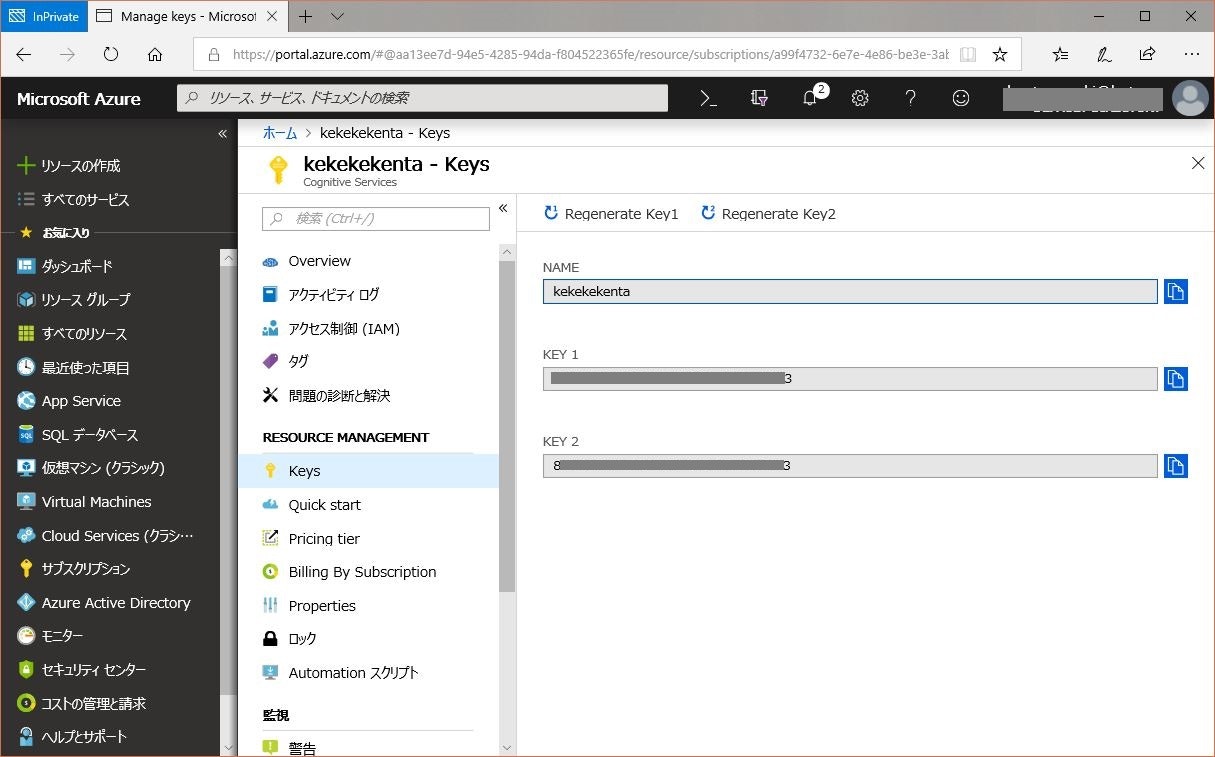
作成されたサービスを利用するために、APIアクセスに使用するKeyを取得します。「KEY 1」と「KEY 2」の2つのKeyがありますが、どちらのKeyを使っても構いません。2つのKeyを交互に使うことによりアプリで使用している鍵を新しい物に入れ替えることができます。
プログラムの作成
データセットを作成するプログラムを書いていきます。プログラム内で使用しているImageNetのSynsetsリストは以下のURLにあります。
import json
import os
import pandas as pd
import requests

def get_bing_images(search_word, offset = 0, count = 50):
    # ここのsubscription_keyにAzure Portalに書かれていたKeyを設定する
    subscription_key = "put here your azure bing search api key"
    search_url = "https://api.cognitive.microsoft.com/bing/v7.0/images/search"
    headers = {"Ocp-Apim-Subscription-Key" : subscription_key}
    params  = {"q": search_word, "mkt": "en-US", "safeSearch": "Moderate", "offset": str(offset), "count": str(count)}
    response = requests.get(search_url, headers=headers, params=params)
    response.raise_for_status()
    search_results = response.json()
    return search_results

def main():
    image_search_list = 'ILSVRC2012.csv'
    download_dir = 'download_images'
    number_of_image = 1500
    # Synsetsのリストを読み込む
    search_words = pd.read_csv(image_search_list, header=None, delimiter=',')
    search_words.columns = ['id', 'name']

    for index, row in search_words.iterrows():
        query = row['name']
        print(query)
        dir_name = os.path.join(download_dir, str(row['id']).zfill(5))
        if os.path.exists(dir_name) == False:
            os.makedirs(dir_name)
        # Bingで検索してサムネイル画像のURLを取得
        thumbnail_urls = []
        next_offset = 0
        while next_offset < number_of_image:
            searched_images_json = get_bing_images(query, offset=next_offset, count=50)
            if not 'nextOffset' in searched_images_json:
                break
            print('{}/{}'.format(searched_images_json['nextOffset'], searched_images_json['totalEstimatedMatches']))
            next_offset = searched_images_json['nextOffset']
            thumbnail_urls.extend([img["thumbnailUrl"] for img in searched_images_json["value"][:]])
            if next_offset > searched_images_json['totalEstimatedMatches']:
                break
        # 検索結果で得られたBingのサムネイル画像をダウンロード
        image_no = 0
        for url in thumbnail_urls:
            response = requests.get(url)
            content_type = response.headers['Content-Type']
            save_file = os.path.join(dir_name, str(image_no).zfill(5))
            save_file = save_file + '.' + content_type.split('/')[1]
            with open(save_file, 'wb') as saveFile:
                saveFile.write(response.content)
            image_no = image_no + 1

if __name__ == '__main__':
    main()
実行してみる
Pythonの環境を設定した後にプログラムを実行します。
Anacondaの環境を作って必要なパッケージをインストール。
conda create -n py36 python=3.6
activate py36
conda install pandas requests
プログラムを実行する。
python download_synsets_from_azure.py
ダウンロードに時間がかかりますが、それぞれの種類に分けてフォルダが作成され、フォルダの中には、同じ種類の画像が多数格納されます。
さいごに
Azure Cognitive Services Bing Image Search APIに渡す検索クエリは日本語も使用することができますが、英語でクエリを実行したほうが多くの検索結果を得られることができます。日本語圏で使われている文字でも検索結果が少ない場合は英語で検索してみてください。今回はImageNetを例にしましたが、Azure Cognitive Services Bing Image Searchを使えば、独自のデータセットを作成することができます。是非みなさんも使ってみてください。ではー。


