@keithseahus です。
この記事は NTTコミュニケーションズ Advent Calendar 2017 の8日目です。
皆さん Deep Learning を駆使してコンテンツを生成するようなアプリケーションをチョロっと開発したりしていると思いますが、その精度を客観的に評価する手段について、あれこれ考えることはよくあるのではないでしょうか。
今回は、その一つとして クラウドソーシング を利用した手法をご紹介します。利用したサービスは Amazon Mechanical Turk で、本稿を一通り読むと、その一連の流れやポイントなどが掴めるようになるでしょう。
今回解決する課題
いわゆる"AI"にコンテンツを生成させるアプリケーションについて、その生成物の評価を客観的に行う。今回の開発物については「人がどう感じるか」が重要であるため、関数によって誤差を評価するよりも、人の"感覚"で評価したい。
有意な人数は400程度と推定されるが、母集団の偏りを防ぐ観点から、社内ではなくWorld Wide で募りたい。
なお、金曜に仕掛けて、遅くとも月曜朝までには完了したい。
Amazon Mechanical Turk (MTurk)
概要
https://aws.amazon.com/jp/mturk/ より:
Amazon Mechanical Turk は、有能な人材を必要とする仕事のためのクラウドソーシングマーケットプレイスです。Mechanical Turk は、クラウド内での柔軟なオンデマンドの労働力を提供します。依頼者は、ウェブユーザーインターフェイス、コマンドラインツール、またはウェブサービスからこれを利用できます。開発者はこのサービスを使って、直接、自分のアプリケーションに人知を組み込むことができます。
Mechanical Turk は、シンプルで拡張性があり、費用対効果の高い方法で、有能な人材にアクセスすることを狙いとしています。タスク(Human Intelligence Tasks または「HIT」と呼ばれる)を完了する必要がある企業や開発者は、堅牢な Mechanical Turk API を使用して、何千人という高レベルで低コストの、かつ世界中にいるオンデマンドのワーカーにアクセスでき、そしてその完了した仕事をプログラム的に自社のビジネスプロセスやシステムに直接統合することが可能です。Mechanical Turk により、開発者や企業は、それぞれの目標を以前よりもより迅速かつ低コストで達成することができます。
ユースケースとしては、以下が示されています。
- 写真/動画処理
- データ検証/クリーンアップ
- 情報収集
- データ処理
用語集
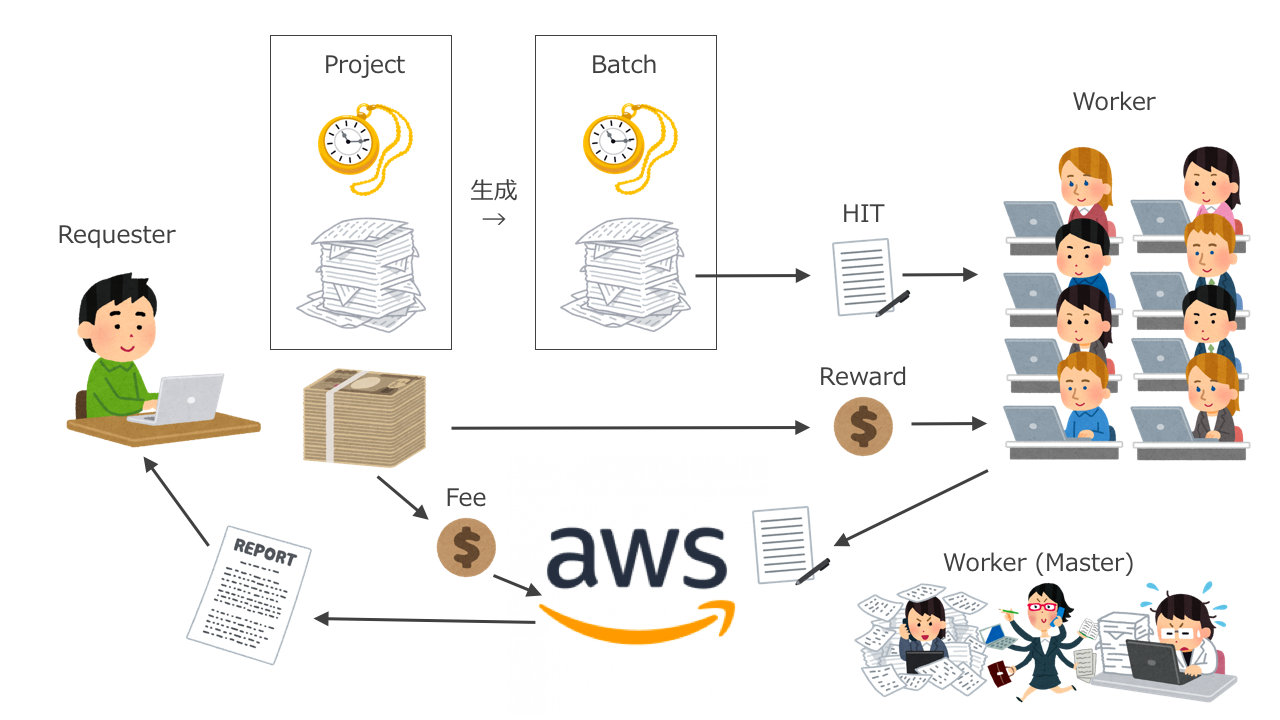
MTurk 独特の用語があり、決済も含めて絡んでくるため、一通り把握しておく必要があります。
Project
目的を達成するための課題。
HIT: Human Intelligence Tasks
各Workerがこなすタスク。
Batch
HITの集合。今回のBatchでは1000名のWorkerにそれぞれHITをアサインした。
なお、有効期限が設定できる。
Worker
HIT をこなす人。
特にパフォーマンスの高い Worker は Amazon Mechanical Turk Master 又は単に
Master と呼ばれ、その報酬は Master でない Worker よりも 5% 高額になる。
Requester
Project のオーナー。
全体的にはこんな感じ
用意するもの
事前に必要なもの
- AWS のアカウント
- 予算
Project の作成完了までに必要なもの
- Title, Description の文面(英語)
- 評価対象(出力画像など)
- アンケート・フォーム(HTML)
フロー
概要
- AWSのアカウントでログイン
- Prepaid HITs を購入する
- Project を作成する
- Prepaid HITs から支払いを行う
- Batch を発行する
- 結果を得る
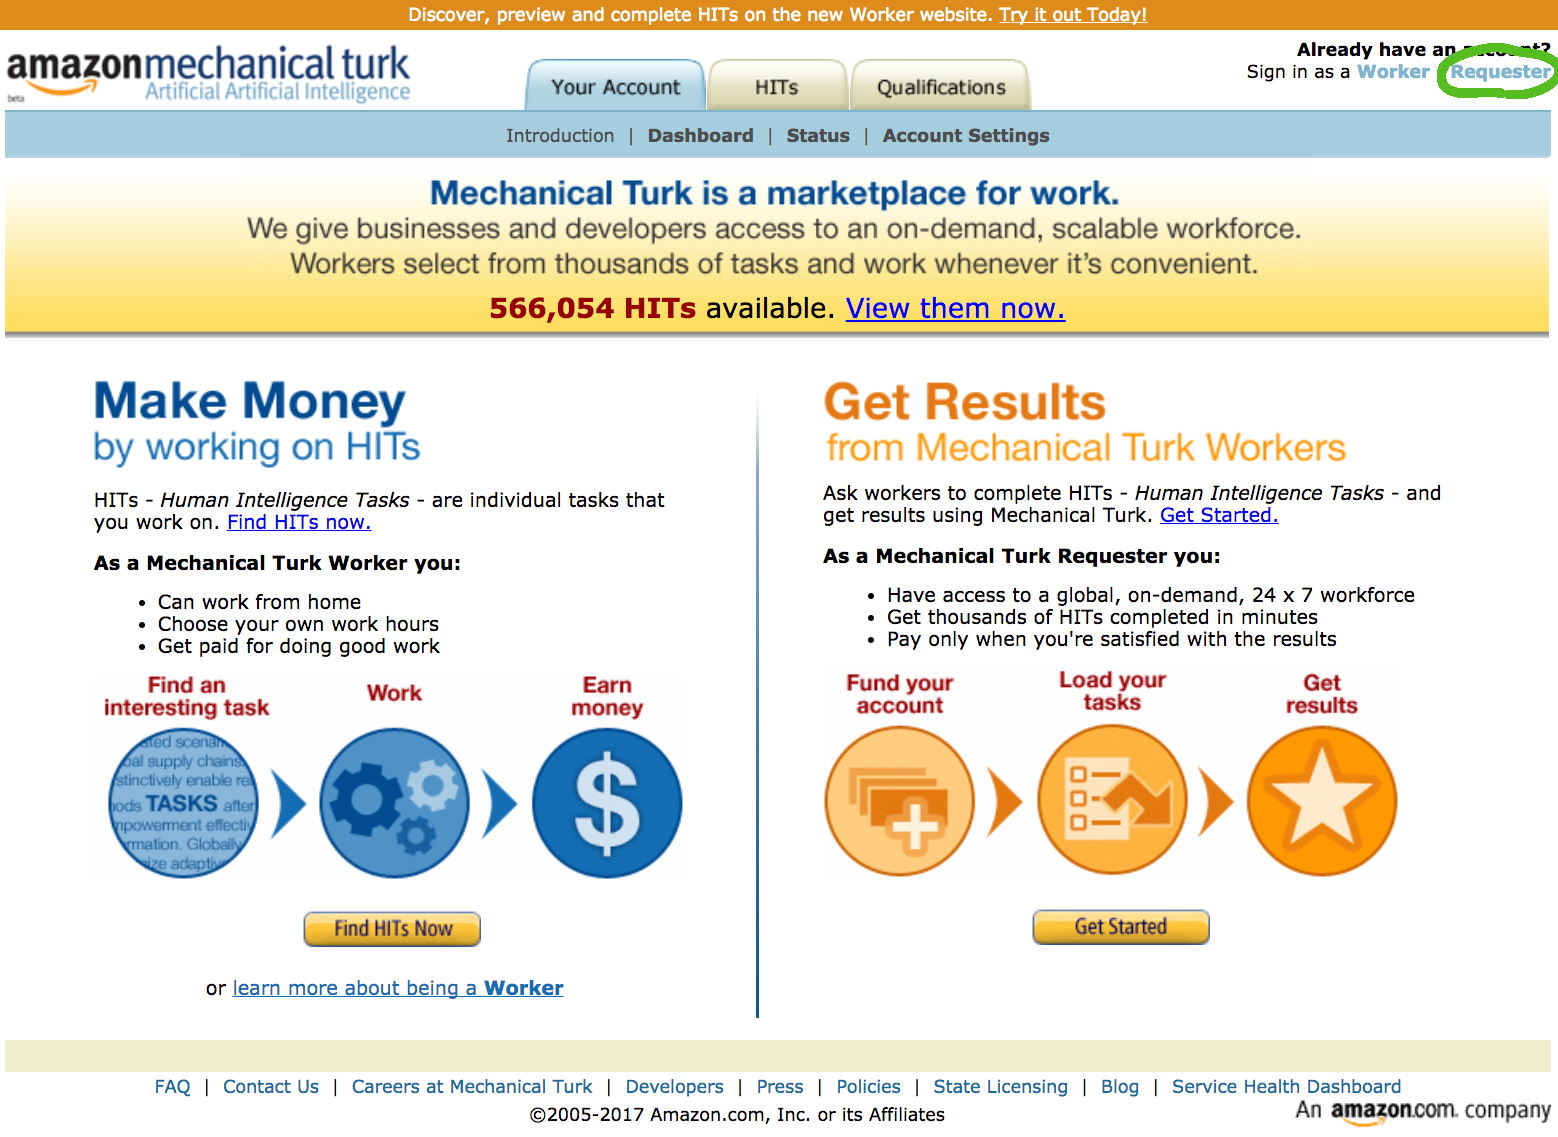
AWSのアカウントでログイン
トップ画面右上の (Sign in as a) Requester をクリック
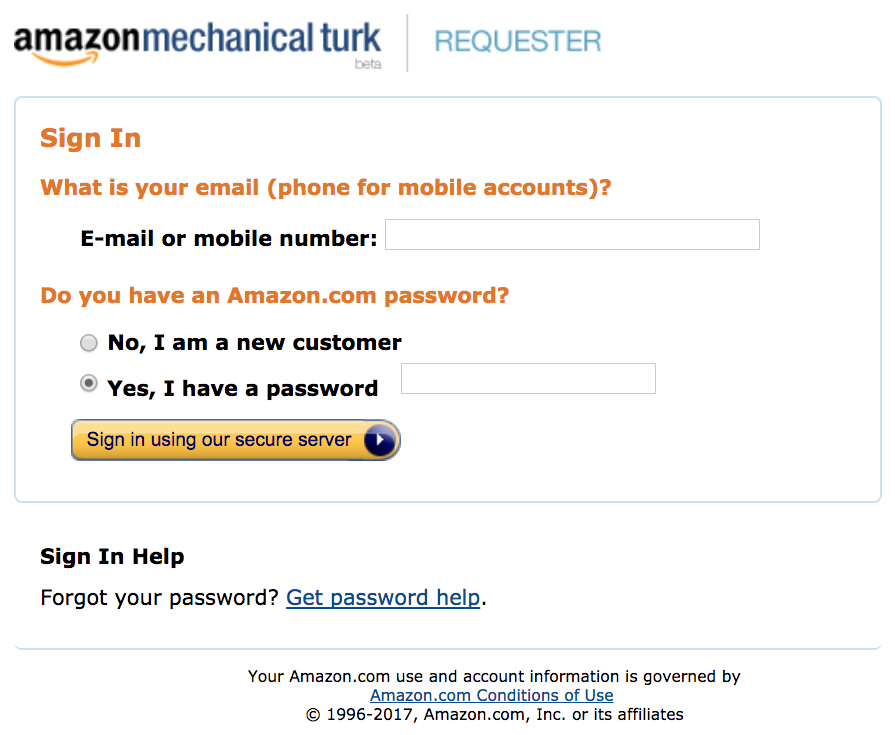
AWSの認証情報でログイン
Prepaid HITs を購入する
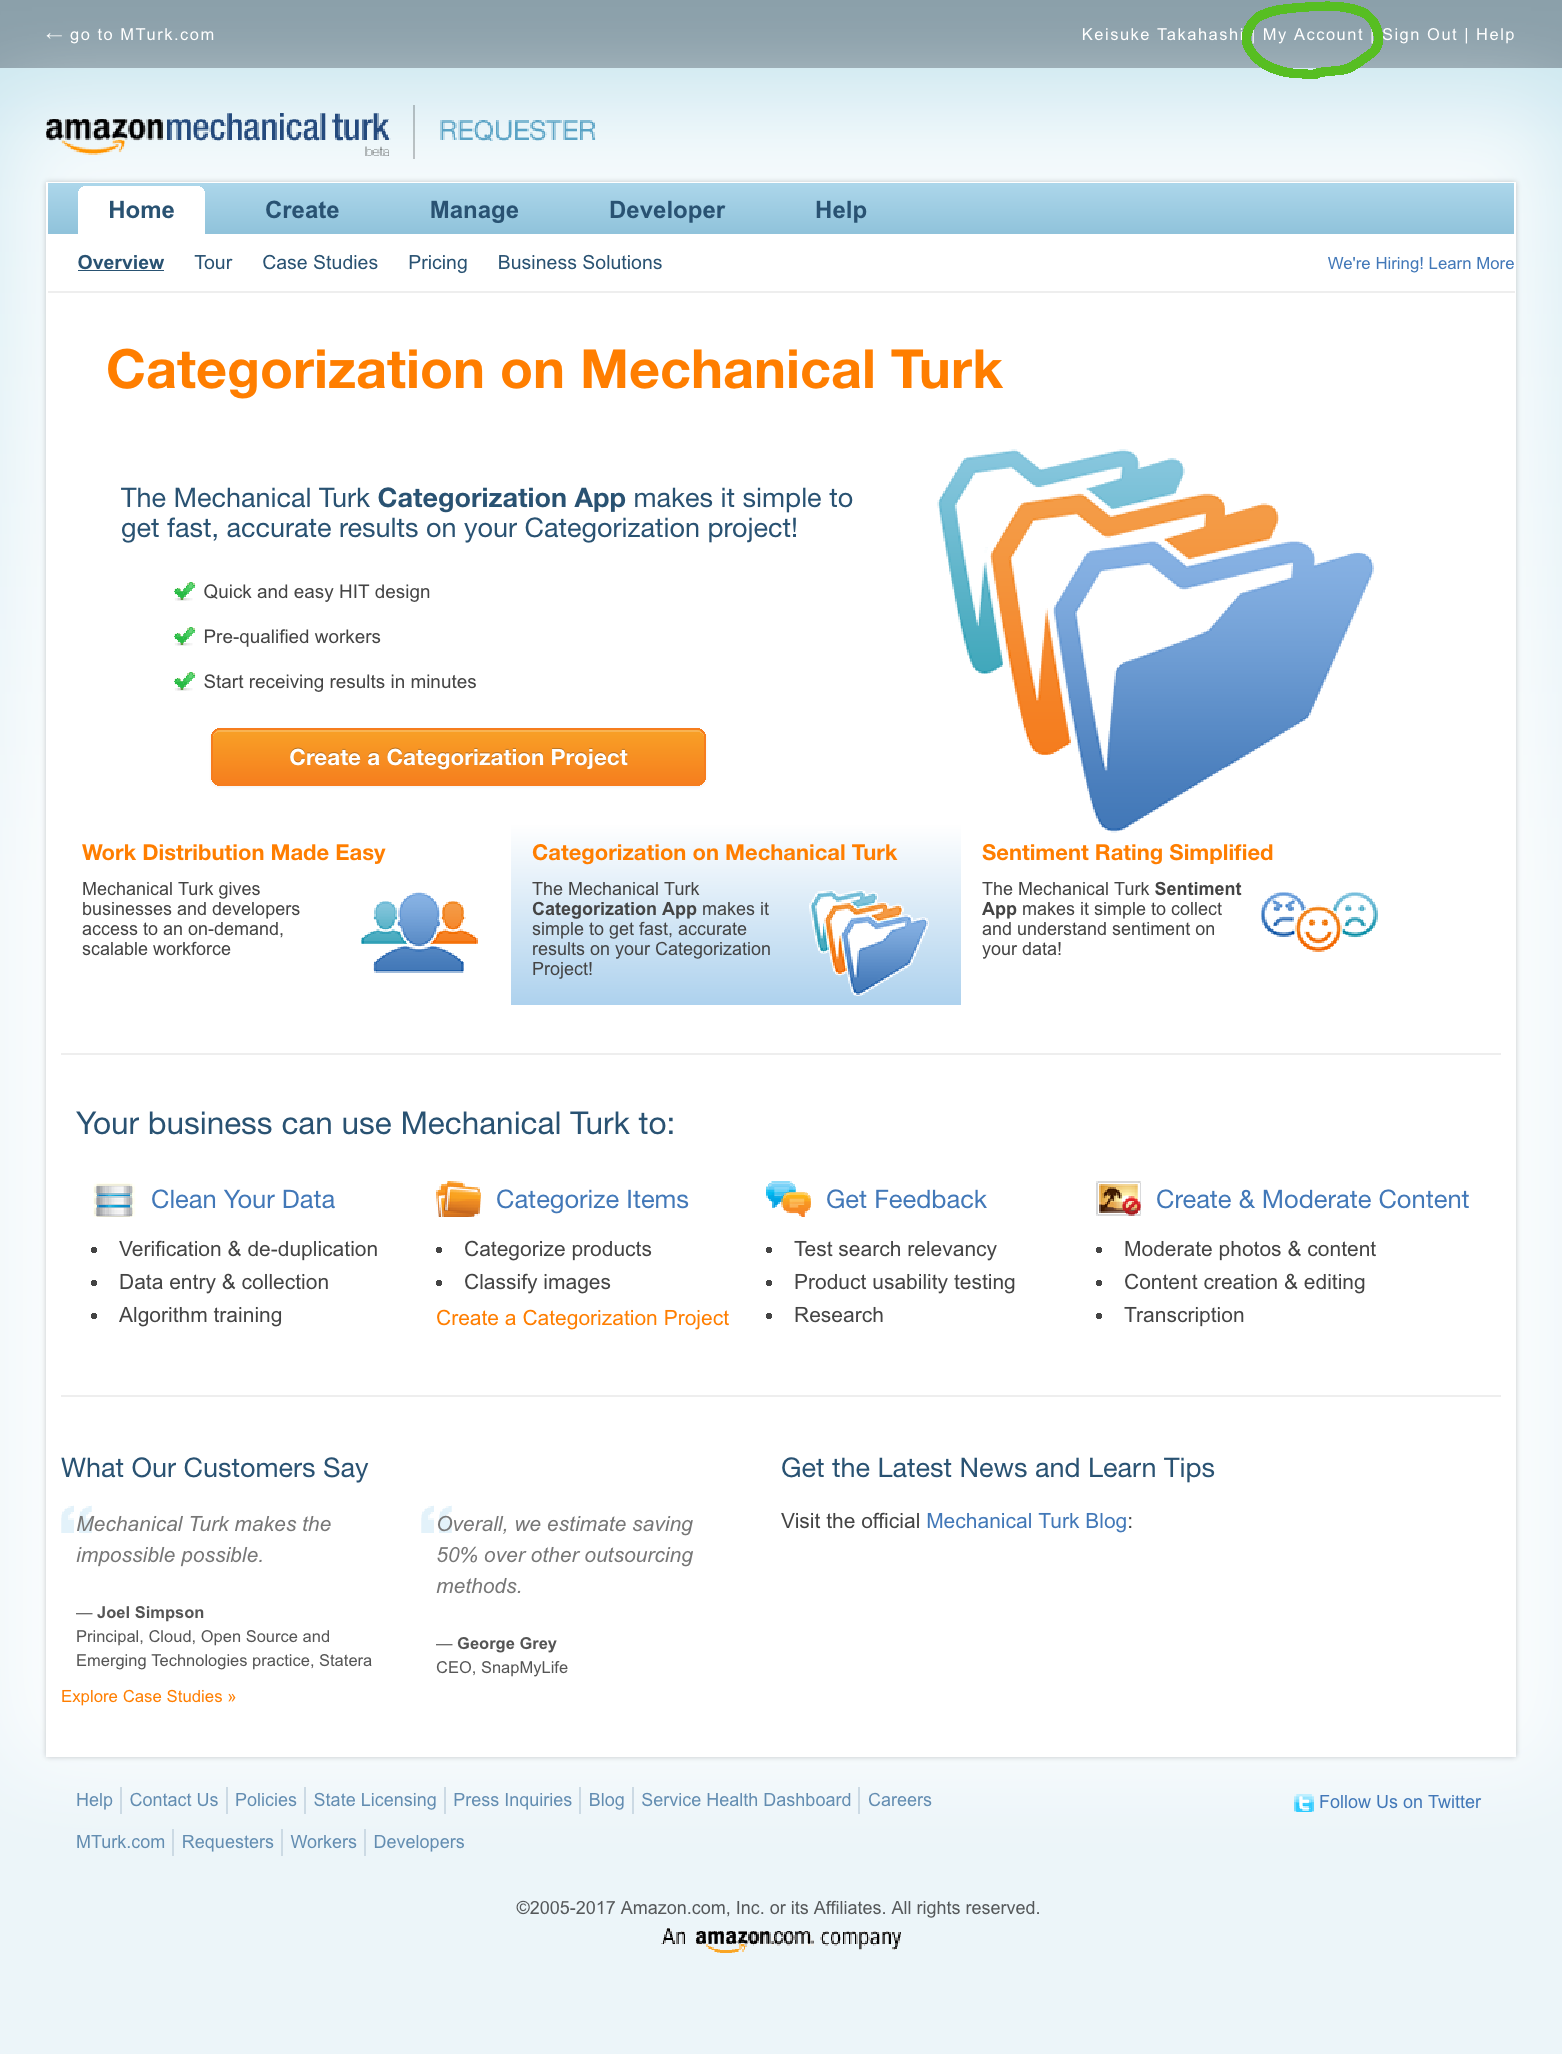
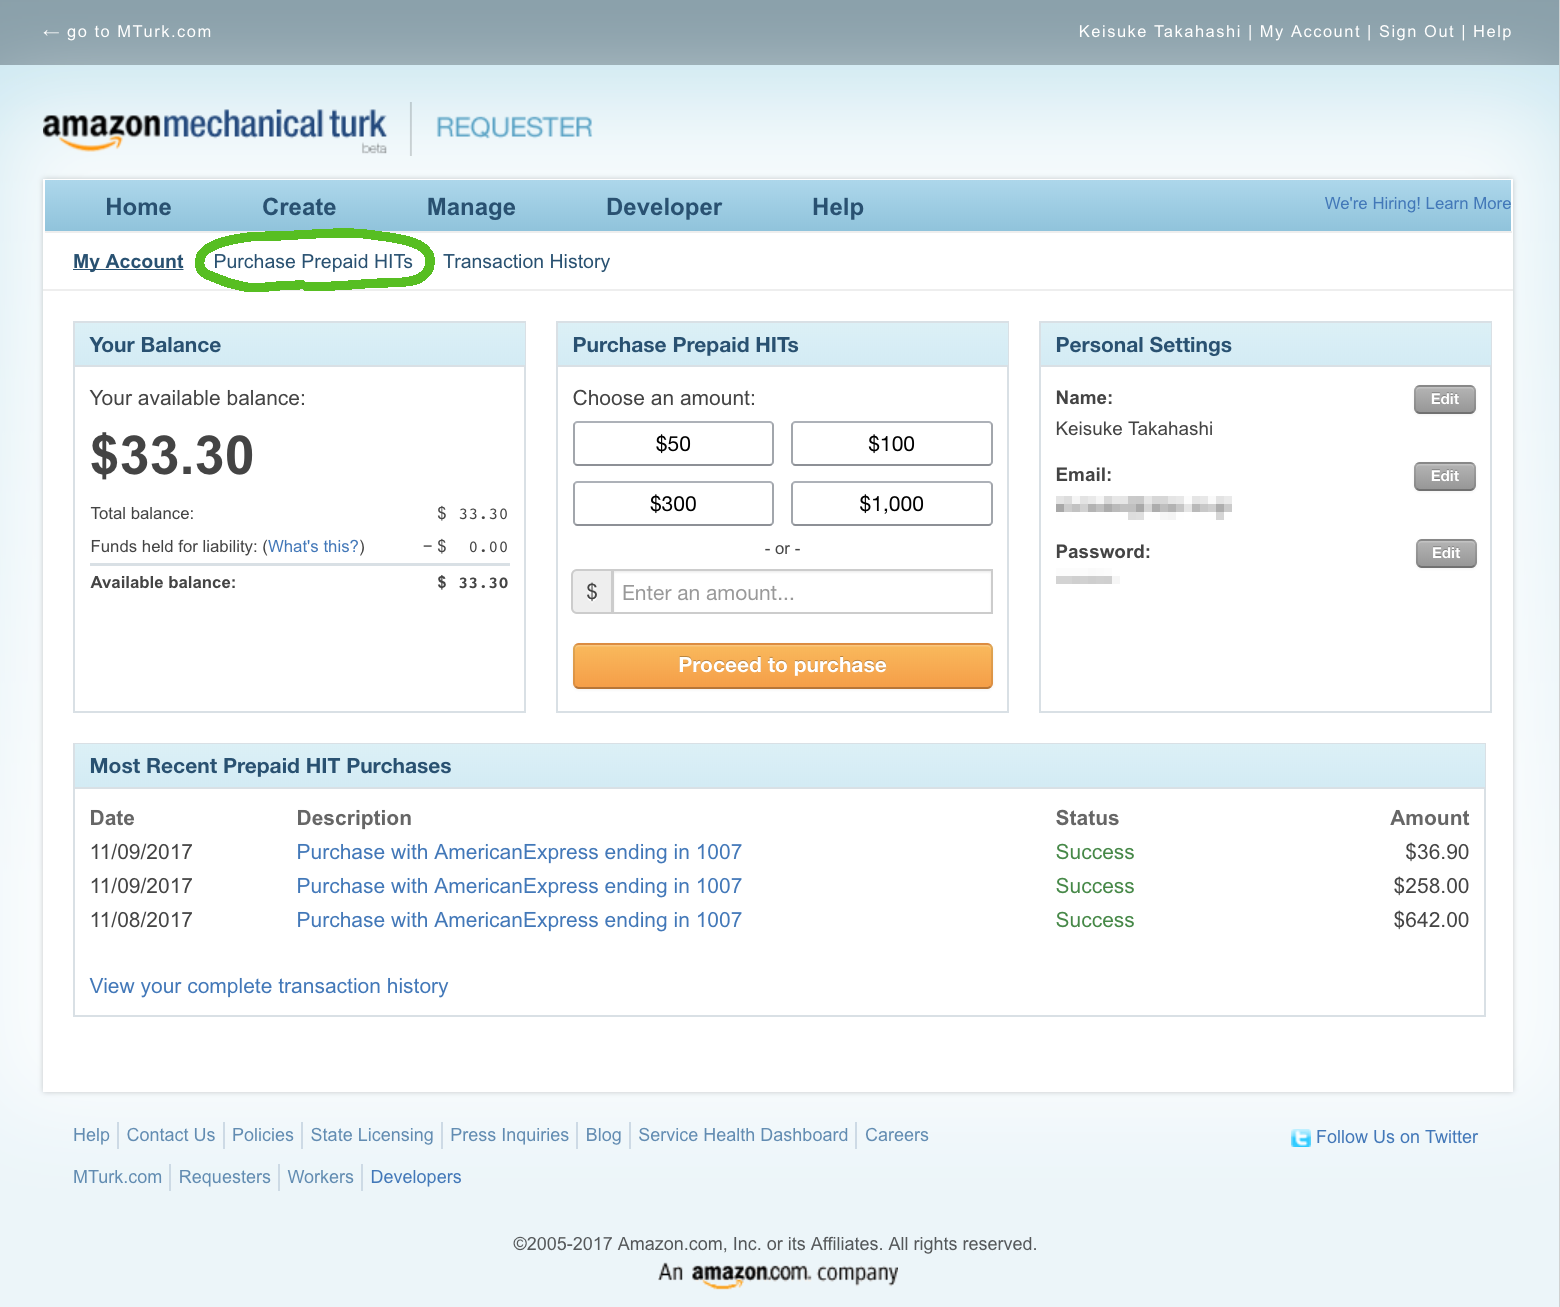
ログイン後 Home画面右上の My Account をクリック
Purchase Prepaid HITs をクリック
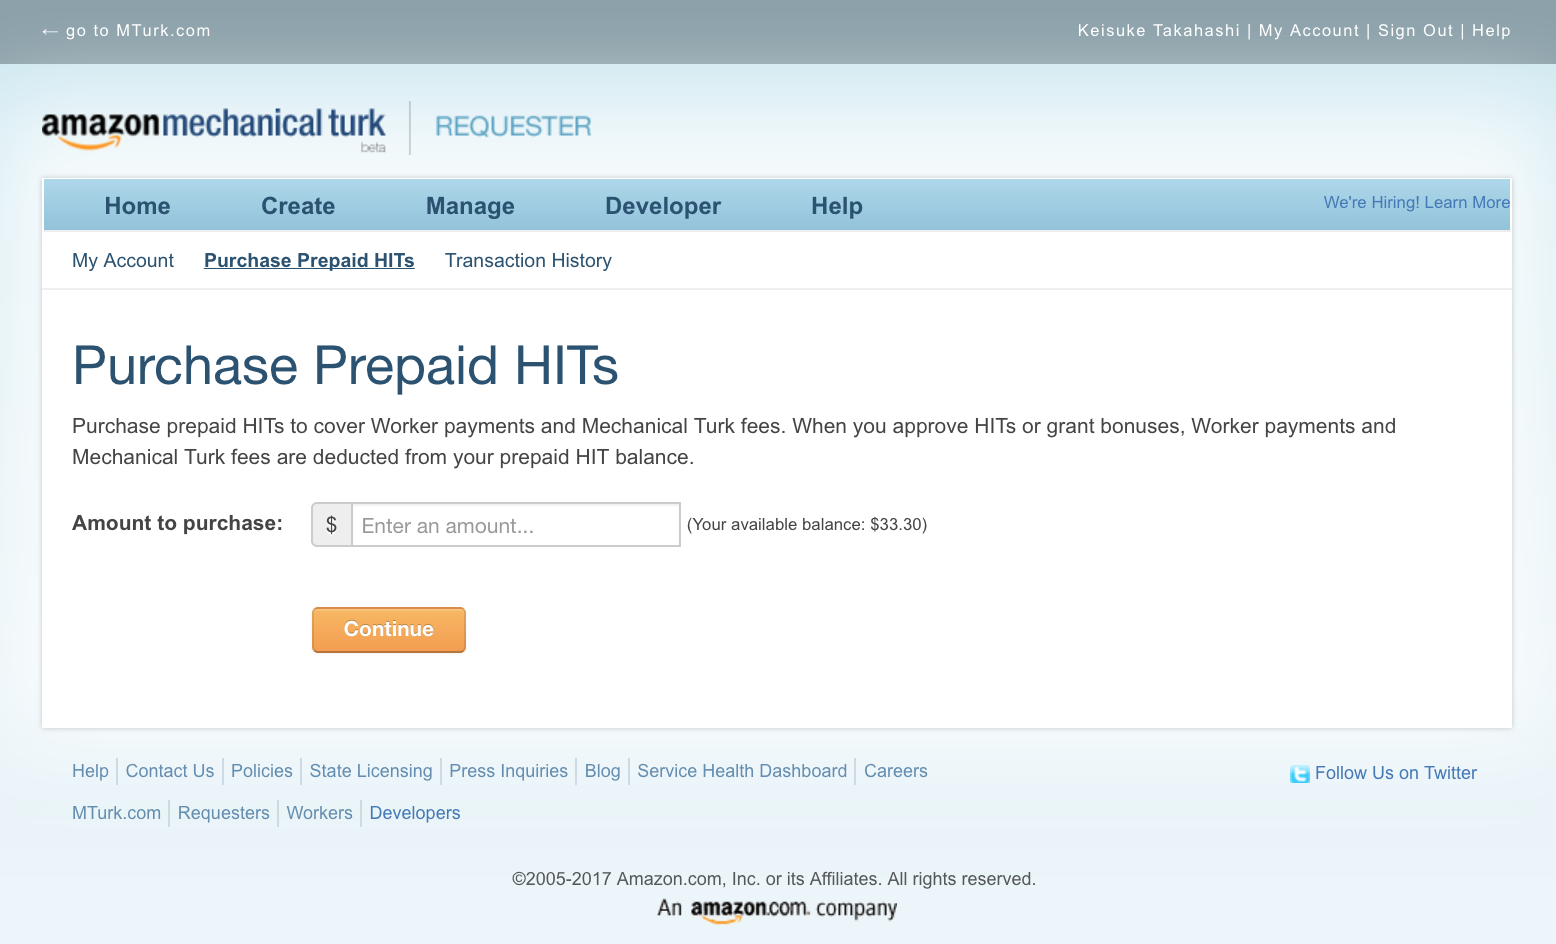
プリペイドで支払う金額を入力
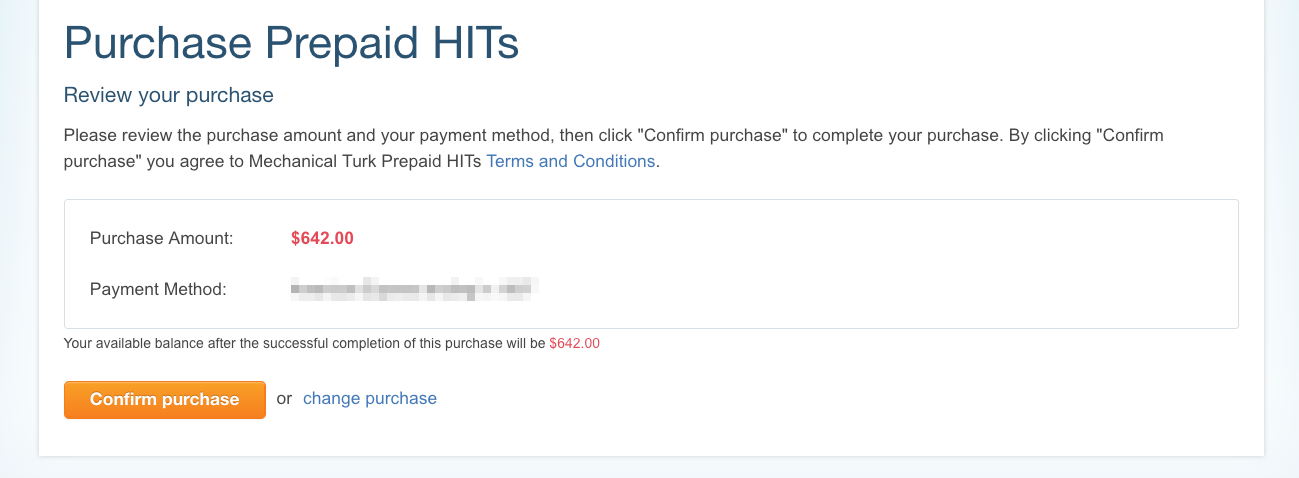
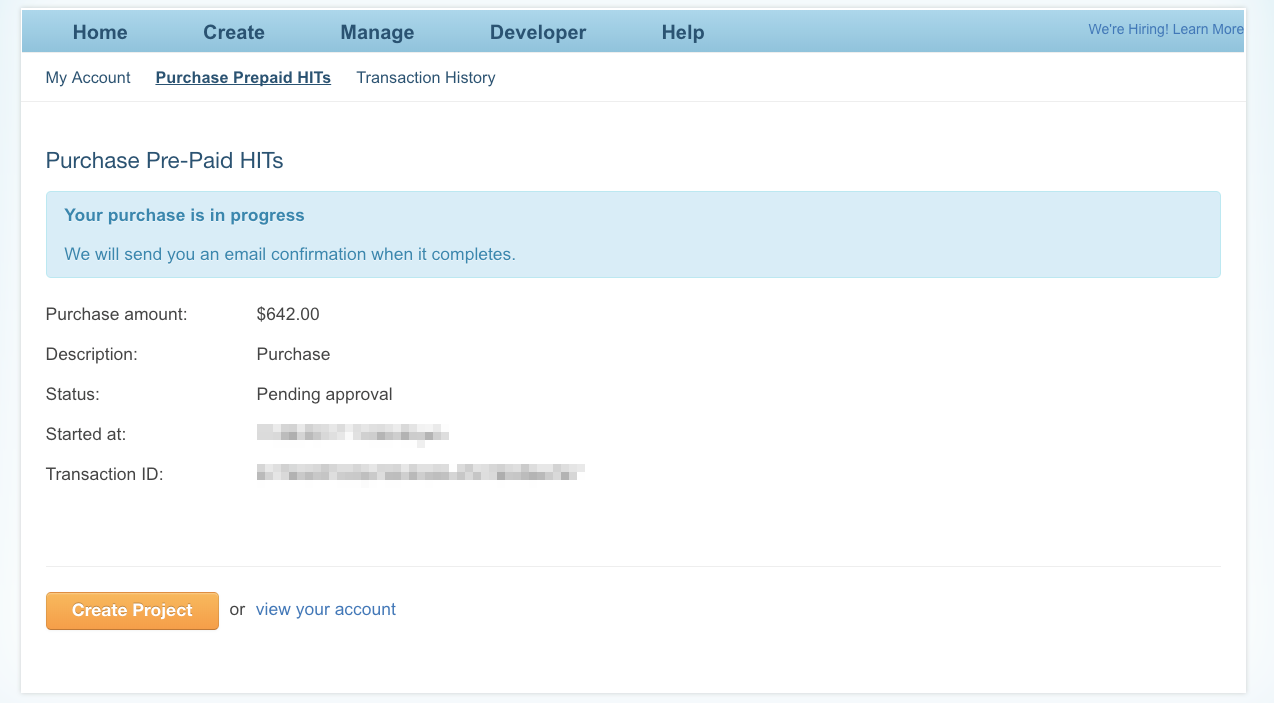
今回は $642.00 購入します。
Project を作成する
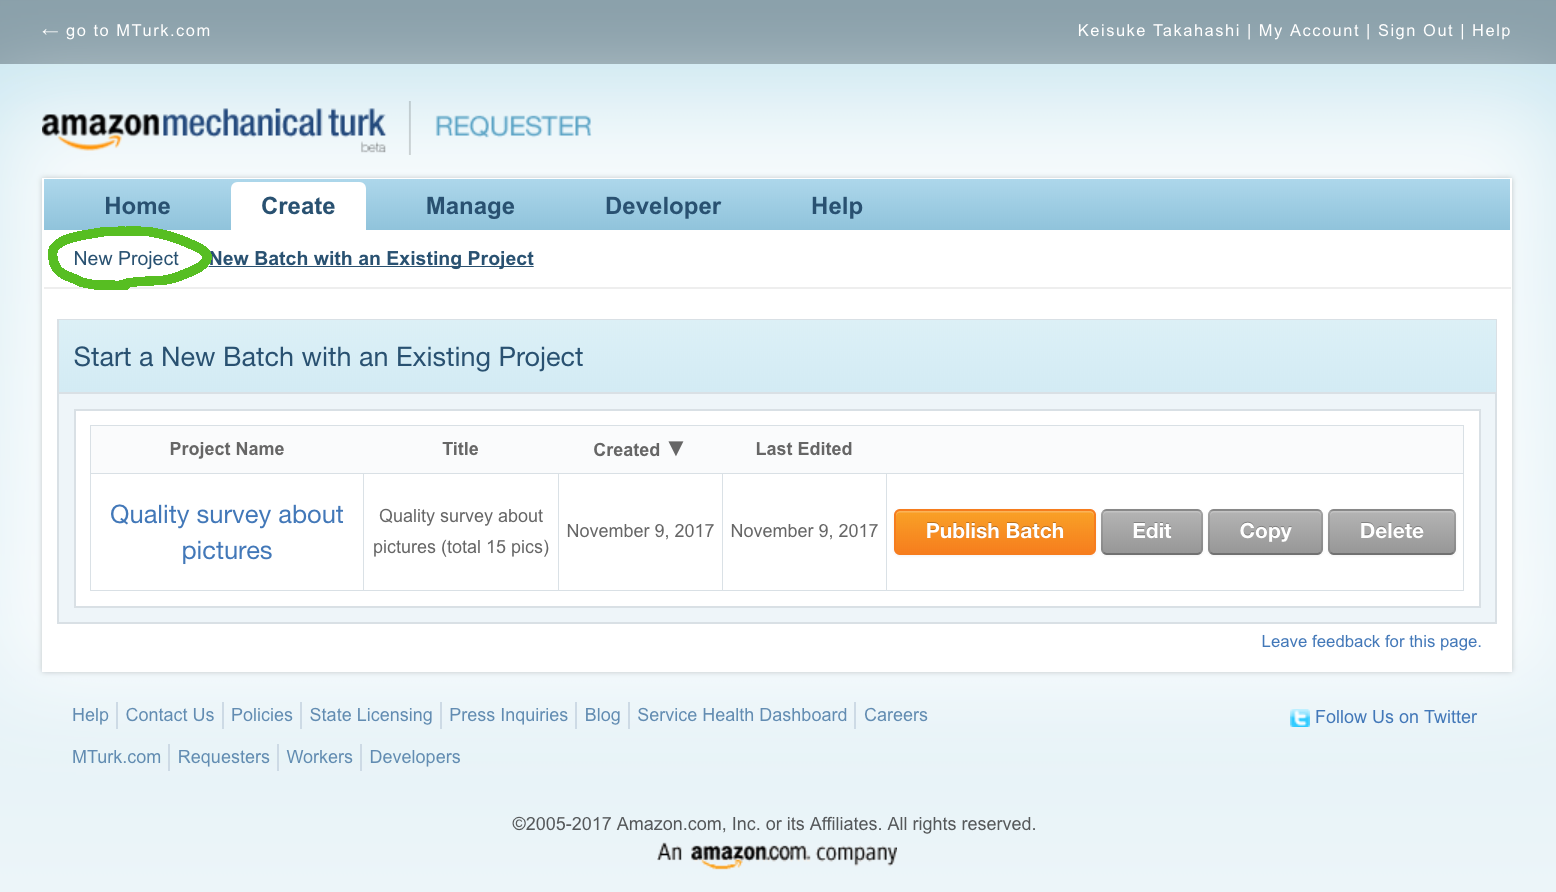
Createタブ内の New Project をクリック
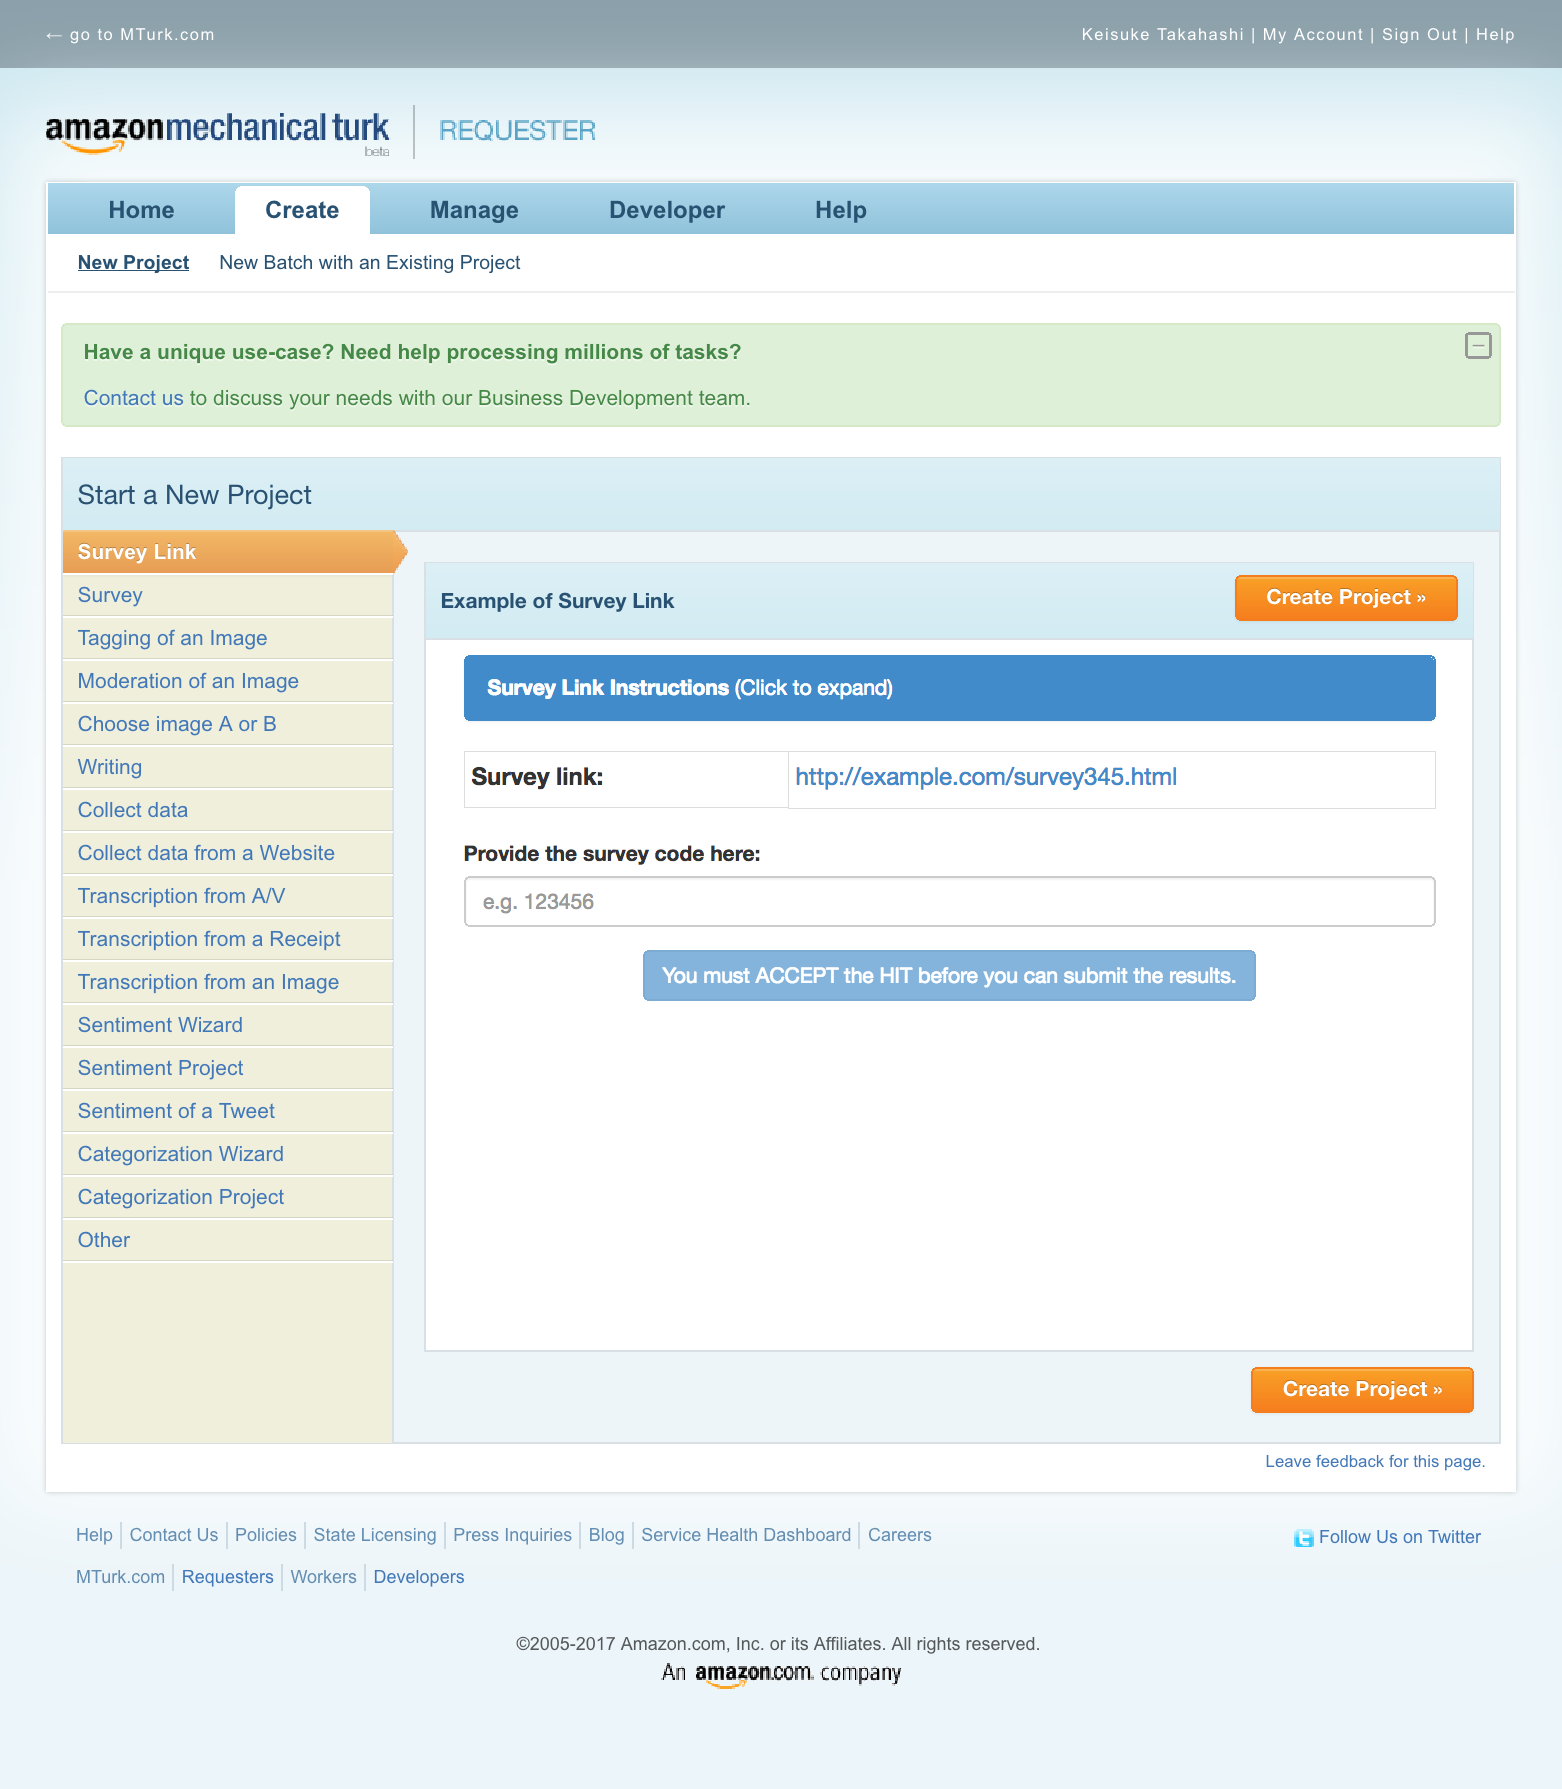
テンプレートを選択し、Create Project 画面へ
Create Project の詳細については、後述します。
以下、Create Project 完了後。
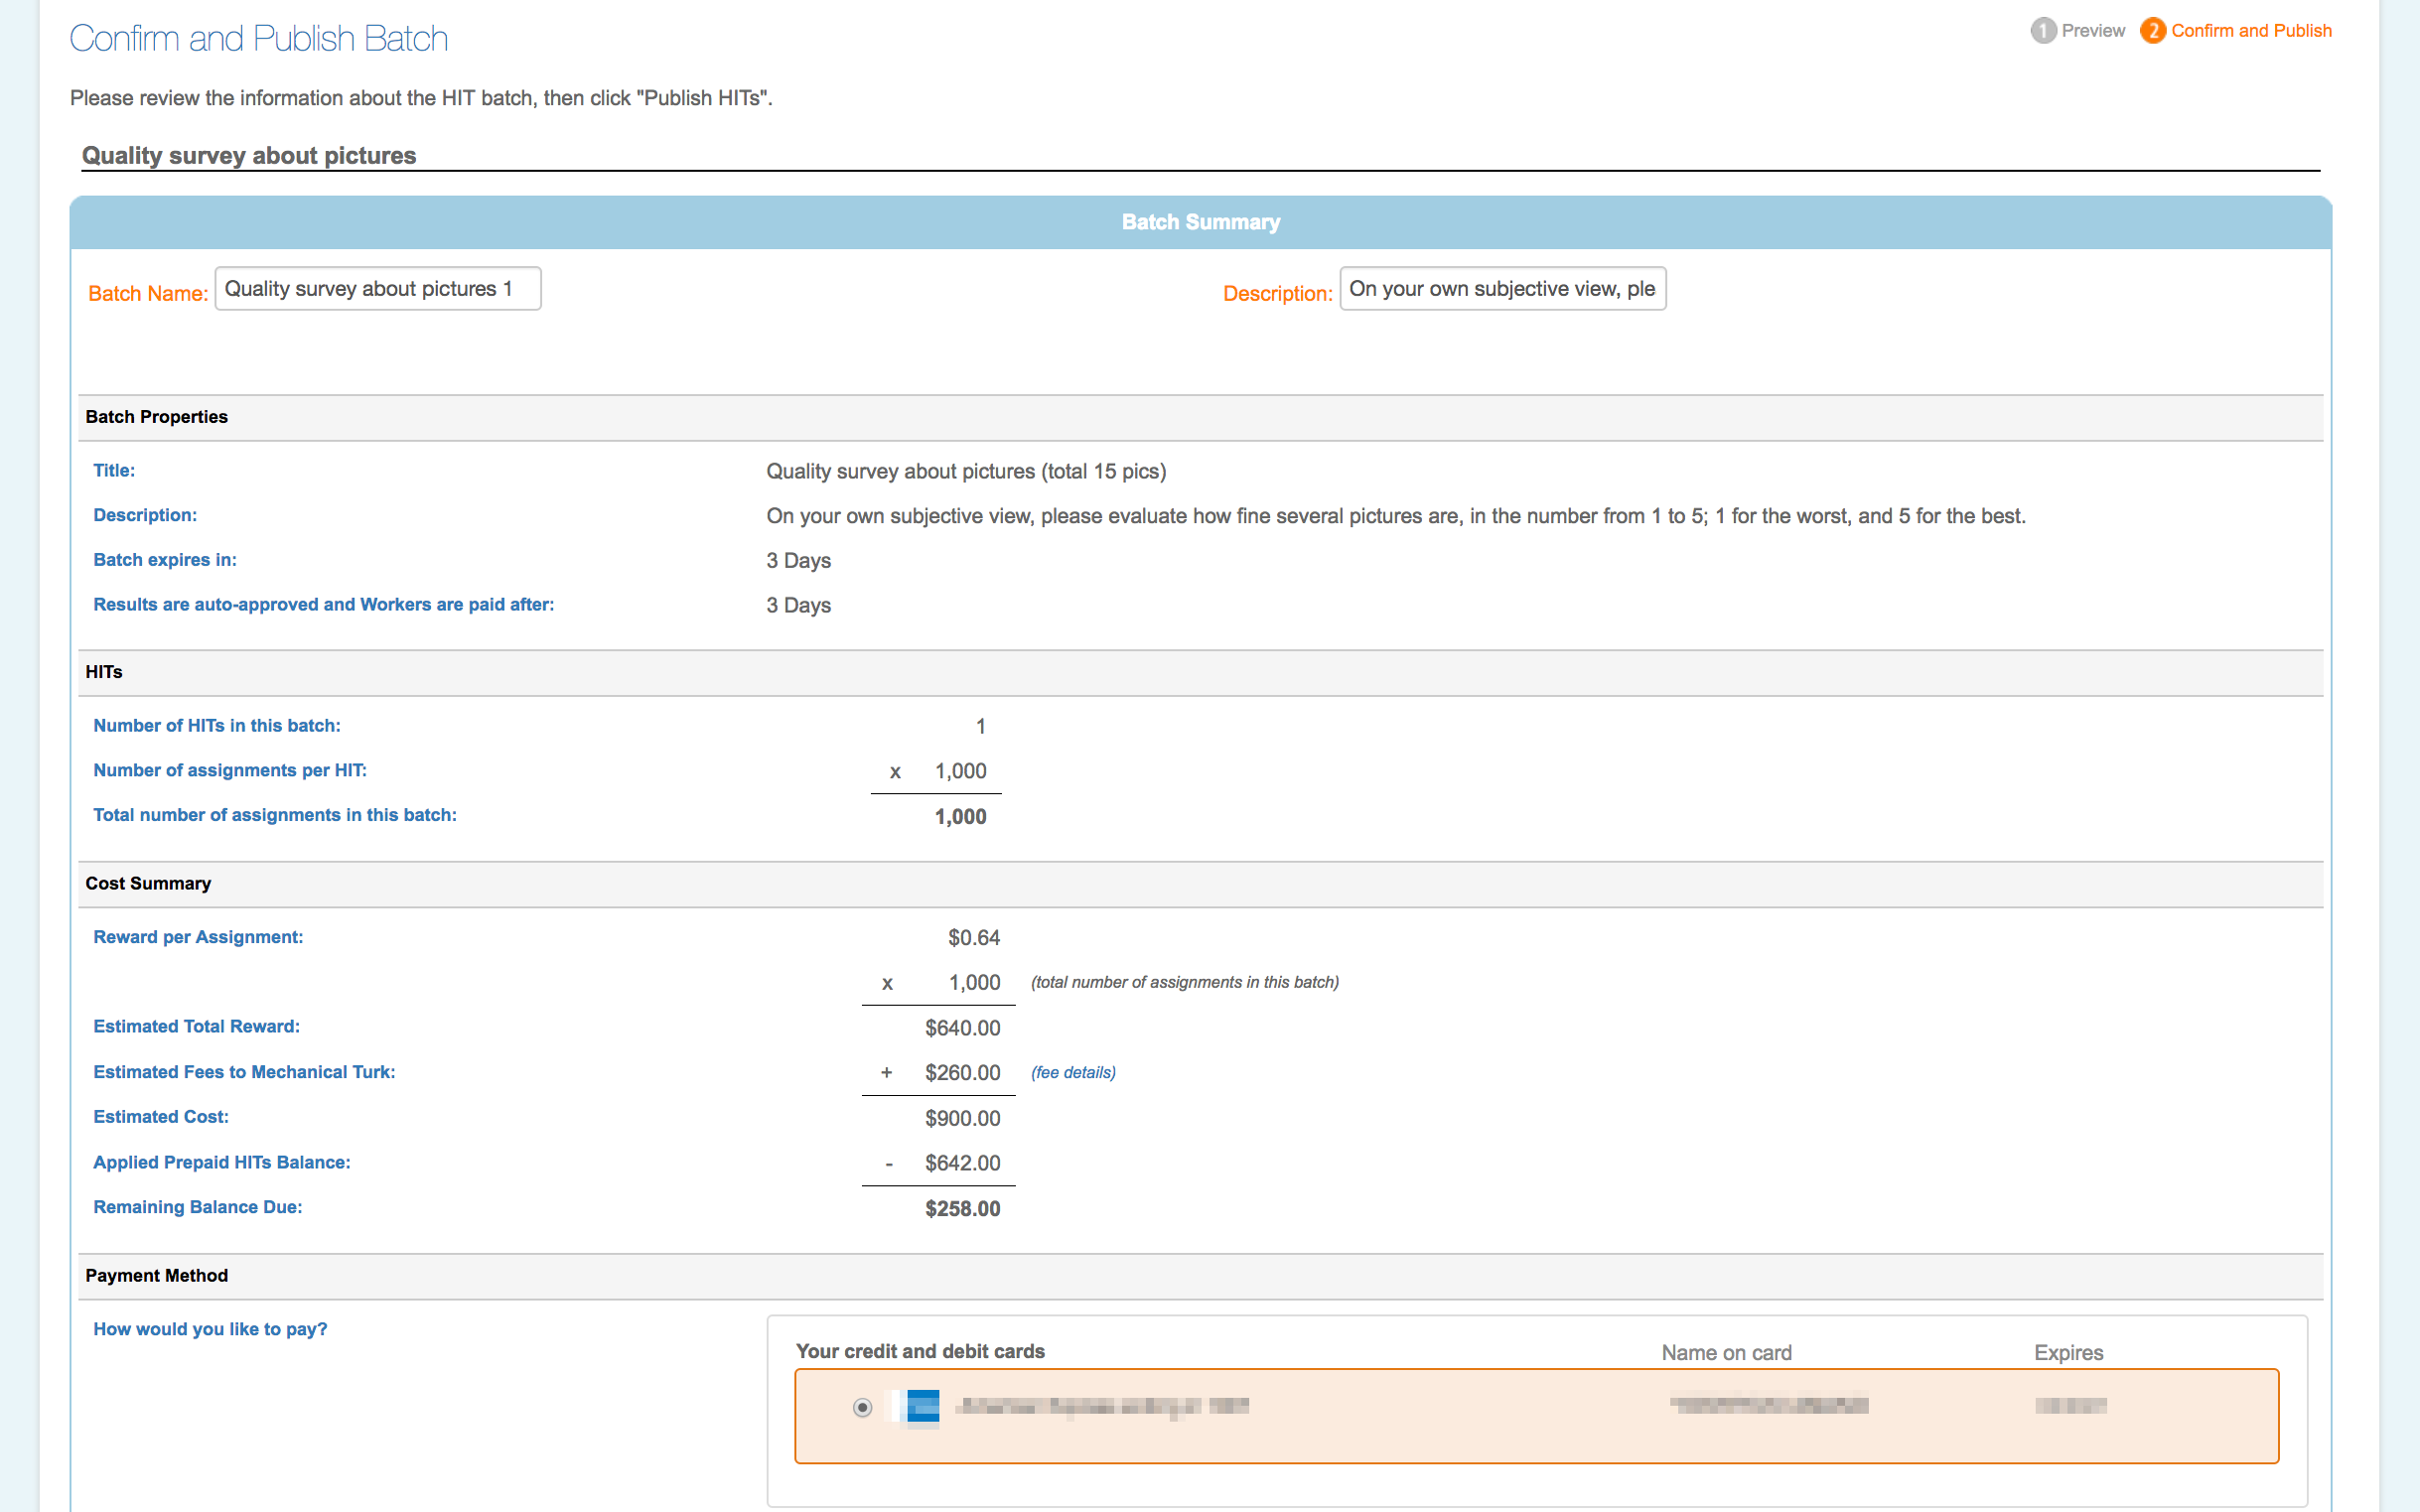
Prepaid HITs から支払いを行う
Batch を発行する
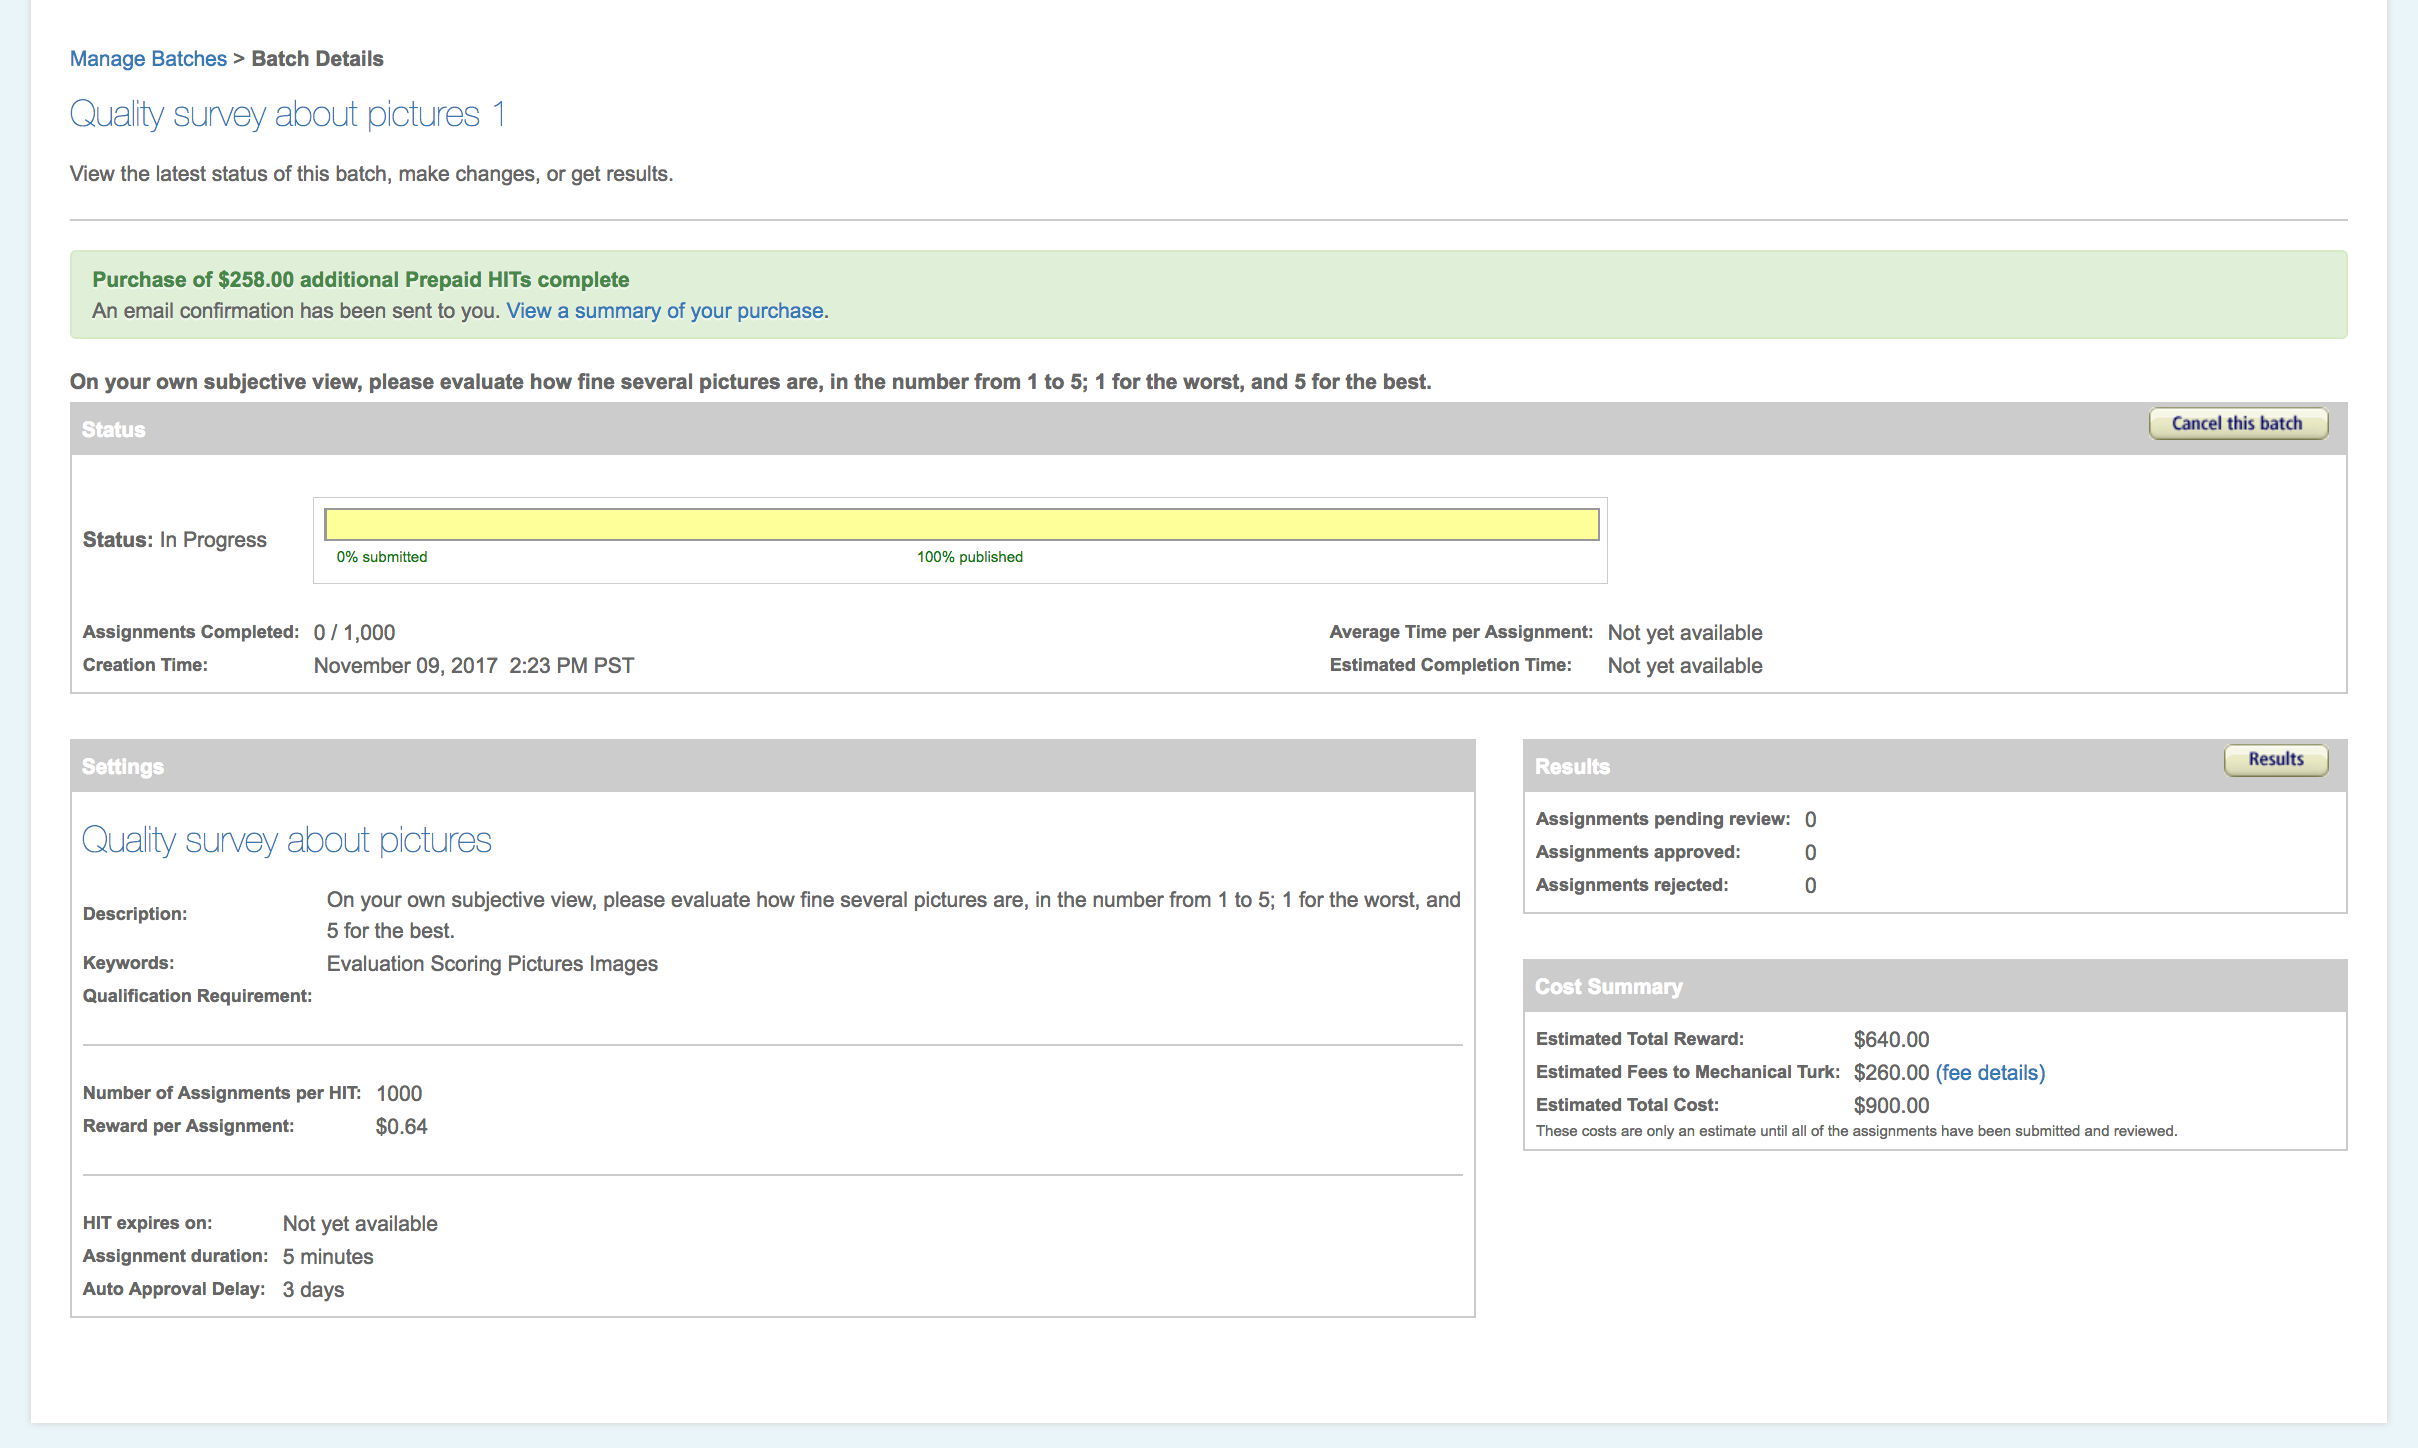
結果を得る
Create Project 画面
HIT の内容を、ここで作成します。フォーマットはHTML。リッチエディタで作成することもできますが、HTMLを直接書いた方が思い通りのHIT が作れるでしょう。
いずれにしても、前の画面の選択肢にあるテンプレートを、うまく活用すると良いでしょう。
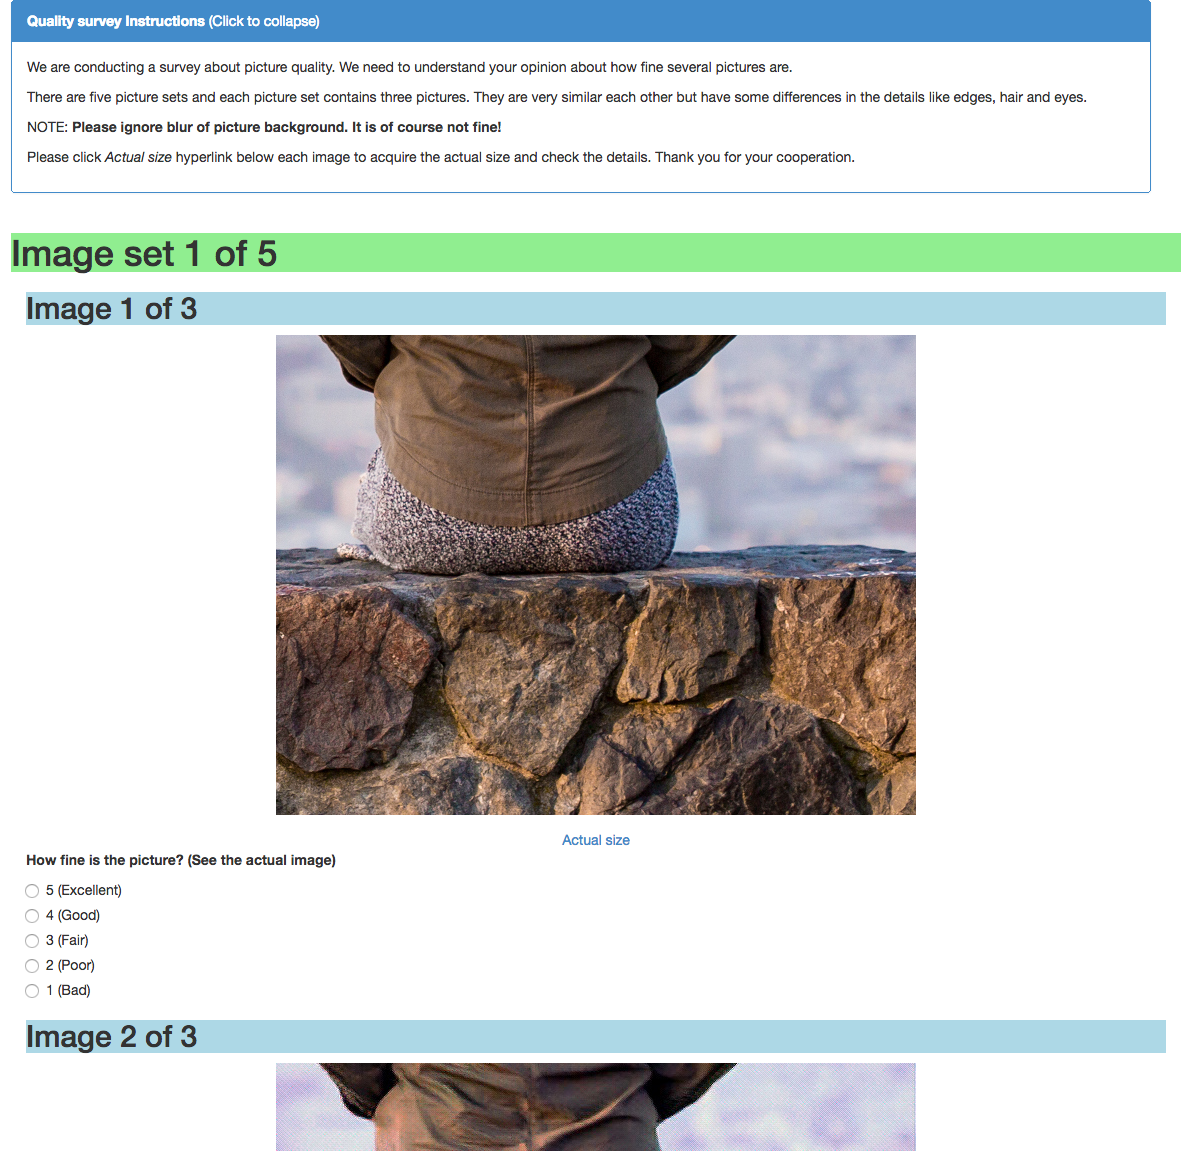
今回のHITは、5択の質問が15個です。
ポイントとしては、結果の集計にうまく結び付けられるように作り込む必要があるという点で、今回の例では input タグ内の name 要素ごとに value 要素を1つずつ取得するような形になっています。
この実装をミスると、やりたい評価が実現できないばかりか、やり直すのにお金が余計にかかりますし、Workerの方々にも迷惑がかかるので、デバッグは焦らず入念にやりましょう。
以下に、今回の HIT で使用したHTML(抜粋)を掲載します。
<!-- HIT template: ImageTagging-v3.0 --><!-- Bootstrap v3.0.3 --><!-- Please note that Bootstrap CSS/JS and JQuery are 3rd party libraries that may update their url/code at any time. Amazon Mechanical Turk (MTurk) is including these libraries as a default option for you, but is not responsible for any changes to the external libraries -->
<style type="text/css">h1 {
    background-color: lightgreen;
}
h2 {
    background-color: lightblue;
}
</style>
<link crossorigin="anonymous" href="https://maxcdn.bootstrapcdn.com/bootstrap/3.0.3/css/bootstrap.min.css" integrity="sha384-IS73LIqjtYesmURkDE9MXKbXqYA8rvKEp/ghicjem7Vc3mGRdQRptJSz60tvrB6+" rel="stylesheet" /><!-- The following snippet enables the 'responsive' behavior on smaller screens -->
<meta content="width=device-width,initial-scale=1" name="viewport" /><!-- Instructions -->
<section class="container" id="QualitySurvey"><!-- Instructions -->
<div class="row">
<div class="col-xs-12 col-md-12">
<div class="panel panel-primary"><!-- WARNING: the ids "collapseTrigger" and "instructionBody" are being used to enable expand/collapse feature --><a class="panel-heading" href="javascript:void(0);" id="collapseTrigger"><strong>Quality survey Instructions</strong> <span class="collapse-text">(Click to expand)</span> </a>
<div class="panel-body" id="instructionBody">
<p>We are conducting a survey about picture quality. We need to understand your opinion about how fine several pictures are.</p>

<p>There are five picture sets and each picture set contains three pictures. They are very similar each other but have some differences in the details like edges, hair and eyes.</p>

<p>NOTE: <strong>Please ignore blur of picture background. It is of course not fine!</strong></p>

<p>Please click <i>Actual size</i> hyperlink below each image to acquire the actual size and check the details. Thank you for your cooperation.</p>
</div>
</div>
</div>
</div>
<!-- End Instructions --><!-- QualitySurvey -->


<!-- ---------------- Image Set 1 ---------------- -->

<section class="container" id="Image set 1 of 5">
<h1 class="row">Image set 1 of 5</h1>
<!-- 1-1 -->

<h2>Image 1 of 3</h2>
<!-- End Instructions --><!-- Image Tagging Layout -->

<div class="row" id="workContent">
<div class="image"><img alt="Image 1-1" class="img-responsive center-block" src="https://nttpcmakedata.blob.core.windows.net/survey-201711/scenery1/thumb/original.jpg" style="height: 480px; width: 640px;" /></div>

<div align="center" class="row"><a href="https://nttpcmakedata.blob.core.windows.net/survey-201711/scenery1/original.jpg" target="_blank">Actual size</a></div>
</div>

<div class="fields">
<div class="form-group"><span style="font-weight: bold;">How fine is the picture? (See the actual image)</span></div>

<div class="form-group">
<div class="radio"><label><input autocomplete="off" id="1-1_5" name="1-1" required="" type="radio" value="5" />5 (Excellent)</label></div>

<div class="radio"><label><input autocomplete="off" id="1-1_4" name="1-1" required="" type="radio" value="4" />4 (Good)</label></div>

<div class="radio"><label><input autocomplete="off" id="1-1_3" name="1-1" required="" type="radio" value="3" />3 (Fair)</label></div>

<div class="radio"><label><input autocomplete="off" id="1-1_2" name="1-1" required="" type="radio" value="2" />2 (Poor)</label></div>

<div class="radio"><label><input autocomplete="off" id="1-1_1" name="1-1" required="" type="radio" value="1" />1 (Bad)</label></div>
</div>
</div>
<!-- 1-2 -->

<h2>Image 2 of 3</h2>
<!-- End Instructions --><!-- Image Tagging Layout -->

<div class="row" id="workContent">
<div class="image"><img alt="Image 1-2" class="img-responsive center-block" src="https://nttpcmakedata.blob.core.windows.net/survey-201711/scenery1/thumb/gan.jpg" style="height: 480px; width: 640px;" /></div>

<div align="center" class="row"><a href="https://nttpcmakedata.blob.core.windows.net/survey-201711/scenery1/gan.jpg" target="_blank">Actual size</a></div>
</div>

<div class="fields">
<div class="form-group"><span style="font-weight: bold;">How fine is the picture? (See the actual image)</span></div>

<div class="form-group">
<div class="radio"><label><input autocomplete="off" id="1-2_5" name="1-2" required="" type="radio" value="5" />5 (Excellent)</label></div>

<div class="radio"><label><input autocomplete="off" id="1-2_4" name="1-2" required="" type="radio" value="4" />4 (Good)</label></div>

<div class="radio"><label><input autocomplete="off" id="1-2_3" name="1-2" required="" type="radio" value="3" />3 (Fair)</label></div>

<div class="radio"><label><input autocomplete="off" id="1-2_2" name="1-2" required="" type="radio" value="2" />2 (Poor)</label></div>

<div class="radio"><label><input autocomplete="off" id="1-2_1" name="1-2" required="" type="radio" value="1" />1 (Bad)</label></div>
</div>
</div>
<!-- 1-3 -->

<h2>Image 3 of 3</h2>
<!-- End Instructions --><!-- Image Tagging Layout -->

<div class="row" id="workContent">
<div class="image"><img alt="Image 1-3" class="img-responsive center-block" src="https://nttpcmakedata.blob.core.windows.net/survey-201711/scenery1/thumb/gimp.jpg" style="height: 480px; width: 640px;" /></div>

<div align="center" class="row"><a href="https://nttpcmakedata.blob.core.windows.net/survey-201711/scenery1/gimp.jpg" target="_blank">Actual size</a></div>
</div>

<div class="fields">
<div class="form-group"><span style="font-weight: bold;">How fine is the picture? (See the actual image)</span></div>

<div class="form-group">
<div class="radio"><label><input autocomplete="off" id="1-3_5" name="1-3" required="" type="radio" value="5" />5 (Excellent)</label></div>

<div class="radio"><label><input autocomplete="off" id="1-3_4" name="1-3" required="" type="radio" value="4" />4 (Good)</label></div>

<div class="radio"><label><input autocomplete="off" id="1-3_3" name="1-3" required="" type="radio" value="3" />3 (Fair)</label></div>

<div class="radio"><label><input autocomplete="off" id="1-3_2" name="1-3" required="" type="radio" value="2" />2 (Poor)</label></div>

<div class="radio"><label><input autocomplete="off" id="1-3_1" name="1-3" required="" type="radio" value="1" />1 (Bad)</label></div>
</div>
</div>
</section>


<!-- End Image Tagging Layout --><!-- Open internal style sheet -->
<style type="text/css">#collapseTrigger{
  color:#fff;
  display: block;
  text-decoration: none;
}
# submitButton{
  white-space: normal;
}
.image{
  margin-bottom: 15px;
}
.radio:first-of-type{
  margin-top: -5px;
}
</style>
<!-- Close internal style sheet --><!-- Please note that Bootstrap CSS/JS and JQuery are 3rd party libraries that may update their url/code at any time. Amazon Mechanical Turk (MTurk) is including these libraries as a default option for you, but is not responsible for any changes to the external libraries --><script src="https://code.jquery.com/jquery-3.1.0.min.js" integrity="sha256-cCueBR6CsyA4/9szpPfrX3s49M9vUU5BgtiJj06wt/s=" crossorigin="anonymous"></script><script src="https://maxcdn.bootstrapcdn.com/bootstrap/3.0.3/js/bootstrap.min.js" integrity="sha384-s1ITto93iSMDxlp/79qhWHi+LsIi9Gx6yL+cOKDuymvihkfol83TYbLbOw+W/wv4" crossorigin="anonymous"></script><script>
  $(document).ready(function() {
    // Instructions expand/collapse
    var content = $('#instructionBody');
    var trigger = $('#collapseTrigger');
    content.hide();
    $('.collapse-text').text('(Click to expand)');
    trigger.click(function(){
      content.toggle();
      var isVisible = content.is(':visible');
      if(isVisible){
        $('.collapse-text').text('(Click to collapse)');
      }else{
        $('.collapse-text').text('(Click to expand)');
      }
    });
    // end expand/collapse
  });
</script></section>
このHITは、実際にはブラウザ上で以下のように表示されます。
結果の取得
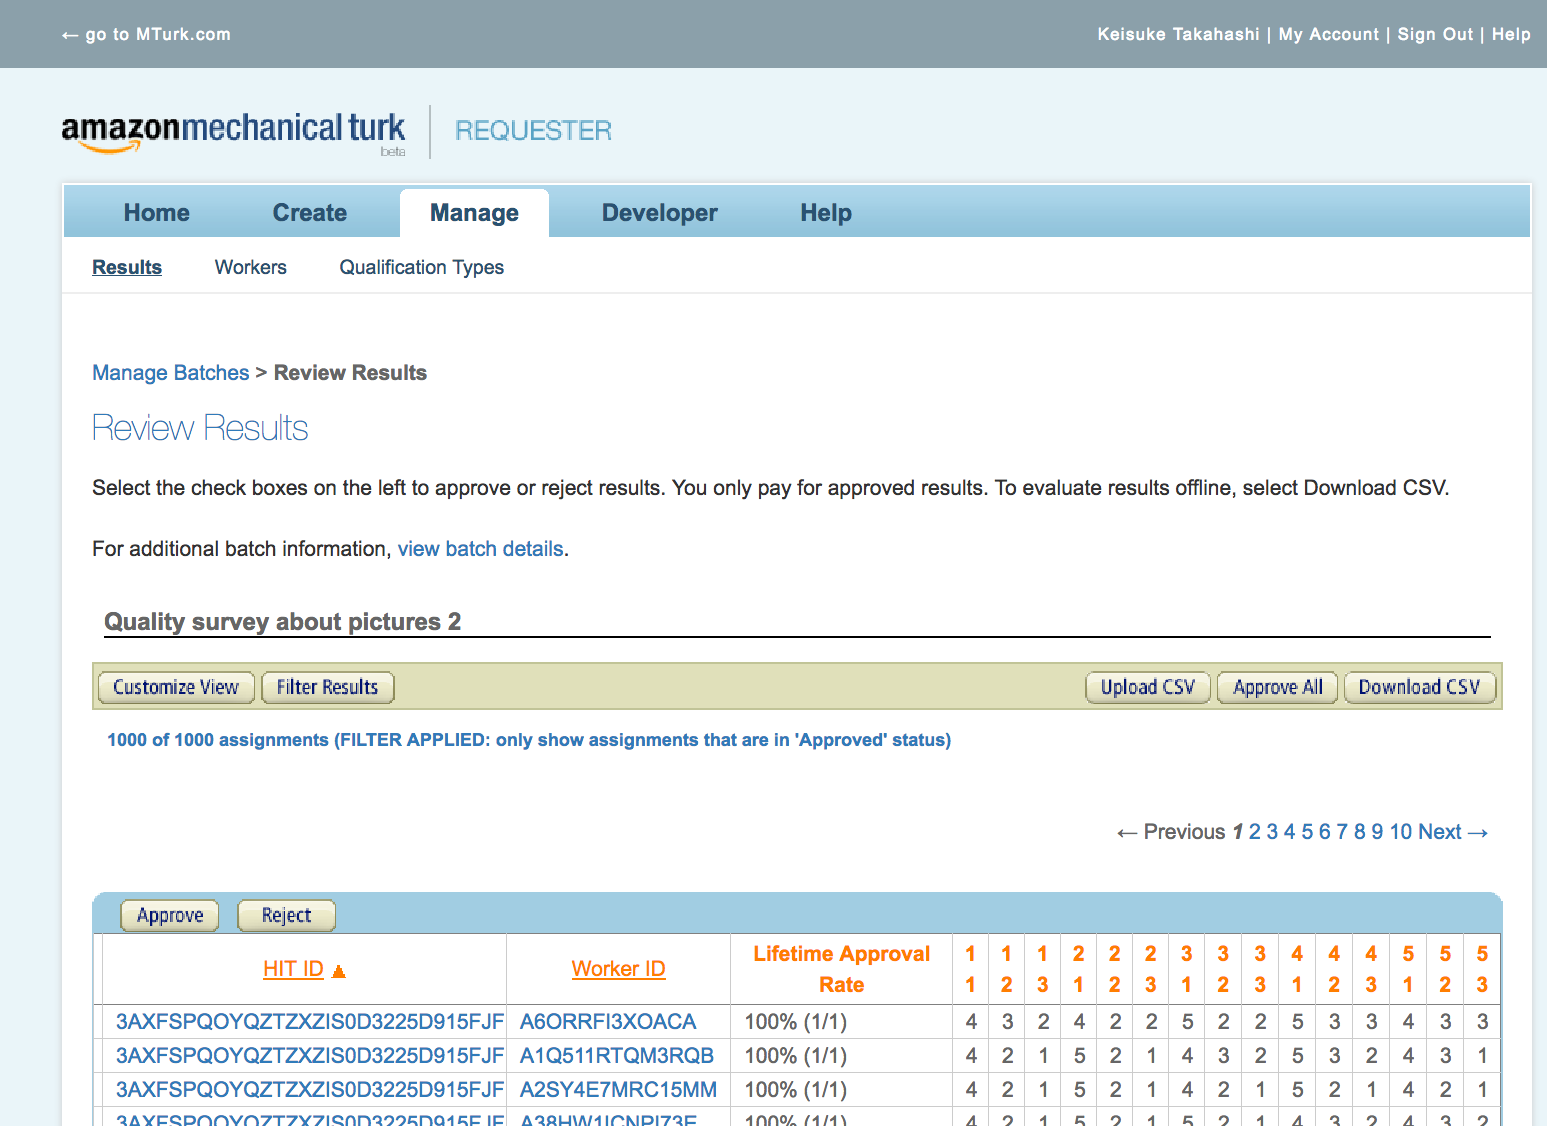
結果の概要はWeb画面から確認できますし、CSVでダウンロードすることもできます。
Batch が終了していなくても、途中の状態で結果を得ることもできます。
HITs の Approve と Reject
各Worker がこなした HIT について、それぞれ承認するか却下するかを選ぶことができます。
Project 作成時に、自動的に承認されるまでの時間を設定しますので、それが発動するまで放置しても良いと思います。
なお、承認された場合はそのWorkerに報酬が支払われますが、却下された場合は支払われません。却下すると、抗議のメールが送られてくることでしょう。
所要時間
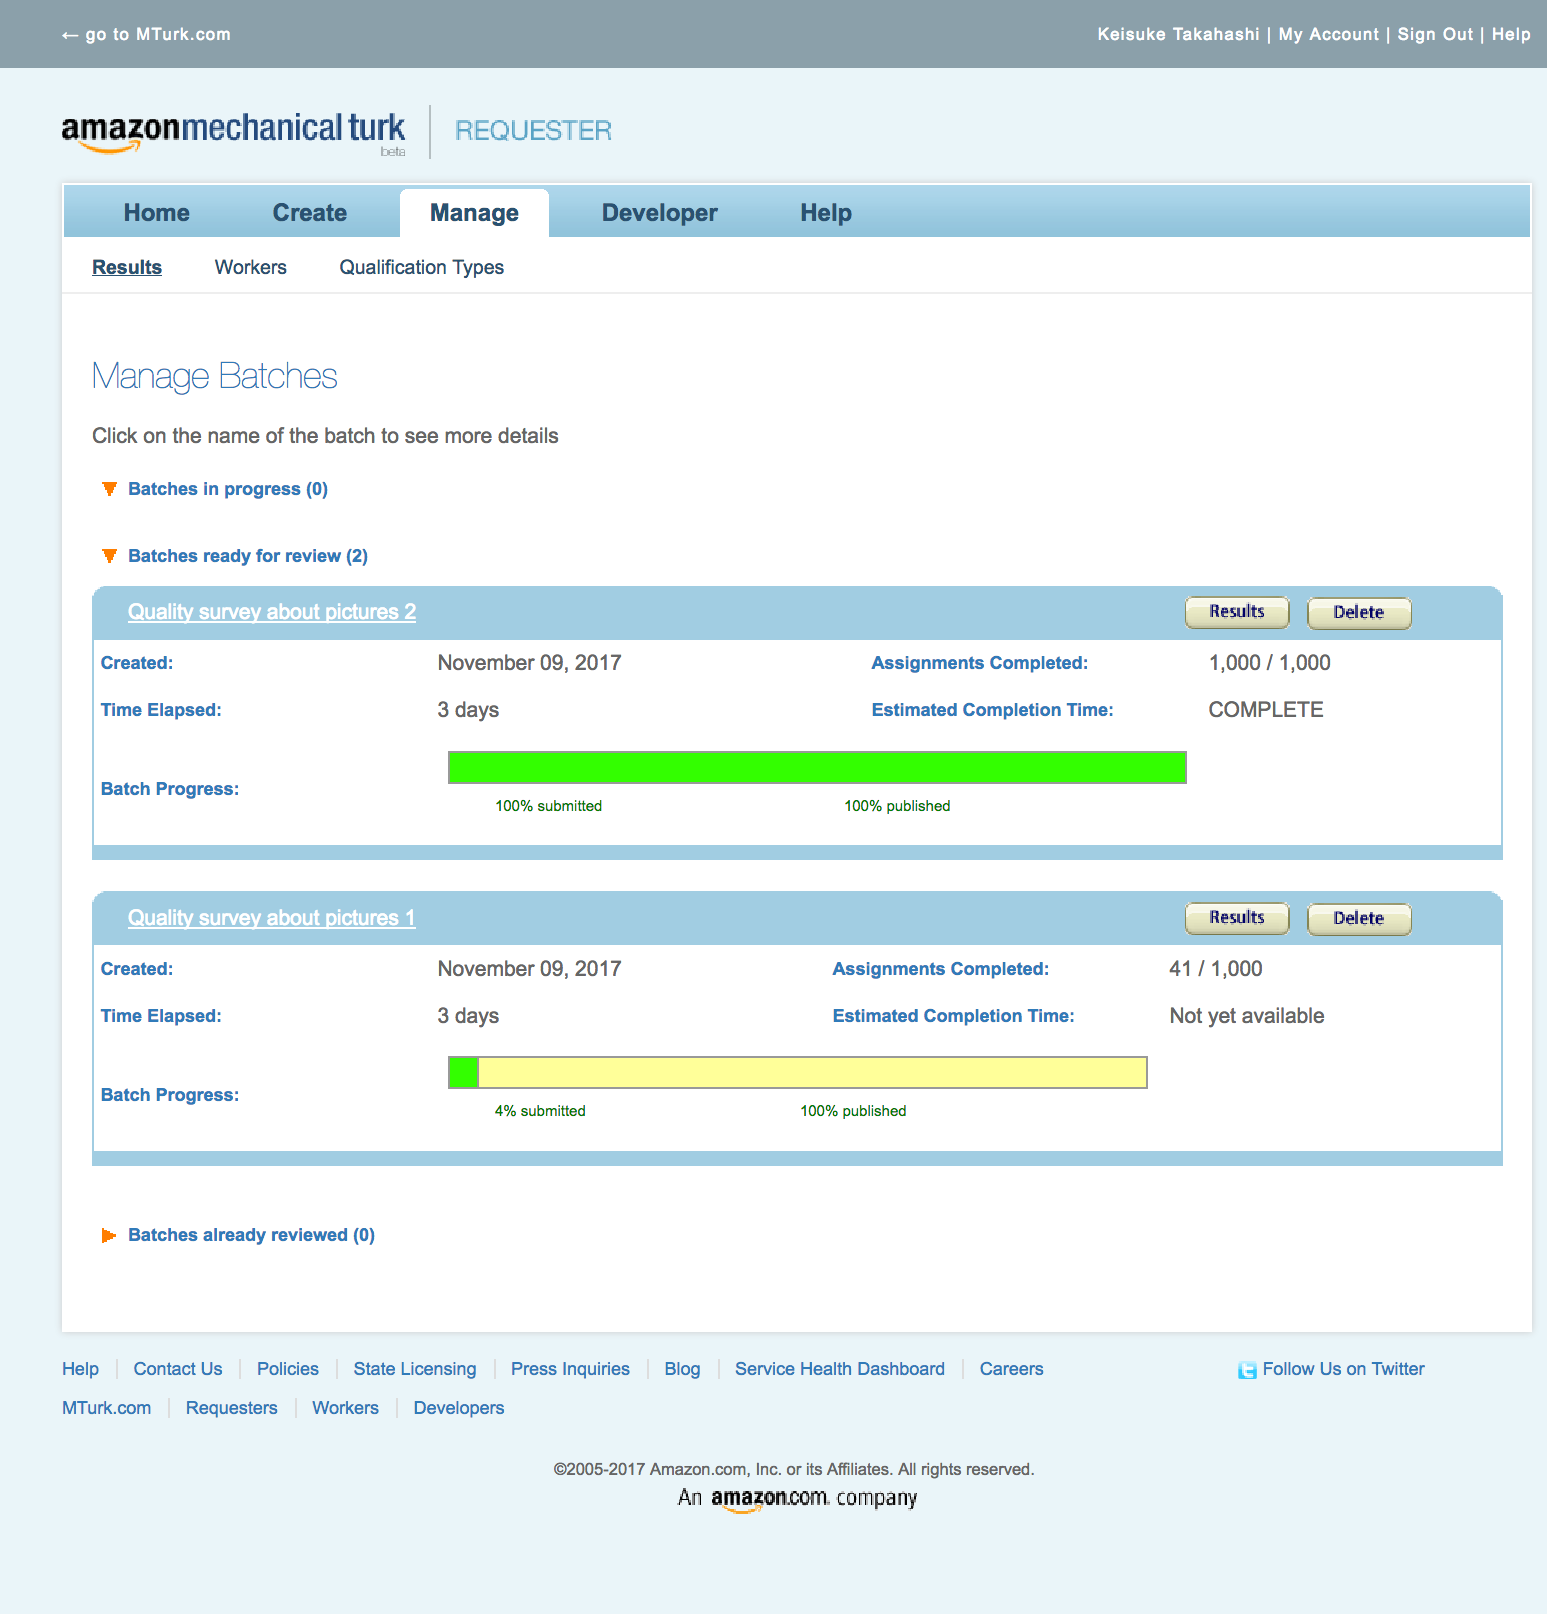
今回、1000名の Worker に HIT をアサインしました。この Batch が完了するまでの所要時間は 3時間 でした。
コスト
以下のように計算できます。
1HITあたりの報酬単価 * 1.2 * Worker数 * Tax * 為替レート
今回は事前に以下のように見積もりました。
0.64 * 1.2 * 1,000 * 1.08 * 120 = 99,533 JPY
プリペイド残高が不足する場合は、差分を購入するための画面に随時遷移します。
HITの単価をいくらにするか問題
平均的には $0.20 であるとのことです。また、時給 $1.45 という事例もあります。
これを基準とし、あとはどれくらいのスピードで終わらせたいかという観点で決めると良いのではないでしょうか。
ちなみに今回は、10万円の予算が予め確保できていたこと、Worker数は1000にしようとしていたことから、前述の式を使って逆算し、Workerにとっては破格の $0.64 としました。平均値と比較すると3倍であり、たった3時間で Batch を完了できたのは、値付けのおかげだったのかもしれません。
AWSからの請求
翌月、AWSのアカウントで登録しているクレジットカードの請求に載ってきます。
普段のAWSの利用料とは別エントリになっており、ひと目で区別することができます。
反省
Create Project で、HTMLのフォームのパラメタ設計をミスって、かつ入念に動作確認できていなかったため、意図しない動作をするHITが出来上がってしまいました。複数のWorkerから報告が入ることで気がつき、Batchを停止し、修正版のBatchを発行しました。
停止した方のBatchでは、正しく入力することができなかったHITは却下したのですが、それに対する抗議が多く寄せられました。(却下理由の中で「新しいBatchでよろしく」と説明はしているので、抗議は無視。)
このような状況は当初想定していなかったため、既に実行されてしまったBatchの分のコストが余計にかかり、請求書ベースで800円程、予算をオーバーしてしまいました。
考察
Pros
- 安価に大量の人にタスクを投げ、期待していたアウトプットを短時間で得ることができた。満足感が高い。
- 支払いにはAWSのアカウントを利用するため、他のクラウドソーシングサービスに比べて信頼できる。(AWSはPCI DSS に準拠している。)
- アウトプットはCSVで取得することができるため、すぐに Pandas 等での集計作業に入れる。Batch進行中の状態でも取得できるのも良い。
- Batch処理中に想定終了日時を示してくれるのも良い。
- 今回使用しなかったが、Amazon Mechanical Turk API が用意されている。学習モデルの継続的なトレーニングに組み込む等の活用法がありそう。
Cons
- Create Project が親切設計ではない。やりたいことをストレートにやろうとすると、HTML直書きになる。
- 作成したProject のバグを事前に検出するためのインストラクションが欲しい。
- 作成したHITの単価を決めるための相場観が分かるようになると嬉しい。Amazonだけに、協調フィルタリング とか使って。
- HITのコストについて、指定する単価はWorkerに対する報酬となっていて、MTurkに対するフィーがその別途20%乗ってくるが、UIとしてはその総額を指定するものにしてもらった方がわかりやすい。(Workerがいくら受取るかよりも、Requesterとしての支払いがHITあたりいくらになるかの方が関心事である。)
- プリペイドである意義が感じられない。不足分はその場でオンラインチャージされるので。
- 日本語ローカライズされていないので、英語に抵抗がある人には使いづらいかも。
まとめ
いわゆる"AI"にコンテンツを生成させるアプリケーションについて、そのアウトプットに対する人の"感覚"による評価を、クラウドソーシングサービス Amazon Mechanical Turk を使って実施しました。
World Wide の 1,000人に対するサーベイを、わずか3時間で完了することができるのは、大きなメリットです。
今回はDeep Learning のアウトプットに対する評価での利用でしたが、学習モデルのトレーニングや、画像のラベリング等の前処理にも活用していければと思います。
