mic, speakerを使って,
- オウムがえしするraspi
- ドアを開けたら『帰ります』と中から返事が来るようにしたraspi
を作成.
refs:
主な流れはこちらを参考にした
http://qiita.com/kinpira/items/75513eaab6eed19da9a3
途中で音が出なくなったりした時に参考にした
http://www.yam-web.net/raspberry-pi/music.html
タクトスイッチを組み込む時に参考にした
http://robocad.blog.jp/archives/678444.html
準備
pyaudioを入れる必要があるので
sudo apt-get install python-pyaudio
でinstall.
あとはrefsを参考に, マイクとスピーカーを使えるようにする.
options snd slots=snd_usb_audio,snd_bcm2835
options snd_usb_audio index=0
options snd_bcm2835 index=1
してrebootしたらマイクが動くようになった.
ただし, 音が出なくなっていたことに気づいたので色々いじった.
結局,
amixer cset numid=3 1
を実行すると音が出るようになった.
あとは, pyaudioを使って, 録音と発音を一気にやればおk.
面倒になってきたのでやっつけなことがよく分かるcodeは下記.
codes
switch input
import RPi.GPIO as GPIO
from time import sleep

GPIO.setmode(GPIO.BCM)
# GPIO.setup(25, GPIO.OUT)
GPIO.setup(14, GPIO.IN)

try:
    while True:
        if GPIO.input(14) == GPIO.HIGH:
            print(1)
        else:
            print(0)
        sleep(0.01)

except KeyboardInterrupt:
    pass

GPIO.cleanup()
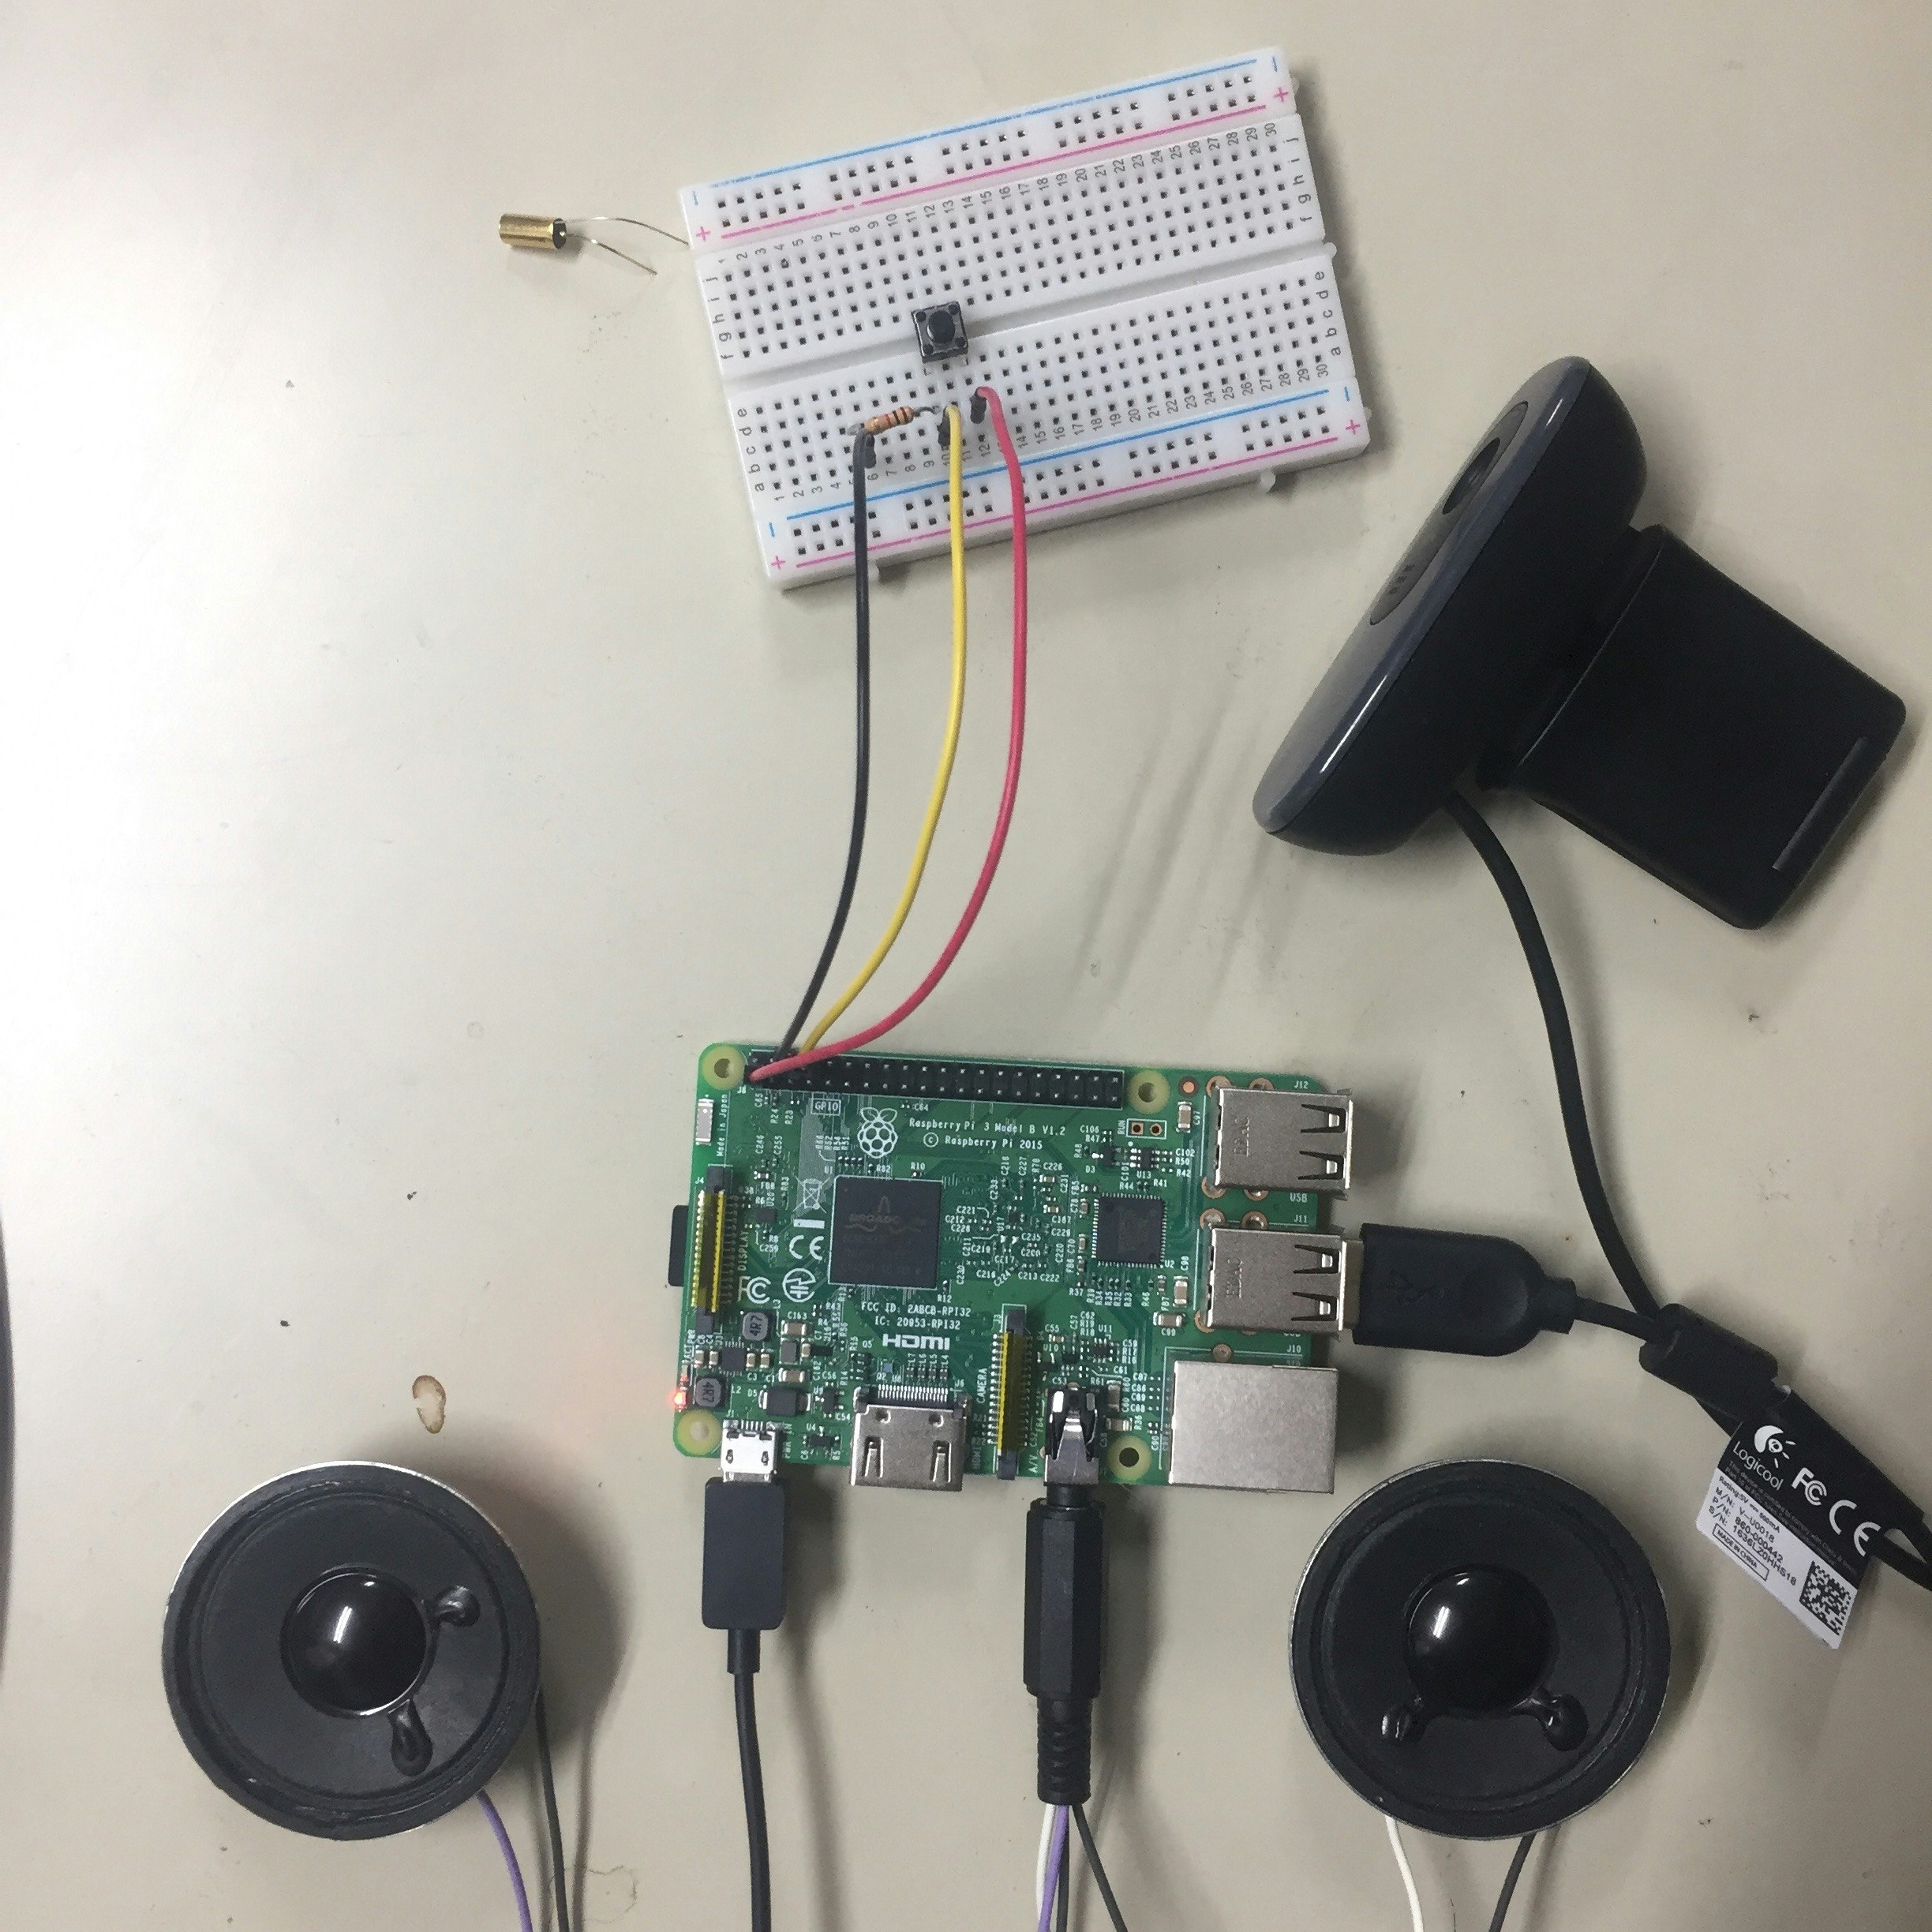
スイッチを押すとオウムがえしするraspi
# -*- coding: utf-8 -*-
import RPi.GPIO as GPIO
from time import sleep
import pyaudio
import wave
import threading

class AudioPlayer(object):
    """ A Class For Playing Audio """

    def __init__(self, audio_file):
        self.audio_file = audio_file
        self.playing = threading.Event()    # 再生中フラグ

    def run(self):
        """ Play audio in a sub-thread """
        audio = pyaudio.PyAudio()
        input = wave.open(self.audio_file, "rb")
        output = audio.open(format=audio.get_format_from_width(input.getsampwidth()),
                            channels=input.getnchannels(),
                            rate=input.getframerate(),
                            output=True)

        while self.playing.is_set():
            data = input.readframes(CHUNK)
            if len(data) > 0:
                # play audio
                output.write(data)
            else:
                # end playing audio
                self.playing.clear()

        # stop and close the output stream
        output.stop_stream()
        output.close()
        # close the input file
        input.close()
        # close the PyAudio
        audio.terminate()

    def play(self):
        """ Play audio. """
        if not self.playing.is_set():
            self.playing.set()
            self.thread = threading.Thread(target=self.run)
            self.thread.start()

    def wait(self):
        if self.playing.is_set():
            self.thread.join()

    def stop(self):
        """ Stop playing audio and wait until the sub-thread terminates. """
        if self.playing.is_set():
            self.playing.clear()
            self.thread.join()

def rec_wav(CHUNK):
    FORMAT = pyaudio.paInt16
    CHANNELS = 1        #モノラル
    RATE = 32000        #サンプルレート
    RECORD_SECONDS = 5 #録音する時間の長さ
    WAVE_OUTPUT_FILENAME = "file.wav"

    audio = pyaudio.PyAudio()

    stream = audio.open(format=FORMAT, channels=CHANNELS,
                    rate=RATE, input=True,
                    input_device_index=0,   #デバイスのインデックス番号
                    frames_per_buffer=CHUNK)
    print ("recording...")

    frames = []
    for i in range(0, int(RATE / CHUNK * RECORD_SECONDS)):
        data = stream.read(CHUNK)
        frames.append(data)
    print ("finished recording")

    stream.stop_stream()
    stream.close()
    audio.terminate()

    waveFile = wave.open(WAVE_OUTPUT_FILENAME, 'wb')
    waveFile.setnchannels(CHANNELS)
    waveFile.setsampwidth(audio.get_sample_size(FORMAT))
    waveFile.setframerate(RATE)
    waveFile.writeframes(b''.join(frames))
    waveFile.close()


if __name__ == "__main__":
    GPIO.setmode(GPIO.BCM)
    GPIO.setup(14, GPIO.IN)
    CHUNK = 32000

    try:
        while True:
            if GPIO.input(14) == GPIO.HIGH:
                print(1)
                rec_wav(CHUNK)
                player1 = AudioPlayer("file.wav")
                player1.play()
            else:
                print(0)
            sleep(0.01)

    except KeyboardInterrupt:
        pass

    GPIO.cleanup()
CHUNK = 32000はdeviceに依存するらしい.
raspiではwebcamのマイクがこの値以下でないとoverflowと怒られた.
macbook proの側面のマイクだと1024で動いていた.
result
タクトかましてるだけ.
動画:
sound parrot, raspberrypi
https://youtu.be/YbmjT60wcRk
ドアを開けたら『帰ります』と中から返事が来るようにしたraspi
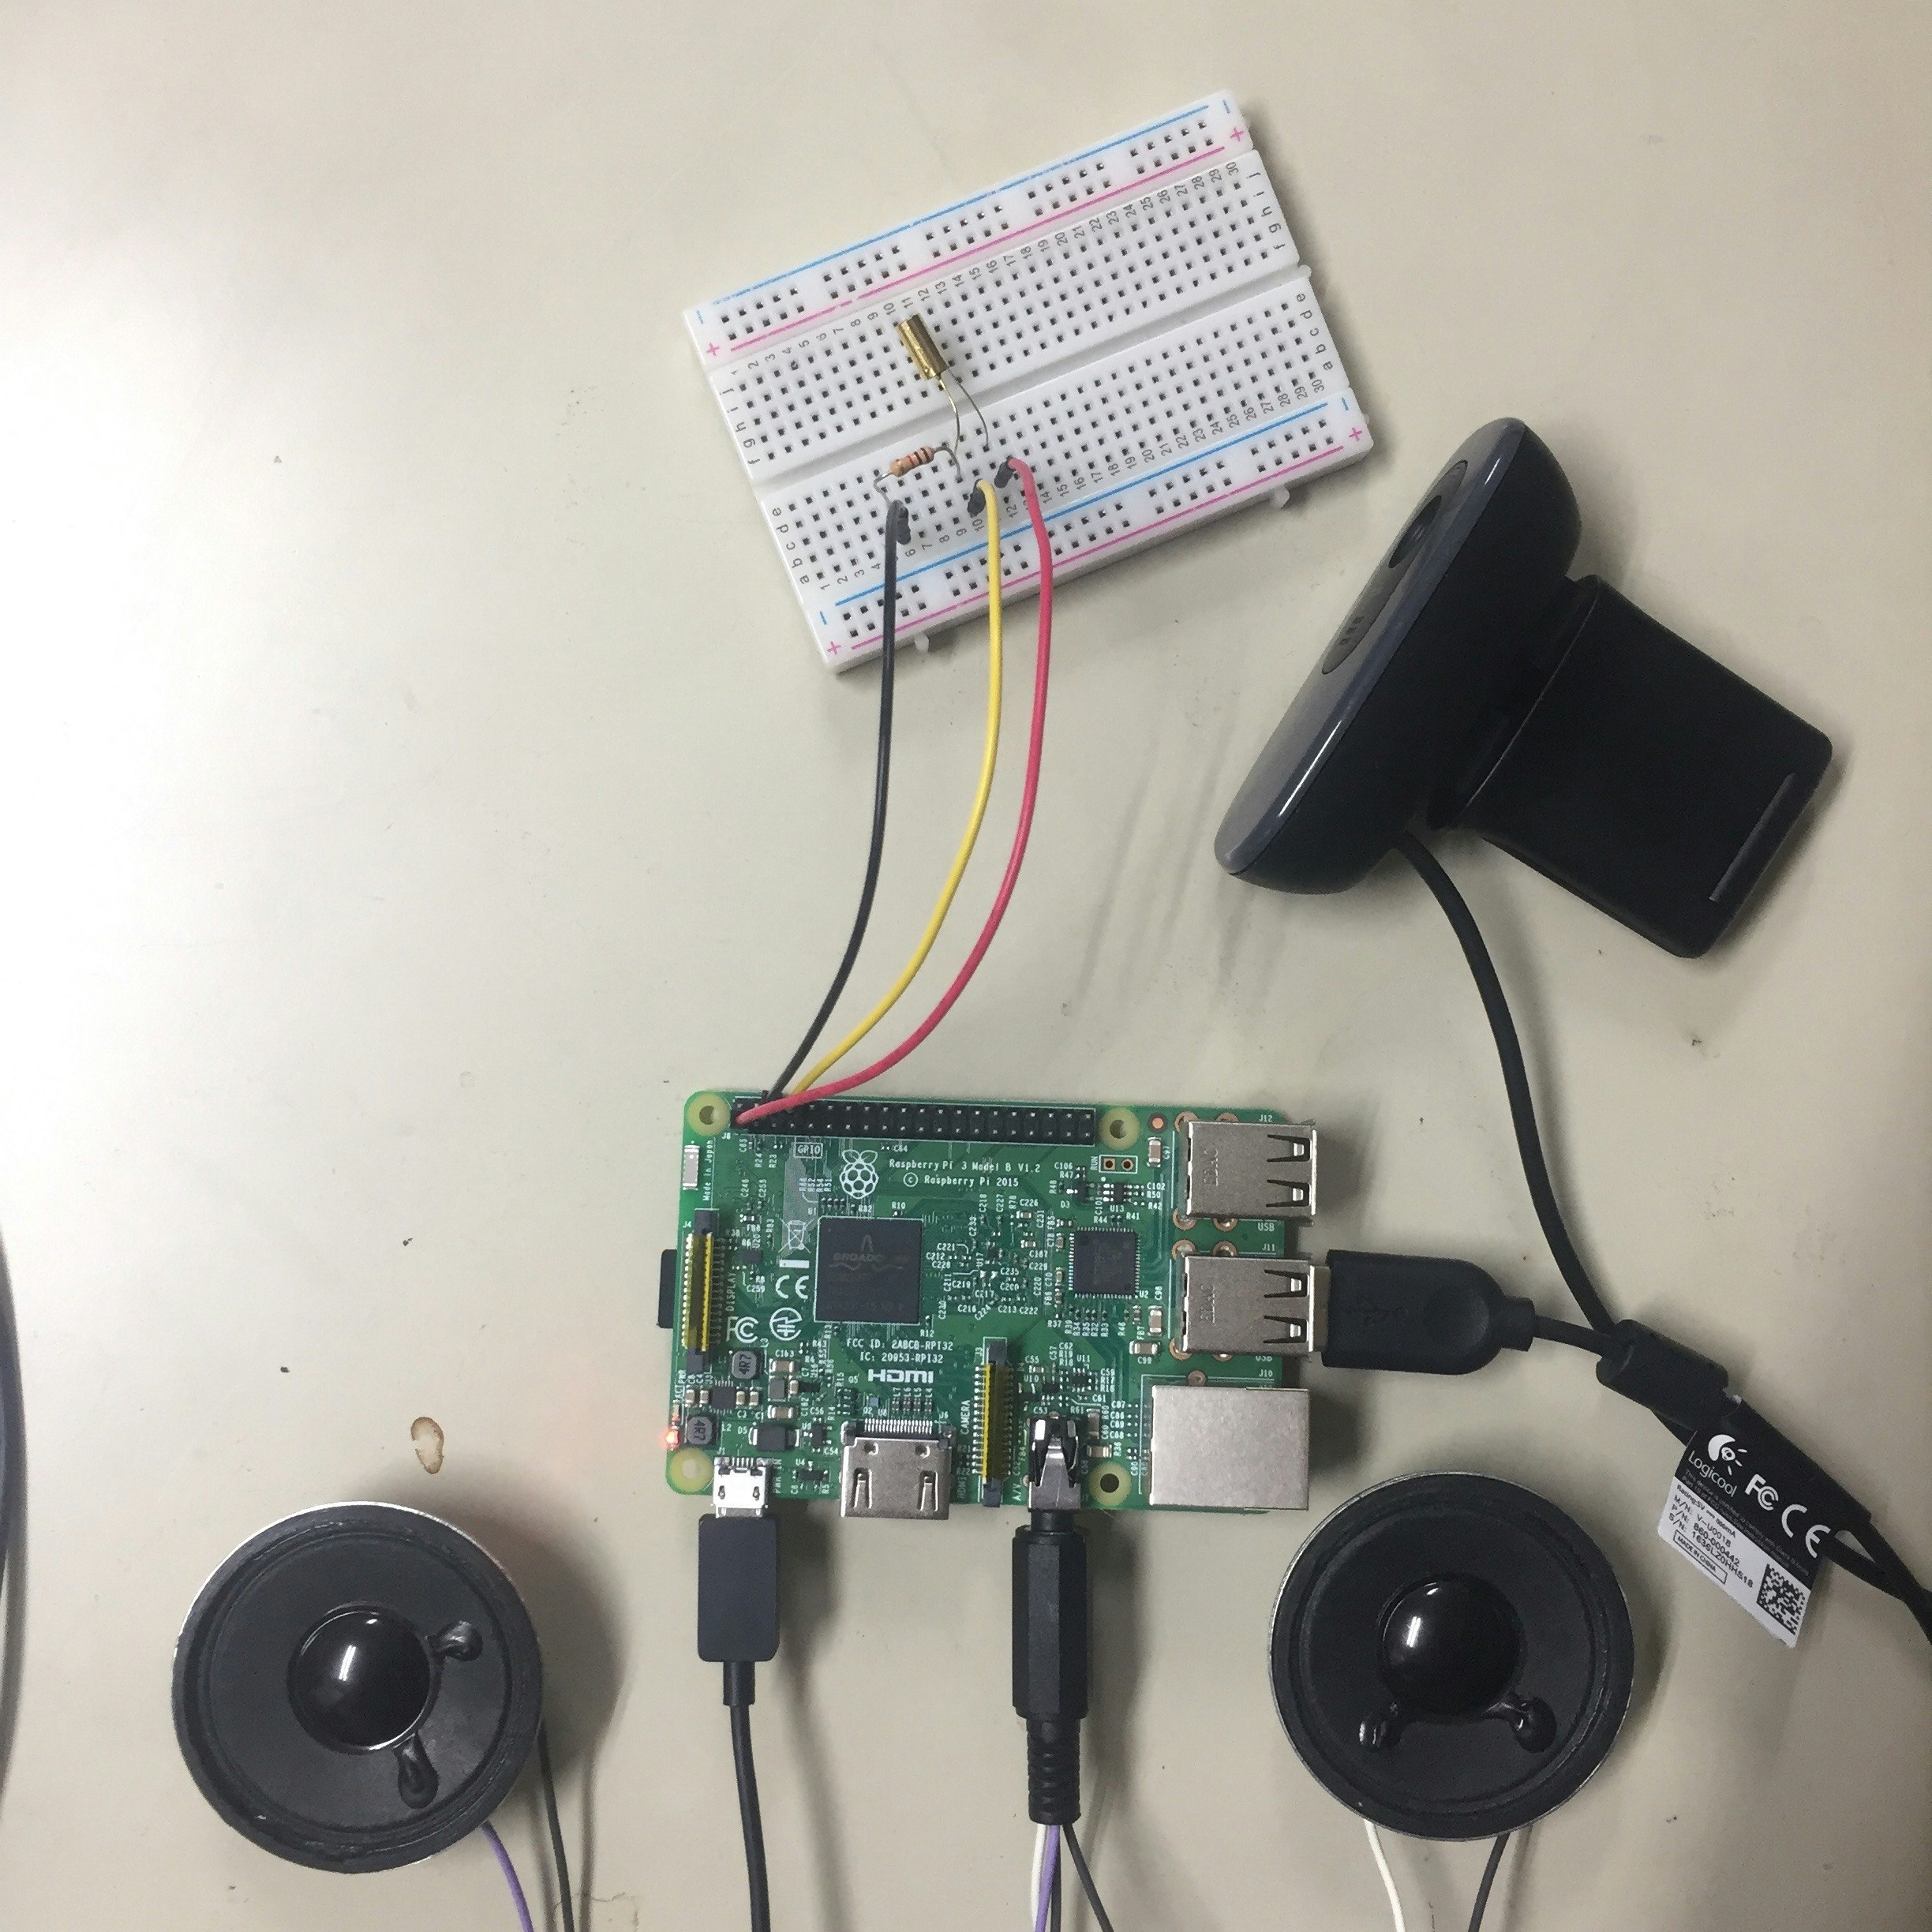
タクトスイッチをチルトセンサーに変え,
ドアの開閉の揺れでONになるように微妙に傾ける.
『帰ります』の音声(kaerimasu.wav)を事前に録音しておいて, チルトのスイッチで再生するだけのシンプル機構.
# -*- coding: utf-8 -*-
import RPi.GPIO as GPIO
from time import sleep
import pyaudio
import wave
import threading

class AudioPlayer(object):
    """ A Class For Playing Audio """

    def __init__(self, audio_file):
        self.audio_file = audio_file
        self.playing = threading.Event()    # 再生中フラグ

    def run(self):
        """ Play audio in a sub-thread """
        audio = pyaudio.PyAudio()
        input = wave.open(self.audio_file, "rb")
        output = audio.open(format=audio.get_format_from_width(input.getsampwidth()),
                            channels=input.getnchannels(),
                            rate=input.getframerate(),
                            output=True)

        while self.playing.is_set():
            data = input.readframes(CHUNK)
            if len(data) > 0:
                # play audio
                output.write(data)
            else:
                # end playing audio
                self.playing.clear()

        # stop and close the output stream
        output.stop_stream()
        output.close()
        # close the input file
        input.close()
        # close the PyAudio
        audio.terminate()

    def play(self):
        """ Play audio. """
        if not self.playing.is_set():
            self.playing.set()
            self.thread = threading.Thread(target=self.run)
            self.thread.start()

    def wait(self):
        if self.playing.is_set():
            self.thread.join()

    def stop(self):
        """ Stop playing audio and wait until the sub-thread terminates. """
        if self.playing.is_set():
            self.playing.clear()
            self.thread.join()

def rec_wav(CHUNK):
    FORMAT = pyaudio.paInt16
    CHANNELS = 1        #モノラル
    RATE = 32000        #サンプルレート
    RECORD_SECONDS = 5 #録音する時間の長さ
    WAVE_OUTPUT_FILENAME = "file.wav"

    audio = pyaudio.PyAudio()

    stream = audio.open(format=FORMAT, channels=CHANNELS,
                    rate=RATE, input=True,
                    input_device_index=0,   #デバイスのインデックス番号
                    frames_per_buffer=CHUNK)
    print ("recording...")

    frames = []
    for i in range(0, int(RATE / CHUNK * RECORD_SECONDS)):
        data = stream.read(CHUNK)
        frames.append(data)
    print ("finished recording")

    stream.stop_stream()
    stream.close()
    audio.terminate()

    waveFile = wave.open(WAVE_OUTPUT_FILENAME, 'wb')
    waveFile.setnchannels(CHANNELS)
    waveFile.setsampwidth(audio.get_sample_size(FORMAT))
    waveFile.setframerate(RATE)
    waveFile.writeframes(b''.join(frames))
    waveFile.close()


if __name__ == "__main__":
    GPIO.setmode(GPIO.BCM)
    GPIO.setup(14, GPIO.IN)
    CHUNK = 32000

    try:
        while True:
            if GPIO.input(14) == GPIO.HIGH:
                print(1)
                #rec_wav(CHUNK)
                player1 = AudioPlayer("kaerimasu.wav")
                player1.play()
		sleep(5)
            else:
                print(0)
            sleep(0.01)

    except KeyboardInterrupt:
        pass

    GPIO.cleanup()
result
こんな感じです.
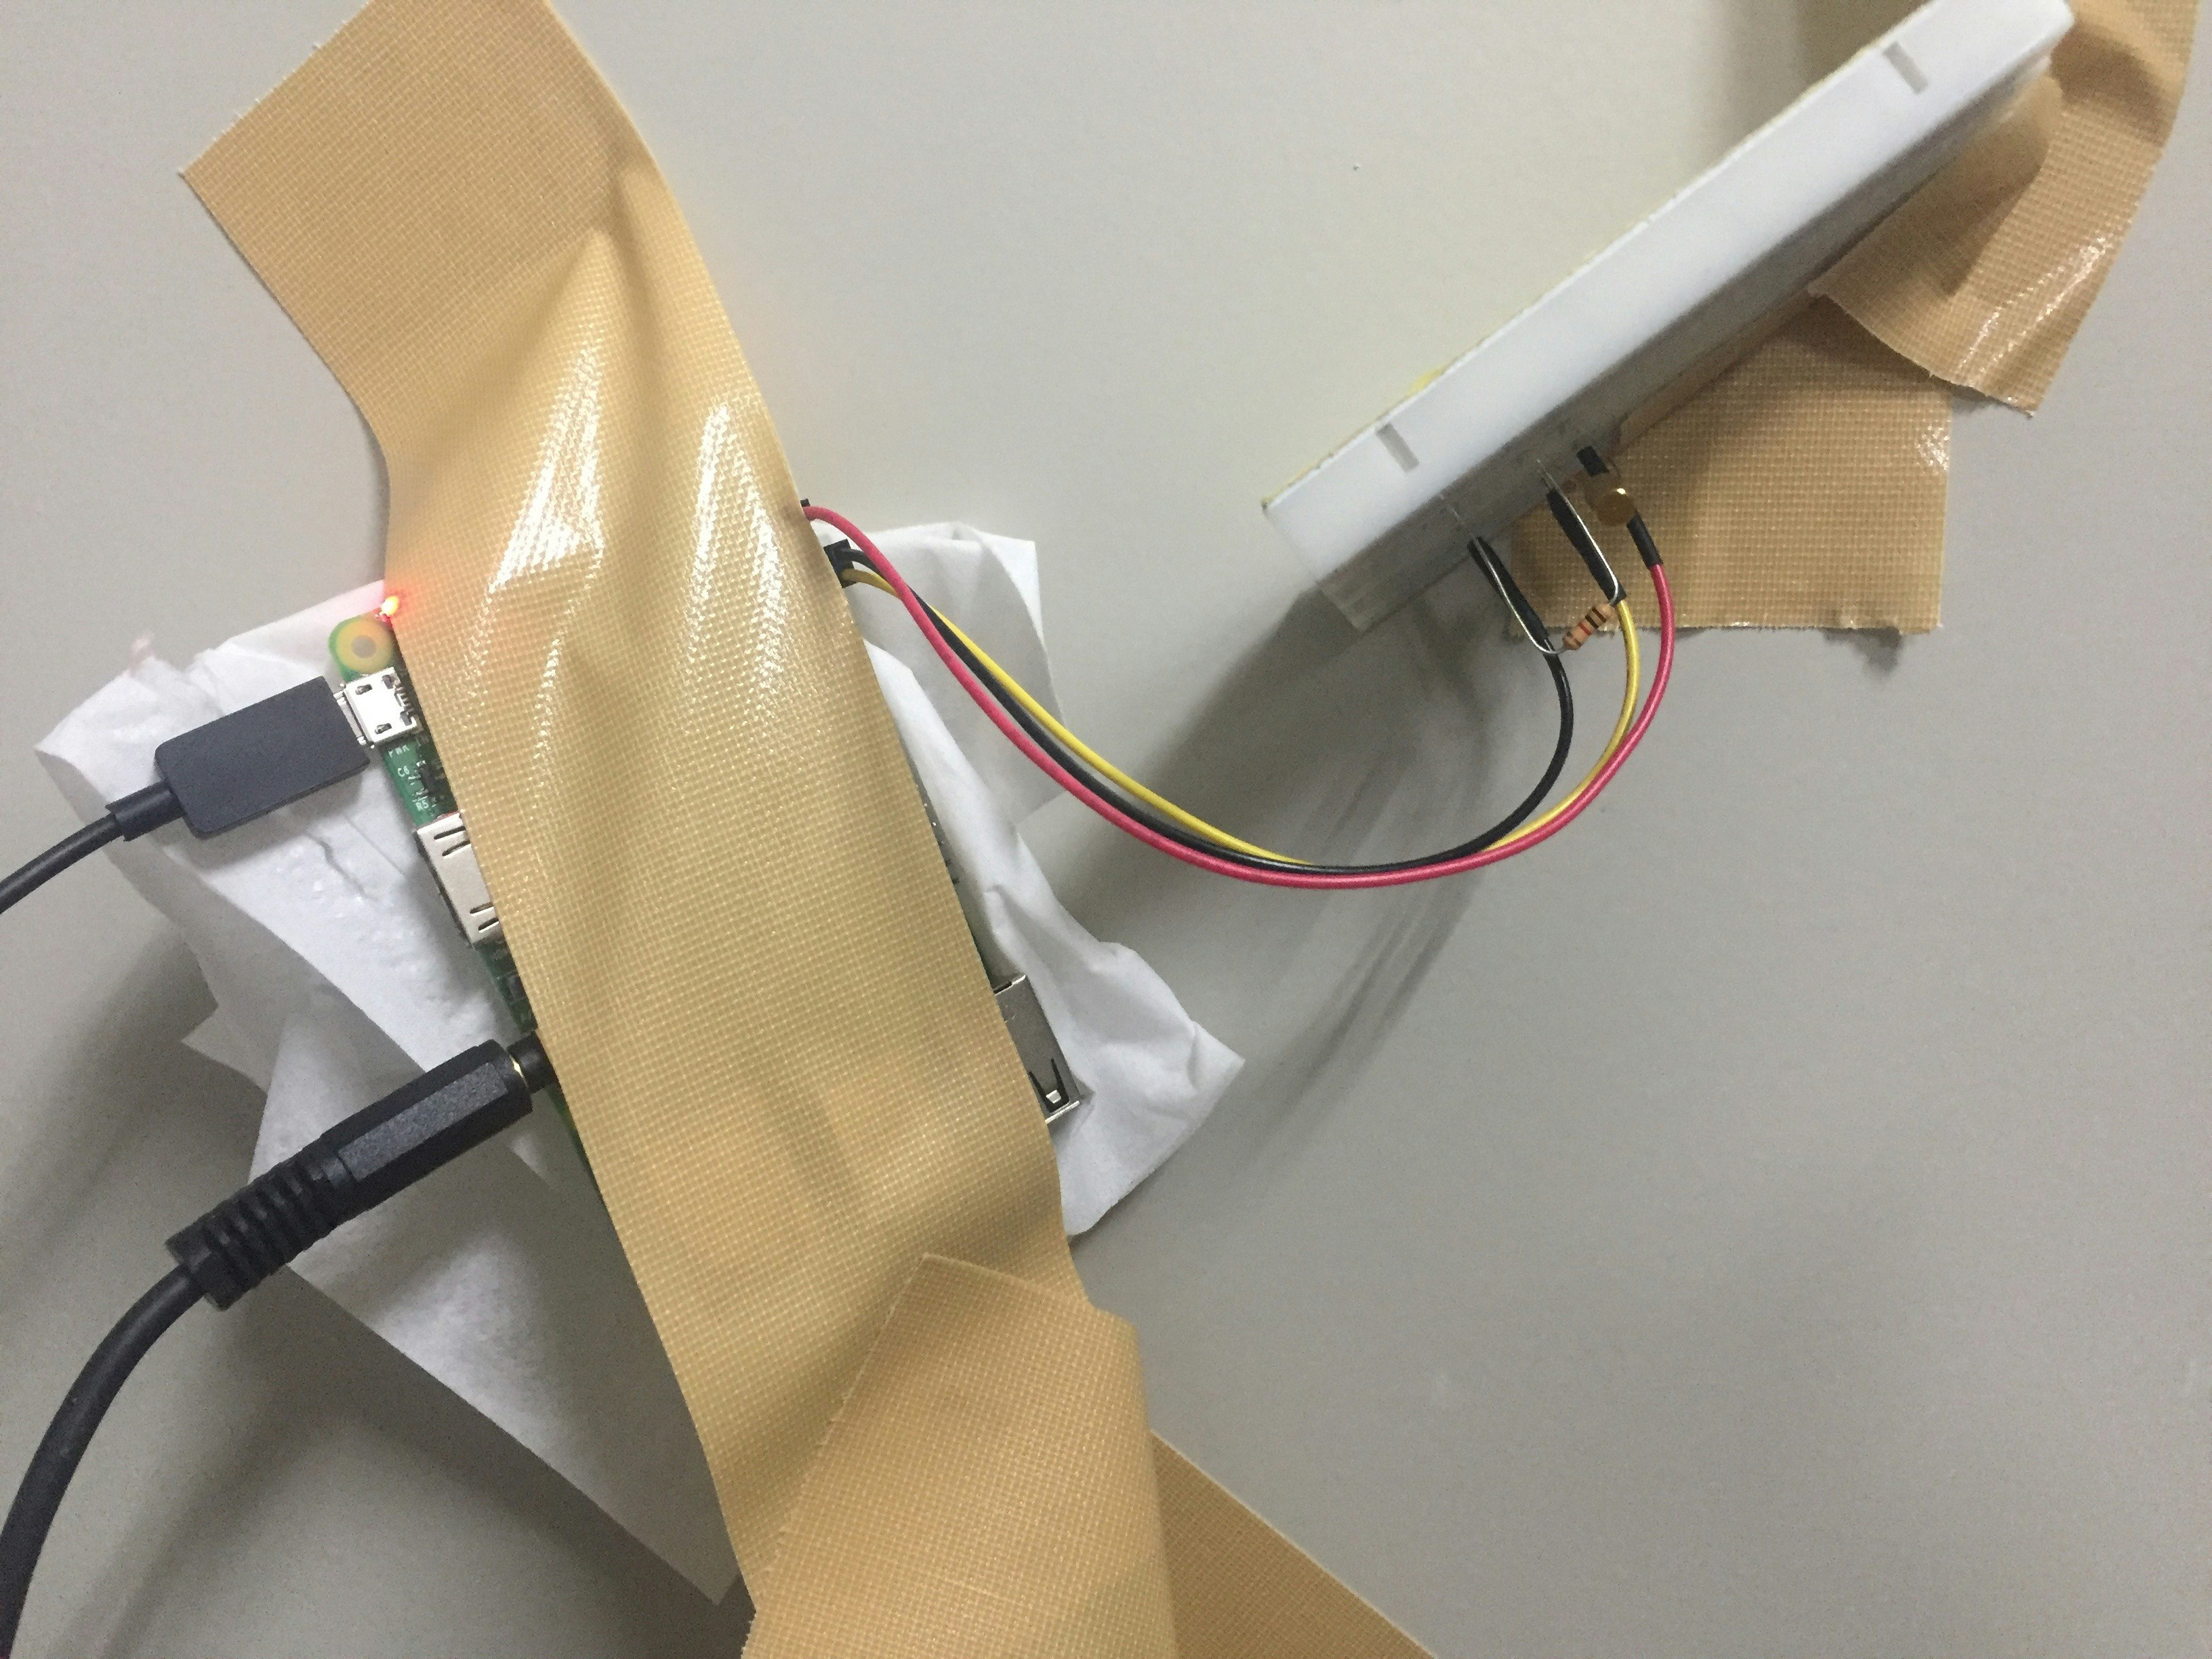
チルトは横向きにしたんですが, その微妙な調節が難しかった.
本当はドアのノックに合わせてon/offにしたかったけど, 上手くいかず.
苦し紛れの対応として, ドアを思いっきり開けた後にちょっと揺らすというズルをしております.
前の回路のタクトがチルトに変わっただけ.
USBマイク(webcam)もついてるけどココでは使ってない.
壁にくっつけた時の雑実装感たるや
動画:
I'll go home, sound test by tilt sensor when people open the door of my room.
https://youtu.be/im4rrRee318