目標物はこちら
↑サインイン画面
目標物を作成するまでの流れ
1、DeviseのGemをインストール
2、Deviseのビューファイルをインストール
3、Userモデルを作成
4、Usersテーブルを作成
*フラッシュメッセージ追加など必要に応じて行います
1、DeviseのGemをインストール
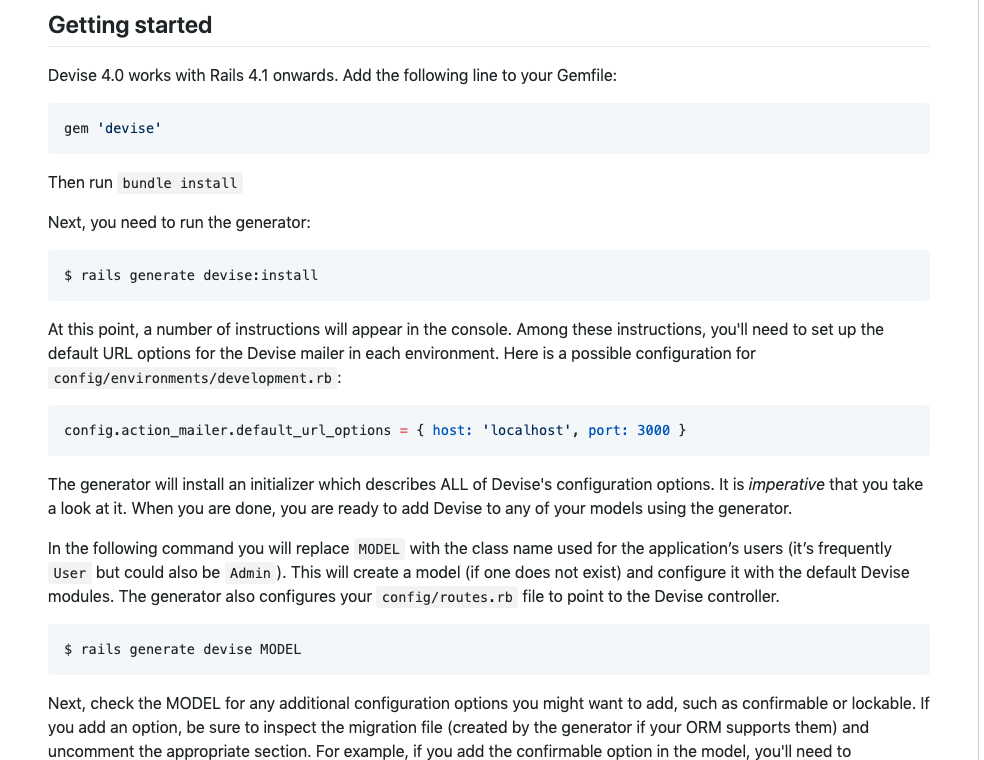
まず今回はDeviseを導入しますので deviseの公式ドキュメントにアクセスします
公式ドキュメント) https://github.com/plataformatec/devise
アクセスしたら「Getting started」の箇所を見る
「Add the following line to your Gemfile」とあるので、まずGemfileの最下部に以下のコードを追加します。
gem 'devise'
ターミナル
$ bundle install
次に「Next, you need to run the generator」と公式ドキュメントにあるように以下のコマンドを実行
ターミナル
$ rails generate devise:install
deviseを使う際はdevise用のコマンドを打つ必要があり、それが↑のコマンドです。
*deviseで使用するモデルを作成するときは、rails g modelのような通常のモデル作成とはコマンドが異なります。
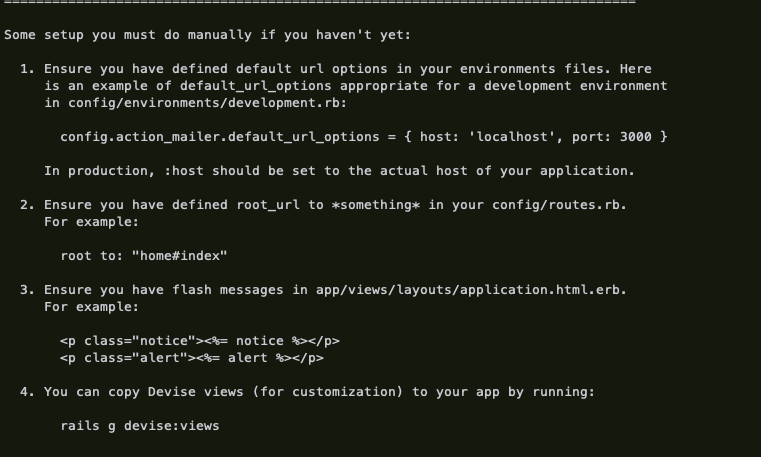
ターミナルに以下の表示が出てくるはずです。
こちらがdeviseを使う際の初期設定です

1番 →パス
2番 ルーティングの設定 →確認
3番 フラッシュメッセージを実装する場合 指示通り app/views/layouts/application.html.hamlに修正を加えます。
2、Deviseのビューファイルをインストール
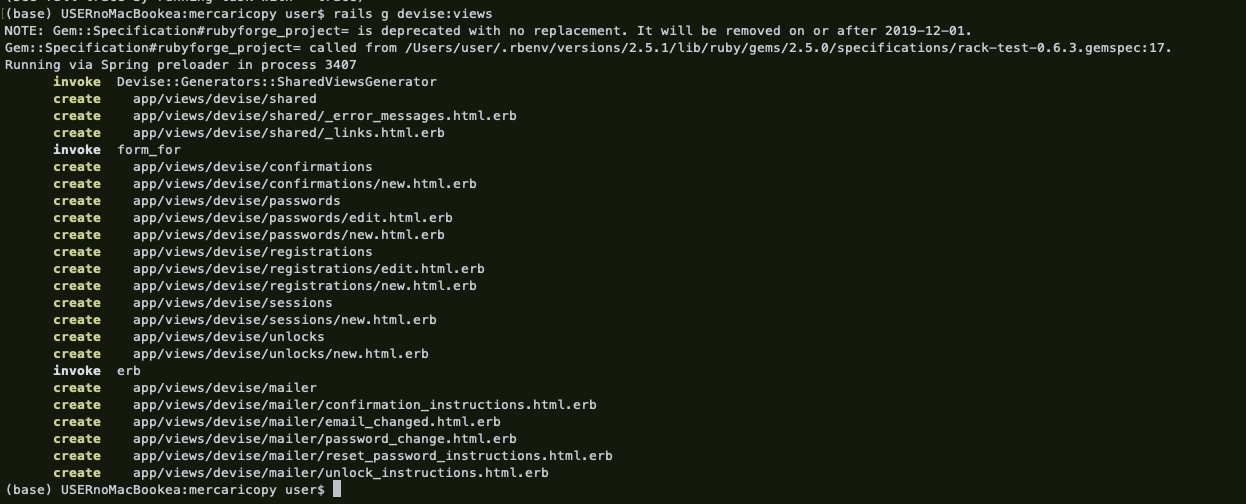
4番 Deviseのビューファイルのダウンロードです。ターミナルで表示されている通り以下のコマンドを実行します。
$ rails g devise:views
Userモデルを作成
devise用のモデルを作成します。名前は任意ですが今回はUserで作成します。
ターミナル
$ rails g devise User
4、Usersテーブルの作成
Userモデルを作成した際にdb/migrateフォルダ内にマイグレーションファイルが生成されています。
とりあえず初期設定のまま rails db:migrate を実施します
$ rails db:migrate
という画面になります
サーバーをcontroll+cで切って rails s で再起動
http://localhost:3000/users/sign_up にアクセスして表示を確認します。
サインインの場合は
http://localhost:3000/users/sign_in で表示を確認します。


