はじめに
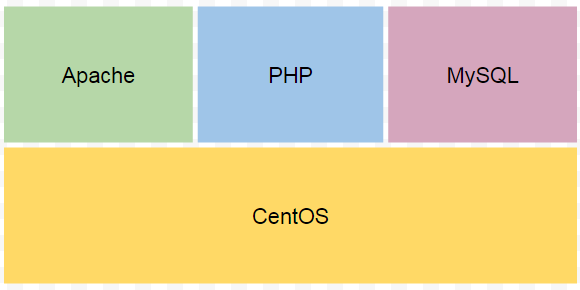
Vagrantで仮想環境(CentOS)を立ち上げ、そこにLAMP環境を構築していきます。
準備
まずはVirtualBox & Vagrantをインストール
VirtualBox
https://www.virtualbox.org/
Vagrant
https://www.vagrantup.com/
vagrantによる仮想環境構築

- サーバー用ディレクトリを作成
# mkdir centos
- CentOS6.7で初期化
# cd centos
# vagrant init bento/centos-6.7
- プライベートIPを割り当て
# vi Vagrantfile
// 192.168.33.10の行の#を削除し、コメントアウトを解除
- 仮想サーバー立ち上げ
# vagrant up
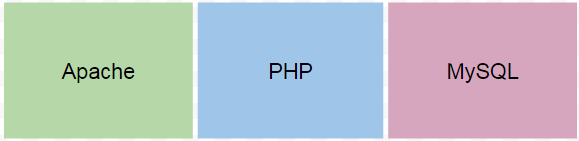
LAMP環境構築
ここからは仮想サーバーにログインして作業する。
# vagrant ssh
インストール
- まずはyumを最新に
# sudo yum -y update
- Apacheインストール
# sudo yum -y install httpd
- MySQLインストール
# sudo yum -y install http://dev.mysql.com/get/mysql-community-release-el6-5.noarch.rpm
# sudo yum -y install mysql-community-server
- PHP5.6インストール
# sudo rpm -Uvh http://ftp.iij.ad.jp/pub/linux/fedora/epel/6/x86_64/epel-release-6-8.noarch.rpm
# sudo rpm -Uvh http://rpms.famillecollet.com/enterprise/remi-release-6.rpm
# sudo yum -y install --enablerepo=remi --enablerepo=remi-php56 php php-mbstring php-mcrypt php-pear php-mysqli
// 自分の欲しいものだけインストール
ApacheとMySQLを起動
# sudo service httpd start
# sudo service mysqld start
設定(任意)
vagrant upしたときに自動で起動する設定
# sudo chkconfig httpd on
# sudo chkconfig mysqld on
ドキュメントルートの所有者を変更
# sudo chown vagrant:wheel /var/www/html