はじめに
こんにちは、プログラミングを始めて約3年のエンジニアのkeitaMaxです。
今回は、GitHubにPushしたときにSonarQubeで自動で解析できるようにしたいと思います。
SonarQubeの新しいプロジェクトを作成する。
下記公式ページに書いてある通りにセットアップをします。
まずは以下のコマンドをコマンドラインでたたいて、Dockerでサーバーを起動させます。
docker run -d --name sonarqube -e SONAR_ES_BOOTSTRAP_CHECKS_DISABLE=true -p 9000:9000 sonarqube:latest
立ち上がると、ブラウザで以下のURLにアクセスすると、SonarQubeのログイン画面が表示されます。
http://localhost:9000
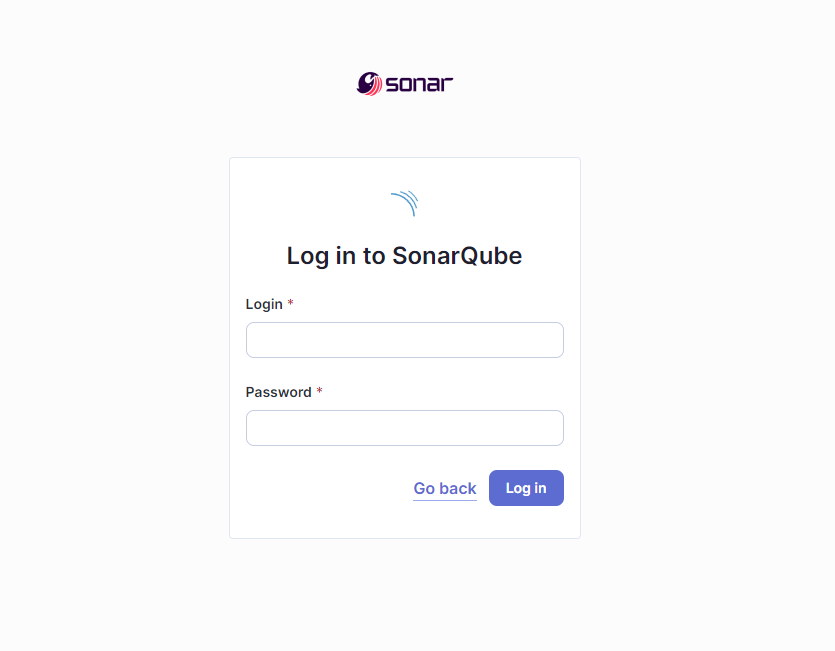
Login: admin
Password: admin
を入力すれば初回ログインが来ます。
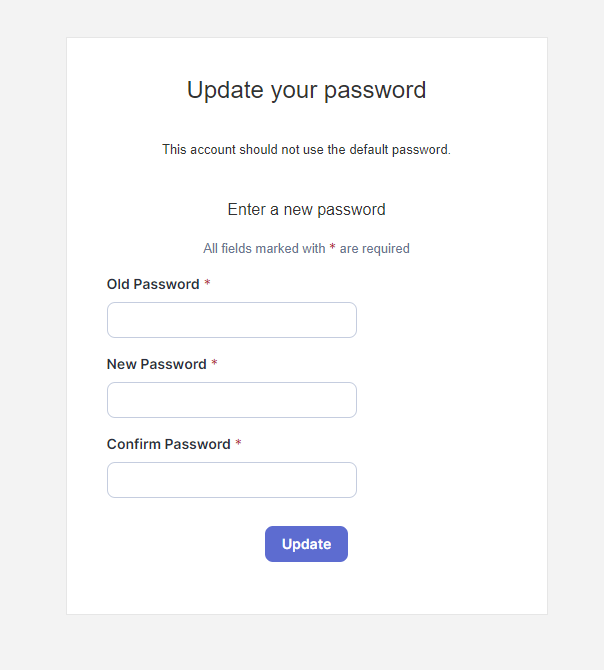
ログインできると以下のようにパスワードを変更するように言われるので変更します。
すると以下のような画面が表示されるので、Create a local projectをクリックします。
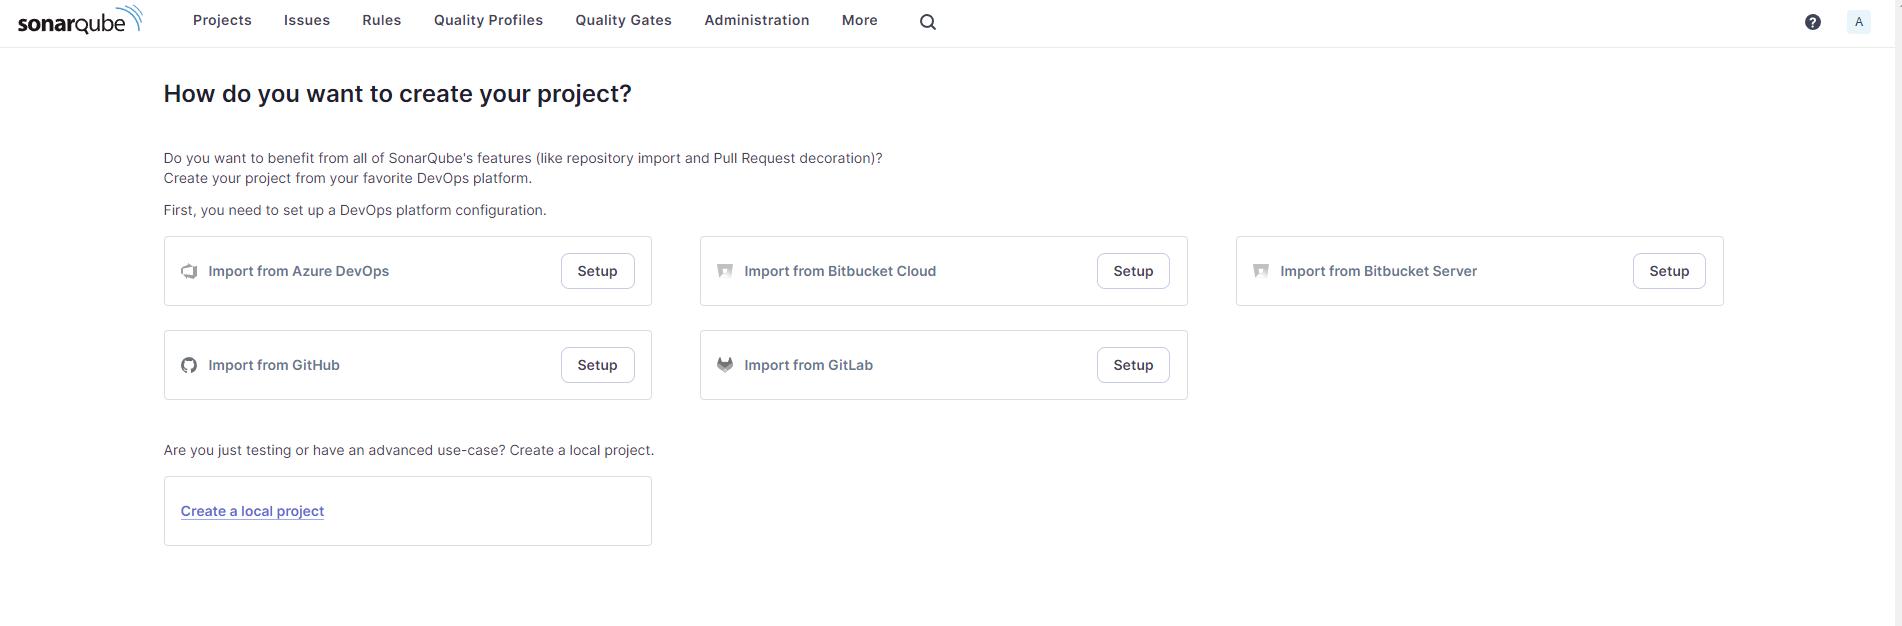
するとProject display nameを聞かれるので今回はnext-example-appを入力しました。
Nextを押し、次の画面でUse the global settingを選択し、'Create project'を押すと新しくプロジェクトができました。
GitHub Actionsで使用するトークンを発行する
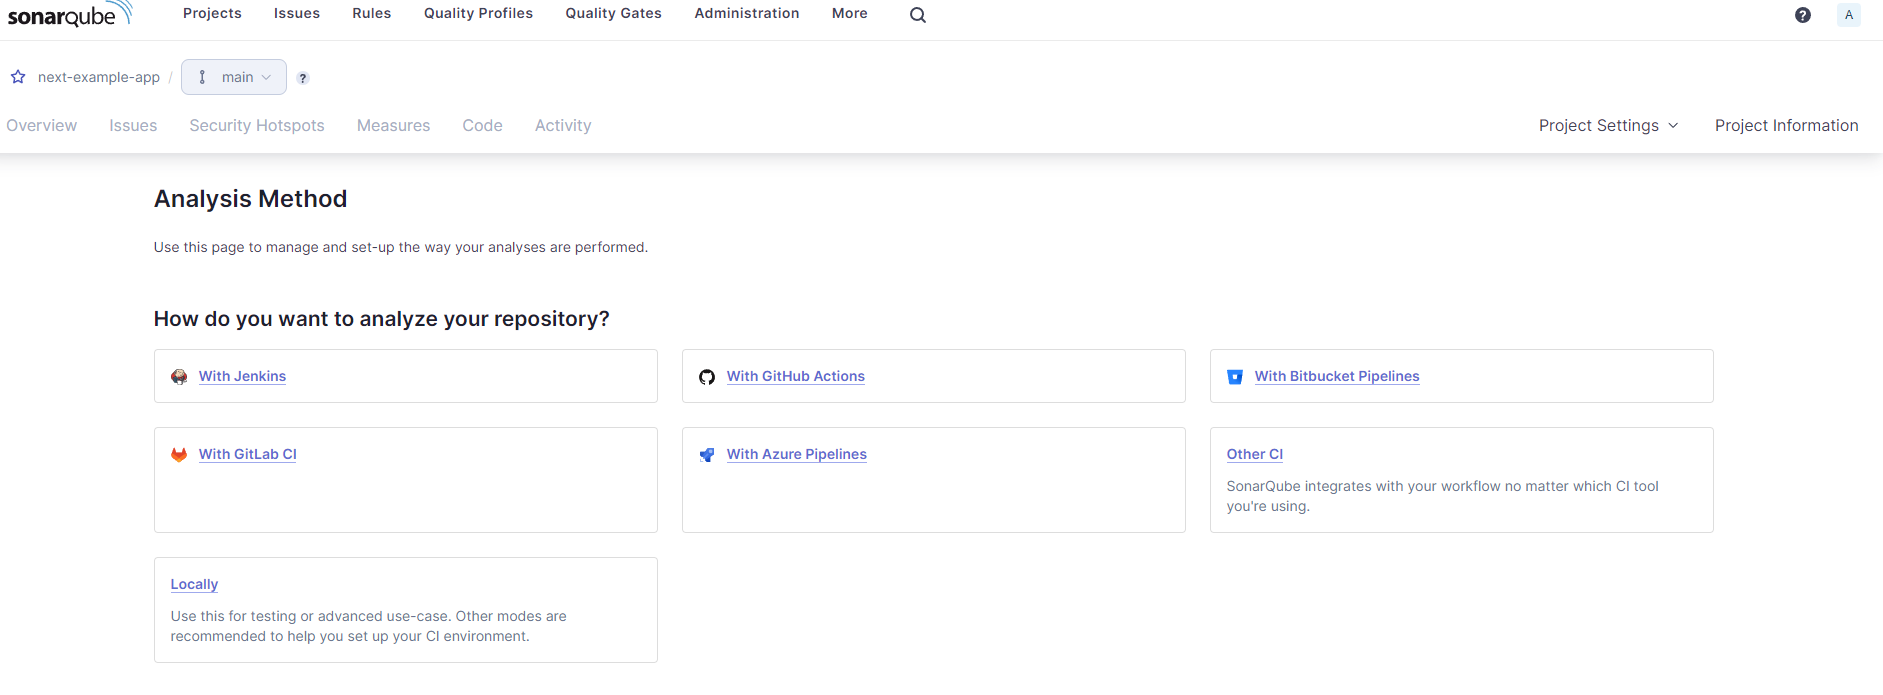
プロジェクトができると以下のような画面が表示されると思うので、With GitHub ActionsをクリックしてSONAR_TOKENを発行します。
GitHubのSecrets and variables>ActionsでKeyを設定します。
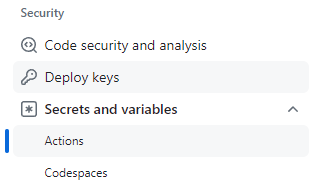
SONAR_TOKENとSONAR_HOST_URLを設定しました。
※今回はローカルでやるので必要ない設定ですが、今後サーバをたててやろうかなと考えているのでせっていしています
Next.js側の修正して実行してみる
sonar-project.propertiesを作成し、以下のようにしました。
sonar.projectKey=next-example-app
sonar.login=sqp_xxxxxxxxxxxxxxxxxxxxxxxxx  //先ほど発行したトークンを入れてください。
また以下のコマンドでソナーキューブをインストールします。
npm install --save-dev sonarqube-scanner vitest-sonar-reporter
package.jsonのscriptsに以下を追記します。
"sonar": "sonar-scanner"
そして以下コマンドで実行します。
npm run sonar
INFO: Note that you will be able to access the updated dashboard once the server has processed the submitted analysis report
INFO: More about the report processing at http://localhost:9000/api/ce/task?id=2241f6c2-88f4-4310-9201-d437cc8c82cc
INFO: Analysis total time: 1:34.101 s
INFO: ------------------------------------------------------------------------
INFO: EXECUTION SUCCESS
INFO: ------------------------------------------------------------------------
INFO: Total time: 1:38.529s
INFO: Final Memory: 21M/88M
INFO: ------------------------------------------------------------------------
[14:17:23] Analysis finished.
PS C:\develop\next-example-app>
Analysis finished.がでたら成功です。
テスト結果を見てみる
テスト結果を見てみます。
http://localhost:9000/dashboard?id=next-example-app
ここにアクセスをしてみると、

こんな感じで動いているのがわかります。
おわりに
結構複雑だったので理解に時間がかかりました。
もっとちゃんとSonarQubeについて理解して、コードカバレッジなどを動かしていき鄭です。
この記事での質問や、間違っている、もっといい方法があるといったご意見などありましたらご指摘していただけると幸いです。
最後まで読んでいただきありがとうございました!
参考