はじめに
こんにちは、エンジニアのkeitaMaxです。
今回はFirebaseからブラウザにWEB Pushを送れるようにしようと思います。
これ記事を参考に進めていこうと思います。
Firebaseの登録と設定
Firebaseに登録し、プロジェクトの作成を行います。

今回はcode-golfという名前にしました。
画面の指示にある通りに入力をすると無事プロジェクトを作成することができました。

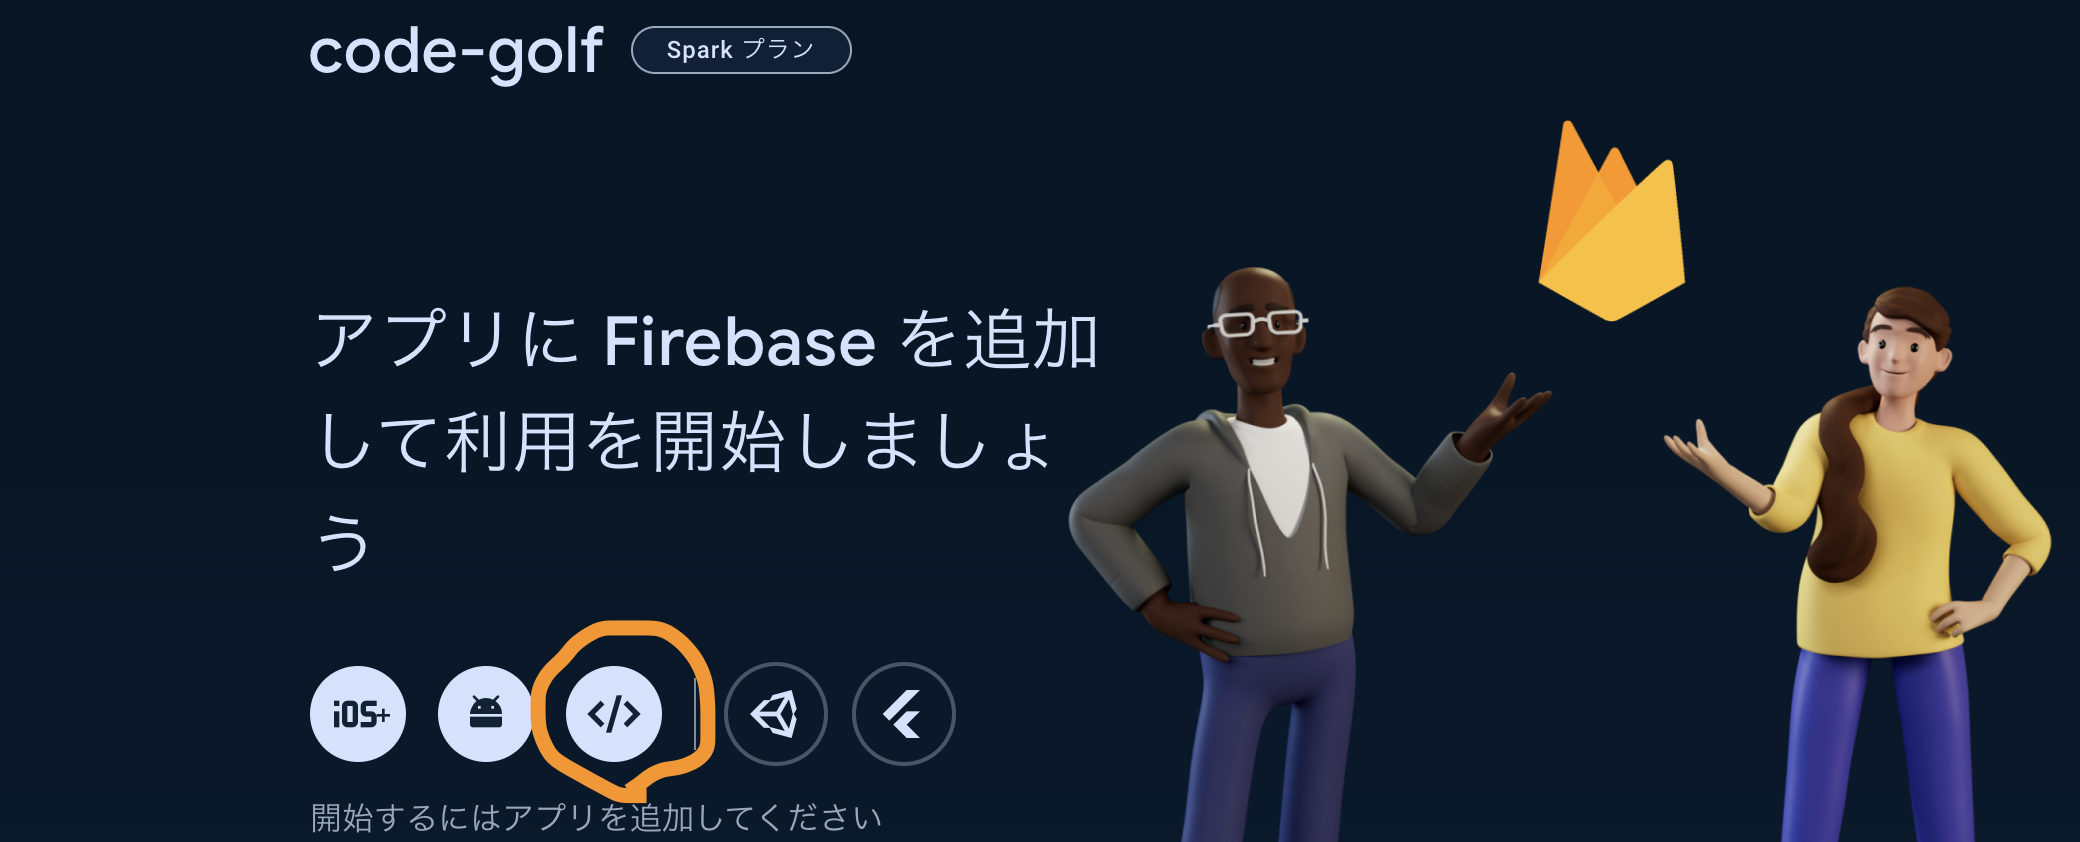
アプリの登録
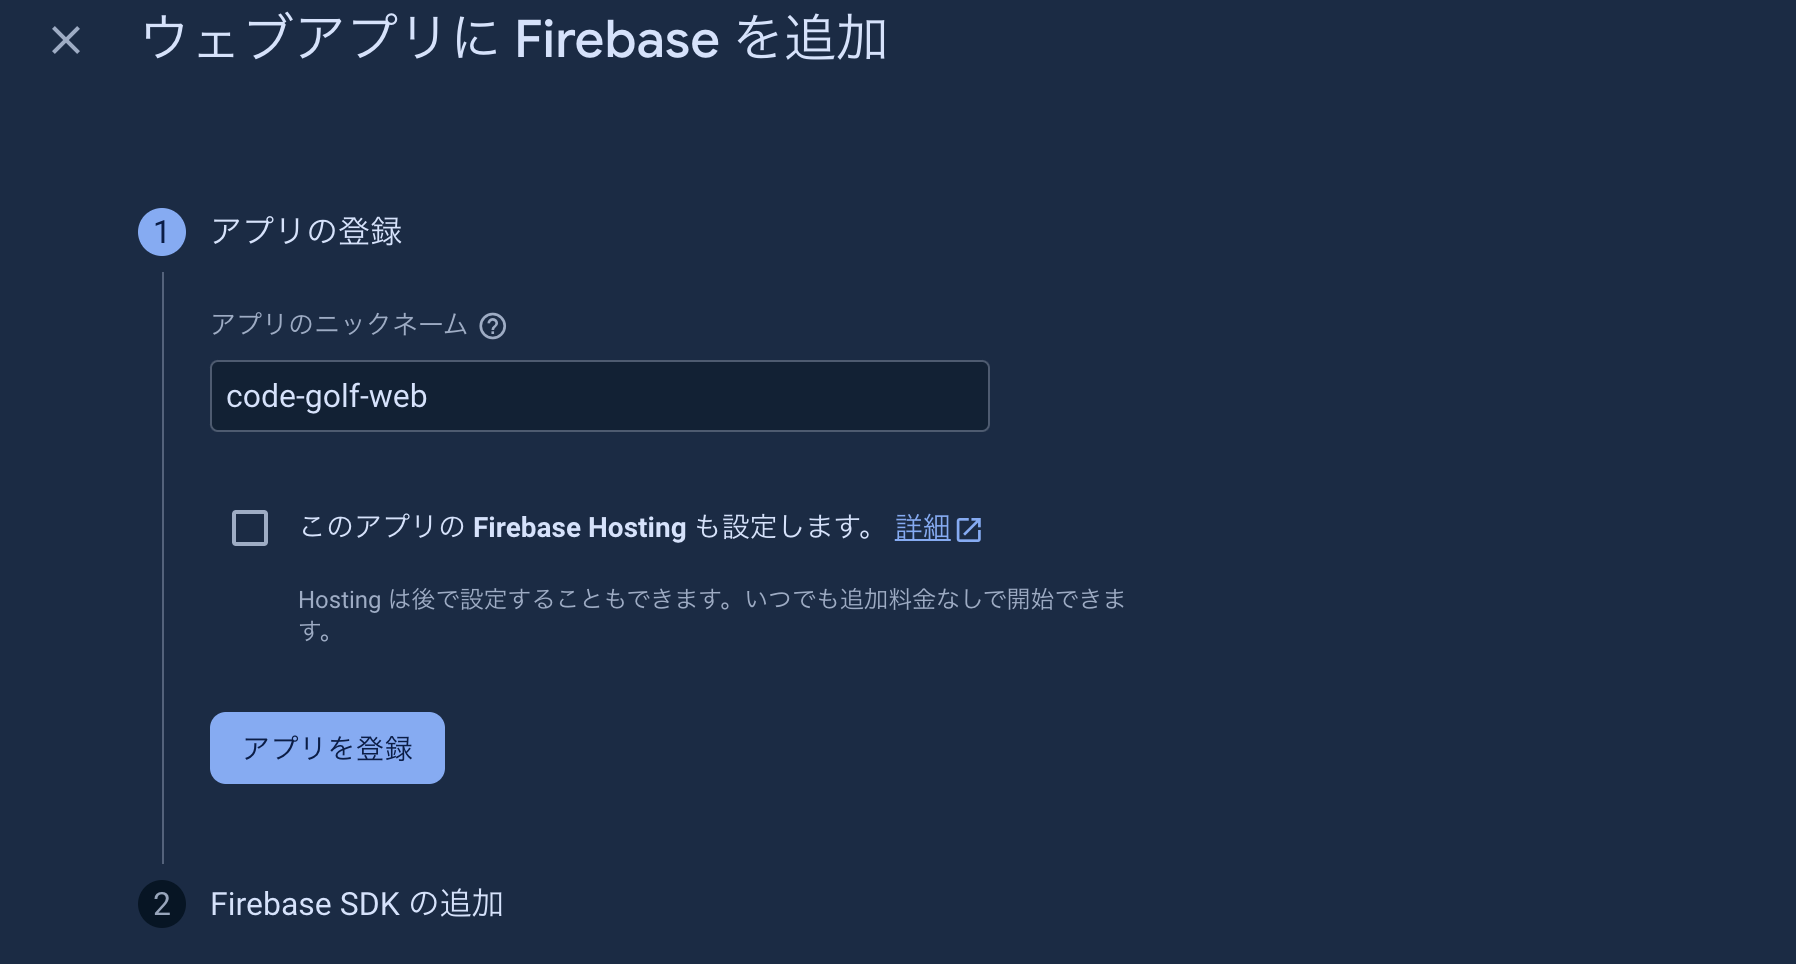
WEBを選択し、ウェブアプリにFireFirebaseを追加します。
名前はcode-golf-webにしました。
すると以下のように、npm installしてコードを追加してくださいというような画面が出るので、WEB Pushを送りたいアプリでfirebaseのライブラリを以下コマンドでinstallします。
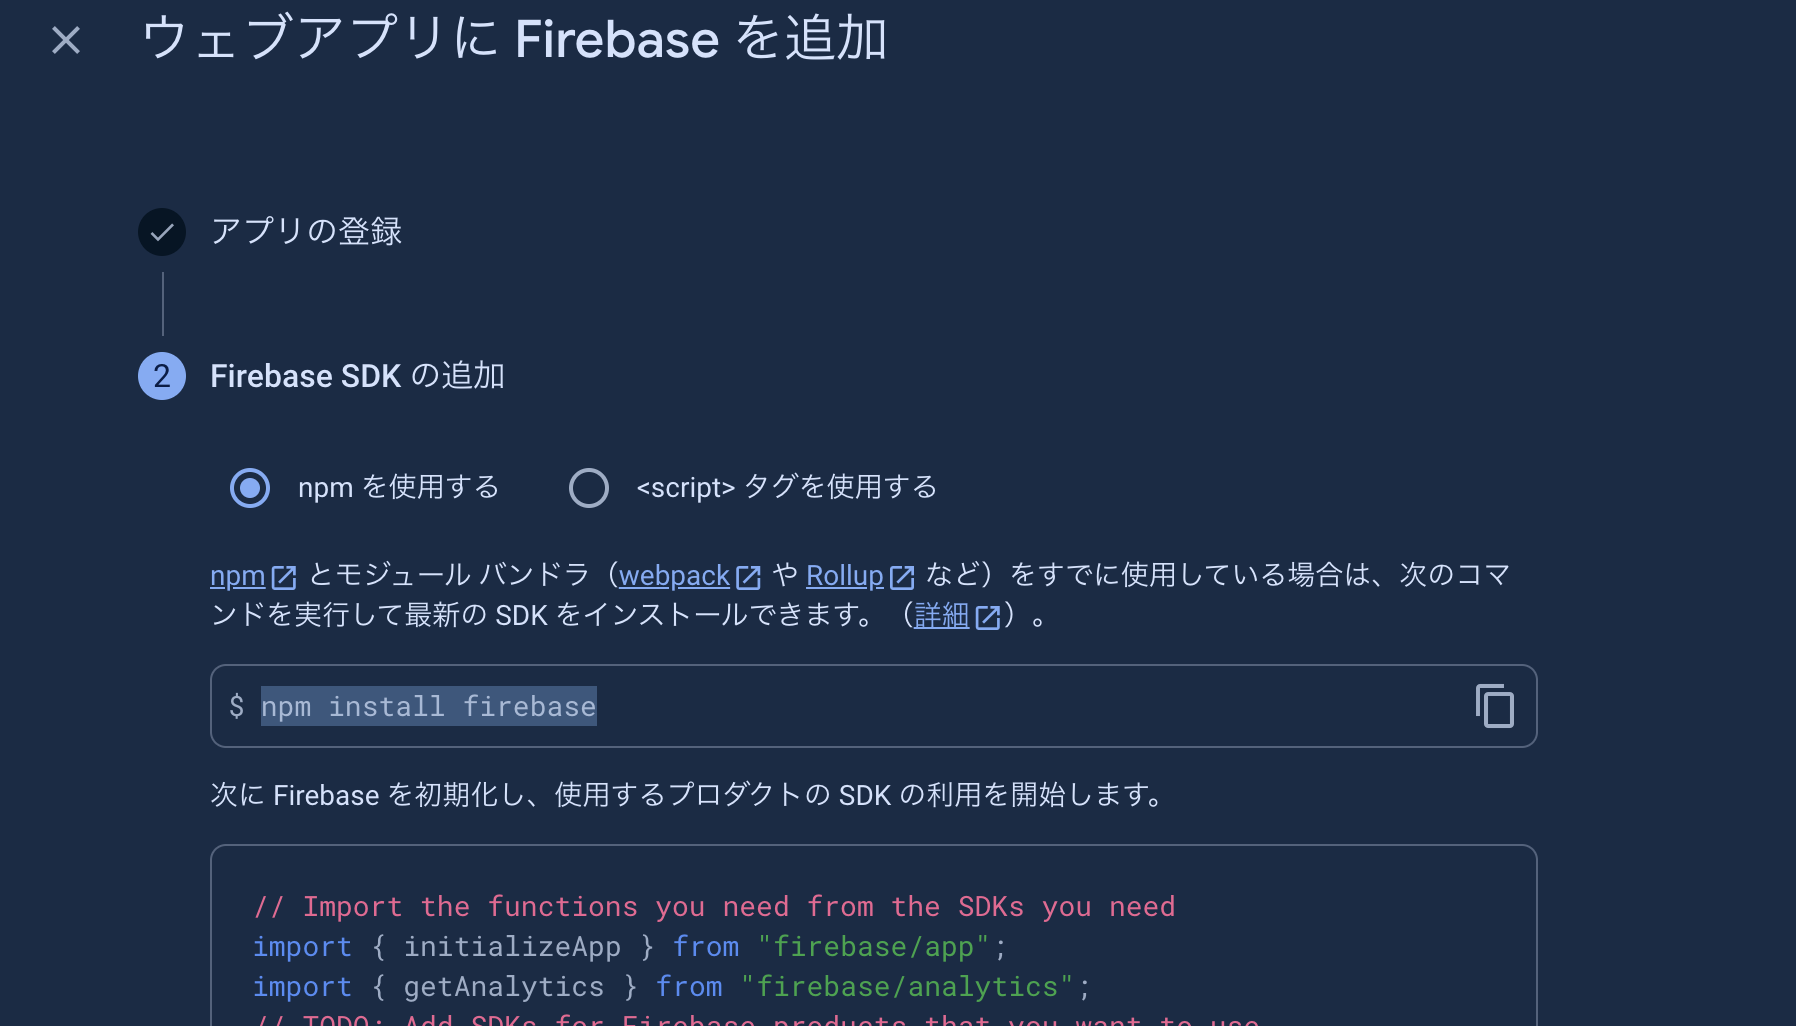
npm install firebase
インストールが終わったら、画面に出てきたようにNext.js側のコードを修正します。
※firebase configは必ず保存しておいてください。
Cloud Messagingの有効
歯車→プロジェクトの設定→Cloud Messaging→Cloud Messaging API(レガシー)の3点→Google Cloud コンソールで管理
を順に押していきます。

そこでCloud Messaging を有効にします。

Firebaseのプロジェクト設定の画面に戻ってくるとトークンが出ているかと思いますので、それも保存しておきます。
ウェブプッシュ証明書の作成
最後に同じページの下にあるウェブプッシュ証明書のところでGenerate key pairを押してウェブプッシュ証明書を作成します。

これも重要なので保存しておいてください。
実装
next.jsで書くのは以下の記事がとてもわかりやすく書いてくれていました。
.envファイルを用意して以下のように環境変数を設定しました。
NEXT_PUBLIC_APP_API_KEY=xxxxxxxxx
NEXT_PUBLIC_AUTH_DOMAIN=xxxxxxxxx
NEXT_PUBLIC_PROJECT_ID=xxxxxxxxx
NEXT_PUBLIC_STORAGE_BUCKET=xxxxxxxxx
NEXT_PUBLIC_MESSAGING_SENDER_ID=xxxxxxxxx
NEXT_PUBLIC_APP_ID=xxxxxxxxx
NEXT_PUBLIC_MEASUREMENT_ID=G-xxxxxxxxx
NEXT_PUBLIC_FCM_TOKEN=xxxxxxxxx
NEXT_PUBLIC_VAPID_KEY=xxxxxxxxx
変数名はNEXT_PUBLIC_から始めないといけないので注意してください。
そして記事にある通りにindex.tsxとhooks/firebase.tsを以下のように実装しました。
"use client"

import React, { useEffect } from "react"
import {  getToken, onMessage } from "firebase/messaging";
import { messaging } from "./hooks/firebase";
import { toast, ToastContainer } from "react-toastify";
const vapidKey: string | undefined =process.env.VITE_APP_VAPID_KEY ?? ''

export const RankingView = React.memo(function RankingView() {
  async function requestPermission() {
    const permission = await Notification.requestPermission();
    if (permission === "granted") {
      const token = await getToken(messaging, {
        vapidKey: vapidKey,
      });

      console.log("Token generated : ", token);
    } else if (permission === "denied") {
      alert("You denied for the notification");
    }
  }
  useEffect(() => {
    requestPermission();
  }, []);

  onMessage(messaging, (payload) => {
    toast(<Message notification={payload.notification} />);
  });

  return (
    <div className="w-fit rounded bg-red-500 px-4 py-2 text-white hover:bg-red-300">
      RankingView
      <ToastContainer />
    </div>
  )
})
const Message = ({ notification }:any) => {
  return (
    <>
      <div id="notificationHeader">
        {/* image is optional */}
        {notification.image && (
          <div id="imageContainer">
            <img src={notification.image} width={100} />
          </div>
        )}
        <span>{notification.title}</span>
      </div>
      <div id="notificationBody">{notification.body}</div>
    </>
  );
};
import { initializeApp } from "firebase/app";

import { getMessaging } from "firebase/messaging";
const apiKey: string | undefined = process.env.NEXT_PUBLIC_APP_API_KEY ?? ''
const authDomain: string | undefined =process.env.NEXT_PUBLIC_AUTH_DOMAIN ?? ''
const projectId: string | undefined =process.env.NEXT_PUBLIC_PROJECT_ID ?? ''
const storageBucket: string | undefined =process.env.NEXT_PUBLIC_STORAGE_BUCKET ?? ''
const messagingSenderId: string | undefined =process.env.NEXT_PUBLIC_MESSAGING_SENDER_ID ?? ''
const appId: string | undefined =process.env.NEXT_PUBLIC_APP_ID ?? ''
const measurementId: string | undefined =process.env.NEXT_PUBLIC_MEASUREMENT_ID ?? ''

const firebaseConfig = {
  apiKey: apiKey,
  authDomain: authDomain,
  projectId: projectId,
  storageBucket: storageBucket,
  messagingSenderId: messagingSenderId,
  appId: appId,
  measurementId: measurementId,
};

const app = initializeApp(firebaseConfig);

export const messaging = getMessaging(app);
困ってやったこと1
npm run devで見た時の以下のエラーが発生してしまいました。
FirebaseError: Messaging: We are unable to register the default service worker. Failed to register a ServiceWorker for scope ('http://localhost:3000/firebase-cloud-messaging-push-scope') with script ('http://localhost:3000/firebase-messaging-sw.js'): A bad HTTP response code (404) was received when fetching the script. (messaging/failed-service-worker-registration).
原因はどうやらHTTPSで立ち上げていないことが原因のよ一つうでしたので、HTTPSで立ち上げました。
Next.jsをHTTPSで立ち上げる方法は以下の記事で紹介しているので参考にしてください。
困ってやったこと2
これをしてもエラーは消えてくれなくて、調べてみるとpublicにfirebase-messaging-sw.jsというファイルをおかなくてはいけないということでした。
中身は公式のものそのままでいいということだったので以下を置きました。
上のURLが公式なので参考にしてください。
この記事を参考にしました。
importScripts('https://www.gstatic.com/firebasejs/5.7.3/firebase-app.js');
importScripts('https://www.gstatic.com/firebasejs/5.7.3/firebase-messaging.js');

firebase.initializeApp({
  'messagingSenderId': 'xxxxxxxx' //自分のmessagingSenderIdにしてください
});

const messaging = firebase.messaging();

messaging.setBackgroundMessageHandler((payload) => {
  console.log('[firebase-messaging-sw.js] Received background message ', payload);
  const notificationTitle = 'Background Message Title';
  const notificationOptions = {
    title: 'push-test-web',
    body: 'push-test-web: Background Message body',
    icon: '/favicon.ico',
  };

  return self.registration.showNotification(notificationTitle,
    notificationOptions);
});
困ってやったこと3
それでもまだ以下のエラーがコ出てしまっていました。
FirebaseError: Messaging: This browser doesn't support the API's required to use the Firebase SDK. (messaging/unsupported-browser).
    at eval (webpack-internal:///(ssr)/./node_modules/@firebase/messaging/dist/esm/index.esm2017.js:1069:33) {
  code: 'messaging/unsupported-browser',
  customData: {}
}
そのため、処理が書いてあるところをNotificationというコンポーネントにして、ダイナミックインポートをしました。以下を参考に修正しました。
index.tsxとNotification/index.tsxを以下のようにしました。
"use client"

import dynamic from "next/dynamic"
import React from "react"
const Notification = dynamic(() => import( './components/Notification'))

export const RankingView = React.memo(function RankingView() {
  return (
    <>
      <div>
        <div>
          <p className="text-black">
            らんきんぐ画面
          </p>
        </div>
        <Notification />
      </div>
    </>
  )
})
"use client"

import React, { useState, useEffect } from "react";
import { onMessageListener, requestForToken } from "../../hooks/firebase";

const Notification = () => {
  const [notification, setNotification] = useState({ title: "", body: "" });
  useEffect(() => {
    if (notification?.title) {
      alert("title: " + notification?.title + "\nbody: " + notification?.body);
    }
  }, [notification]);

  requestForToken()

  onMessageListener()
  .then((payload:any) => {
      setNotification({ title: payload?.notification?.title, body: payload?.notification?.body });
    })
    .catch((err:any) => console.log("failed: ", err));

  return <div />;
};

export default Notification;
これでもまだ色々えらー出ているので困りました。
困ってまだ解決できていないこと
まだ以下のエラーが出てしまって困っています。
Error: Cannot read properties of undefined (reading 'addEventListener')
まだ修正しきれていないので、これの解決は次の記事にしようと思います。
・バージョン
Chrome : 124.0.6367.93
Next.js : 14.2.3
react : 18.3.1
npm : 10.5.0
おわりに
思っていたより難しく詰まってしまいました。
まだ解決できていない問題もあるので、しっかり調べて解決したいと思います。
もし解決策わかる方がいらっしゃいましたら教えていただけると幸いです。
この記事での質問や、間違っている、もっといい方法があるといったご意見などありましたらご指摘していただけると幸いです。
最後まで読んでいただきありがとうございました!
参考