はじめに
初めまして。エンジニアのkeita_Maxです。
今回は、以下のサイトの手順に従ってPHPのライブラリを公開してみようと思います。
PHPライブラリの作成
参考のサイトにあるように、TemperatureConverter.phpを作成します。
<?php

namespace RexfordnyrkTempconv;

class TemperatureConverter
{
    public function convert($temperature, $unit)
    {
        if ($unit === 'C') {
            $fahrenheit = ($temperature * 9 / 5) + 32;
            return $fahrenheit;
        } elseif ($unit === 'F') {
            $celsius = ($temperature - 32) * 5 / 9;
            return $celsius;
        } else {
            throw new InvalidArgumentException('Invalid unit, only C (Celsius) or F (Fahrenheit) are allowed');
        }
    }
}
Composerパッケージを作成する
以下のコマンドをたたいてcomposer.jsonファイルを生成します。
composer init
色々質問されたので、以下のように解答しました。
Package name (<vendor>/<name>) [keita/sample-php-package]: keitamax/sample-package
Description []:
Author [NiheiKeita <86122925+NiheiKeita@users.noreply.github.com>, n to skip]:
Minimum Stability []:
Package Type (e.g. library, project, metapackage, composer-plugin) []: library
License []:

Define your dependencies.

Would you like to define your dependencies (require) interactively [yes]? no
Would you like to define your dev dependencies (require-dev) interactively [yes]? no
Add PSR-4 autoload mapping? Maps namespace "Keitamax\SamplePackage" to the entered relative path. [src/, n to skip]:

{
    "name": "keitamax/sample-package",
    "type": "library",
    "autoload": {
        "psr-4": {
            "Keitamax\\SamplePackage\\": "src/"
        }
    },
    "authors": [
        {
            "name": "NiheiKeita",
            "email": "86122925+NiheiKeita@users.noreply.github.com"
        }
    ],
    "require": {}
}

Do you confirm generation [yes]?
Generating autoload files
Generated autoload files
Would you like the vendor directory added to your .gitignore [yes]?
PSR-4 autoloading configured. Use "namespace Keitamax\SamplePackage;" in src/
Include the Composer autoloader with: require 'vendor/autoload.php';
PS C:\develop\sample-php-package>
GitにPushしてリリースバージョンを作成
GitHubのリポジトリに移動し、「About」セクションの下にある「Releases」をクリックします。このページにはまだ何もない状態です。中央にある「Create a new release」をクリックしてください。
(引用:https://kinsta.com/jp/blog/create-composer-package/)
これの通りに行っていきます。
まずPushして、PushしたGitHubのリポジトリに移動します。
そこで、Releasesをクリックします。場所は以下の画像の赤丸のところです。

すると以下のようなページに飛びます。
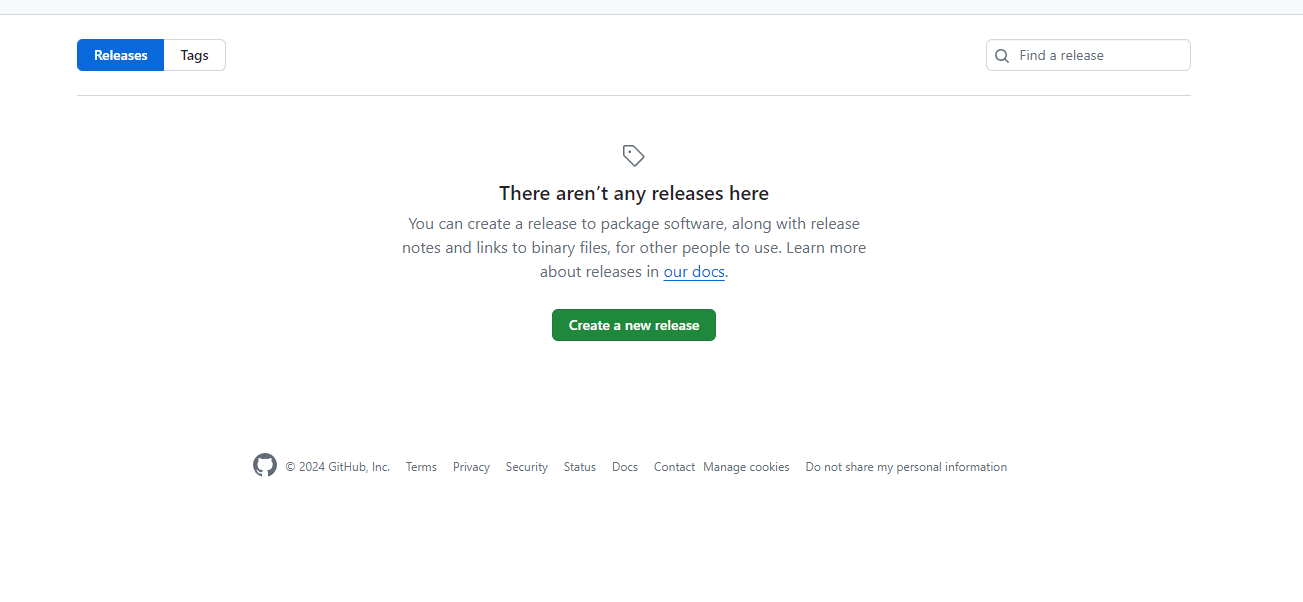
そして、Create a new releaseをクリックします。

'Choose a Tag'をクリックし、v1.0.0を入力して`Create a new tag'を押します。
最後にPublish releaseをクリックします。
すると、以下の画面のようになります。

Packagistに登録・ログインする
上記のサイトにアクセスし、ログインをします。Log in with GitHubを選択します。

公開してみる
ヘッダのSubmitボタンをクリックします。

リポジトリのURLを入力してCheckを押します。

その後でてきたSubmitボタンを押します。

これで公開完了です。
実際にinstallしてみる
どこか適当なファイルにいき、以下のコマンドでインストールしてみましょう。
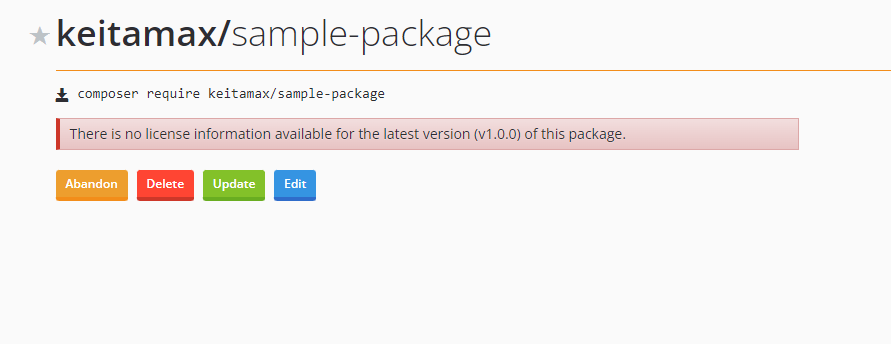
composer require keitamax/sample-package
インストールが完了すると、以下のように自分の作成したPHPファイルがインストールされていることがわかります。

おわりに
とても簡単に公開することができました!
composer requireで自分の公開したソースをインストールできるのは感動します。
この記事での質問や、間違っている、もっといい方法があるといったご意見などありましたらご指摘していただけると幸いです。
最後まで読んでいただきありがとうございました!