はじめに
こんにちは、エンジニアのkeitaMaxです。
前回までに作成したESLintのプラグインを実際にnpmに公開してみます。
package.jsonの修正
package.jsonを以下のようにします。
公開するプラグインの名前は"eslint-plugin-hitasura-system-develop"としました。
{
  "name": "eslint-plugin-hitasura-system-develop",
  "version": "0.0.5",
  "description": "",
  "main": "lib/index.js",
  "scripts": {
    "build": "tsc",
    "test": "echo \"Error: no test specified\" && exit 1"
  },
  "repository": {
    "type": "git",
    "url": "https://github.com/NiheiKeita/eslint-plugin-hitasura-system-develop"
  },
  "files": [
    "lib"
  ],
  "private": false,
  "keywords": [],
  "author": "",
  "license": "ISC",
  "devDependencies": {
    "@typescript-eslint/eslint-plugin": "^8.8.1",
    "@typescript-eslint/parser": "^8.8.1",
    "eslint": "^9.12.0",
    "typescript": "^5.6.3"
  }
}
公開する
npmのアカウントをあらかじめ作成していたので、こちらで新しく今回公開するプラグインのパッケージを作成します。
以下のコマンドでnpmにログインをします。
npm login
そして以下コマンドで公開するためにpublishします。
npm publish
npmにログインをしてみてみると以下のようにライブラリが公開されています。
GitHub Actionsで公開できるようにする
以下のようにGitHub Actionsを作成します。
name: publish to npm
on:
  push:
    tags:
      - 'publish.v.*'

permissions:
    id-token: write
    contents: read

jobs:
  build:
    runs-on: ubuntu-latest
    steps:
      - uses: actions/checkout@v4
      - uses: actions/setup-node@v4
        with:
          node-version: '21.x'
          registry-url: 'https://registry.npmjs.org'
      - run: npm ci
      - run: npm run build
      - run: npm publish --provenance --access public
        env:
          NODE_AUTH_TOKEN: ${{ secrets.NPM_TOKEN }}
'publish.v.*'というタグをGitHub上でつけると自動的にbuildしてリリースされるようなものを作成しました。
NPM_TOKENの作成
GitHubでnpmにアクセスするためにNPM_TOKENを設定します。
先ほど登録したnpmでアクセストークンを作成します。
左メニューにあるAccess Tokensをクリックします。
そうしたら、Generate New Tokenをクリックします。
トークンの名前などを入力します。
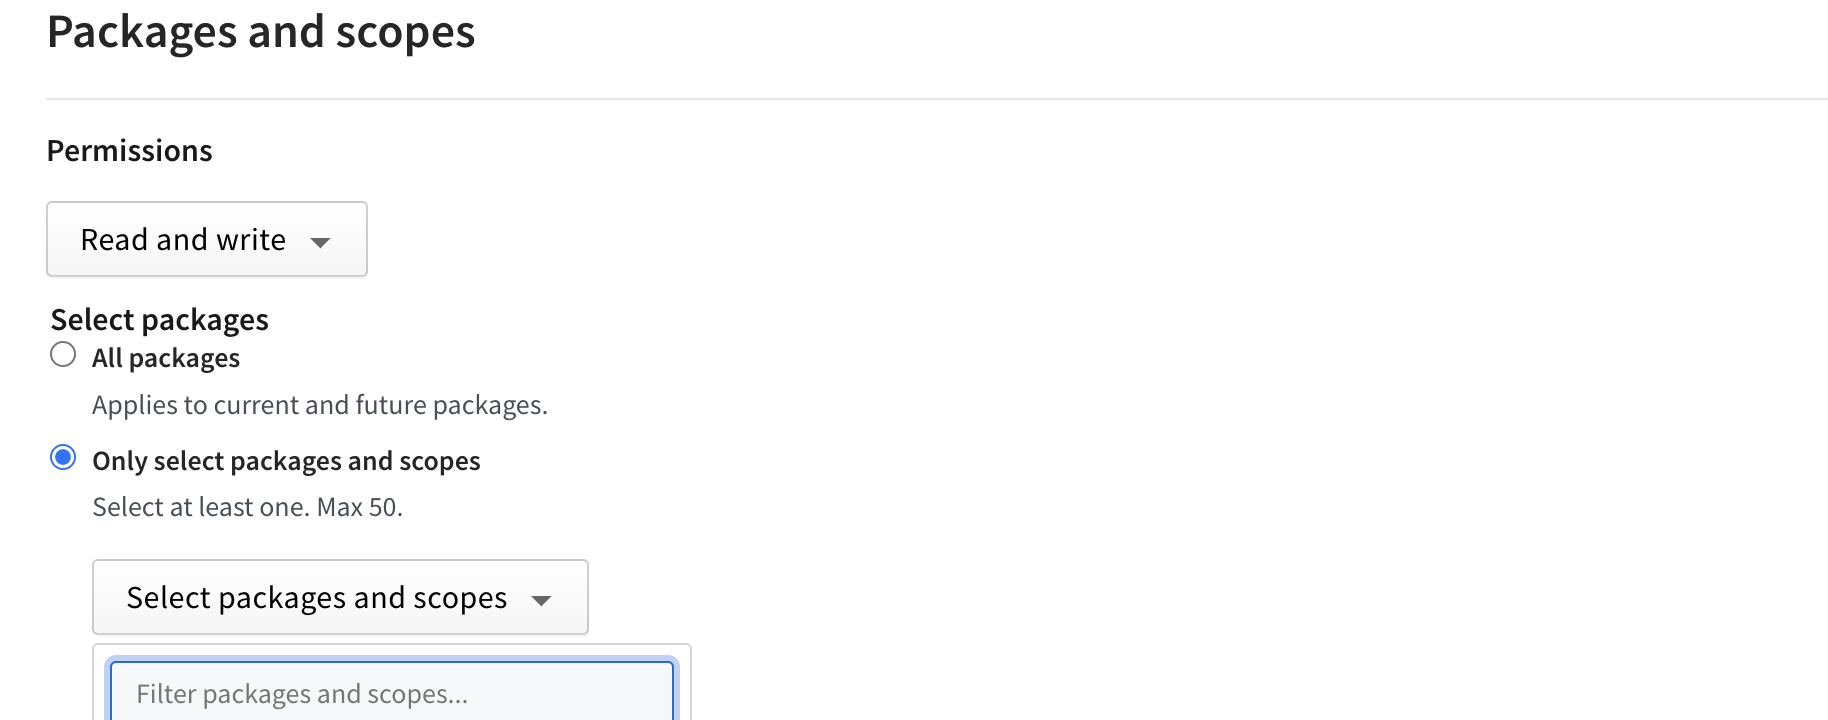
アクセス権限は、今回作成したパッケージのみの読み書き権限を選択しました。
入力したらGenerate Tokenをおすとトークンが作成され、表示されます。
これでNPM_TOKENの作成は完了です。
NPM_TOKENをGitHubに設定する
最後にGitHubにトークンを設定します。
ここから先は以前の記事とほぼ同じなので割愛させていただきます。
こちらを参考にしてください。
これで、実際にタグを打てば自動的にリリーすることができます!
おわりに
この記事での質問や、間違っている、もっといい方法があるといったご意見などありましたらご指摘していただけると幸いです。
最後まで読んでいただきありがとうございました!
参考


