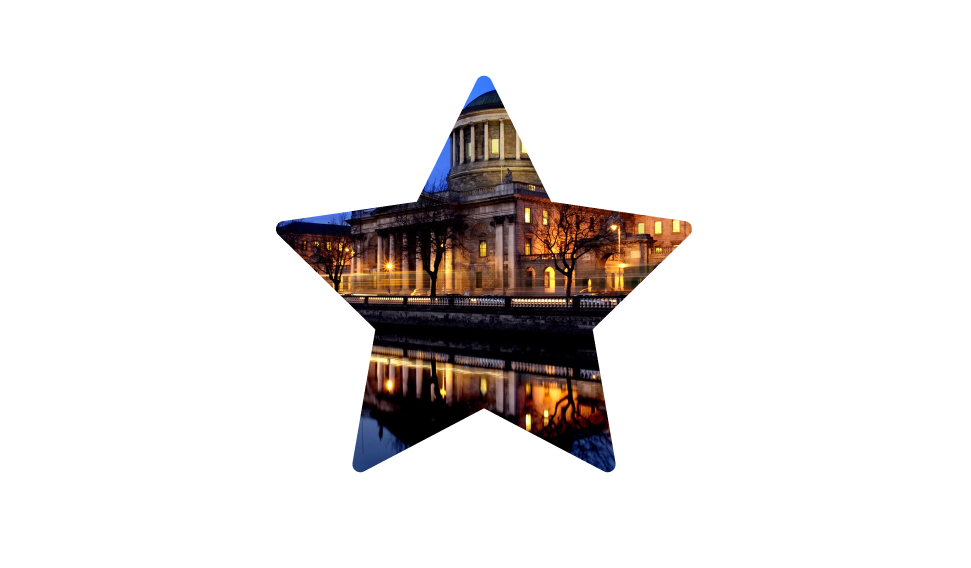
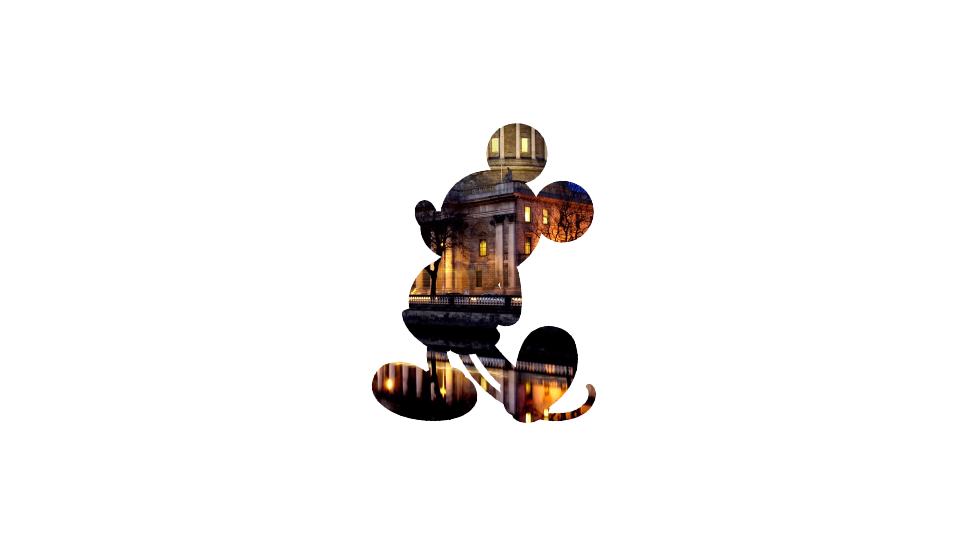
いろんな形のマスクをかけて画像をくりぬいてみる。
下準備
とりあえずマスクをかける画像を描画する。
<!DOCTYPE html>
<html lang="ja">
<head>
<meta charset="utf-8">
<meta http-equiv="Content-Language" content="ja">
<meta name="viewport" content="width=device-width,initial-scale=1.0,minimum-scale=1.0,maximum-scale=1.0,user-scalable=0,minimal-ui">
<title>mask</title>
</head>
<body>
    <canvas id="canvas"></canvas>
    <script type="text/javascript" src="./script.js"></script>
</body>
</html>
(function () {

    var canvas = document.getElementById('canvas');
    canvas.width = 960;
    canvas.height = 540;

    var context = canvas.getContext('2d');

    var bgImg = new Image();
    bgImg.onload = function () {
        context.globalCompositeOperation = 'source-over';
        context.drawImage(bgImg, 0, 0, canvas.width, canvas.height);
    };
    bgImg.src = './bg.jpg';

})();
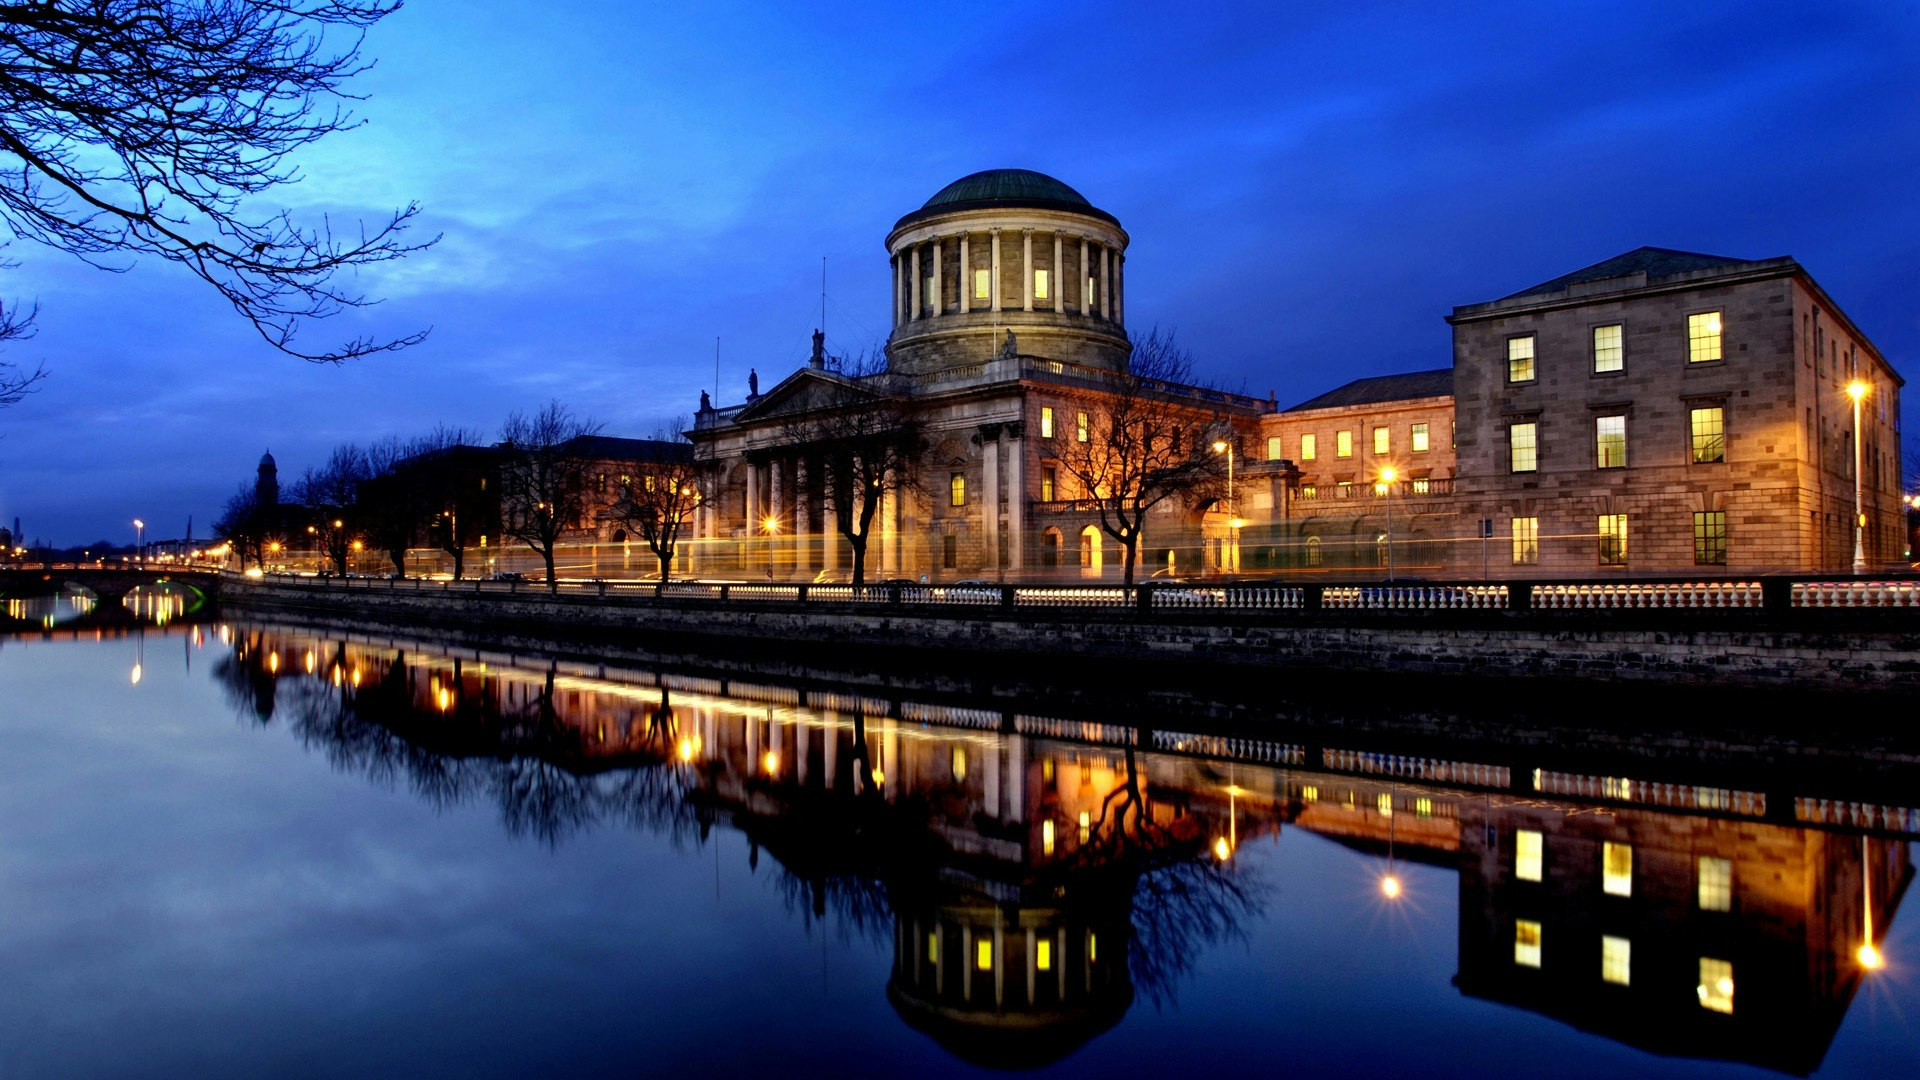
ここまでで↓の画像が表示されるので準備完了。
マスクをかける
合成処理を決めるglobalCompositeOperationプロパティを変更して上書き描画することでマスクをかける。
globalCompositeOperationについてはHTML5.JP - globalCompositeOperation プロパティがわかりやすい。
現状、globalCompositeOperationの値はsource-over(デフォルト値)で、既にdrawImageで画像が描画されている。
これに対してマスクをかけるには、globalCompositeOperationをdestination-inにしてから適当な形を描画すればよい。
(function () {

    var canvas = document.getElementById('canvas');
    canvas.width = 960;
    canvas.height = 540;

	// 中央にマスクをかけるための値を変数にいれておく
    var centerX = canvas.width / 2;
    var centerY = canvas.height / 2;

    var context = canvas.getContext('2d');

    var bgImg = new Image();
    bgImg.onload = function () {
        context.globalCompositeOperation = 'source-over';
        context.drawImage(bgImg, 0, 0, canvas.width, canvas.height);
        drawMask();
    };
    bgImg.src = './bg.jpg';

    var drawMask = function () {
        // globalCompositeOperation に destination-in を設定
        context.globalCompositeOperation = 'destination-in';
        var size = 200;
        var half = size / 2;
        // 矩形を描画
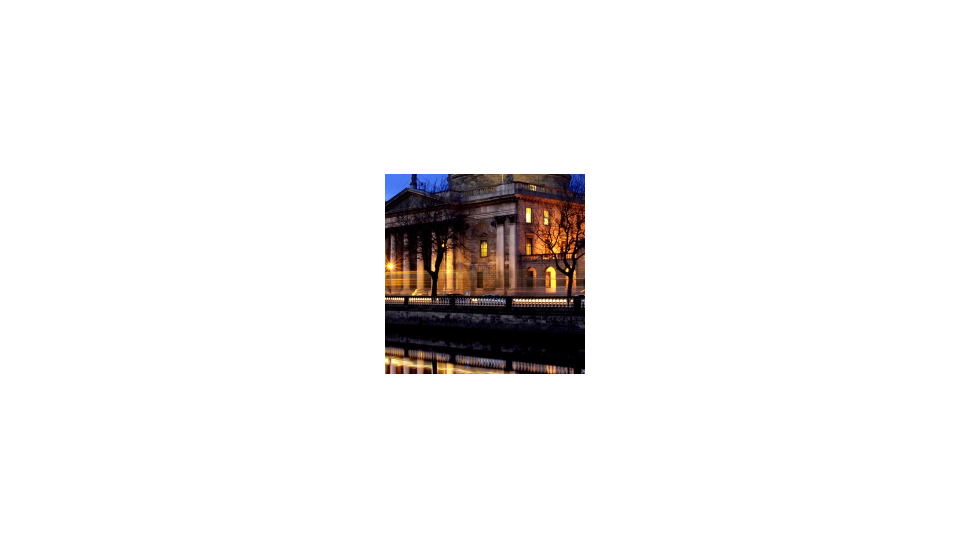
        context.fillRect(centerX - half, centerY - half, size, size);
    };

})();
すると↓のように、あとから描画した部分のみ画像が表示される。
マスクの形を変える
globalCompositeOperationを変更したあとの描画内容次第でマスクの形が決まる。
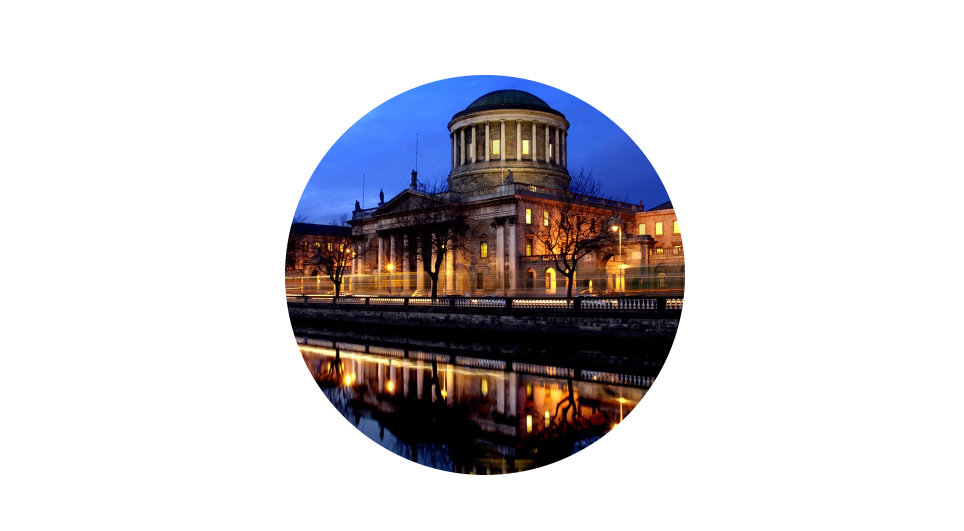
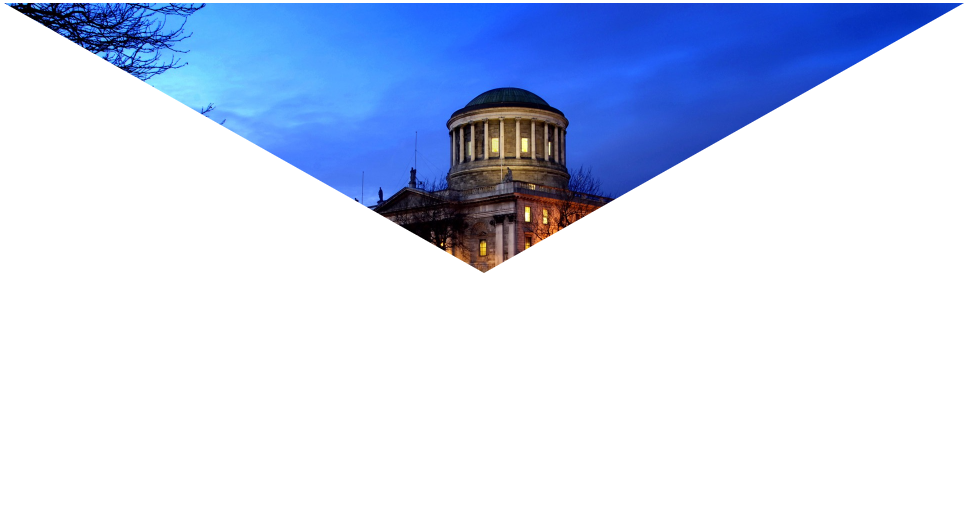
arcや、pathを使ってマスクを自由な形にすることもできる。
ark
    var drawMask = function () {
        context.globalCompositeOperation = 'destination-in';
        var size = 200;
        // 円を描画
        context.arc(centerX, centerY, size, 0, Math.PI * 2);
        context.fill();
    };
path
    var drawMask = function () {
        context.globalCompositeOperation = 'destination-in';
        // pathで三角形を描画
        context.beginPath();
        context.moveTo(0, 0);
        context.lineTo(centerX, centerY);
        context.lineTo(canvas.width, 0);
        context.closePath();
        context.fill();
    };
マスクに画像を使う
pathを使えばマスクをある程度自由な形にすることができるが、複雑なマスクをかけるのは大変。
複雑な形のマスクをかけたい場合は、透過画像を用いると簡単にできる。
用意するのは↓のような、マスクとなる部分以外が透過になっている画像。透過でない部分の色は意識しなくておk。
この画像をいままでと同じように描画する。

    var drawMask = function () {
        context.globalCompositeOperation = 'destination-in';
        // 星型の透過画像を描画
        var maskImg = new Image();
        maskImg.onload = function () {
            context.drawImage(maskImg, centerX - (maskImg.width / 2), centerY - (maskImg.height / 2), maskImg.width, maskImg.height);
        };
        maskImg.src = './star.png';
    };
すると星型のマスクがかかる。
画像を変えれば、更に複雑なマスクをかけることも可能。
ハハッ
