新卒でAndroidエンジニアをしています。
Google I/O 2018でConstraintLayout2.0が発表されました。
その中でもアニメーションを簡単に作成することができるMotionLayoutについて書きます。
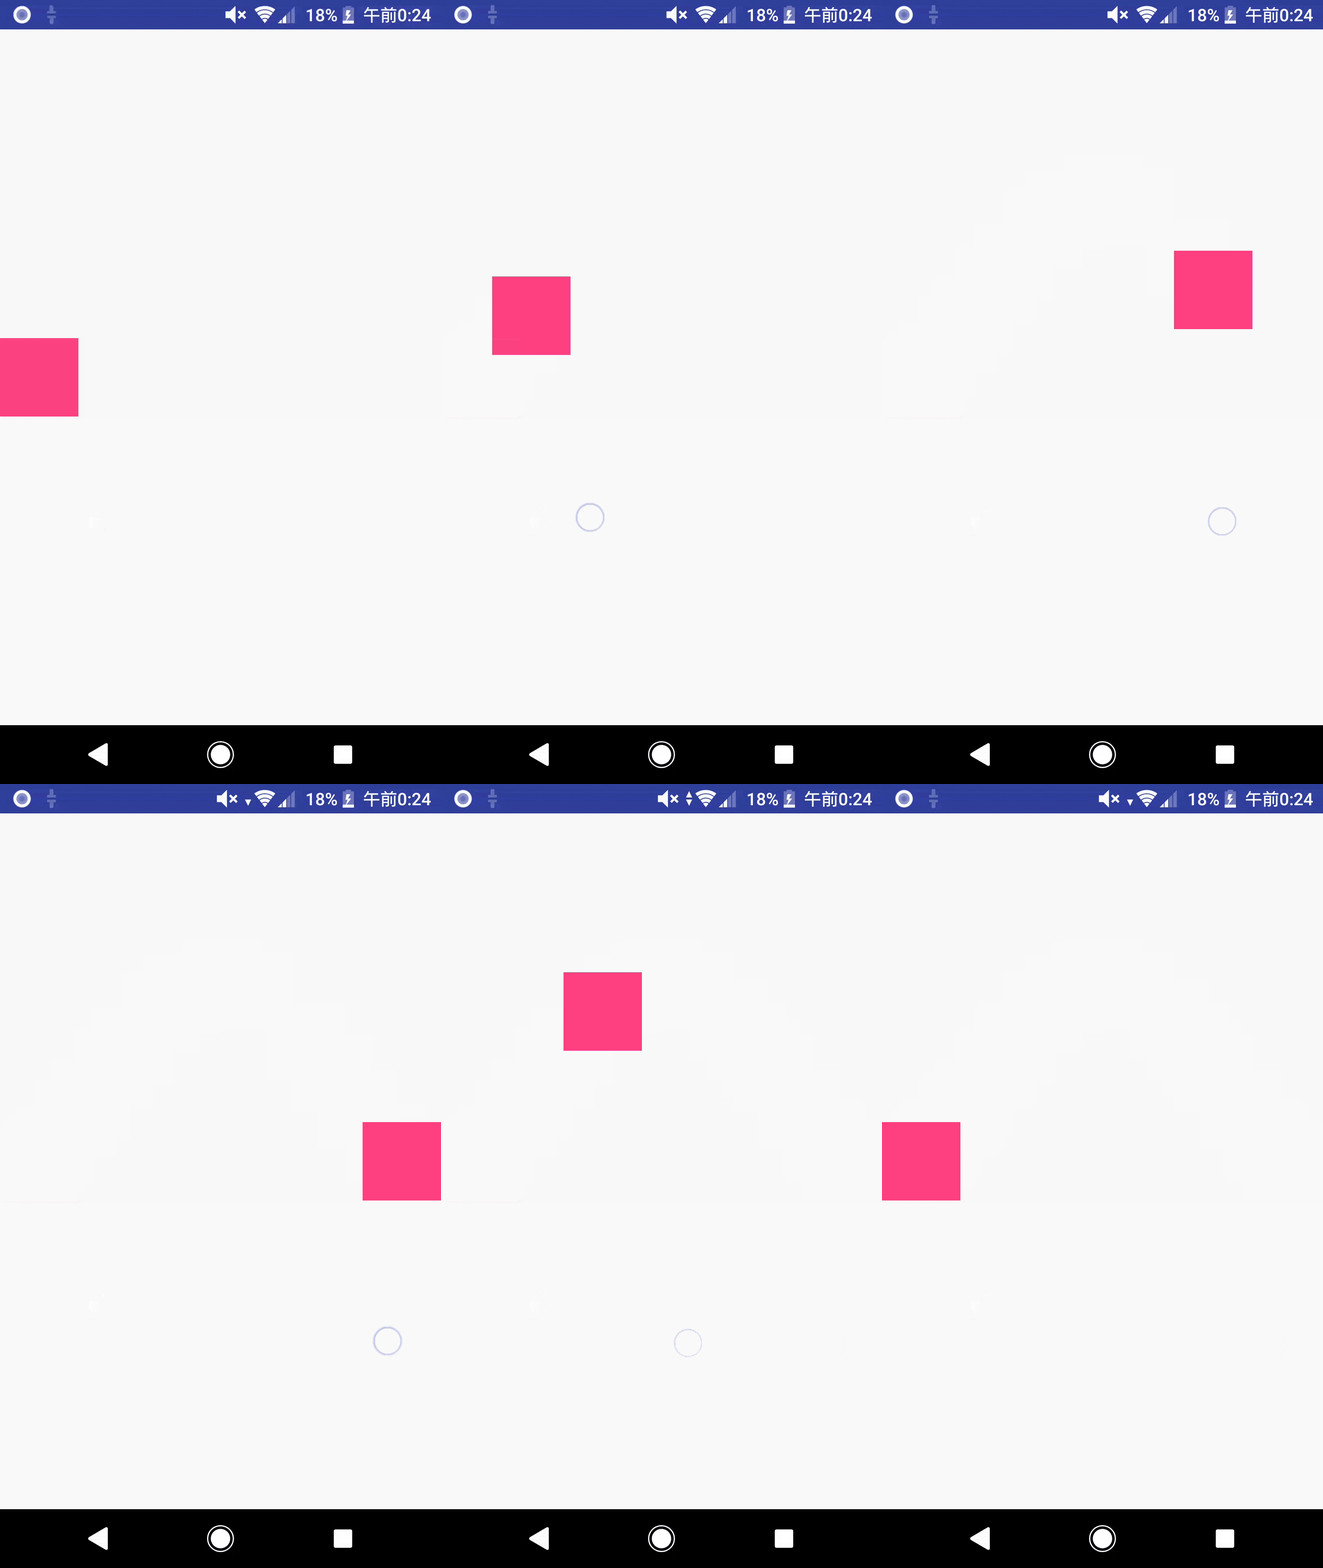
MotionLayoutを利用するとこのようなアニメーションが簡単に作ることができます。
GoogleがMotionLayoutのサンプルを出しているので、コードを見て理解したい方はこちらへどうぞ。
https://github.com/googlesamples/android-ConstraintLayoutExamples
またこのConstraintLayout2.0は現段階ではalpha版であるため、安定版リリース前に変更される可能性があります。
MotionLayoutとは?
MotionLayoutとは、始まりのレイアウトと終わりのレイアウト間の様々な状態を定義することで簡単にアニメーションを作成することができます。
Androidのアニメーションは、「Transition Drawable」や「View Animation」などがありますが、MotionLayoutはアニメーションの設定について宣言的に書くことが出来るため、XMLで完結することができます。
またサポートレベルがAPI18からとなっているため、約95%のユーザをサポートしています。
MotionLayoutの基礎知識
MotionLayoutはConstraintLayoutの子クラスです。
ConstraintLayoutとの一番の違いは、Viewの状態(visibilityやgravity)をMotionSceneというxmlファイルに記述するということです。
MotionSceneに記述したViewの状態はMotionLayoutに記述したものより優先されて表示されます。
MotionSceneには2つのConstraintSet(Viewの始まりと終わりの状態)とTransitionを記述します。

ConstraintSet
ConstraintLayoutの状態を記述するクラスです。ConstraintLayotのattributeを記述することができるといえば分かりやすいでしょうか。
Transition
アニメーションを記述します。TransitionにはOnSwipeとOnClickとKeyFrameSetがあります。

OnClick
指定したViewがクリックされたときをトリガーにして、アニメーションを実行することができます。
OnSwipe
どの方向にスワイプされたらアニメーションが動くか、スワイプ時のアニメーションの速度などを指定することができます。
KeyFrameSet
アニメーション始まりと終わりの間の任意の地点でのViewの状態を指定することができます。
実際にアニメーションを作る
ConstraintLayout2.0を追加します。
implementation 'com.android.support.constraint:constraint-layout:2.0.0-alpha1'
layoutフォルダにMotionLayoutファイルを作成します。
<?xml version="1.0" encoding="utf-8"?>
<android.support.constraint.motion.MotionLayout
    xmlns:android="http://schemas.android.com/apk/res/android"
    xmlns:app="http://schemas.android.com/apk/res-auto"
    android:layout_width="match_parent"
    android:layout_height="match_parent"
    app:layoutDescription="@xml/motion_scene">

    <View
        android:id="@+id/view_motion"
        android:layout_width="64dp"
        android:layout_height="64dp"
        android:background="@color/colorAccent" />

</android.support.constraint.motion.MotionLayout>
app:layoutDescriptionにはMotionSceneファイルを指定します。
xmlフォルダにMotionSceneファイルを作成します。
<?xml version="1.0" encoding="utf-8"?>
<MotionScene xmlns:android="http://schemas.android.com/apk/res/android"
    xmlns:motion="http://schemas.android.com/apk/res-auto">

    // アニメーション
    <Transition
        motion:constraintSetEnd="@id/end"
        motion:constraintSetStart="@id/start"
        motion:duration="1000">
        <OnSwipe
            motion:dragDirection="dragRight"
            motion:touchAnchorId="@id/view_motion"
            motion:touchAnchorSide="bottom" />
    </Transition>

    // 始まりのViewの状態
    <ConstraintSet android:id="@+id/start">
        <Constraint
            android:id="@id/view_motion"
            android:layout_width="64dp"
            android:layout_height="64dp"
            android:background="@color/colorAccent"
            motion:layout_constraintBottom_toBottomOf="parent"
            motion:layout_constraintStart_toStartOf="parent"
            motion:layout_constraintTop_toTopOf="parent" />

    </ConstraintSet>

    // 終わりのViewの状態
    <ConstraintSet android:id="@+id/end">
        <Constraint
            android:id="@id/view_motion"
            android:layout_width="64dp"
            android:layout_height="64dp"
            android:background="@color/colorAccent"
            motion:layout_constraintBottom_toBottomOf="parent"
            motion:layout_constraintEnd_toEndOf="parent"
            motion:layout_constraintTop_toTopOf="parent" />
    </ConstraintSet>

</MotionScene>
たったこれだけの記述でアニメーションが作成できました。
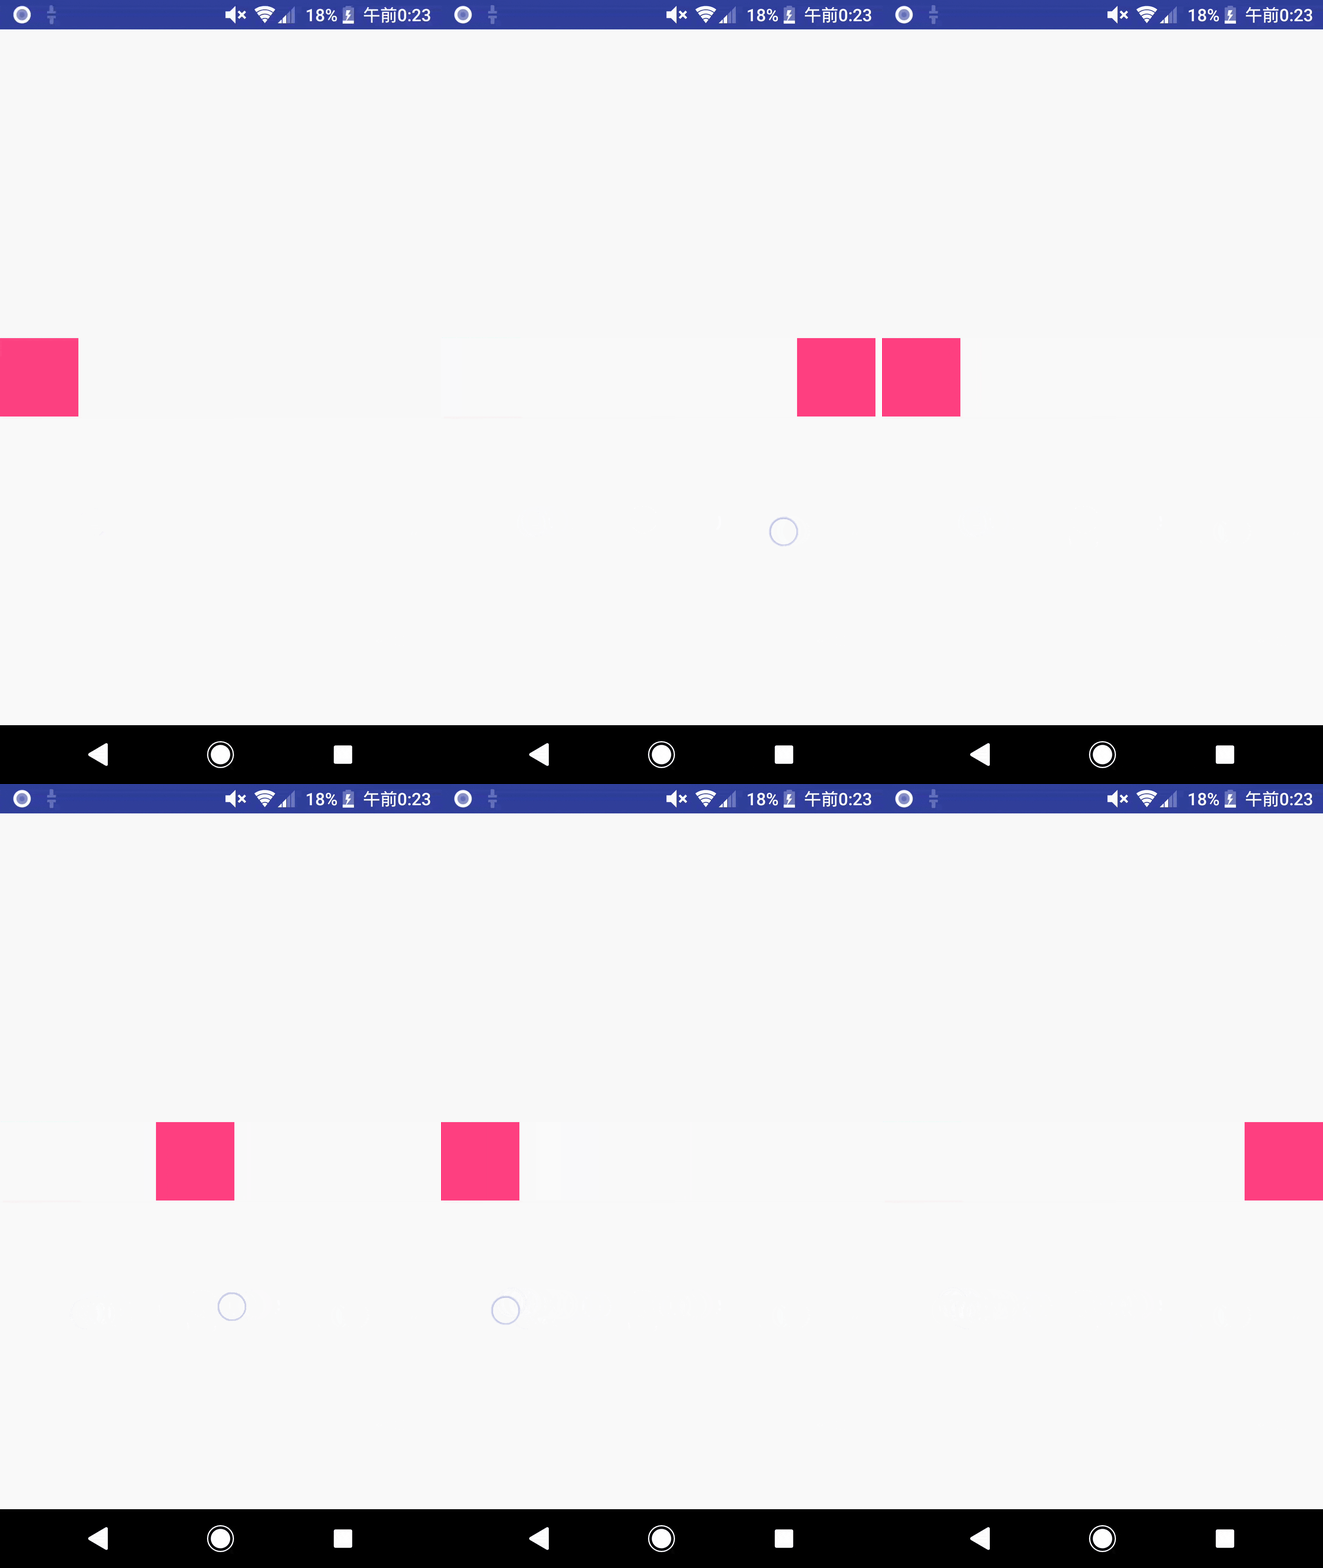
細かく分けて説明します。
    // アニメーション
    <Transition
        motion:constraintSetEnd="@id/end"
        motion:constraintSetStart="@id/start"
        motion:duration="1000">
        <OnSwipe
            motion:dragDirection="dragRight"
            motion:touchAnchorId="@id/view_motion"
            motion:touchAnchorSide="right" />
    </Transition>
| Transition | |
|---|---|
| constraintSetEnd | ConstraintSetを指定(終わりの状態) |
| constraintSetStart | ConstraintSetを指定(始まりの状態) |
| duration | アニメーションの遷移時間(OnSwipeではこの値は有効になりません。OnClickをトリガーにしてアニメーションを開始した時のみ有効になります |
| OnSwipe | |
|---|---|
| dragDirection | ドラッグの方向 |
| touchAnchorId | 指定したViewをスワイプした時に動かす |
| touchAnchorSide | 指定したViewから見てどの方向をタッチしてドラッグしたときにアニメーションが反応するか |
必須の属性は上記になっています。
さらにOnClickを設定します。
    <Transition
        motion:constraintSetEnd="@+id/end"
        motion:constraintSetStart="@+id/start"
        motion:duration="1000">
        <OnSwipe
            motion:dragDirection="dragRight"
            motion:touchAnchorId="@id/view_motion"
            motion:touchAnchorSide="bottom" />
        <OnClick motion:target="@id/view_motion" />
    </Transition>
motion:targetはクリック時のトリガーにするViewのidを指定します。
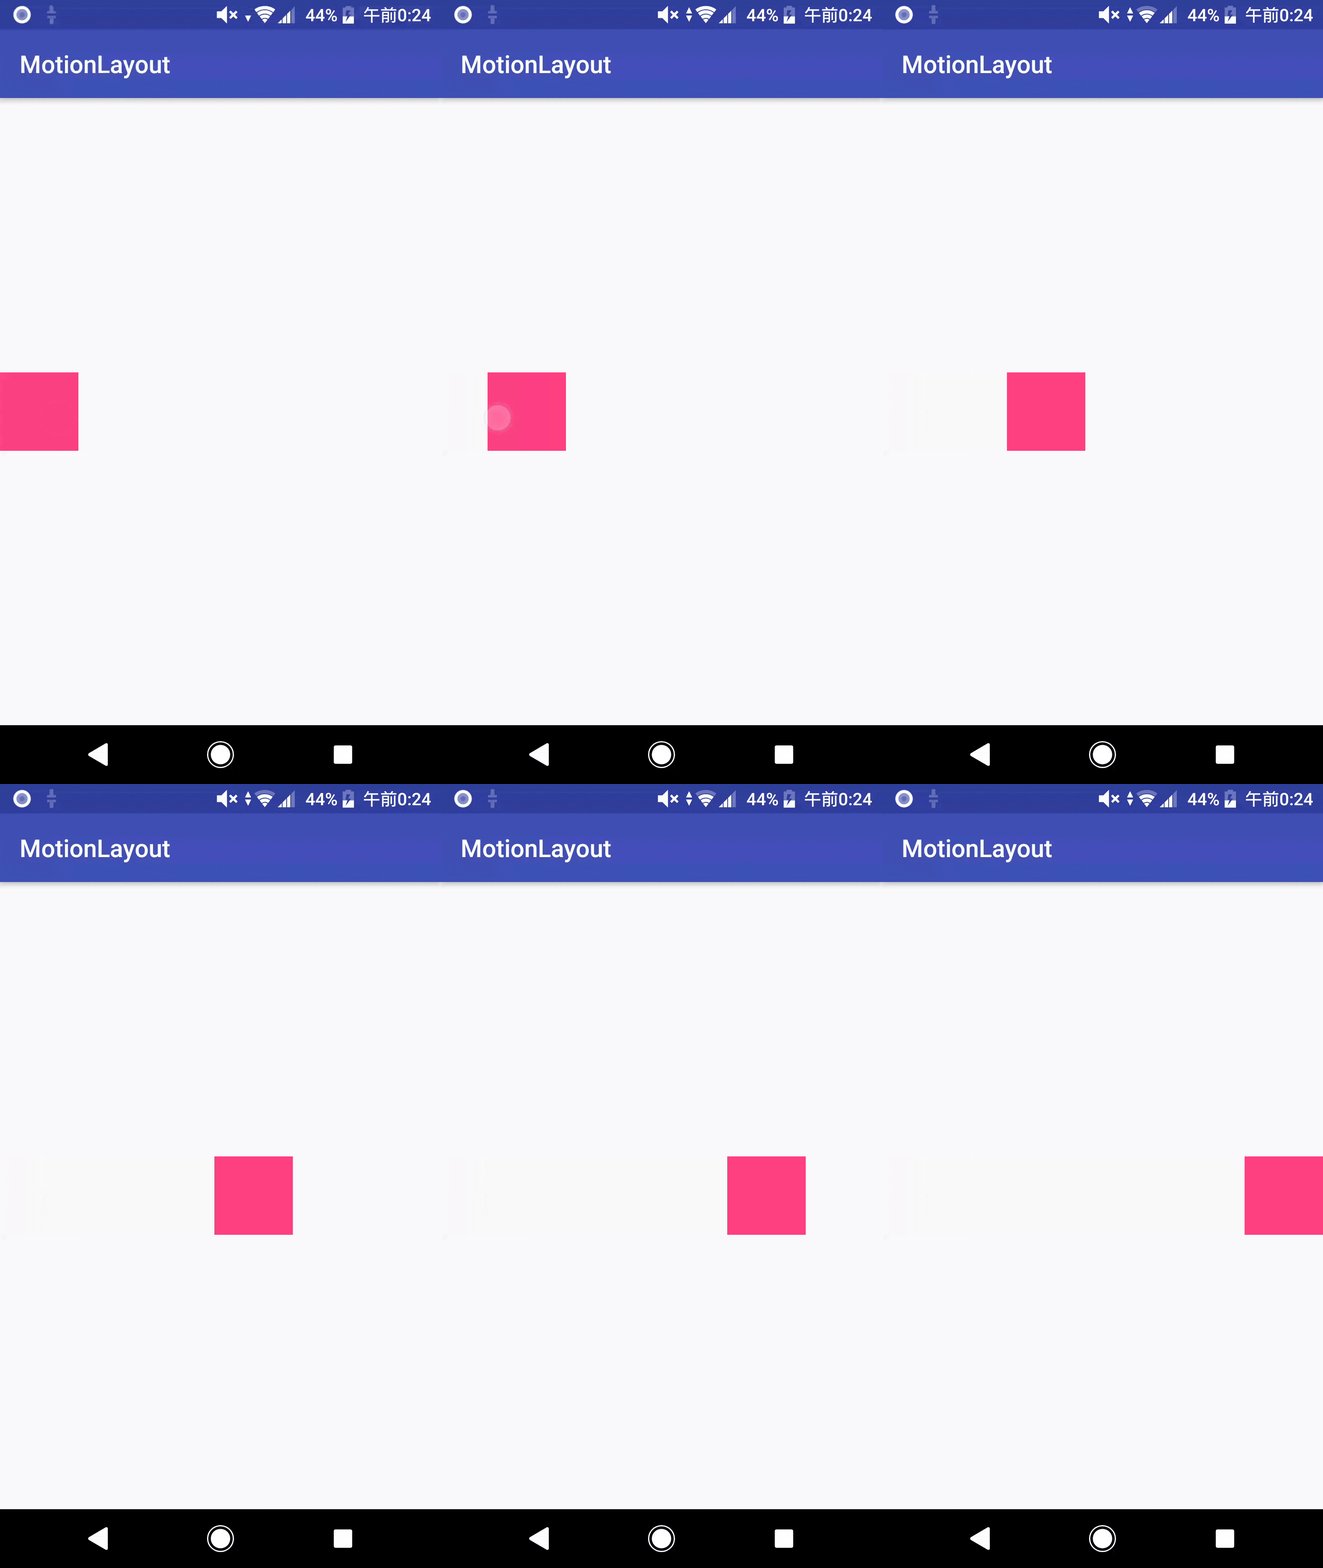
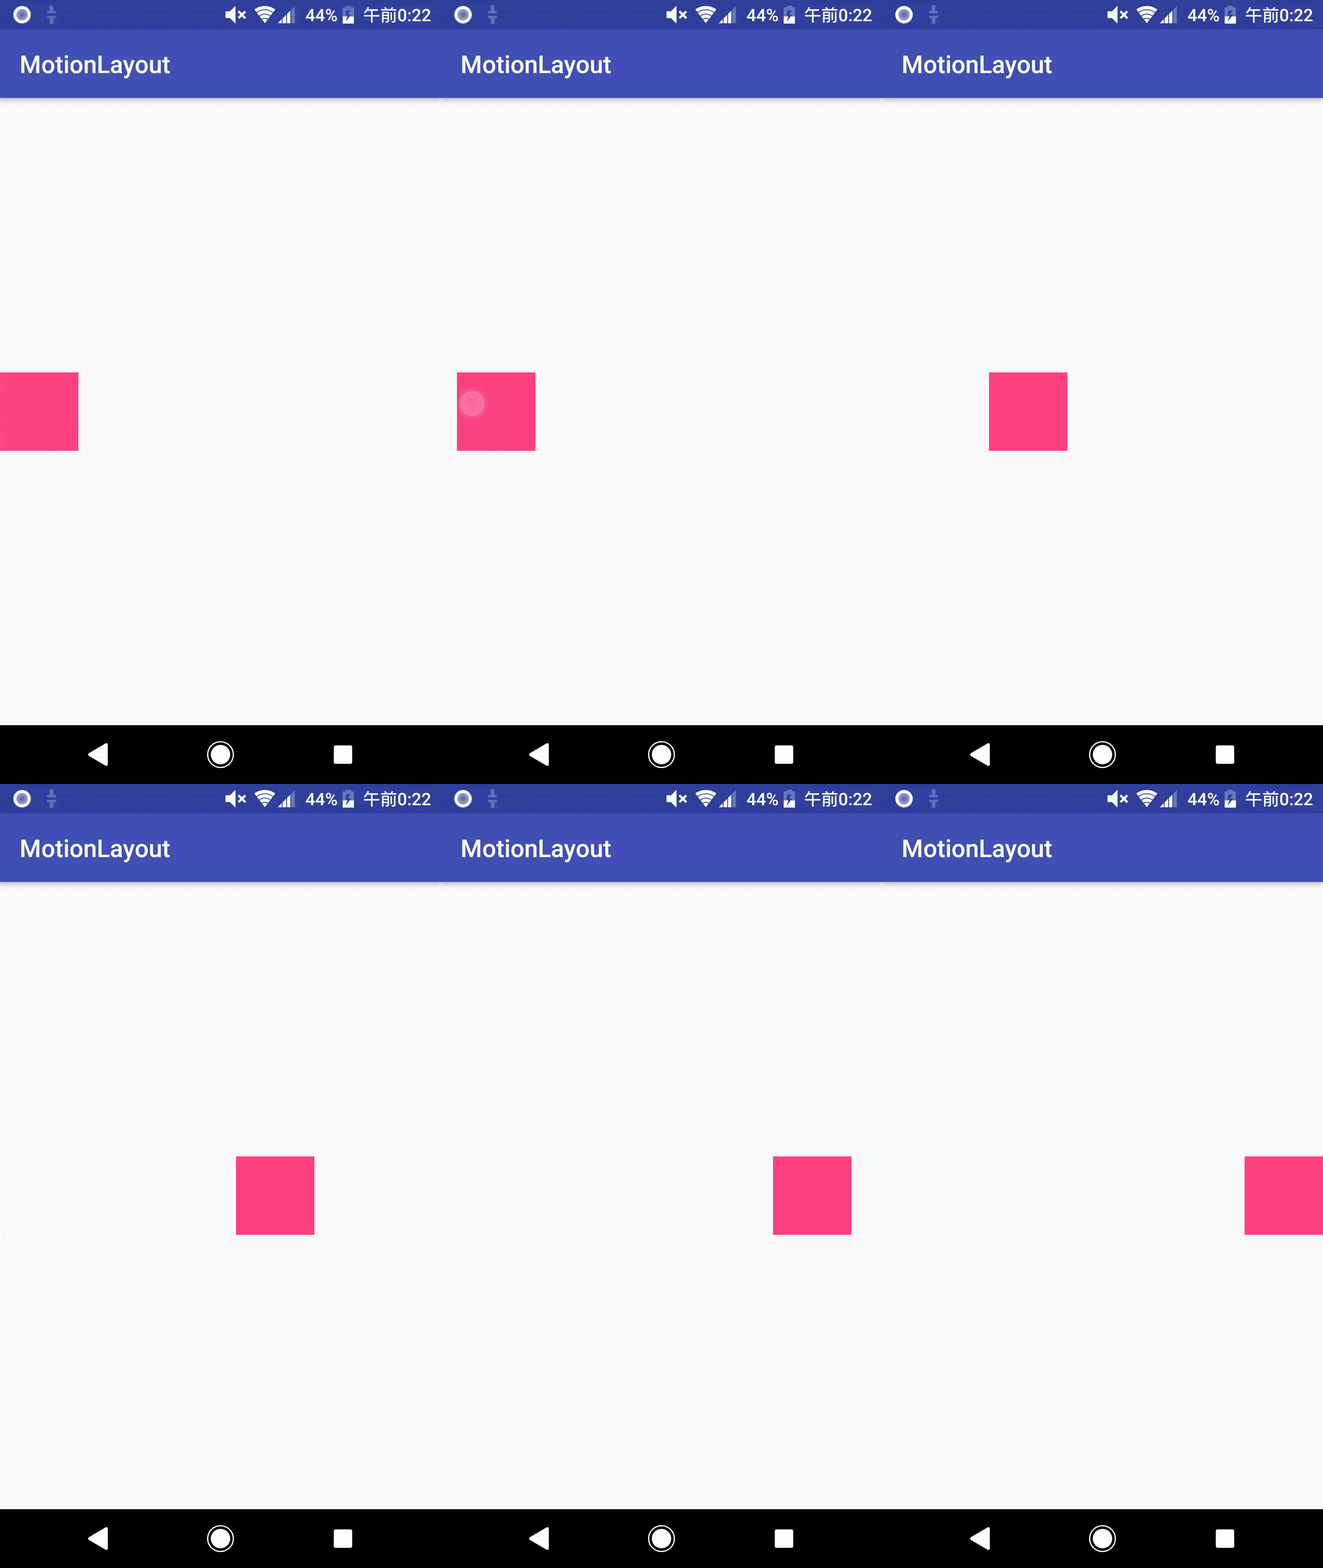
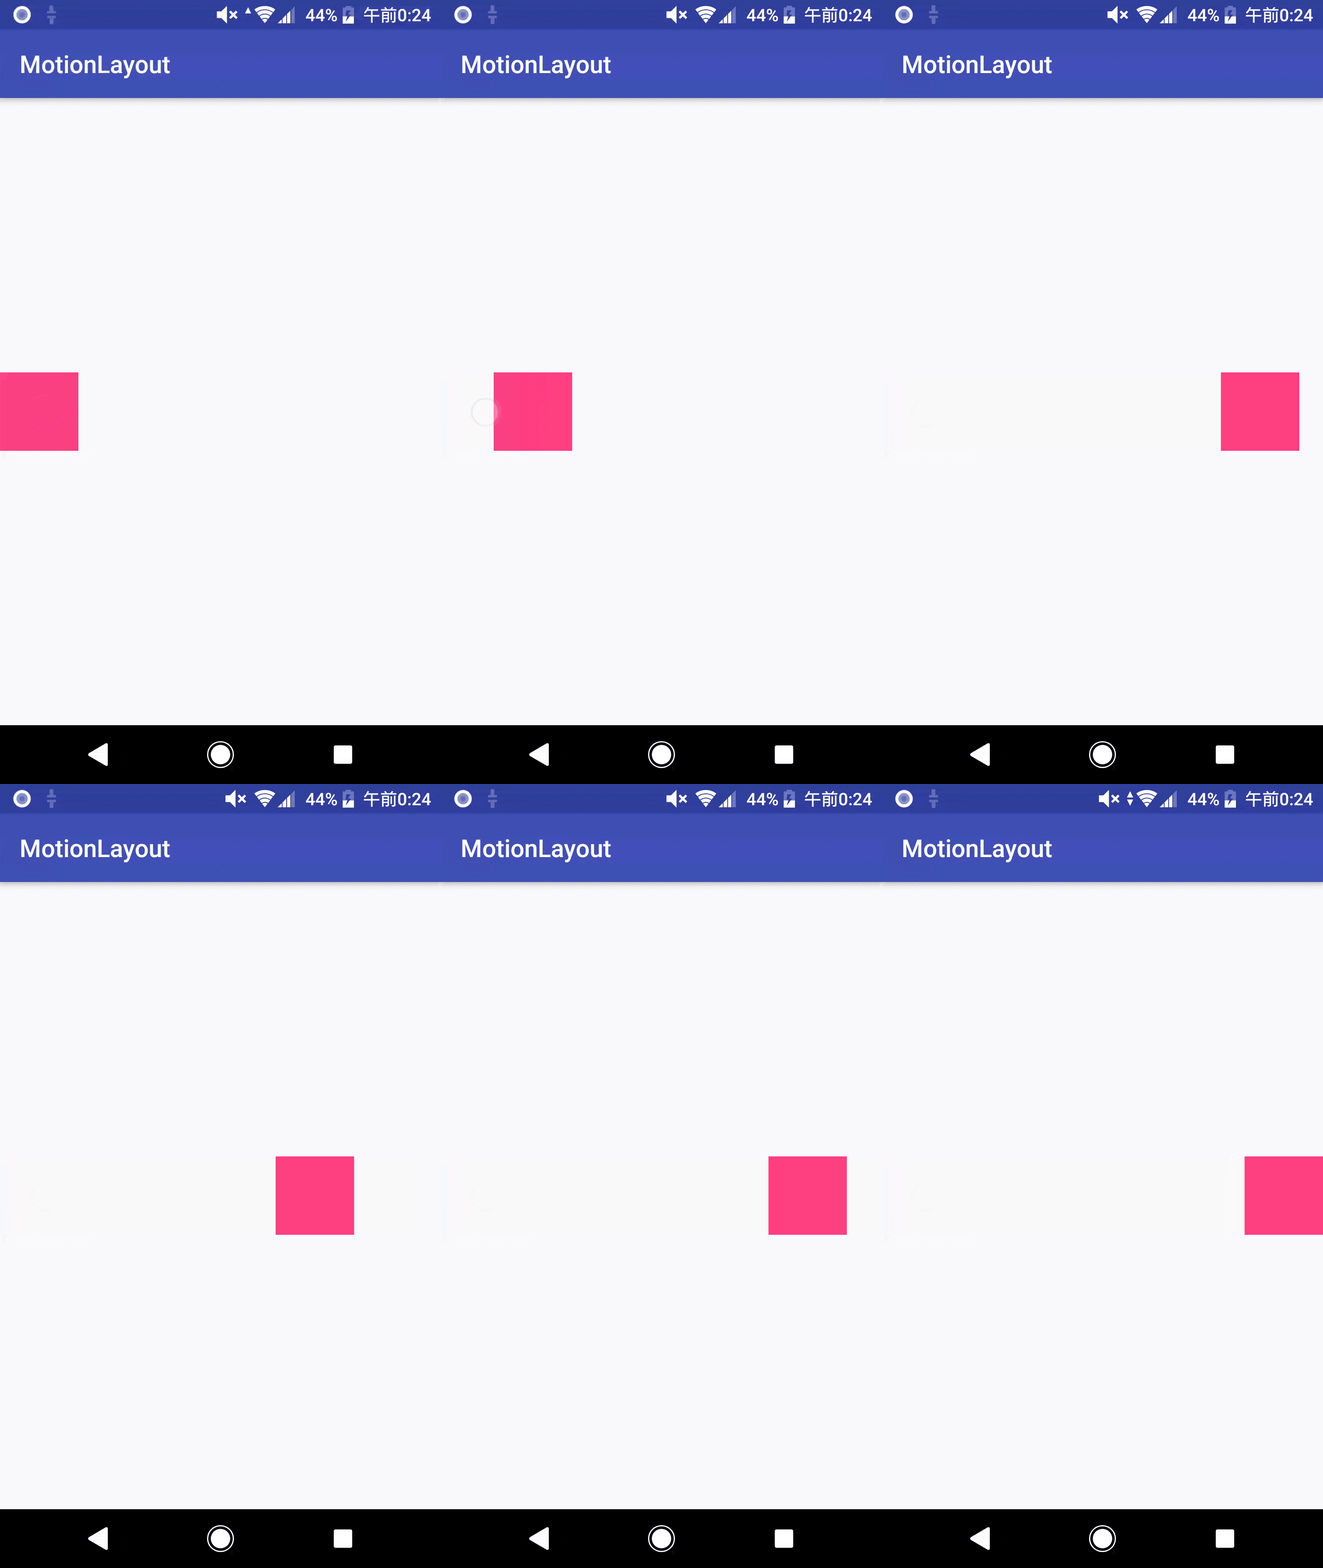
またTransitionにはinterpolatorという属性があります。
OnClickをトリガーにアニメーションが開始した時のアニメーションのモーションを指定することができます。
| liner | easeInOut | bounce |
|---|---|---|
 |
 |
 |
次にTransitionの中にKeyFrameSetを追加します。
<KeyFrameSet>
    <KeyPosition
        motion:framePosition="50"
        motion:percentY="-0.5"
        motion:target="@id/view_motion"
        motion:type="pathRelative" />
</KeyFrameSet>
KeyPositionにはアニメーションの任意の地点での属性を指定します。
| KeyPosition | |
|---|---|
| framePosition | アニメーションの任意の地点。開始時が0、終了時が100 |
| target | 状態を指定するViewId |
| type | アニメーションのpathがどのように計算されるか |
percentYに0.5を指定します。
typeにpathRelativeを指定しているため、アニメーションのpathの位置から相対的に算出されます。
このように簡単にアニメーションの任意の地点でのViewの状態を変更することができます。
まとめ
今回はMotionLayoutを使って簡単なアニメーションを作成しました。
パッと手軽に実装することができたので便利に感じました。
ただ現段階ではMotionEditorや補完機能が一部動いて動作していないのでそこがすごくやりづらかったです。
まだまだ情報が少ないため間違っている情報があればぜひご教授下さい。
