はじめに
前回の記事 にて Aut0 で作成したサンプル SPA から、同じくサンプル API に CORS してみた。
今回は普通に API を CLI から実行してみる。
ちなみに、Auth0 で API を作成すると、その裏で作成されるアプリケーションは、 Machine to Machine となるようで、この時点で Client Credentials Flow しか使えないようですね。
Auth0 CLI のインストール・ログイン
以下でインストールできる。
brew tap auth0/auth0-cli && brew install auth0
インストールができたら、以下でログインする。
ブラウザによる対話的ログインが発生する。
% auth0 login
✪ Welcome to the Auth0 CLI 🎊

An Auth0 tenant is required to operate this CLI.
To create one, visit: https://auth0.com/signup.

You may authenticate to your tenant either as a user with personal
credentials or as a machine via client credentials. For more
information about authenticating the CLI to your tenant, visit
the docs: https://auth0.github.io/auth0-cli/auth0_login.html

 How would you like to authenticate?  [Use arrows to move, type to filter, ? for more help]
> As a user
  As a machine
今回は「人」としての操作なので、 As a user を選択。
Verify [ワンタイムコード] code in opened browser window to complete authentication.

 ▸    Press Enter to open the browser to log in or ^C to quit..
メッセージが上記のようになりブラウザが機動する。
黒網掛けの部分にワンタイムコードが表示されているので、ターミナル側の表記と合致するかを確認。
OK ならターミナル側で Enter を入力。
ブラウザ側の画面が遷移する。
今回の場合デフォルトユーザを使ったのもあり、委任対象スコープがめちゃめちゃ多かったので、画面が縦に長いこと...
画面の下の方にある「許可」ボタンをクリック。
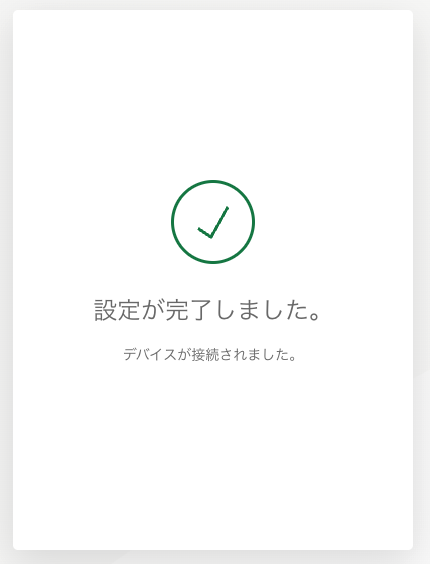
上記画面が表示されたらログイン成功。ターミナルに戻る。
Waiting for the login to complete in the browser... done

 ▸    Successfully logged in.
 ▸    Tenant: [Auth0 Tenant ID]
ターミナル側でもログイン処理が終わっている。
Access Token を取得してAPIに投げてみる
一見わかりにくいが、以下のコマンドで Acceess Token が取得できる模様。
% auth0 test token
 Client ID:  [Use arrows to move, type to filter, ? for more help]
> Create a new client to use for testing the login
  Default App [Regular Web Application] ([<-のCLIENT ID])
  Auth0 Practice API (Test Application) [Machine to Machine] ([<-のCLIENT ID])
  Auth0 Practice SPA [Single Page Web Application] ([<-のCLIENT ID])
上下キーでアプリケーションを選択できるようになっているので Auth0 Practice API を選択。
 Client ID: Auth0 Practice API (Test Application) [Machine to Machine] (TjeFAiLkioGcySBtjumIxFnXSvFswVzh)
 Audience:  [Use arrows to move, type to filter, ? for more help]
> Auth0 Practice API ([自身で指定したAudience])
Audience を聞かれるが、デフォルトで値がセットされていたのでそのまま Enter する。
Audience: Auth0 Practice API ([Audience])
 ▸    Domain    : [Auth0 Tenant ID]
 ▸    Client ID : [CLIENT ID]
 ▸    Type      : Machine to Machine

Waiting for token... done

=== [Auth0 Tenant ID] token for Auth0 Practice API (Test Application)

  TOKEN    TYPE   Bearer
  EXPIRES    IN   1440 minute(s)
  ACCESS  TOKEN   [取得されたAccess Token]
こんな感じで Access Token が取得できる。
では次に http://localhost:8080 で起動している API に投げ込んでみる。
この投げ込み先 API については
前回の記事 等を参照。
curl --request GET --url http://localhost:8080/authorized --header 'authorization: Bearer [今回取得したAccess Token]'
{"message":"Secured Resource"}
無事実行されているのがわかる。
対話側処理がめんどくさいよ?
一撃でやるにはこうすれば OK。
% auth0 test token [実行先 API の CLIENT ID] --no-input --audience [実行先 API の Audience]
 ▸    Domain    : [Auth0 Tenant ID]
 ▸    Client ID : [CLIENT ID]
 ▸    Type      : Machine to Machine

Waiting for token... done

=== [Auth0 Tenant ID] token for Auth0 Practice API (Test Application)

  TOKEN    TYPE   Bearer
  EXPIRES    IN   1440 minute(s)
  ACCESS  TOKEN   [Access Token]
ということで、API 実行時にどうすればいいかがわかりました。
毎回 curl とかするのめんどくさいですからね。
やっぱ便利。
追記
この方法だと Client Credentials Flow になってしまっている。
ちょっとこれだと検証目的の半分くらいしか満たせていない。
...ということで次の記事に続きます。


