はじめに
UnityのScriptといえば、GameObjectにアタッチできるMonoBehaviourがメジャーです。
が!
個人的にはMonoBehaviourと同じくらいScriptableObjectを利用しています。
利用範囲はスマホゲーム開発のマスターデータ管理やSDK開発の設定ファイル、Editor拡張など様々です。
なので自分のScriptableObject活用法をちまちま書いていきます。
今回は【ScripableObjectのための】環境構築の説明です。
1. ScriptableObjectのための環境構築
Unityを開いて
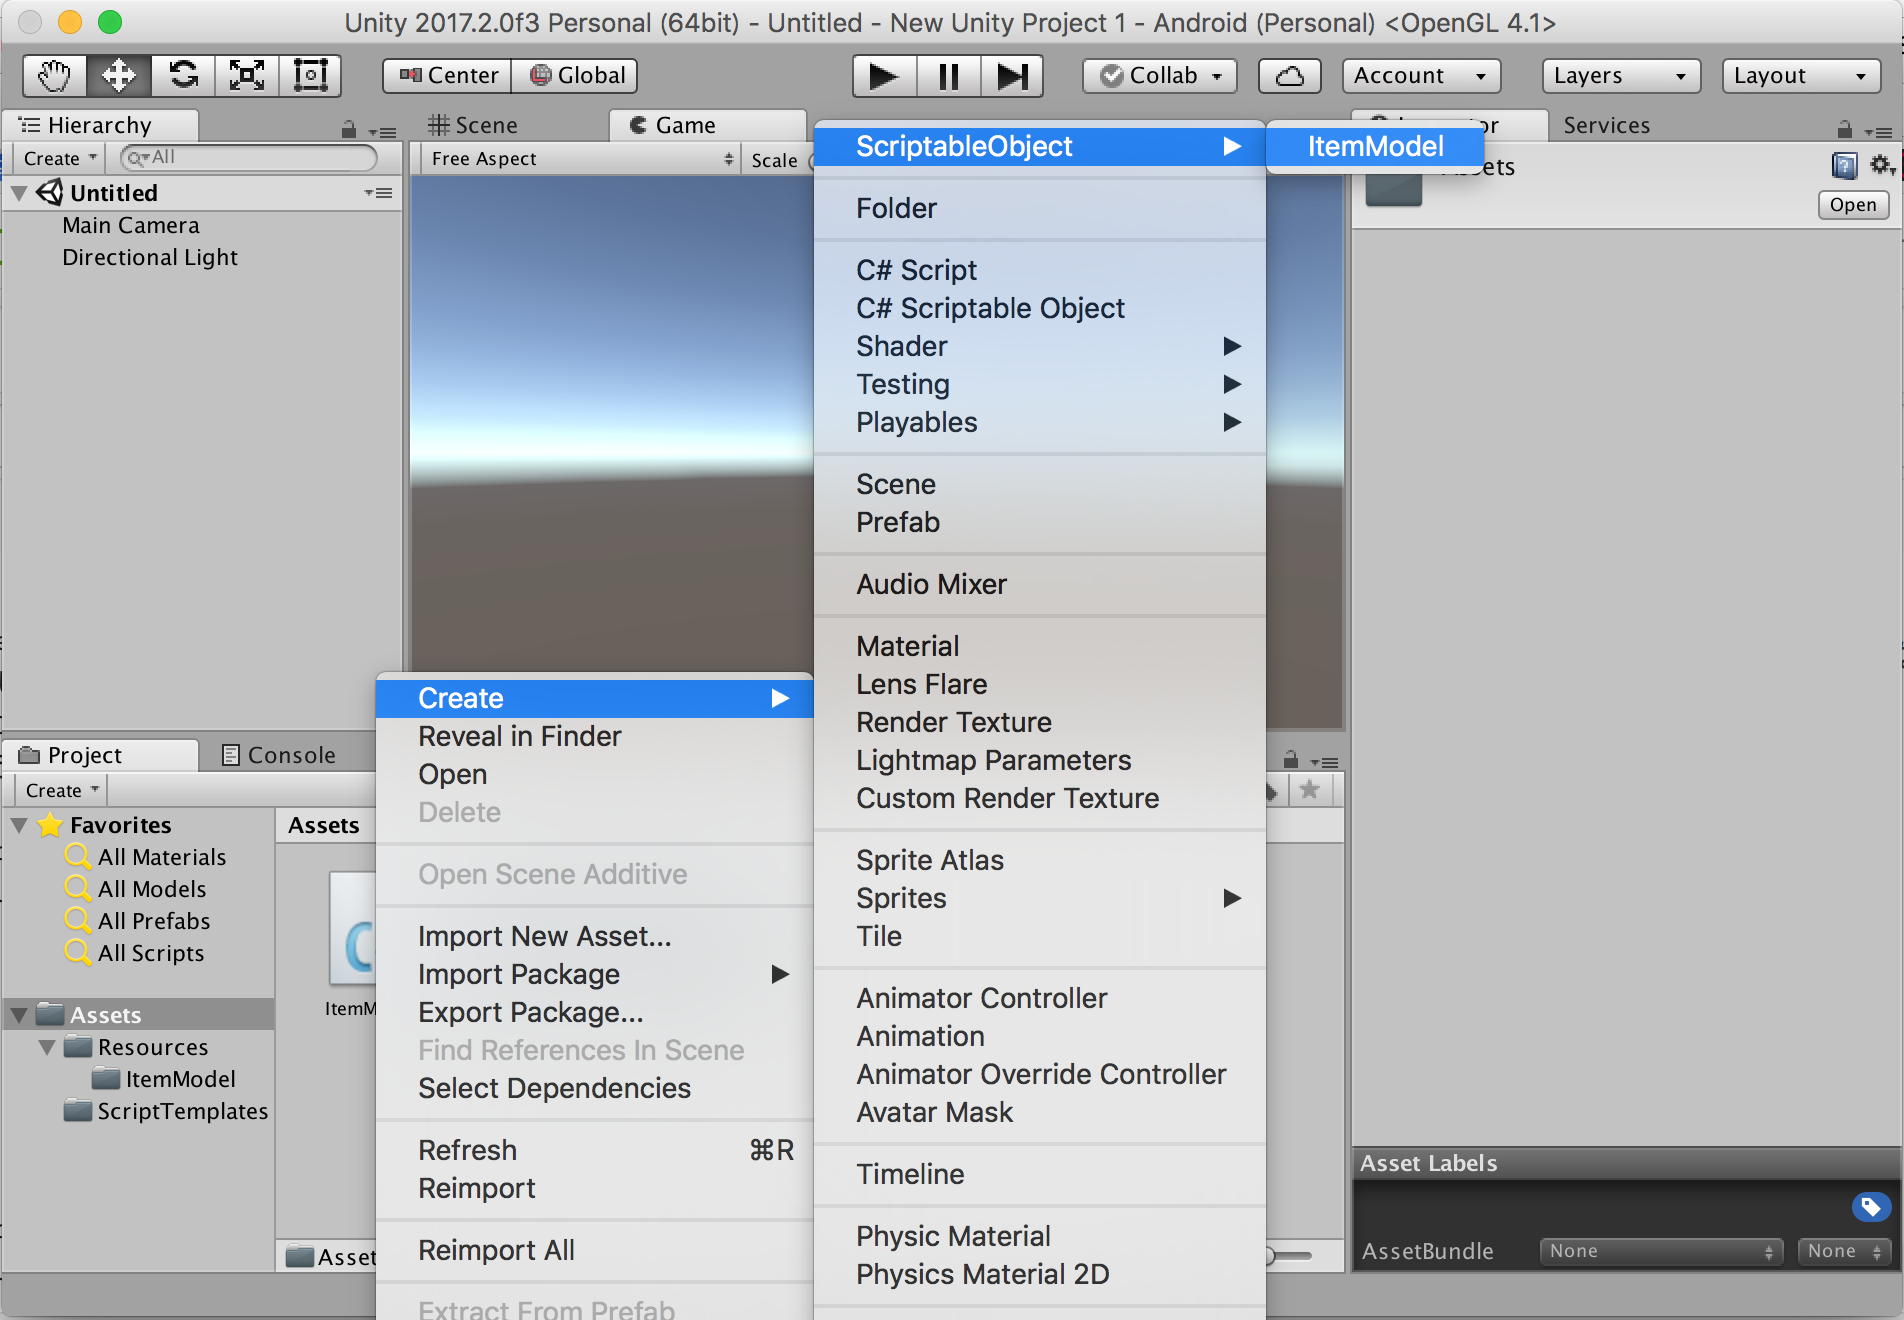
Assets > Create > C# Script を選択するとMonoBehaviourを拡張したコードが作成されます。
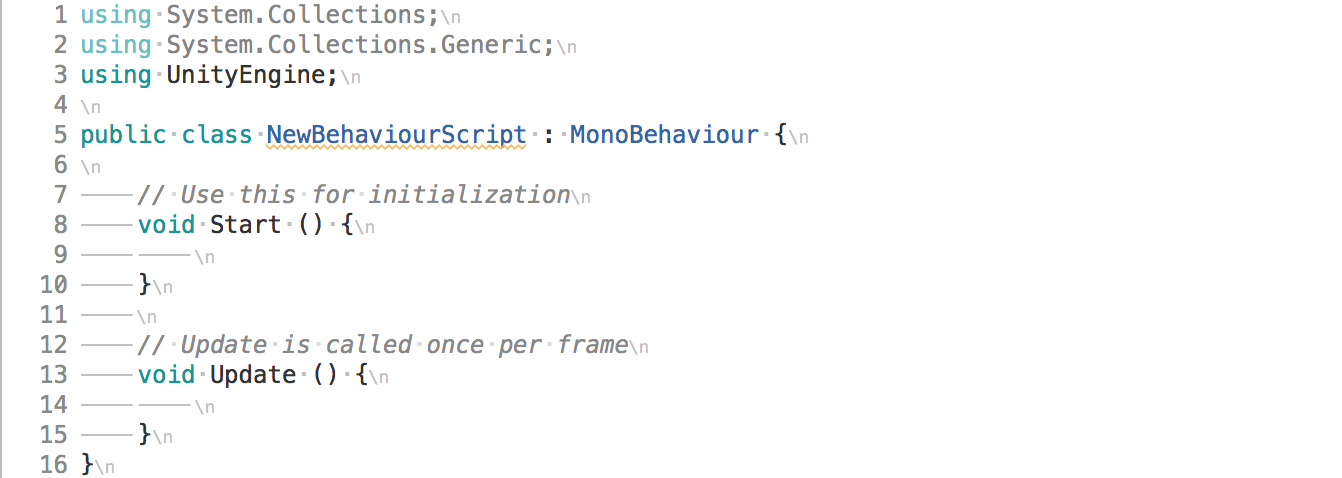
これは Assets > Create > C# Script を選択したときに、Unity側で
MonoBehaviourのテンプレートを元にコード生成を行っているためです。
ScriptableObjectに関しては標準でテンプレートが付属していないので
通常は白紙の状態からコードを作成します。
しかし毎回同じコードを作成するのは手間なので、
よく使う機能を洗い出しScriptableObject版のテンプレートを作成します。
本内容は『UnityEditor拡張入門 第15章ScriptTemplates』を参考にしました。
https://anchan828.github.io/editor-manual/web/scripttemplates.html
1.1 環境構築方法
プロジェクトの Assets/ScriptTemplates フォルダ内に
82-C# Scriptable Object-NewScriptableObject.cs.txt
という名前で以下のファイルを作成します。
(ファイル名や内容の詳細説明は割愛します。上記のUnityEditor拡張入門を参考にしてください)
using System.Collections;
using System.Collections.Generic;
using UnityEngine;

/**
 * auto generated by #NAME#
 */
[CreateAssetMenu(menuName="ScriptableObject/#NAME#")]
public class #SCRIPTNAME# : ScriptableObject
{
	public static #SCRIPTNAME# Create()
	{
		return ScriptableObject.CreateInstance<#NAME#>();
	}

	public static #SCRIPTNAME# Load(string key)
	{
		return Resources.Load<#NAME#>("#NAME#/" + key);
	}

	public static #SCRIPTNAME# Instantiate(string key)
	{
		return Object.Instantiate<#NAME#>(Load(key));
	}
}
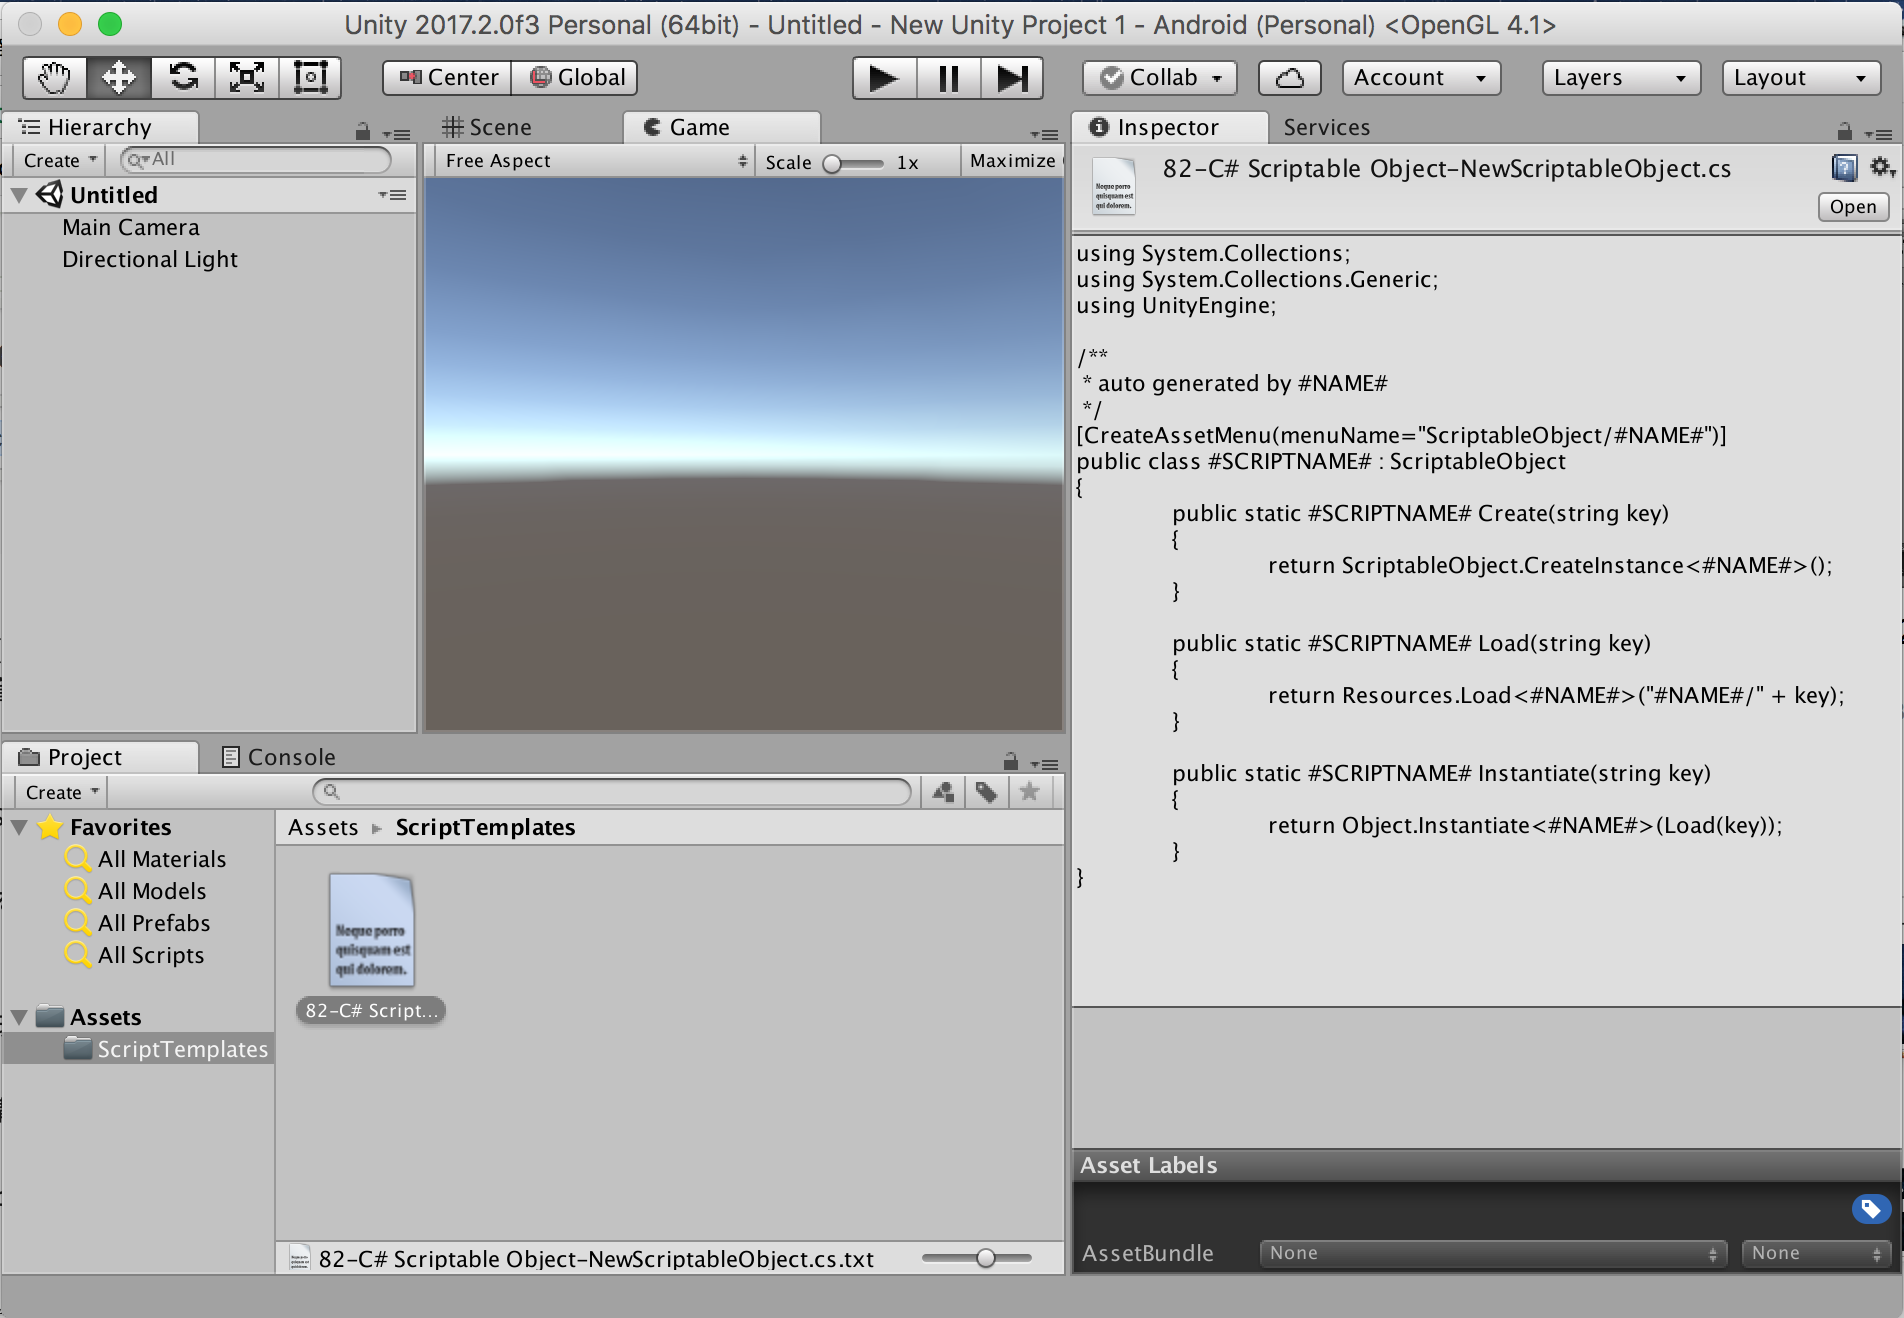
Unityを再起動すると Assets > Create > C# Scriptable Object が追加されます。
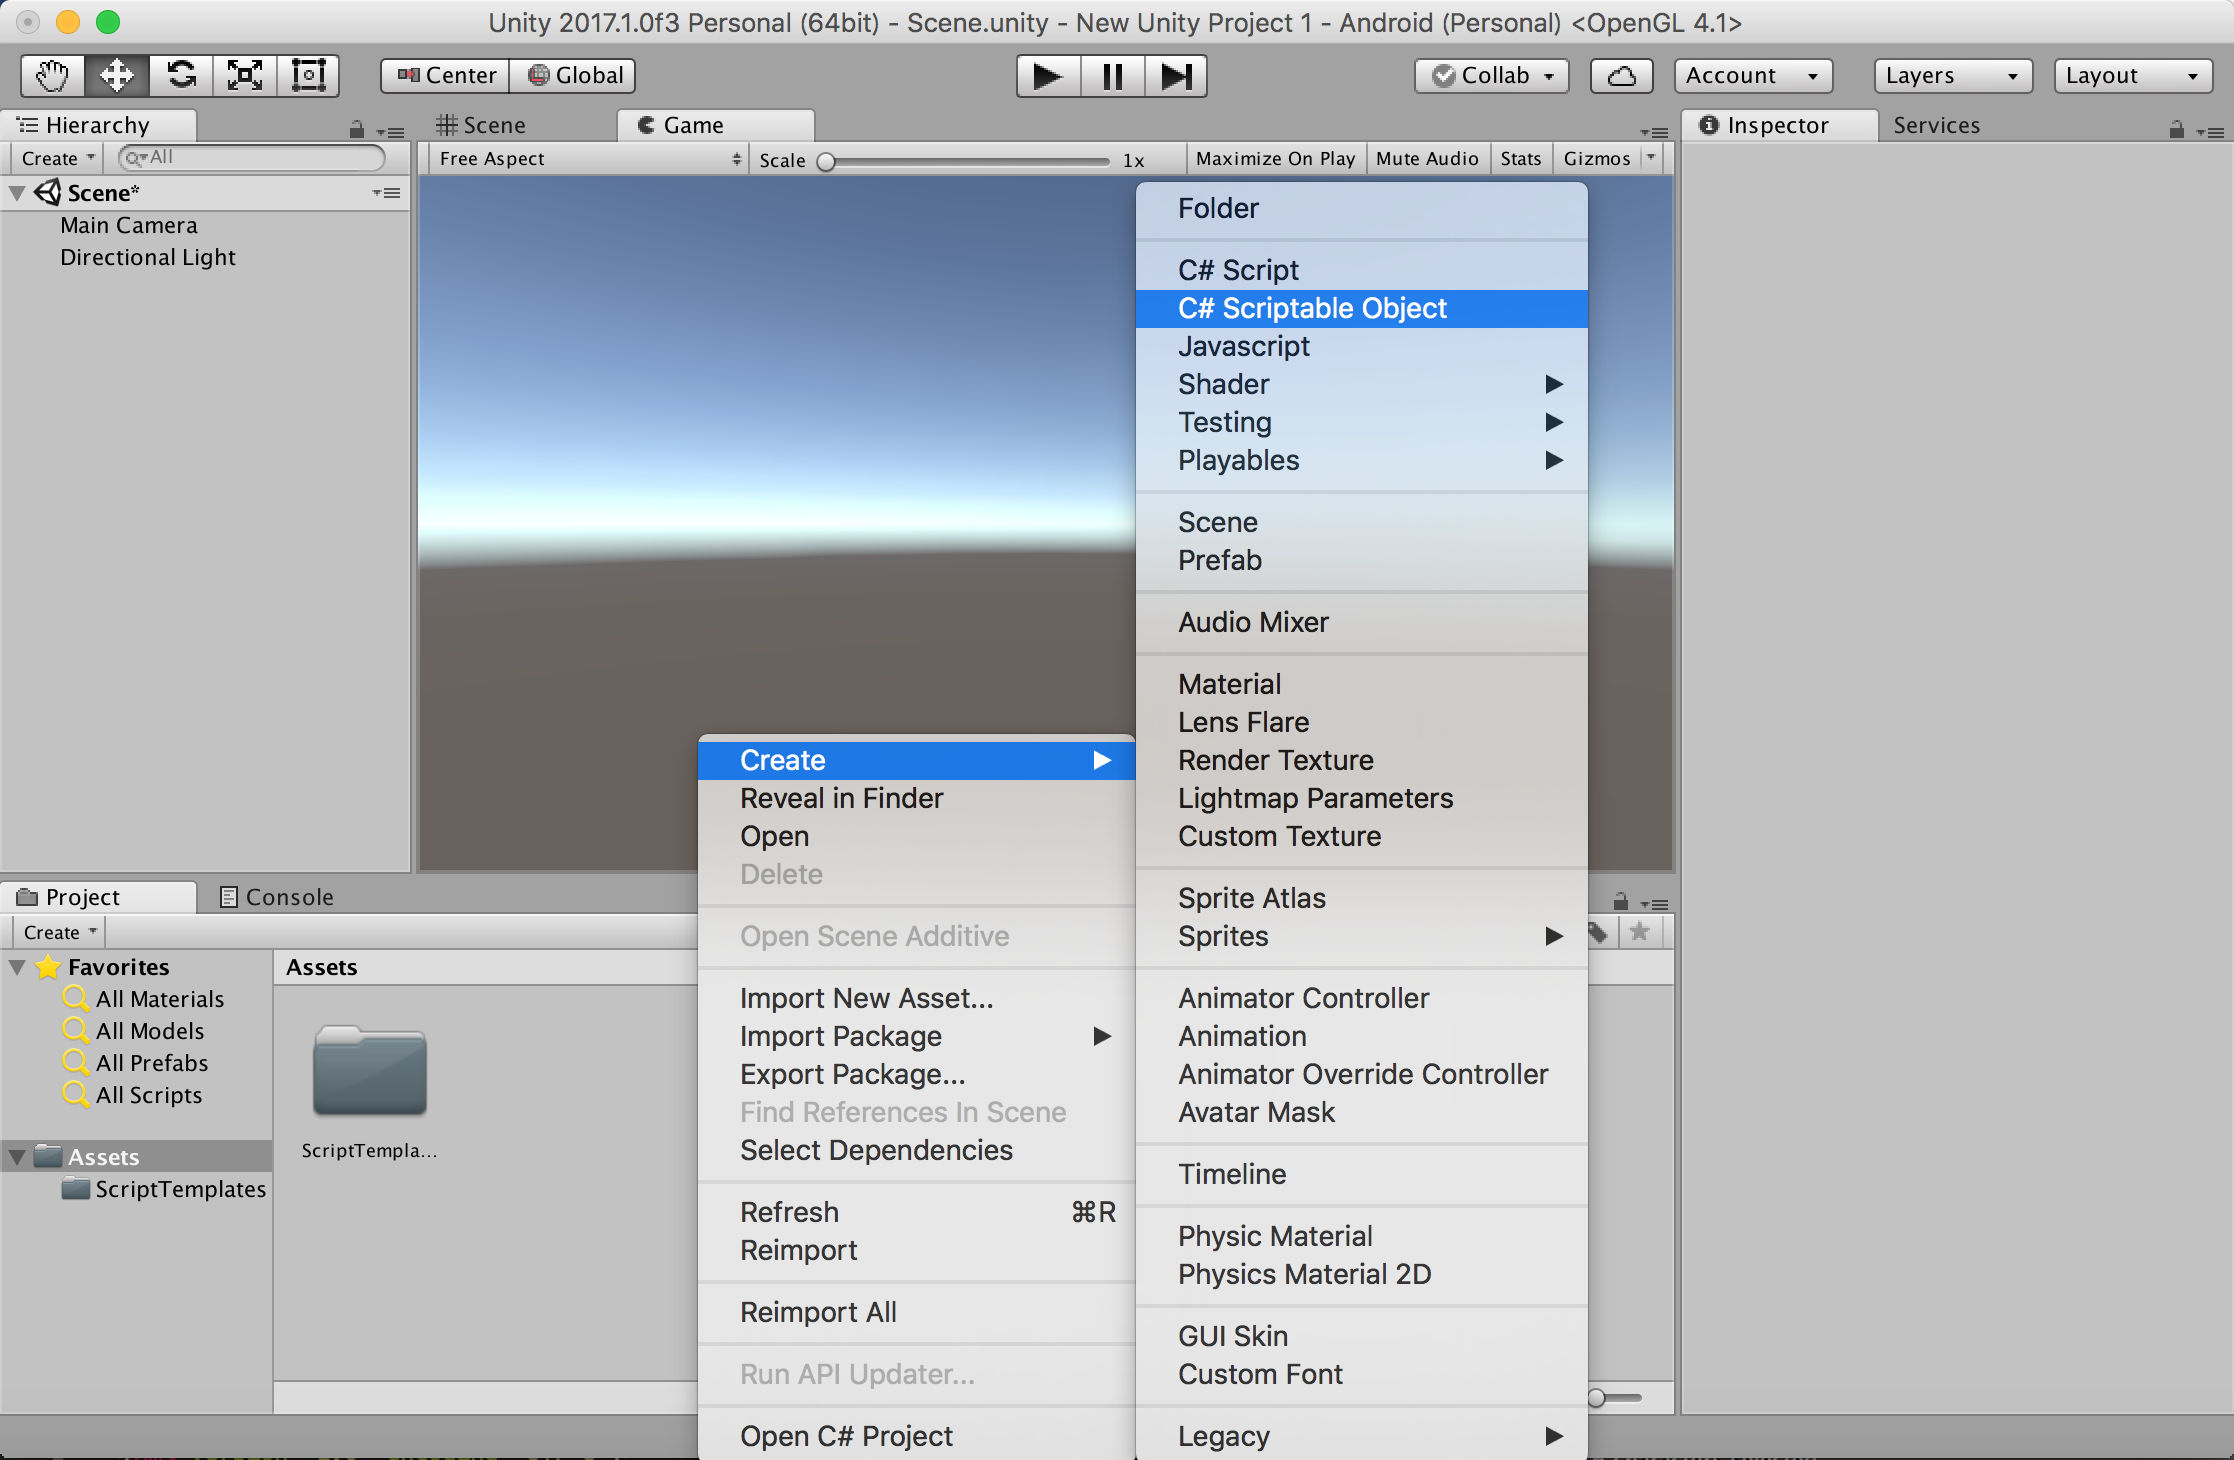
...以上で環境構築は完了です。
上記を選択すると以下のコードが書かれた状態でScriptableObjectを作成することが出来ます。
- ScriptableObjectの親クラス指定
- CreateAssetMenu属性
- ScriptableObject.CreateInstance
- Resources.Load
- Object.Instantiate
試しにItemModelという名前で作成したコードは以下のようになります。
using System.Collections;
using System.Collections.Generic;
using UnityEngine;

/**
 * auto generated by ItemModel
 */
[CreateAssetMenu(menuName="ScriptableObject/ItemModel")]
public class ItemModel : ScriptableObject
{
	public static ItemModel Create()
	{
		return ScriptableObject.CreateInstance<ItemModel>();
	}

	public static ItemModel Load(string key)
	{
		return Resources.Load<ItemModel>("ItemModel/" + key);
	}

	public static ItemModel Instantiate(string key)
	{
		return Object.Instantiate<ItemModel>(Load(key));
	}
}
なぜこのようなテンプレートにしたか、目的と概要を1.2で説明します。
1.2 テンプレート概要
1.2.1 ScriptableObjectの親クラス指定
public class ItemModel : ScriptableObject
ScriptableObjectクラスを親に持つことでScriptableObjectのスクリプトとして動作します。
https://docs.unity3d.com/ScriptReference/ScriptableObject.html
1.2.2 CreateAssetMenu属性
[CreateAssetMenu(menuName="ScriptableObject/ItemModel")]
この属性があることでメニュー(もしくは右クリック)の
Assets > Create からScriptableObjectを作成できるようになります。
order属性で表示順の変更も可能です。menuNameはお好みで。
1.2.3 ScriptableObject.CreateInstance
	public static ItemModel Create()
	{
		return ScriptableObject.CreateInstance<ItemModel>();
	}
ScriptableObjectにはMonoBehaviourと同じく、
new を使用してインスタンス化してはいけないルールがあります。
個人的にはCreateInstance自体は使用機会がないのですが、
ルールを明示的にするためテンプレートにいれてあります。
1.2.4 Resources.Load
	public static ItemModel Load(string key)
	{
		return Resources.Load<ItemModel>("ItemModel/" + key);
	}
ScriptableObjectをResourcesフォルダ以下に置くと、
コードからResources.LoadでScriptableObjectを呼び出すことが出来ます。
上記例はルールとしてフォルダ名を指定していますが、
以下のように書き換えて汎用的にしたり制限を厳しくしてお好みで使用します。
例1) 汎用的にResourcesフォルダ下のパスで指定する例
	public static ItemModel Load(string path)
	{
		return Resources.Load<ItemModel>(path);
	}
例2) "Asset名がID"というルールを設けて引数をintにする例
	public static ItemModel Load(int scriptableObjectId)
	{
		return Resources.Load<ItemModel>("ItemModel/" + scriptableObjectId);
	}
1.2.5 Object.Instantiate
	public static ItemModel Instantiate(string key)
	{
		return Object.Instantiate<ItemModel>(Load(key));
	}
上記のコード説明の前に、Object.Instantiateを【行わない】場合について補足します。
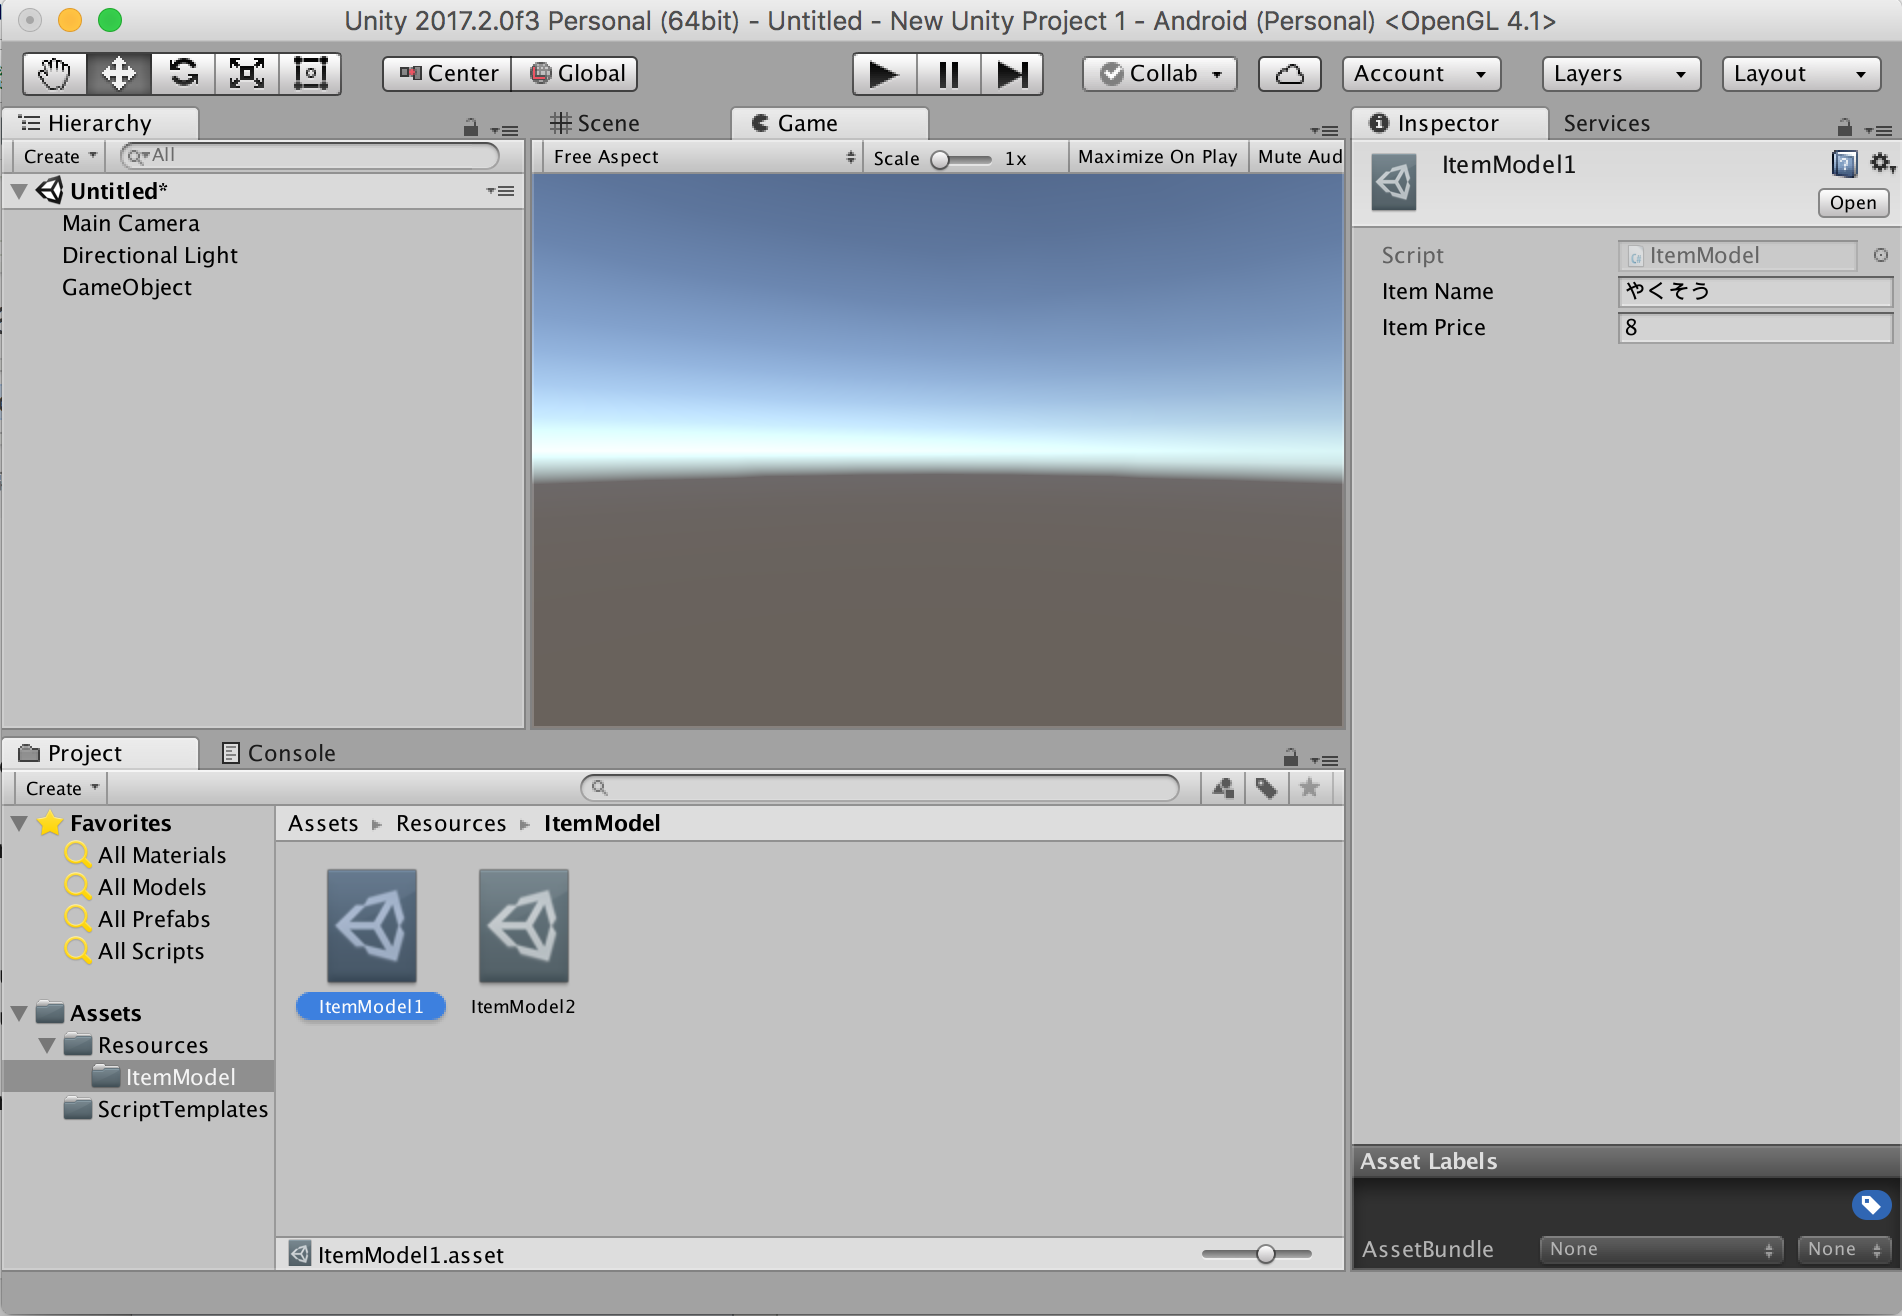
以下はResources.LoadしたScriptableObjectを実行時に書き換える例です。
ScriptableObject本体のコード
using UnityEngine;

[CreateAssetMenu(menuName="ScriptableObject/ItemModel")]
public class ItemModel : ScriptableObject
{
	public string itemName; //確認のため追加
	public int itemPrice; //確認のため追加
:
(以下同文)
:
}
呼び出し側のコード
using UnityEngine;

public class ShopPresenter : MonoBehaviour {
	void Start() {
		//Resources.Loadで取得したScriptableObjectを
		ItemModel itemModel = ItemModel.Load("ItemModel1");
		Debug.Log("name:" + itemModel.itemName);
		Debug.Log("price:" + itemModel.itemPrice);

		itemModel.itemPrice += 10; //書き換えるとどうなる?
	}
}
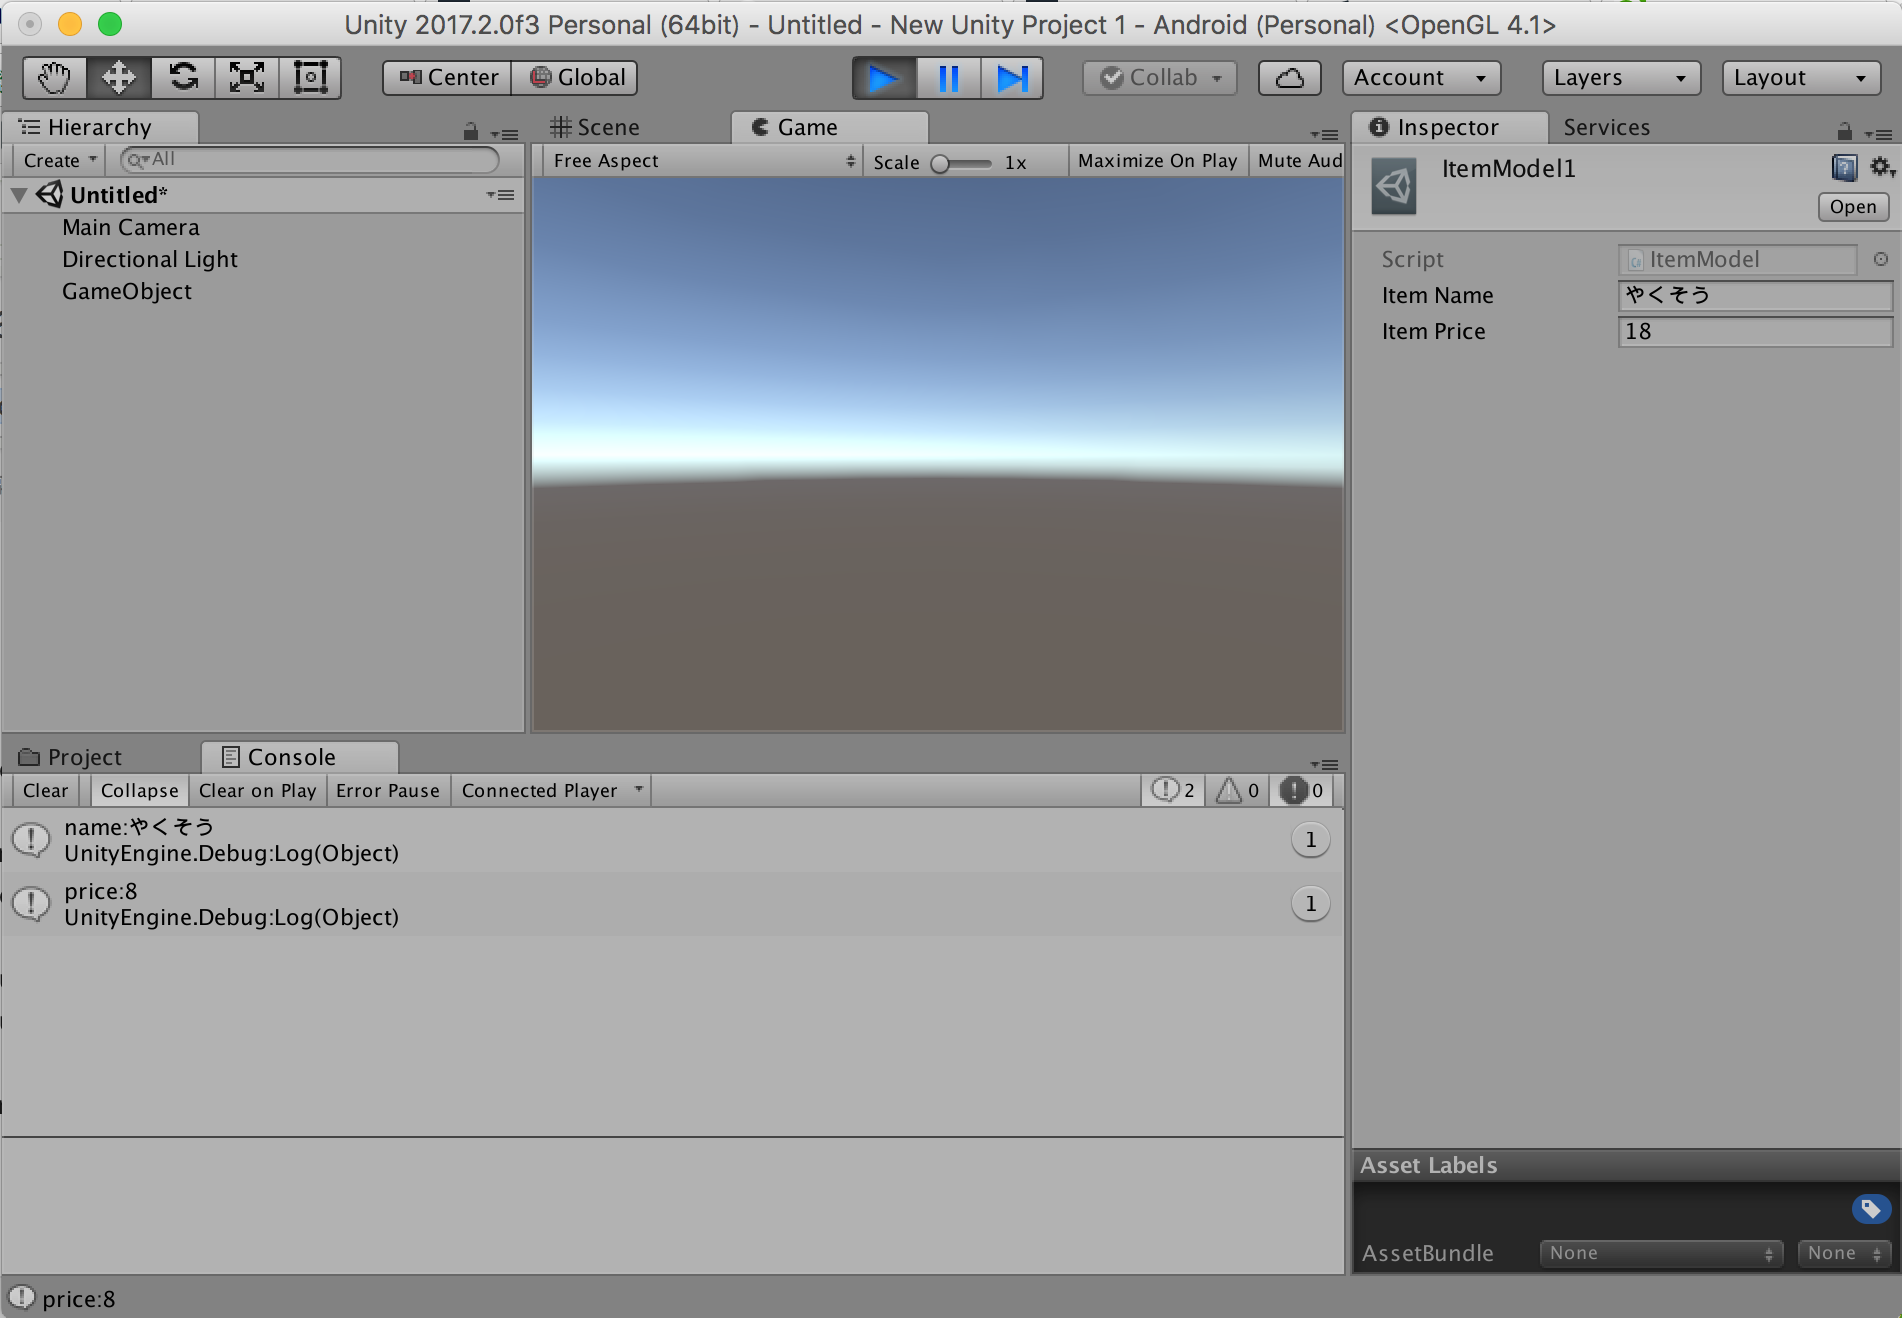
上記のコードは実行後に元のScriptableObjectが更新されます。
以下スクリーンショットです。
画面2 Resources.Load後、値を更新した際の実行後
(元ScriptableObjectのItem Priceが+10されてしまう)
上記のように元ScriptableObjectが更新されてしまうのは
Resource.Loadで取得したインスタンスと元ScriptableObjectのインスタンスが同一のためです。
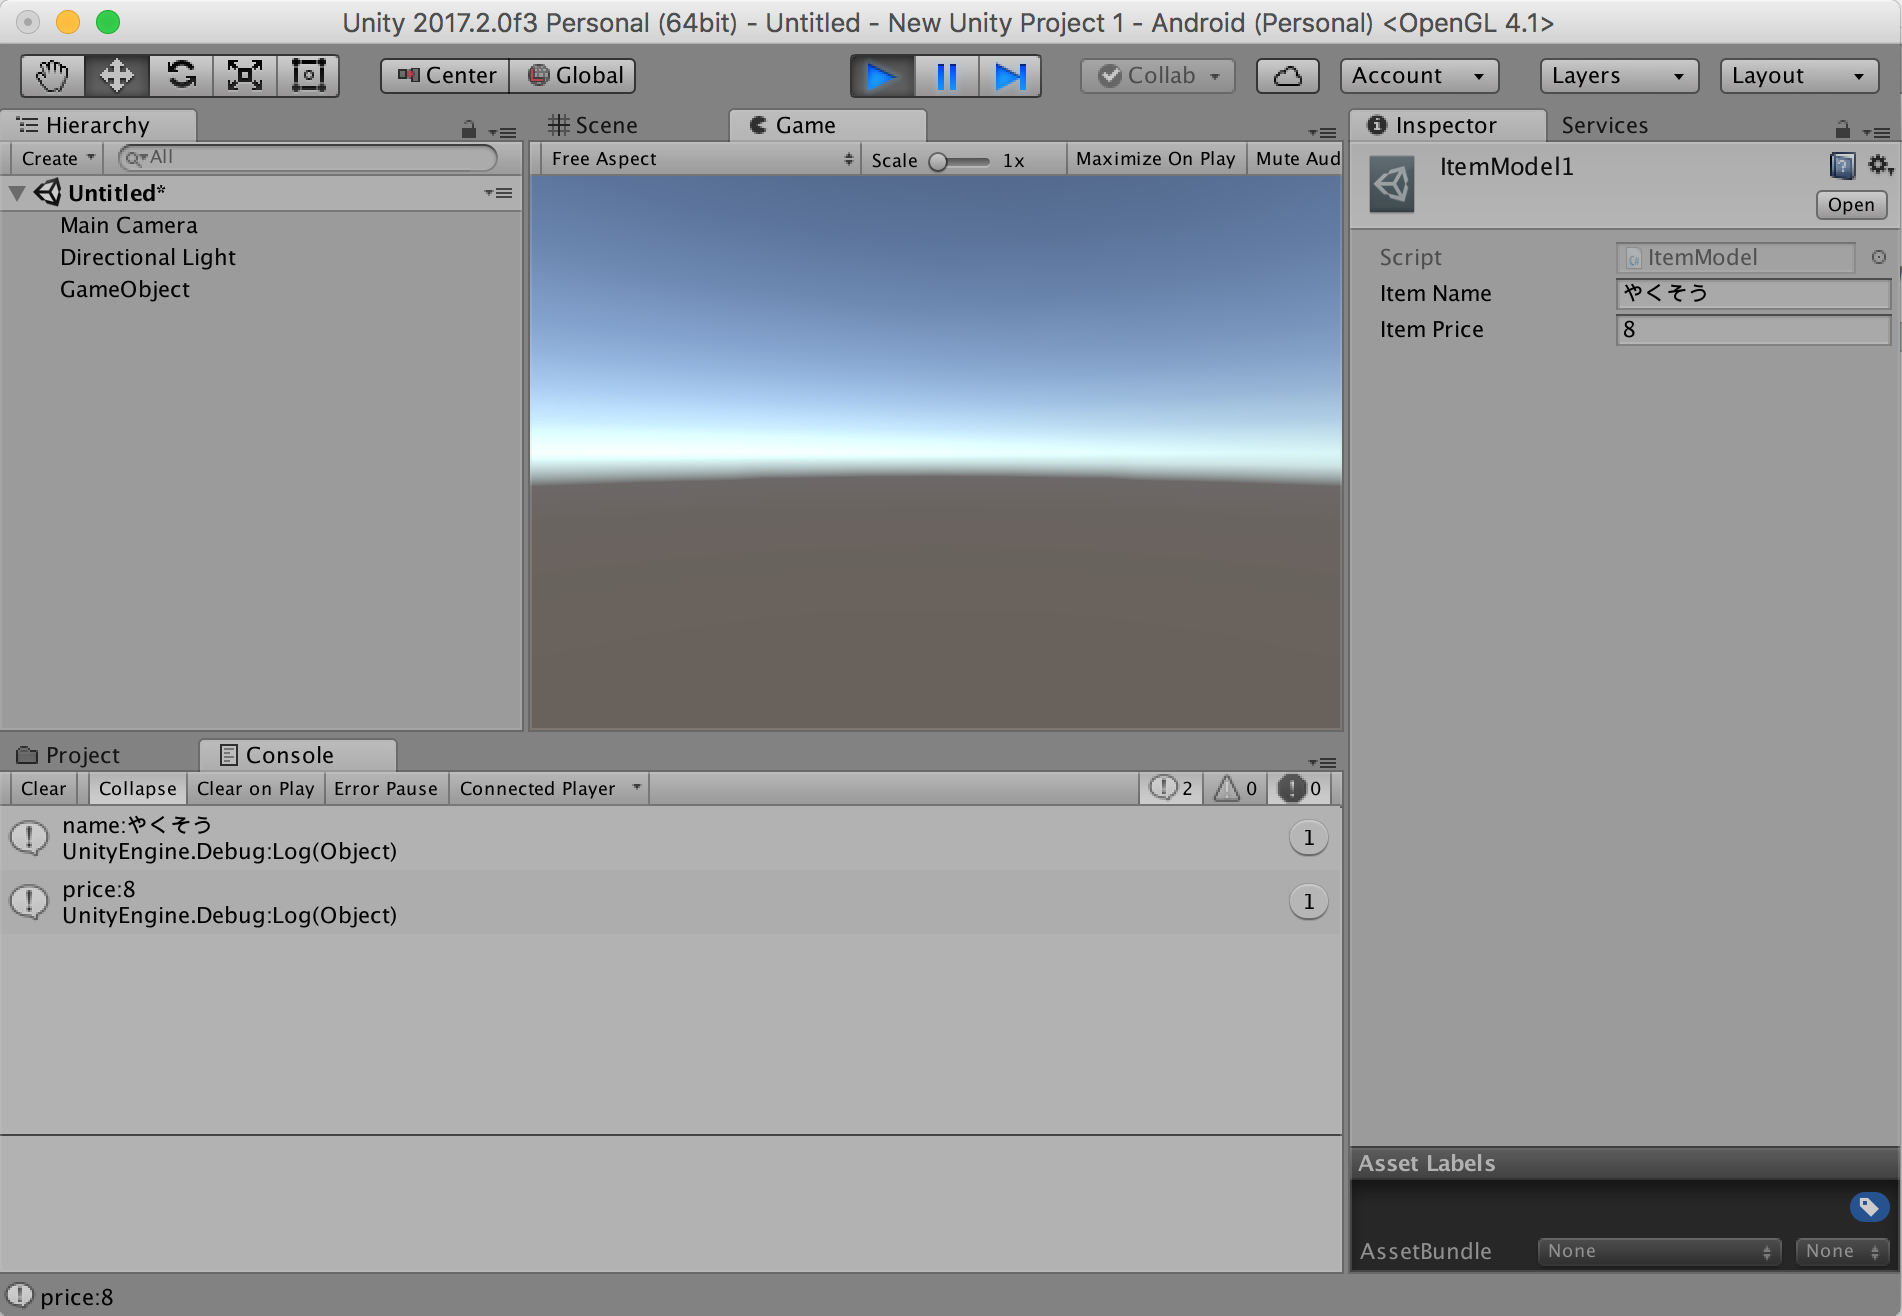
上記はObject.Instantiateによりインスタンスを別にすることによって防ぐことが出来ます。
このためテンプレートにもInstantiateを追加しています。
using UnityEngine;

public class ShopPresenter : MonoBehaviour {
	void Start() {
		//Instantiateでインスタンスを別にする
		ItemModel itemModel = ItemModel.Instantiate("ItemModel1");
		Debug.Log("name:" + itemModel.itemName);
		Debug.Log("price:" + itemModel.itemPrice);

		itemModel.itemPrice += 10; //書き換えても元は更新されない
	}
}
画面3 Instantiateで読み込みを行った例の実行後(Item Price変更なし)
つづく
ScriptableObjectのテンプレート作成方法とよく使う呼び出し方をかきました。
次の機会に実際の自分のScriptableObject活用例かきます。
予定
その2 設定ファイル編
その3 マスターデータ編
その4 Editor拡張編
