きっかけ
- プライベートで特定タイトルのメールからカレンダーの予定登録が必要だったから
- eg. ぐるなびでの飲食店予約など
構築Step
- 予定登録スクリプト作成、動作確認
- 定期実行設定
1. 予定登録スクリプト作成、動作確認
-
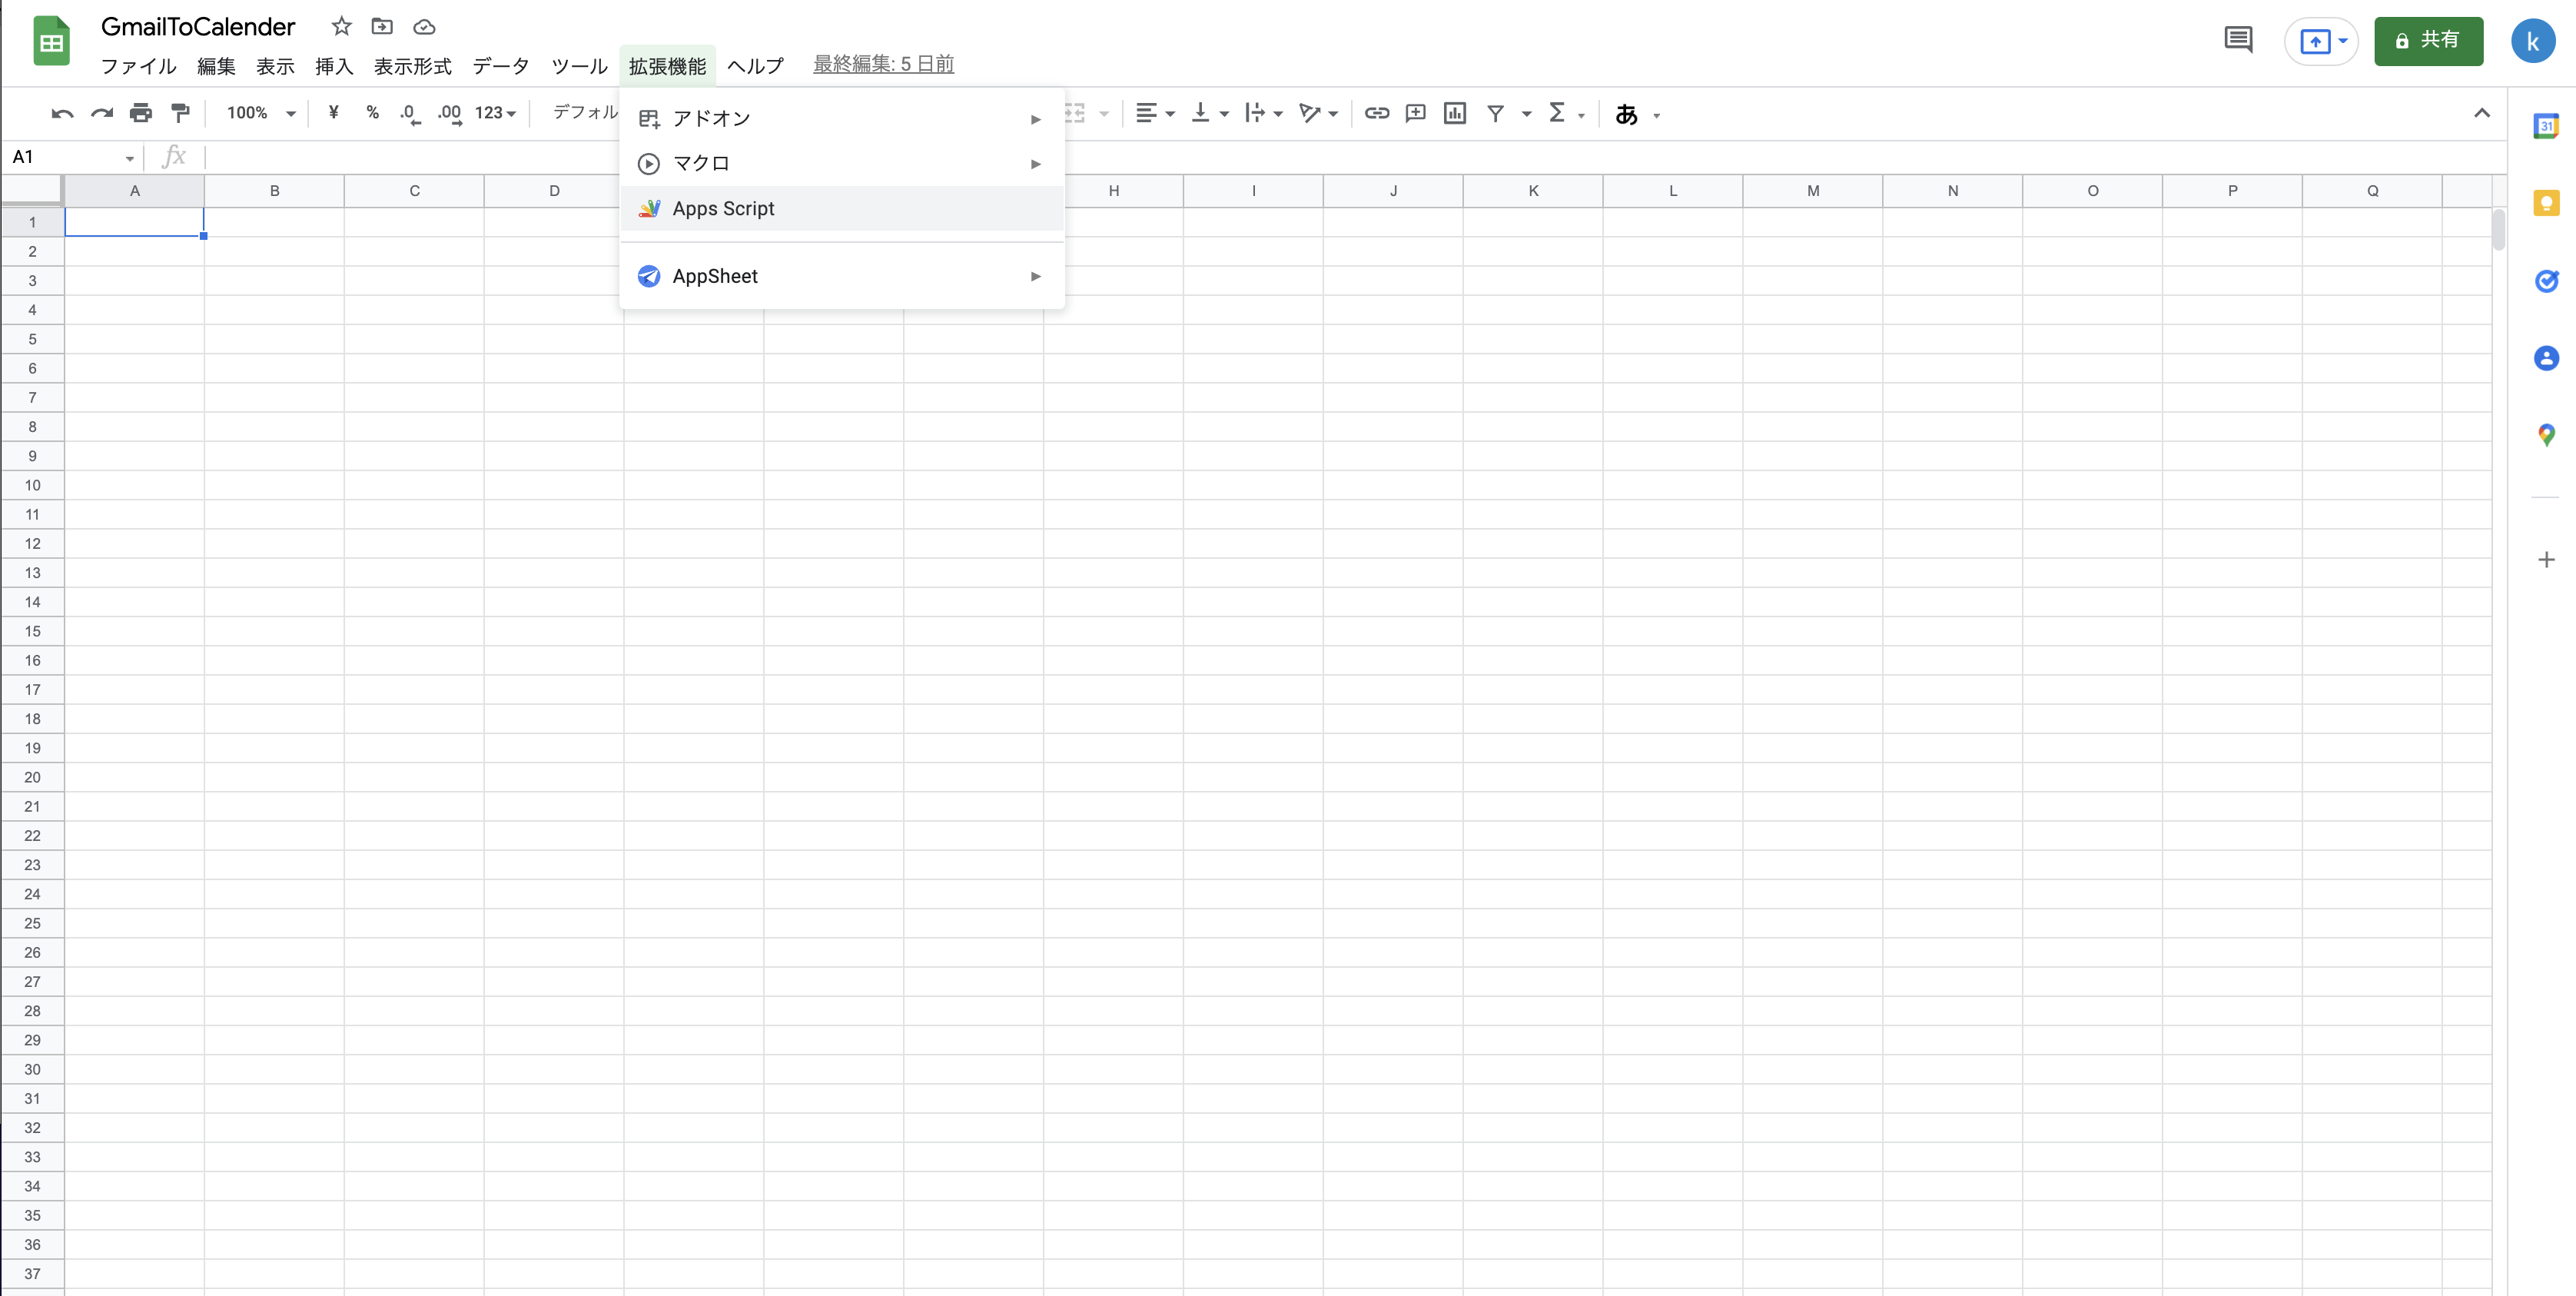
適当なGoogle SpreadSheetを作成し、拡張機能からApps Scriptを選択
-
コード.gsに以下コードを記載
-
文字列を定義。Query文字列を元にメールボックスからメールを取得する。また、datePrefixは本文から日付部分を抽出する際に使用。
コード.gs 定数
const QUERY = 'subject:XXX';
const datePrefix = "日時:";
- 実行部。メールボックスを検索、メール取得した後、本文をパースし、カレンダー登録を行う。
コード.gs 実行部
function main() {
  pickUpMessage(QUERY, function (message) {
    parseMessage(message);
  });
}
- メール取得関数。query文字列を含む件名のメールを10件取得し(必要に応じて修正)、本文を返却する。
コード.gs メール取得
function getMail(query) {
  var threads = GmailApp.search(query, 0, 10);
  return GmailApp.getMessagesForThreads(threads);
}
- メール抽出関数。getMail関数の返り値で、星フラグがないものは本文パース関数にコールバック。処理後、星フラグを付与する。
コード.gs メール抽出
function pickUpMessage(query, callback) {
  const messages = getMail(query);

  for (var i in messages) {
    for (var j in messages[i]) {
      const message = messages[i][j];

      if (message.isStarred()) break;

      callback(message);

      message.star()
    }
  }
}
- メッセージパース関数。メール本文を正規表現で日付部分を抽出、日付部分をそれぞれパースし格納、createEventに渡す。
- 書式例) 日時:2022-01-22 10:00:00 ~ 2022-01-22 11:00:00
- X時からY時のような場合は、分秒を0で固定
コード.gs メッセージパース関数
function parseMessage(message) {
  const strDate = message.getDate();
  const strMessage = message.getPlainBody();

  const regexp = RegExp(datePrefix + '.*', 'gi');

  const result = strMessage.match(regexp);
  console.log(result)

  if (result == null) {
    console.log("This message doesn't have info.");
    return;
  }
  const baseStr = result[0].replace(datePrefix, '');
  console.log(baseStr)

  const year = baseStr.match(/[0-9]{4}-/gi)[0].replace('-', '');
  const month = baseStr.match(/[0-9]{2}-/gi)[1].replace('-', '');
  const dayOfMonth = baseStr.match(/[0-9]{2}/gi)[3].replace(' ', '');
  const startTimeHour = baseStr.match(/[0-9]{2}:/gi)[0].replace(':', '');
  const startTimeMinute = baseStr.match(/[0-9]{2}:/gi)[1].replace(':', '');
  const endTimeHour = baseStr.match(/[0-9]{2}:/gi)[2].replace(':', '');
  const endTimeMinute = baseStr.match(/[0-9]{2}:/gi)[3].replace(':', '');

  createEvent("予定", year, month, dayOfMonth, startTimeHour, startTimeMinute, endTimeHour, endTimeMinute);

}
- カレンダーイベント登録関数。カレンダーIDで指定したカレンダーに予定を登録する。
- 実行アカウントのカレンダーのみ対応
コード.gs カレンダーイベント登録関数
function createEvent(title, year, month, dayOfMonth,
  startTimeHour, startTimeMinutes, endTimeHour, endTimeMinutes) {

  const calendar = CalendarApp.getCalendarById(カレンダーID);
  const startTime = new Date(year, month - 1, dayOfMonth, startTimeHour, startTimeMinutes, 0);
  console.log(startTime)
  const endTime = new Date(year, month - 1, dayOfMonth, endTimeHour, endTimeMinutes, 0);
  console.log(endTime)

  const resultEvent = calendar.createEvent(title, startTime, endTime);
}
-
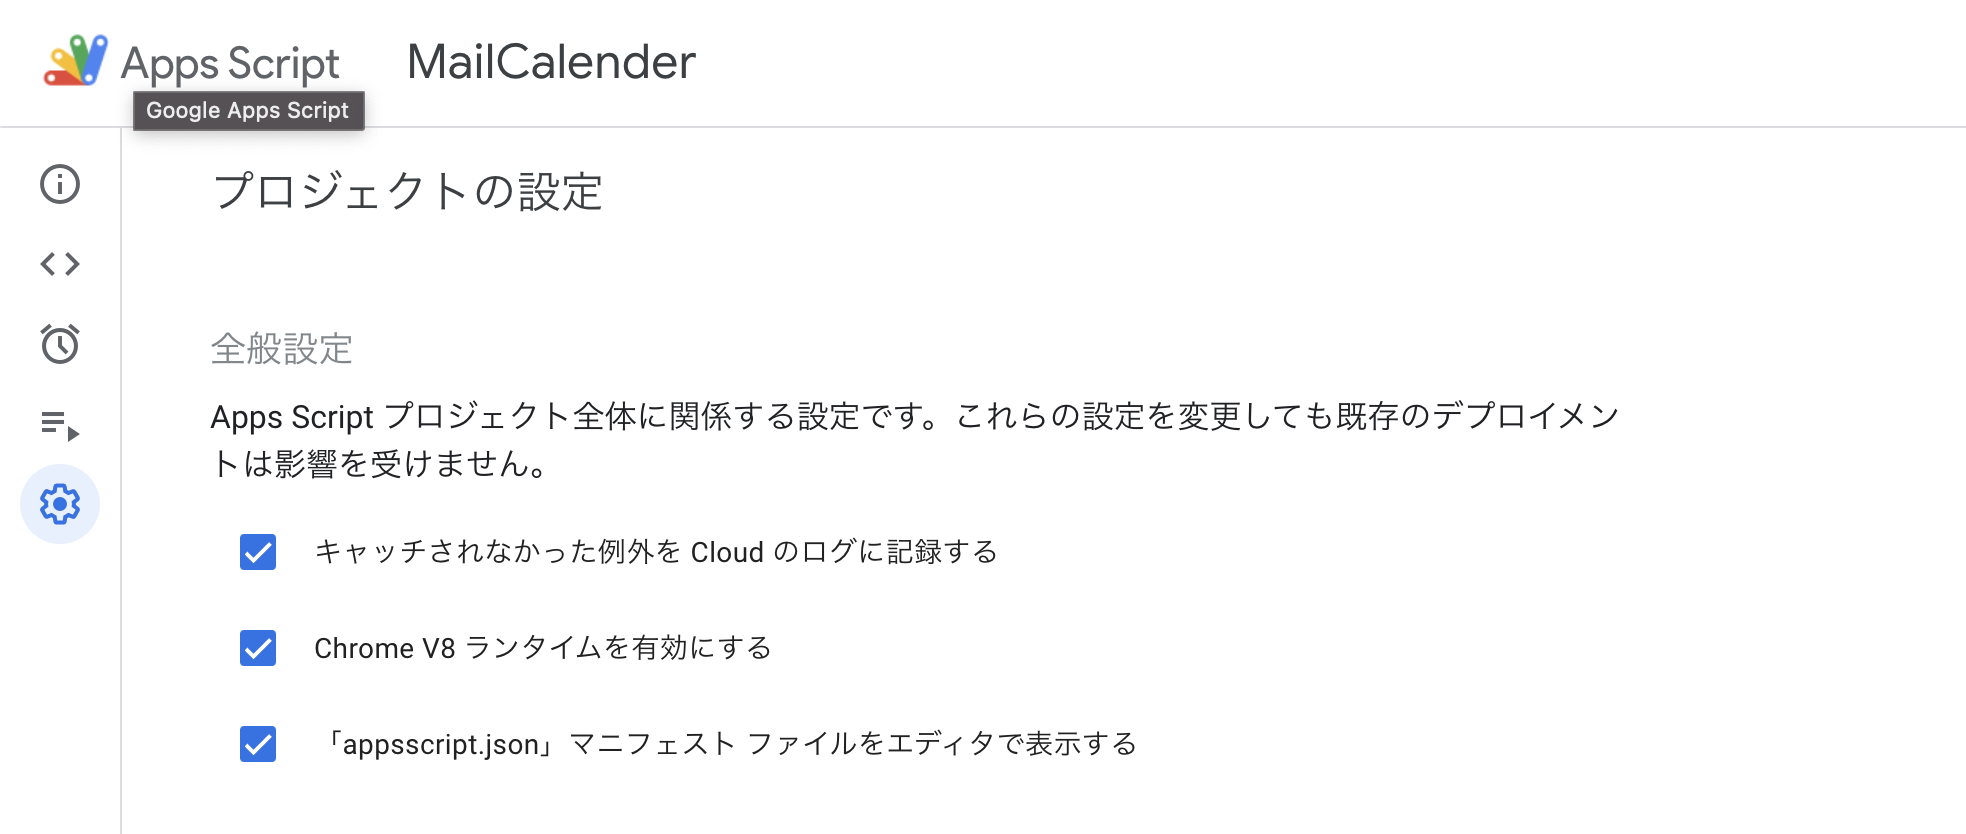
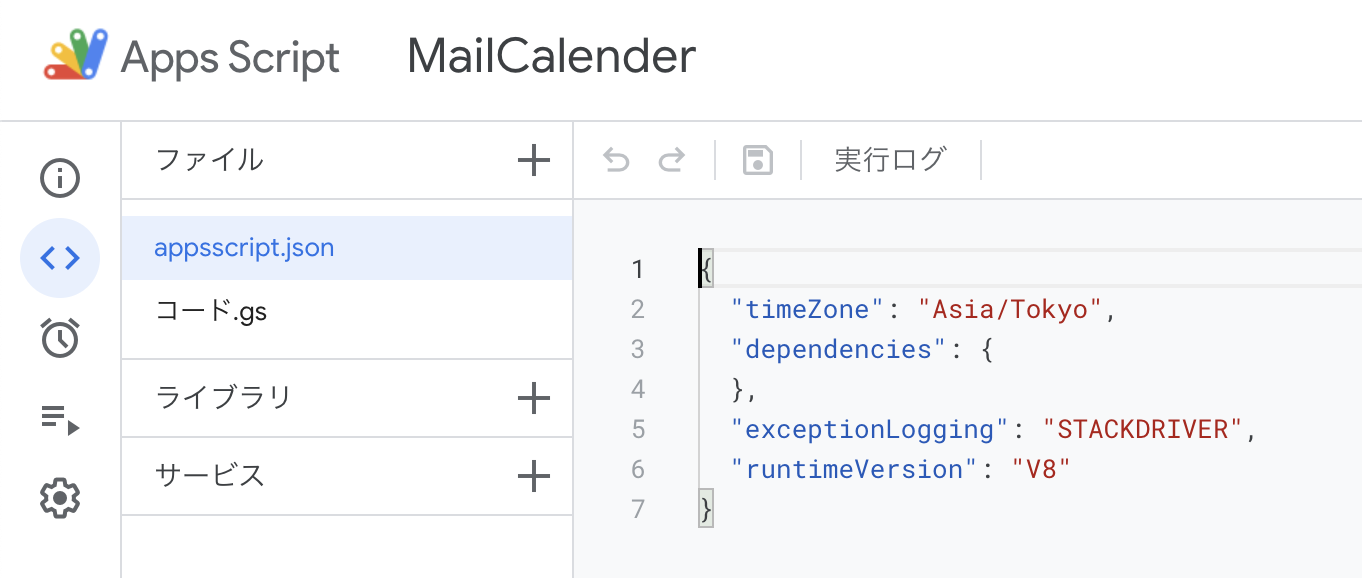
プロジェクトの設定からappscript.jsonを表示
-
timezoneをAsia/Tokyoに修正
-
コード.gsを開いて、実行を押下、正常終了することを確認
2. 定期実行設定
-
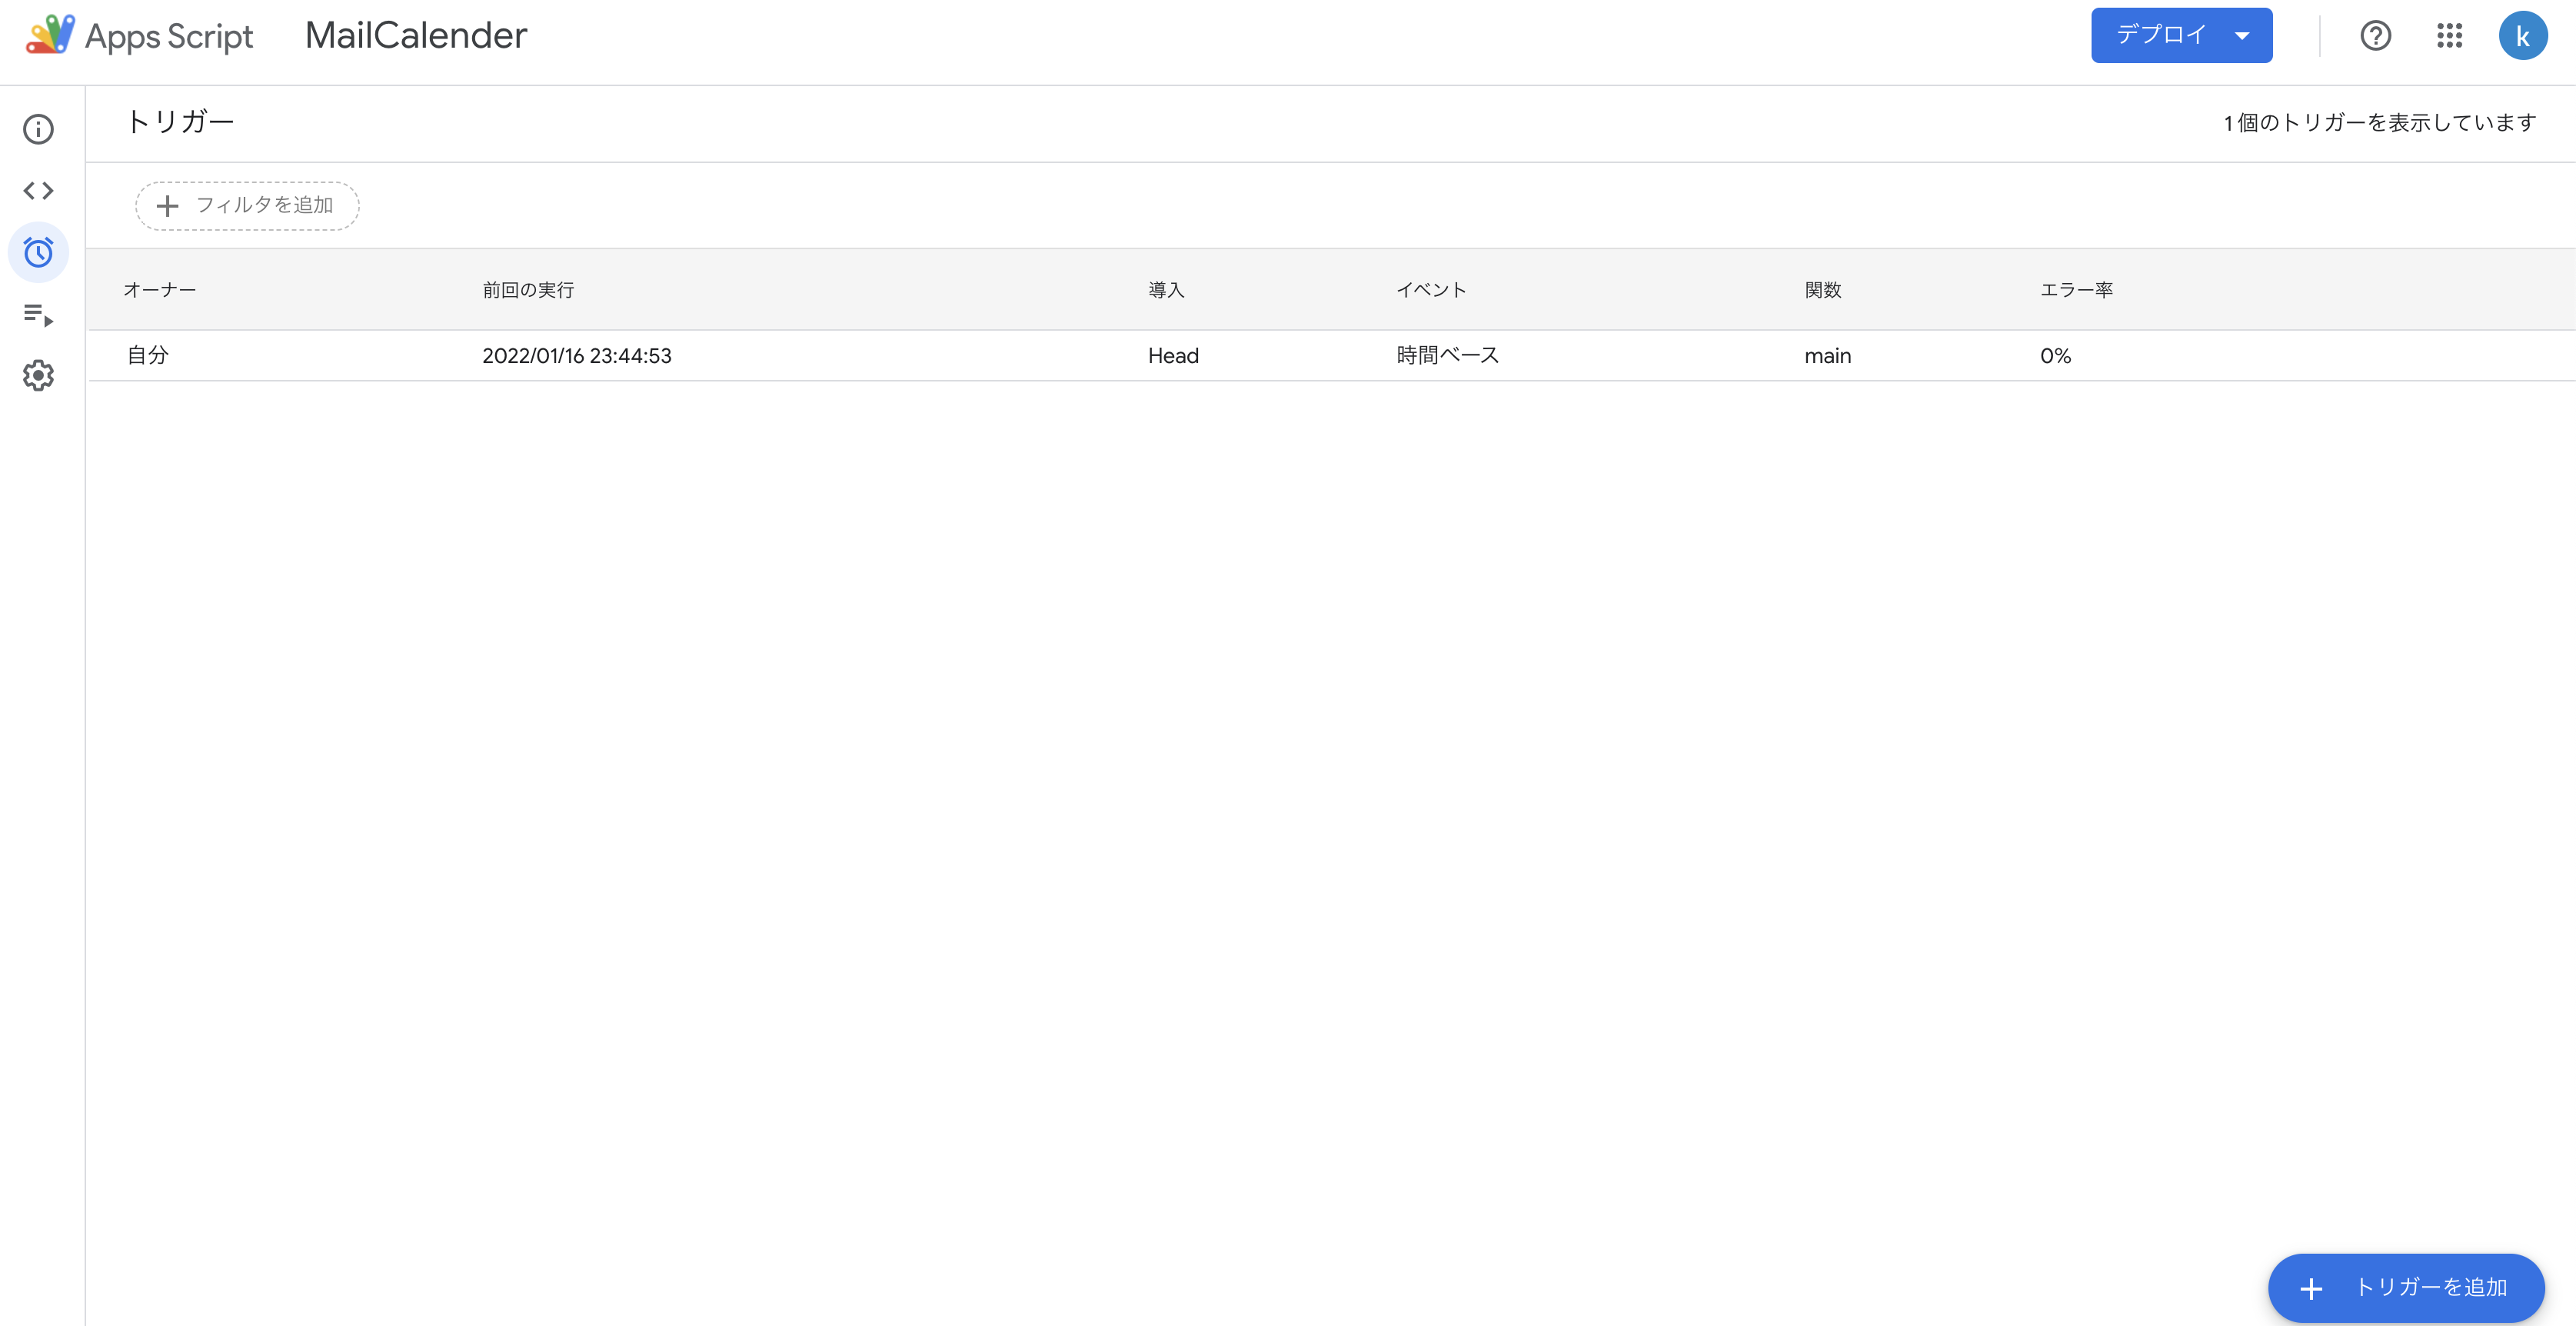
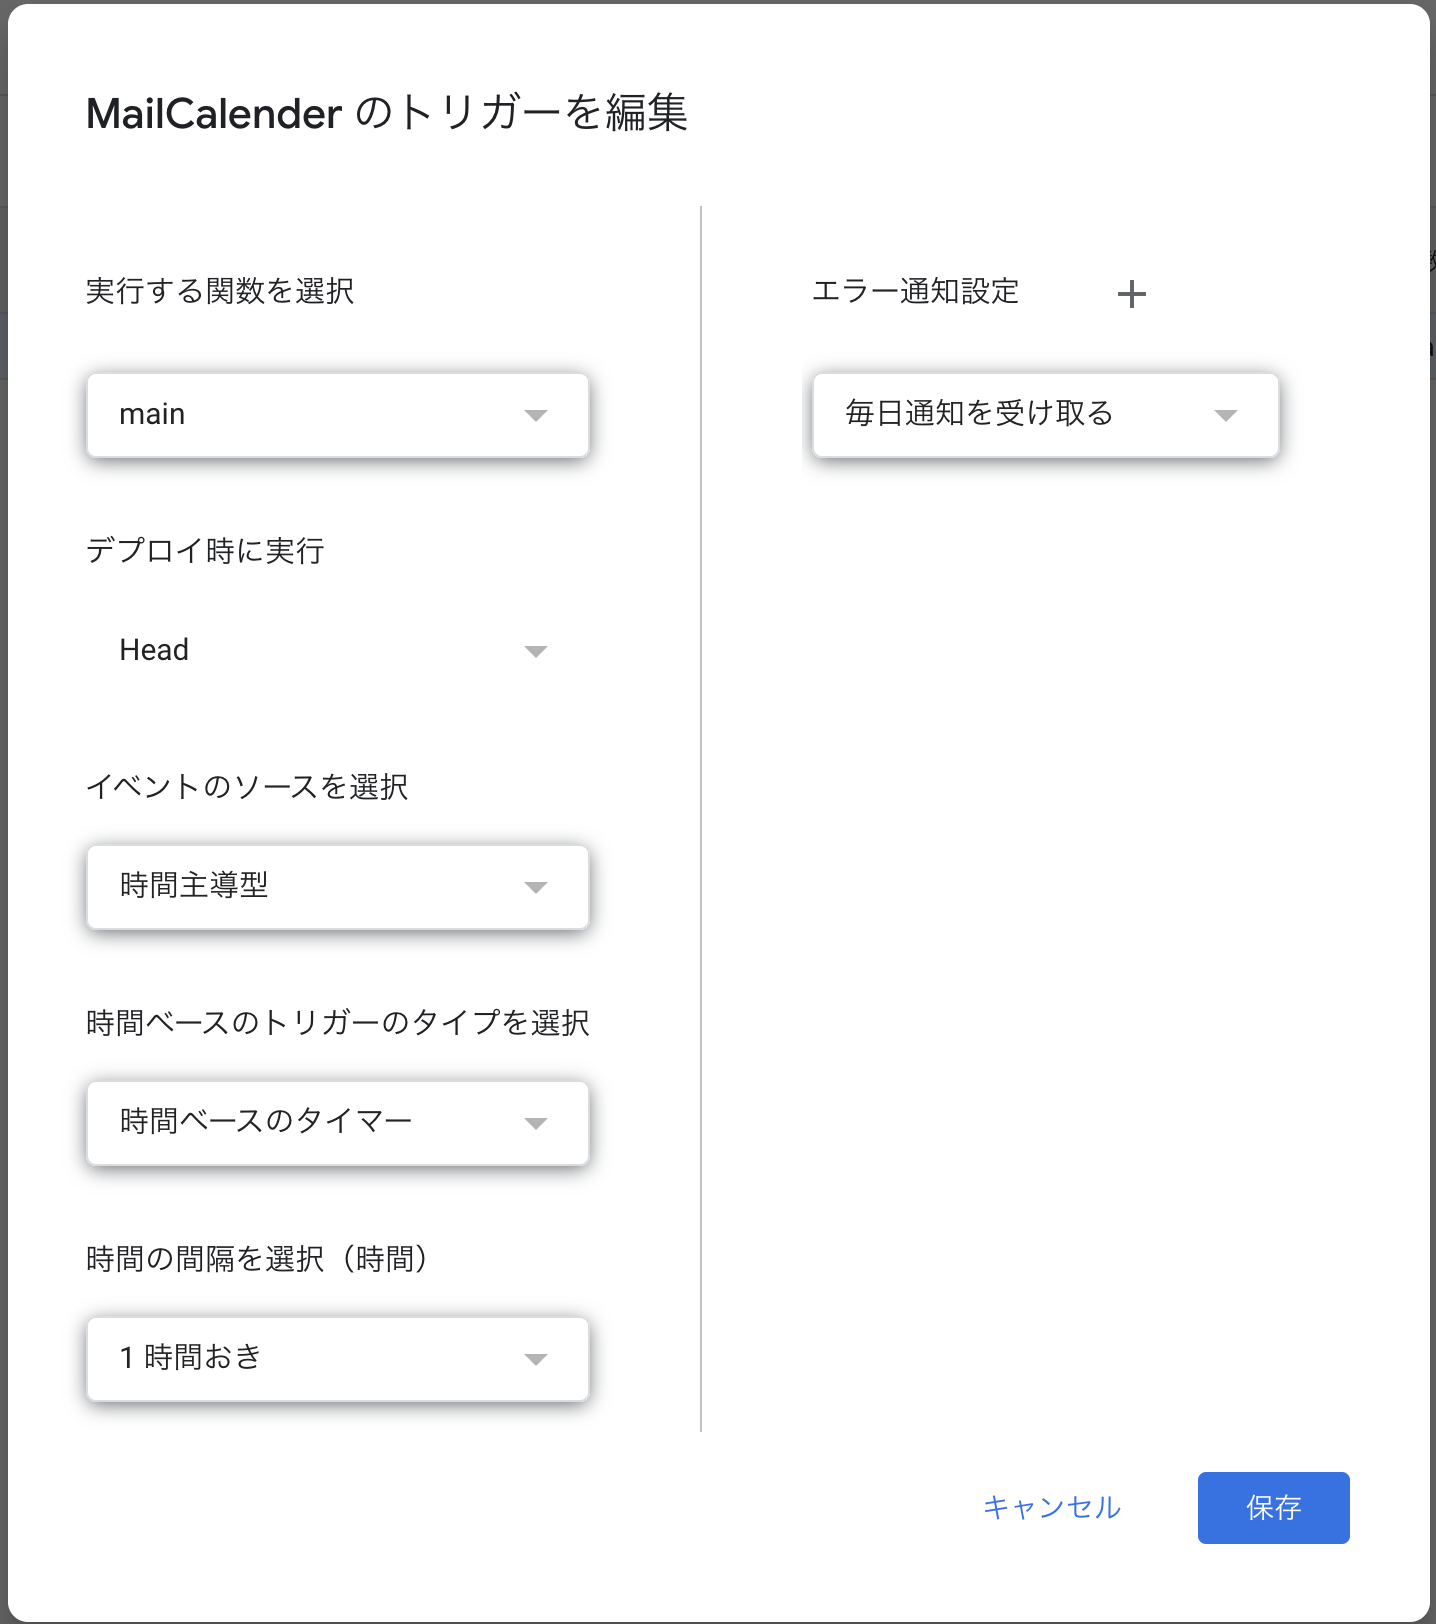
画面左の時計アイコンからトリガー画面に遷移。トリガーを追加を押下。
-
以下画像の内容でトリガーを設定
- 時間間隔は要調整
- 時間間隔は要調整
-
時間を空けて、画面左のリストアイコンから自動実行されていることを確認
参考URL