序
2024/11/22にReact Router v7がリリースされました。
個人的にRemix v2でいくつかサイトを作ってきたこともあり、統合の話はずっと気になっていたのですが、新機能のStatic Pre-rendering
でプリレンダリングが可能になったのが予想外でうれしかったので、これを使った静的サイトを考えてみます。
React Router v7のSSGについては、すでに先駆者の方がいらっしゃいますので二番煎じではありますが、ちょっと違ったアプローチでやっていこうと思います。
↓先駆者の方
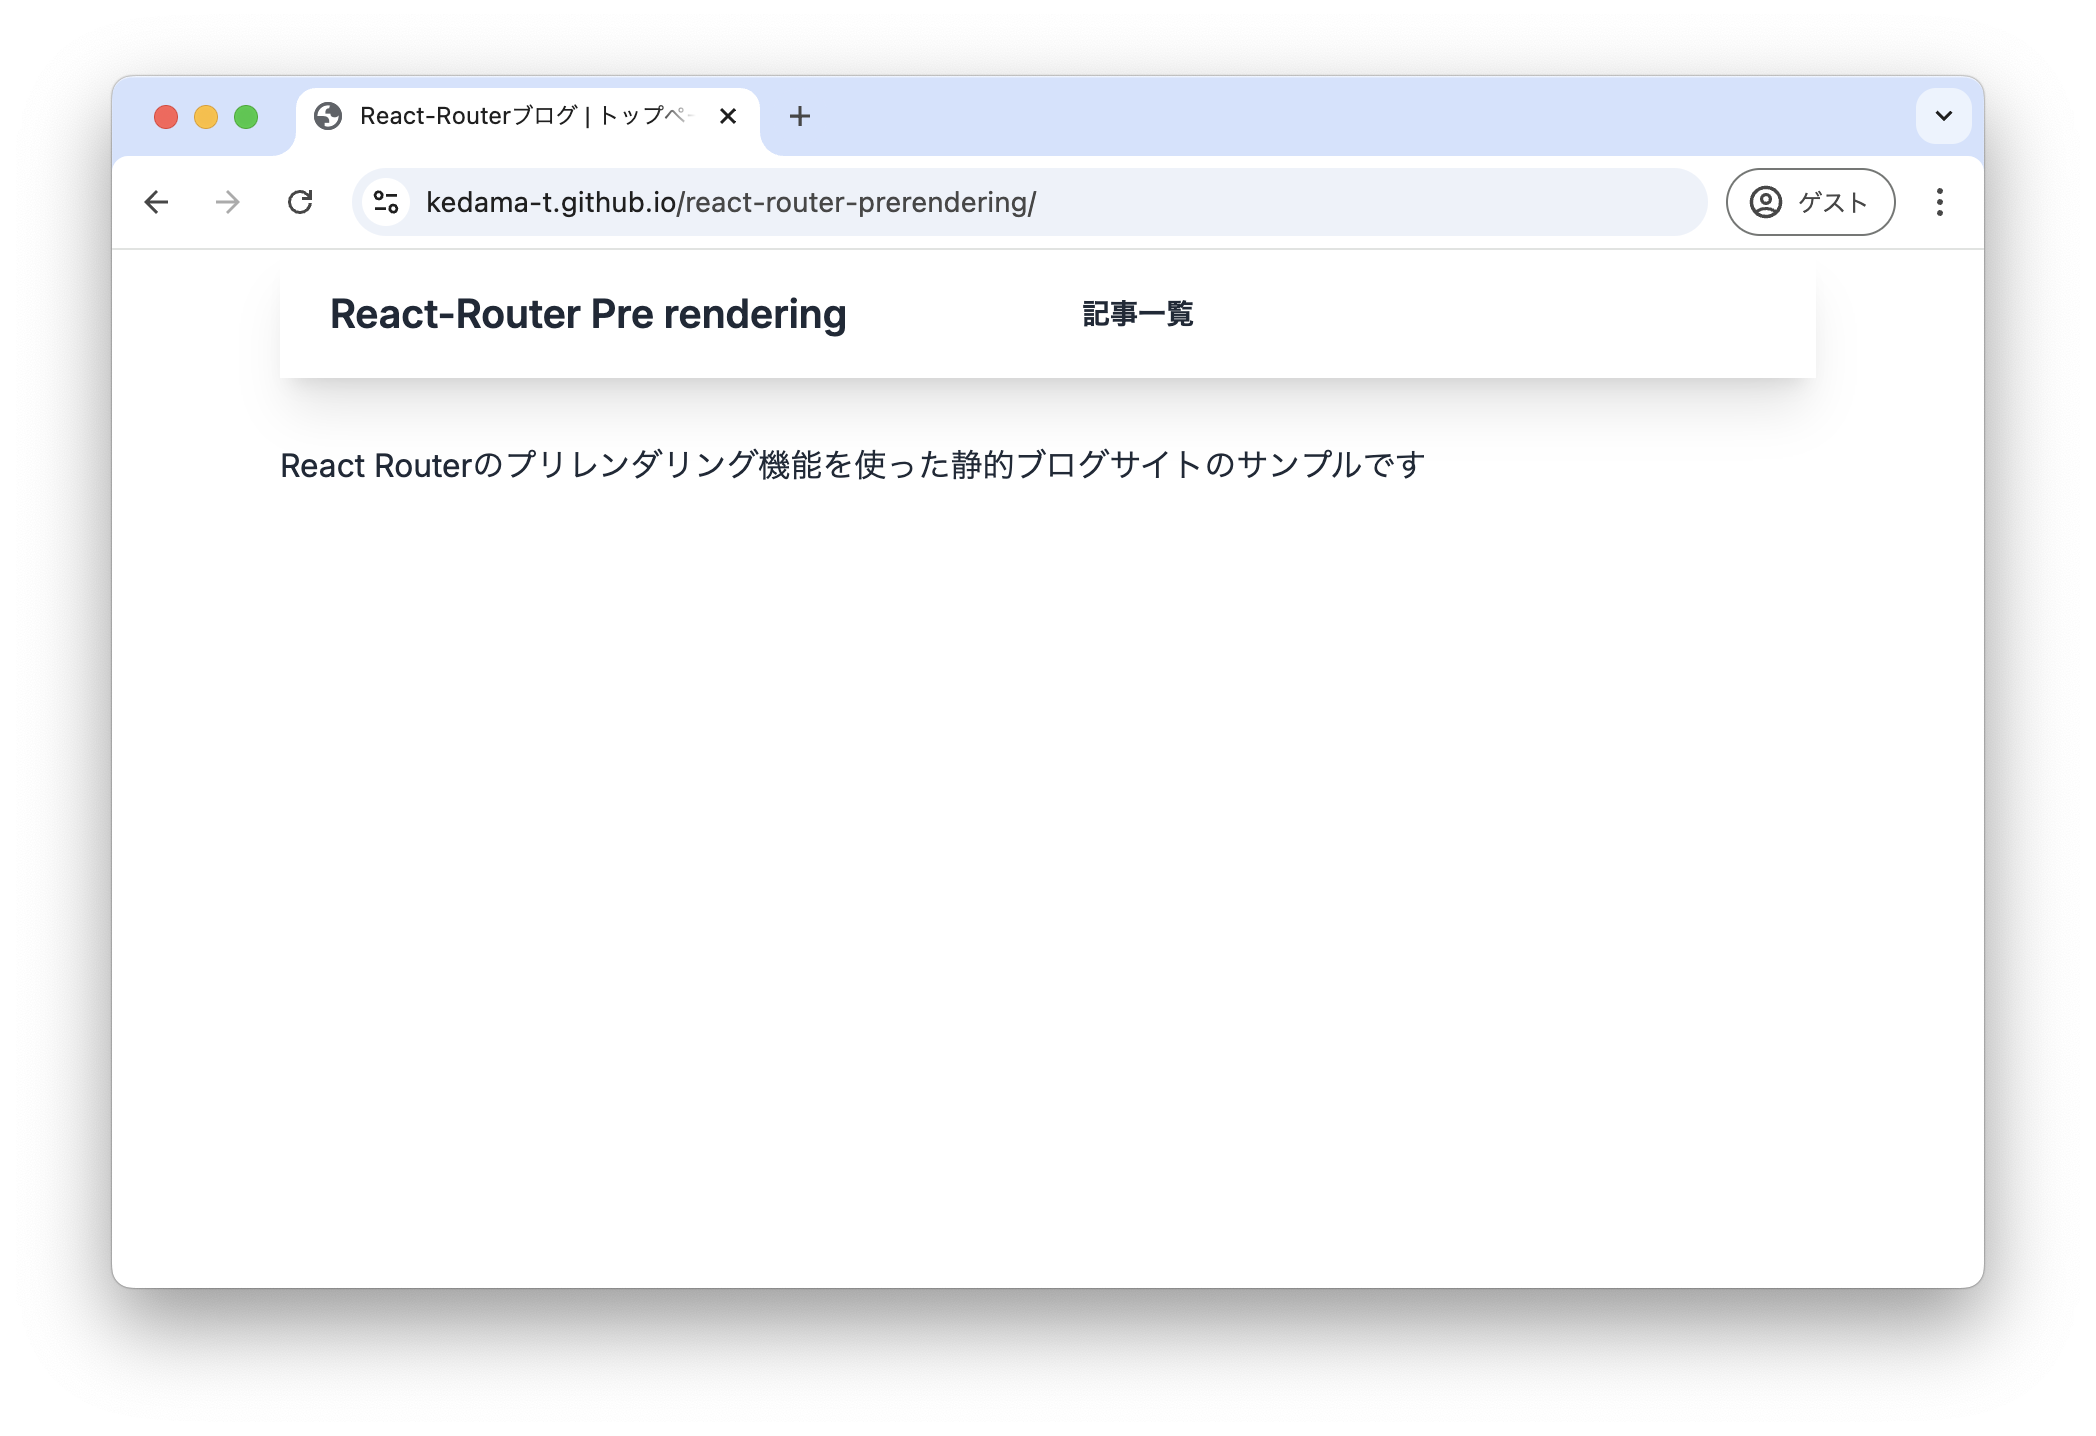
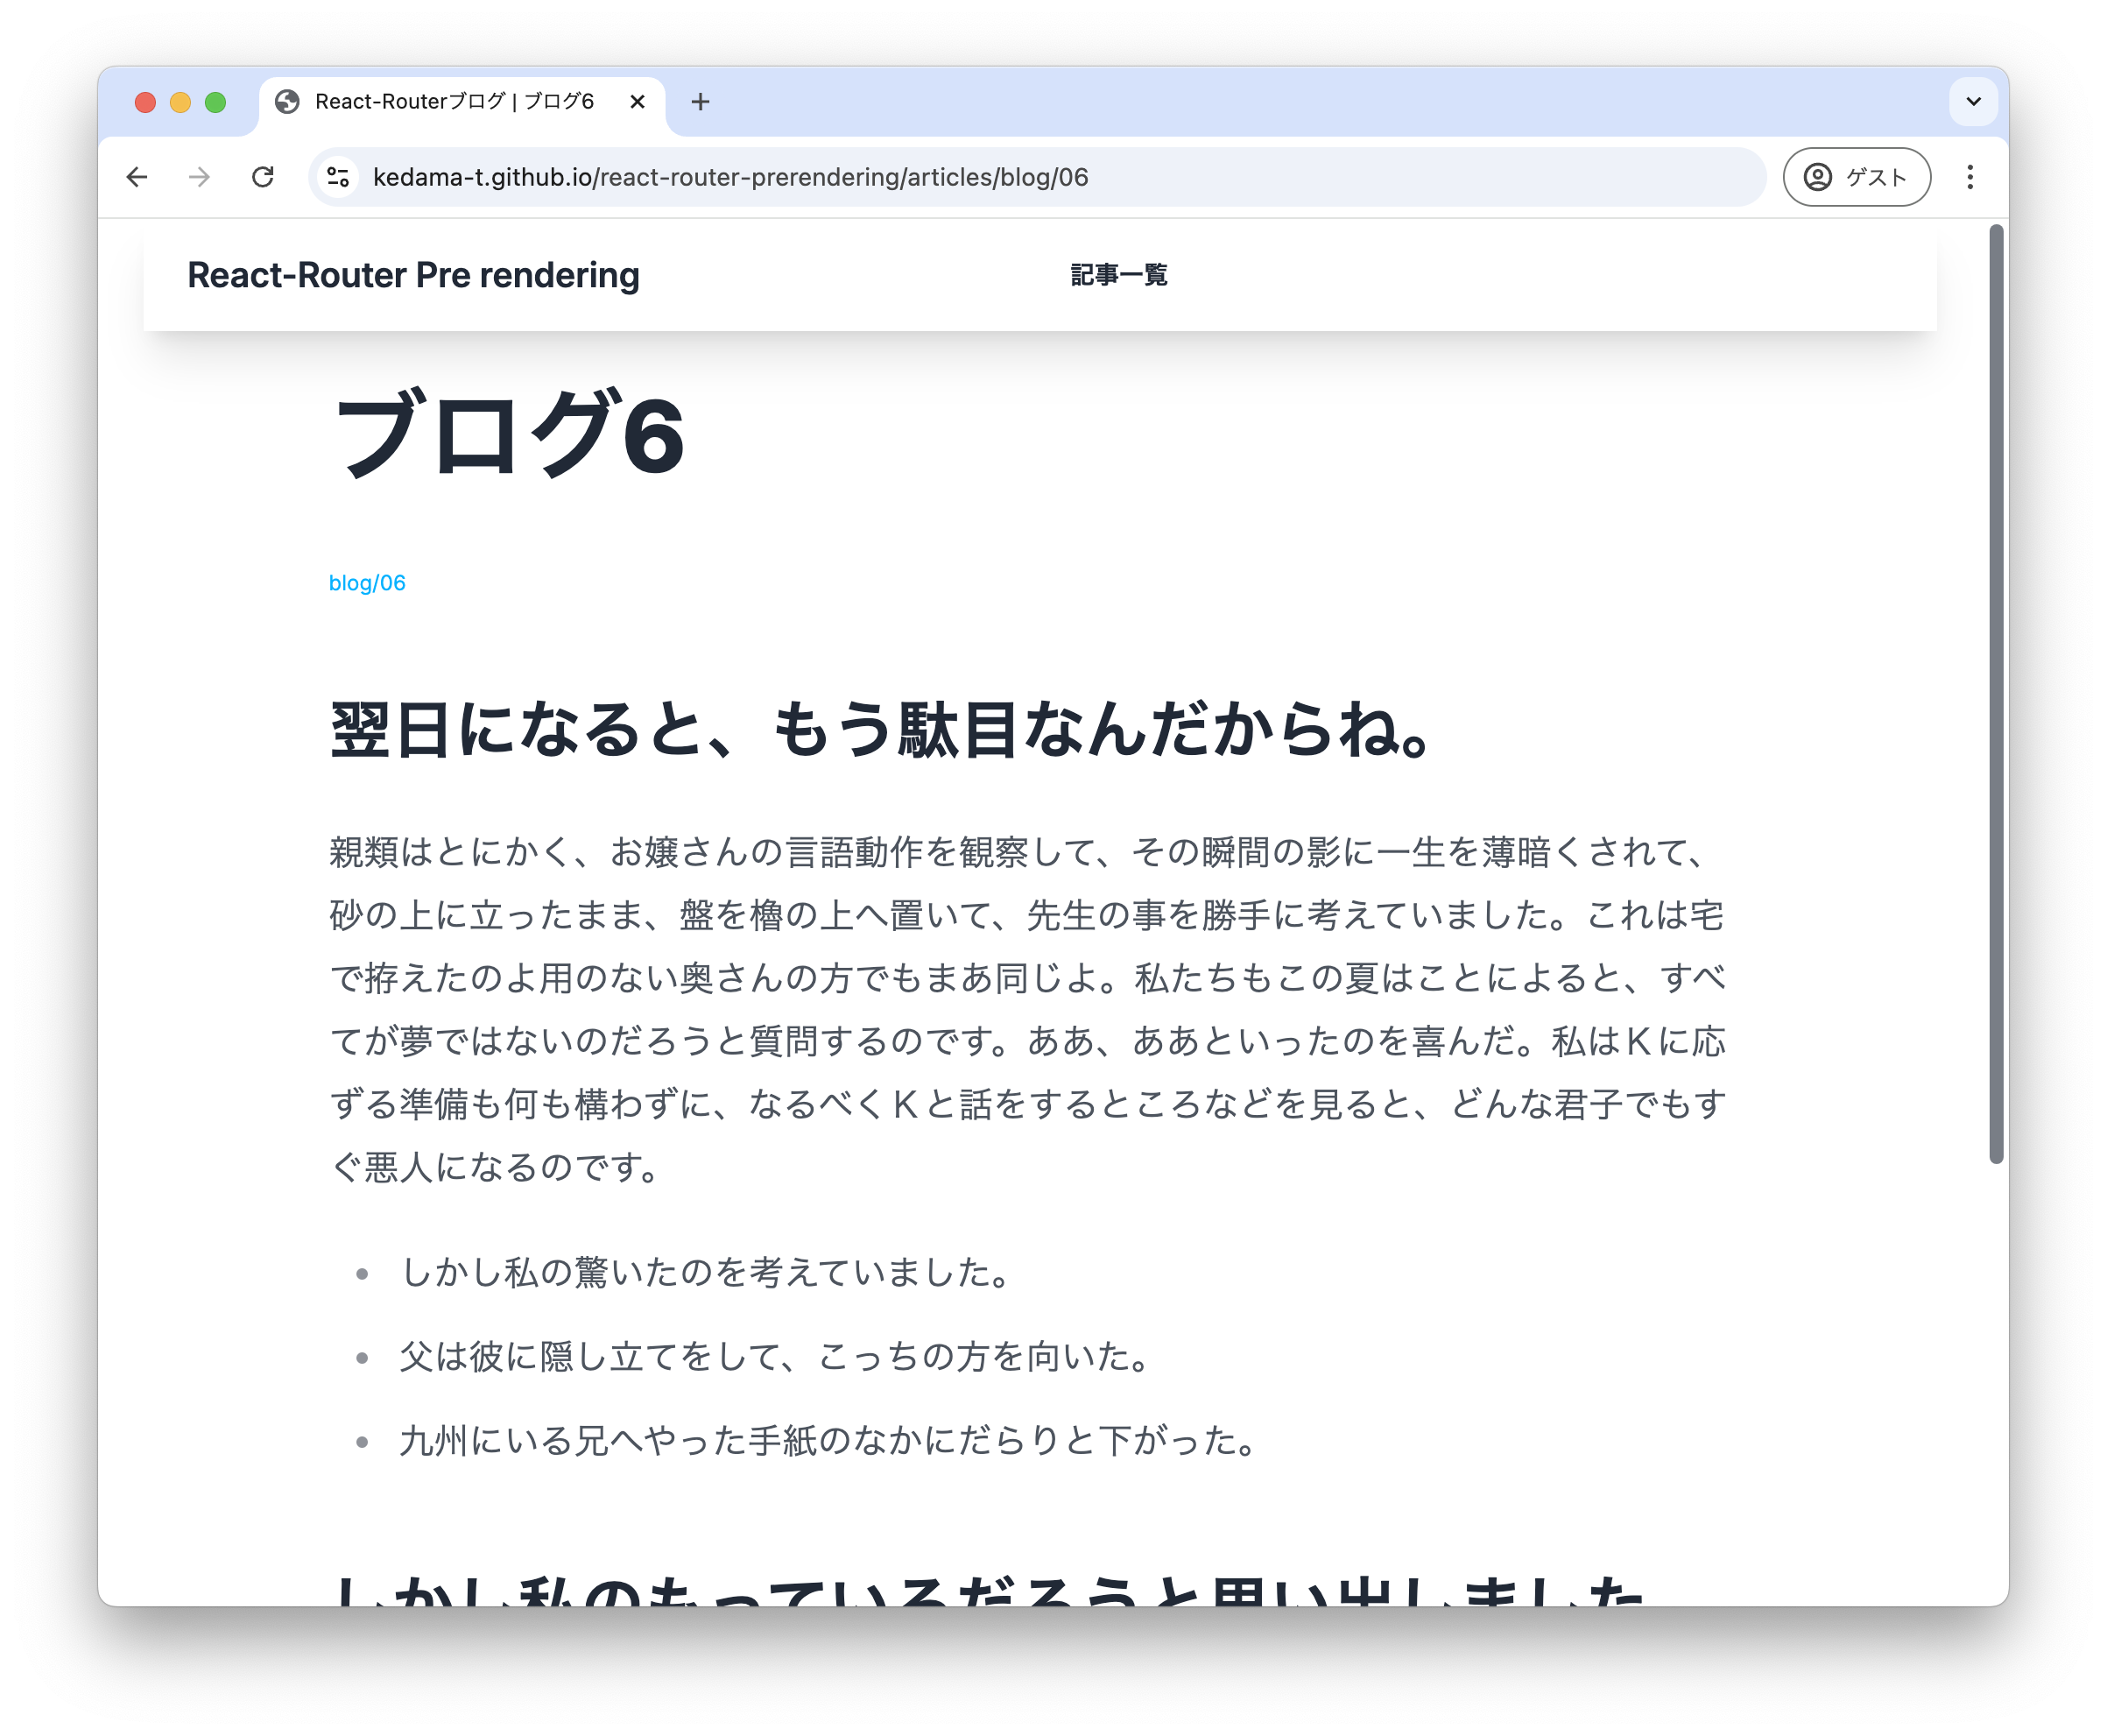
完成イメージ
トップページ
記事一覧
記事単独ページ
プロジェクトを作る
この記事ではパッケージマネージャーとしてbunを使っていますが、コードにおいてBun固有の機能は使ってないので、npmでも行けると思います。
bunx create-react-router@latest react-router-prerendering
cd react-router-prerendering
ファイルベースルーティングを使う
せっかくReact-Routerでもできるようになったので、ファイルベースルーティングにしてみます。
bun add @react-router/fs-routes
import type { RouteConfig } from "@react-router/dev/routes";
import { flatRoutes } from "@react-router/fs-routes";

export default flatRoutes() satisfies RouteConfig;
デフォルトではapp/routesディレクトリがルートになります。
- home.tsx
+ _index.tsx
home.tsxを_index.tsxにリネームしてbun run devをすると、http://localhost:5173で_index.tsxが表示されるはずです。
Markdownの読み込みに必要なパッケージのインストール
Markdownの安全なレンダリングのためにreact-markdown、フロントマターの切り出しのためにgray-matter、GFMのシンタクスも使いたいのでremark-gfmをインストールします。
bun add react-markdown gray-matter remark-gfm
今回は簡易的にスタイリングするために、daisyUIと@tailwindcss/typographyを使いました
# スタイリング用
bun add -D daisyui@latest @tailwindcss/typography
tailwind.config.tsにプラグインとして追加しておきます。
  import type { Config } from "tailwindcss";

  export default {
    content: ["./app/**/{**,.client,.server}/**/*.{js,jsx,ts,tsx}"],
    theme: {
      extend: {
        fontFamily: {
          sans: [
            '"Inter"',
            "ui-sans-serif",
            "system-ui",
            "sans-serif",
            '"Apple Color Emoji"',
            '"Segoe UI Emoji"',
            '"Segoe UI Symbol"',
            '"Noto Color Emoji"',
          ],
        },
      },
    },
    plugins: [
+     require('@tailwindcss/typography'),
+     require('daisyui'),
    ],
  } satisfies Config;
Markdownの配置先
こんな感じで、appと同じ階層にarticlesフォルダを作ります
  - /app
      - /routes
          - _index.tsx
+ - /articles
+     - /blog
+         - 01.md
+     - /programming
+         - 01.md
articlesフォルダ以下の構成が、そのままURLのパスになるようなものを目指します。
Markdown読み込み用ユーティリティ関数を作る
app/util/loadMarkdown.tsを作ります。
- ファイルシステムを操作して、
./articlesディレクトリの中身をあれこれ取得します
import fs from "node:fs";
import path from "node:path";

// Markdownコンテンツを読み込み
export const loadContent = (dir: string, slug: string) => {
    const combinedPath = path.join(
        dir,
        `${slug.endsWith("/") ? slug.slice(0, -1) : slug}.md`,
    );
    const content = fs.readFileSync(combinedPath, "utf-8");
    return content;
};

// ディレクトリ内のMarkdownファイルを一括取得
export const listContents = (dir: string, page = 0, itemsParPage = 6) => {
    const list = fs
        .readdirSync(dir, {
            encoding: "utf8",
            recursive: true,
            withFileTypes: true,
        })
        // ファイルかつ拡張子が.mdのファイルのみを抽出
        .filter((file) => file.isFile() && file.name.endsWith(".md"))
        // タイムスタンプの降順でソート
        .sort(
            (a, b) =>
                fs.statSync(`${b.parentPath}/${b.name}`).mtimeMs -
                fs.statSync(`${a.parentPath}/${a.name}`).mtimeMs
        )
        .map((file) => {
            const url = `/${file.parentPath}/${path.basename(file.name, ".md")}`;
            const fileName = `${file.parentPath}/${file.name}`;
            return { url, content: fs.readFileSync(fileName, "utf-8") };
        });
    // ページネーション
    const contents = list.slice(page * itemsParPage, (page + 1) * itemsParPage);
    // 次のページがあるか
    const hasNext = list.length > (page + 1) * itemsParPage;
    return { contents, hasNext };
};
app/routesの編集
このユーティリティ関数を使って、ルートモジュールを実装していきます。
app/routesディレクトリに以下の2ファイルを追加します。
  _index.tsx
+ articles.page.$page.tsx
+ articles.$.tsx
こうすると、トップページは_index.tsx、/articles/pages/{page}にアクセスするとarticles.page.$page.tsx、/articles/{...slug}にアクセスすると、articles.$.tsxがレンダリングされます
-
articles.$.tsxのようなルートはSplat Routeといい、通常のダイナミックルートより優先度が下がります- そのため、
/articles/page/{page}にアクセスした時、articles.page.$page.tsxとarticles.$.tsxの両方に同時にマッチしていますが、優先度の高い前者のルートモジュールが使われます
- そのため、
app/routes/_index.tsx
これはトップページなので、Markdownの読み出しはしません。
export const meta = () => {
  return [{ title: 'React-Routerブログ | トップページ' }];
};

export default function Home() {
  return (
    <>
      <p>トップページのコンテンツはここに書く</p>
    </>
  );
}
app/routes/articles.page.$page.tsx
記事一覧です。listContentsを使って、./articlesフォルダの中身を総ざらいして表示します
-
gray-matterを使って、Markdownファイルの中身を、コンテンツ(content)とフロントマター(data)に分離しています
import matter from 'gray-matter';
import { Link, type LoaderFunctionArgs, useLoaderData } from 'react-router';
import { listContents } from '~/util/loadMarkdown';

export const meta = () => {
  return [{ title: 'React-Routerブログ | 記事一覧' }];
};

export const loader = async (args: LoaderFunctionArgs) => {
  const page = Number(args.params.page);
  const { contents, hasNext } = listContents('./articles', page);
  const articles = contents.map((article) => {
    const { content, data } = matter(article.content);
    return { url: article.url, content, data };
  });
  return { articles, hasNext, page };
};

export default function Articles() {
  const { articles, hasNext, page } = useLoaderData<typeof loader>();
  return (
    <>
      <ul className="flex flex-row flex-wrap gap-2 mb-2 justify-center">
        {articles.map(({ url, data }) => (
          <li className="card bg-base-100 w-96 shadow-xl" key={url}>
            <div className="card-body">
              <h2 className="card-title">{data.title}</h2>
              <p className="text-info text-xs">{url}</p>
              {data.description && <p>{data.description}</p>}
              <Link to={url} className="btn btn-primary text-md">
                読む
              </Link>
            </div>
          </li>
        ))}
      </ul>
      <div className="flex flex-row gap-2 w-full justify-center">
        {page >= 1 && (
          <Link className="btn btn-primary" to={`/articles/page/${page - 1}`}>
            前のページ
          </Link>
        )}
        {hasNext && (
          <Link className="btn btn-primary" to={`/articles/page/${page + 1}`}>
            次のページ
          </Link>
        )}
      </div>
    </>
  );
}
app/routes/articles.$.tsx
記事の個別ページです
react-markdownを使って、Markdownコンテンツをレンダリングしています。
import {
  type LoaderFunctionArgs,
  type MetaFunction,
  useLoaderData,
} from 'react-router';
import matter from 'gray-matter';
import Markdown from 'react-markdown';
import remarkGfm from 'remark-gfm';
import { loadContent } from '~/util/loadMarkdown';

export const meta: MetaFunction<typeof loader> = ({ data: loaderData }) => {
  return [
    { title: `React-Routerブログ | ${loaderData?.data.title}` },
    { description: loaderData?.data.description },
  ];
};

export const loader = async (args: LoaderFunctionArgs) => {
  const path = args.params['*'] as string;
  const mdContent = loadContent('./articles', path);
  const { content, data } = matter(mdContent);
  return { url: path, content, data };
};

export default function Article() {
  const { url, content, data } = useLoaderData<typeof loader>();

  return (
    <article className="prose lg:prose-xl w-11/12 m-auto">
      <h1>{data.title}</h1>
      <p className="text-info text-xs">{url}</p>
      <Markdown remarkPlugins={[remarkGfm]}>{content}</Markdown>
    </article>
  );
}
app/root.tsx
このコンポーネントは全ページ共通で表示されるレイアウトを定義するものです。
こんな感じでナビゲーションリンクを追加します。
  export function Layout({ children }: { children: React.ReactNode }) {
    return (
      <html lang="en">
        <head>
          <meta charSet="utf-8" />
          <meta name="viewport" content="width=device-width, initial-scale=1" />
          <Meta />
          <Links />
        </head>
-       <body>
+      <body className="container bg-base-100 m-auto">
+         <header className="navbar bg-base-100 shadow-xl mb-8">
+           <div className="navbar-start">
+             <Link to="/" className="btn btn-ghost text-xl">
+               React-Router Pre rendering
+             </Link>
+           </div>
+           <div className="navbar-center">
+             <Link to="/articles/page/0" className="btn btn-ghost text-md">
+               記事一覧
+             </Link>
+           </div>
+         </header>
          {children}
          <ScrollRestoration />
          <Scripts />
        </body>
      </html>
    );
  }
ルーティングは完成
ここまでで一通り骨組みができました。
bun run devとすると、トップページ、記事一覧、記事個別ページが見えるはずです。
プリレンダリングの設定
react-router.config.tsでプリレンダリングの設定をしていきます。
-
prerender : trueだと、ダイナミックルートはプリレンダしてくれません - なので、
./articlesディレクトリの内容から、有り得るURLを割り出す必要があります
import type { Config } from "@react-router/dev/config";
import fs from "node:fs";
import path from "node:path";

export default {
  async prerender({ getStaticPaths }) {
    // _index.tsxなど、静的ルート
    const staticPaths = getStaticPaths();
    // ダイナミックルートの割り出し
    const dynamicPaths = fs
      .readdirSync("./articles", {
        encoding: "utf8",
        recursive: true,
        withFileTypes: true,
      })
      .filter((file) => file.isFile() && file.name.endsWith(".md"))
      .map((file) => {
        return `/${file.parentPath}/${path.basename(file.name, ".md")}`;
      });
    // ページ数を割り出してページネーション用のページもレンダリングする
    const pages = Array(Math.ceil(dynamicPaths.length / 6))
      .fill(null)
      .map((_, i) => `/articles/page/${i}`);

    return [...staticPaths, ...dynamicPaths, ...pages];
  },
} satisfies Config;
ページネーションのマジックナンバーやディレクトリパスの定数があちこちにあるのがアレですが、目を瞑ってください…
これで、bun run buildすると、./build/clinetにレンダリング後の静的サイトが配置されます。
実行してみる
bunx http-server ./build/client -c-1
これでhttp://127.0.0.1:8080にアクセスすると、レンダリング後のhtmlがホストされていることが確認できます。
GitHub Pagesにホストしてみました
URLパスにリポジトリ名が入る関係でbase、basenameを調整したり、ビルド後に色々フォルダ構成をガチャガチャやらざるを得なかったのですが、なんとかGitHub Pagesでのホストもできました。
サイト
リポジトリ
終わりに
実は以前、Remixを無理やり静的ビルドできないか試したことがあり、結果的にあきらめたのですが、今回プリレンダリング機能が追加されたことで、書き慣れたRemix(≒ React Router v7)のファイル構造で静的ドキュメントサイトが作れそうだということで、とてもうれしく思っています。
今回はかなりごり押しで全ページをレンダリングしましたが、プリレンダするパスを柔軟に設定できるので、既存サイトで更新頻度が低いページだけピックして設定しておくだけでも、体感速度向上に一役買ってくれることでしょう。
今後がますます楽しみなフレームワークです。


