はじめに
普段の業務ではVueの2系を使用しており、CompositionAPIの書き方などもわかってなかったのでいくつかの技術と一緒に軽く触ってみました。
自分の備忘録がてらの記事となっているので、多少雑な部分もありますがご了承ください。
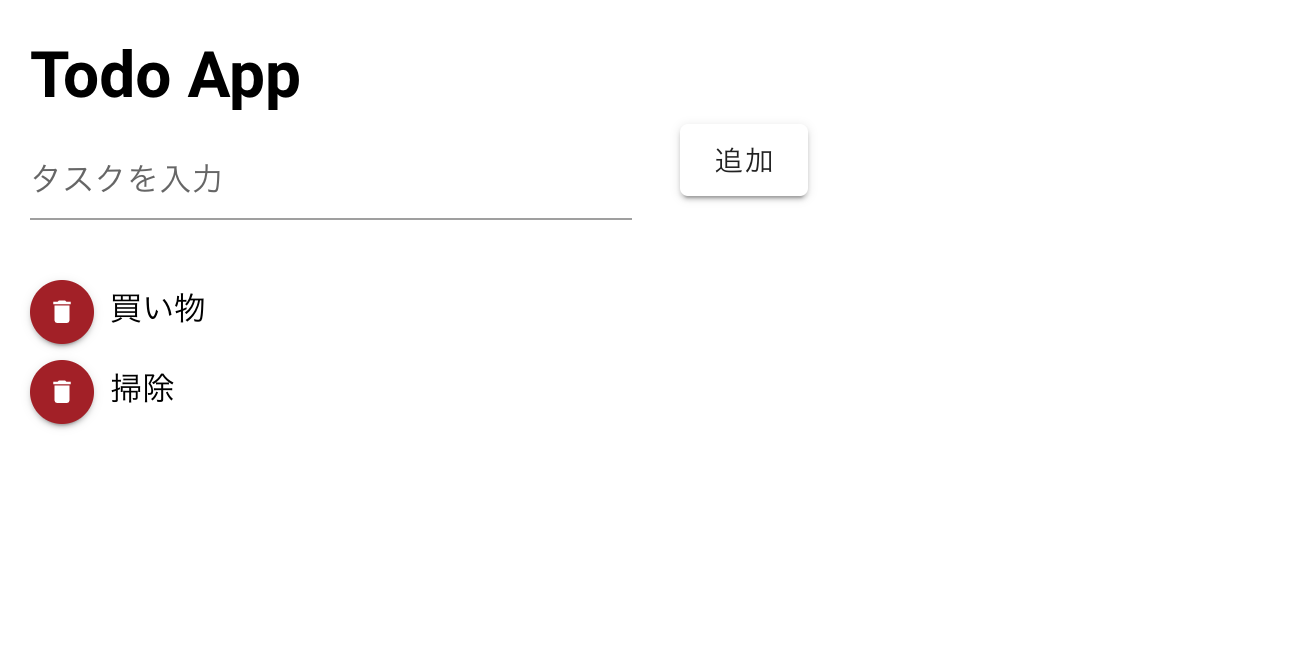
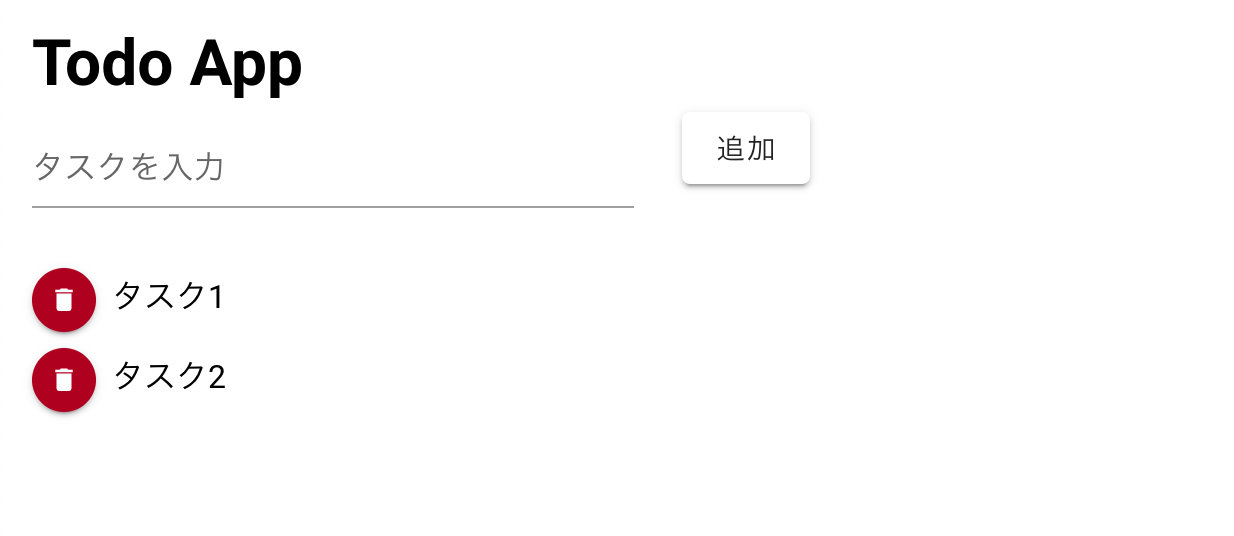
今回作成するのは、画像のようなタスクの追加と削除ができるだけの非常にシンプルなものです。
環境セットアップ
各種バージョン
$vue -V
@vue/cli 5.0.8
$node -v
v16.16.0
$npm list vue
vuetify3-todo@0.0.0 /Users/isodakeisuke/pg/kinds/Vue_js/vuetify3-todo
├─┬ @vitejs/plugin-vue@3.2.0
│ └── vue@3.2.45 deduped
├─┬ pinia@2.0.28
│ ├─┬ vue-demi@0.13.11
│ │ └── vue@3.2.45 deduped
│ └── vue@3.2.45 deduped
├─┬ vite-plugin-vuetify@1.0.1
│ └─┬ @vuetify/loader-shared@1.7.0
│   └── vue@3.2.45 deduped
├─┬ vue-router@4.1.6
│ └── vue@3.2.45 deduped
├─┬ vue@3.2.45
│ └─┬ @vue/server-renderer@3.2.45
│   └── vue@3.2.45 deduped
└─┬ vuetify@3.1.0
  └── vue@3.2.45 deduped
プロジェクト作成
yarn create vuetifyを実行。
コマンドを実行すると以下の項目について対話形式で入力する。
- プロジェクト名
- 何を使用するか
- TypeScriptを使用するか
- パッケージマネージャーの選択
今回はプロジェクト名を『vuetify3-todo』、使用するのは『Vuetify+VueRouter+Pinia』、TypeScriptは使用する、パッケージマネージャーはyarnをそれぞれ選択しました。
以下はコマンド実行時の出力です。
$yarn create vuetify
yarn create v1.22.17
[1/4] 🔍  Resolving packages...
Couldn't find any versions for "0" that matches "underscore"
? Please choose a version of "0" from this list: 0.0.0
[2/4] 🚚  Fetching packages...
[3/4] 🔗  Linking dependencies...
[4/4] 🔨  Building fresh packages...
warning Your current version of Yarn is out of date. The latest version is "1.22.19", while you're on "1.22.17".
info To upgrade, run the following command:
$ brew upgrade yarn
success Installed "create-vuetify@1.0.6" with binaries:
      - create-vuetify

Vuetify.js - Material Component Framework for Vue

✔ Project name: … vuetify3-todo
✔ Which preset would you like to install? › Essentials (Vuetify, VueRouter, Pinia)
✔ Use TypeScript? … No / Yes
✔ Would you like to install dependencies with yarn, npm, or pnpm? › yarn

◌ Generating scaffold...
◌ Installing dependencies with yarn...

yarn install v1.22.17
info No lockfile found.
[1/4] 🔍  Resolving packages...
[2/4] 🚚  Fetching packages...
[3/4] 🔗  Linking dependencies...
[4/4] 🔨  Building fresh packages...
success Saved lockfile.
✨  Done in 31.01s.
以上でセットアップは完了。
yarn devでサーバーを起動してlocalhostへアクセスすると、下のような画面が表示されます。

初期画面をリセット
初期状態ではVuetifyが自動で作成してくれたsrc/views/Home.vueの画面が表示されており、中でsrc/components/HelloWorld.vueが使用されています。
これらは使用しないため、一度きれいな状態にします。
src/components/HelloWorld.vue → 削除
src/views/Home.vueは下記のように編集します。
<script lang="ts" setup>
</script>

<template>
  <h1>Todo App</h1>
</template>
すると下のような画面となります。
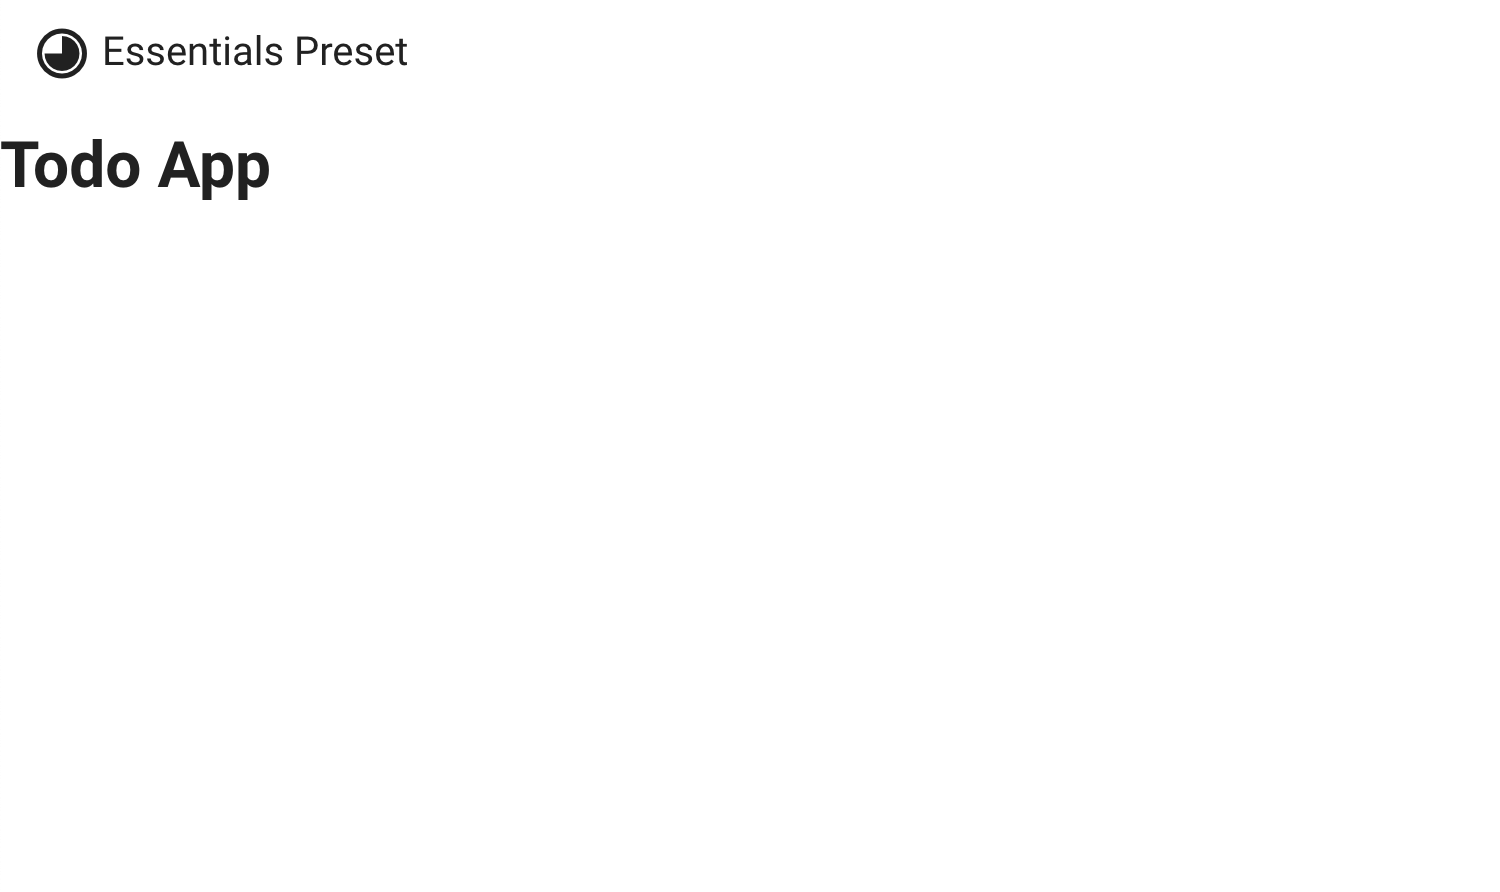
上部のEssentials Presetと書かれているヘッダーもなくします。
まずsrc/layouts/defaultは不要なのでフォルダごと削除します。
ヘッダーはrouterで差し込まれているので、src/router/index.tsのroutesを下記のように編集します。
//省略

const routes = [
  {
    path: '/',
    name: 'Home',
    component: () => import('@/views/Home.vue'),
  },
]

// 省略
こうすることで下のように自分で記述したタイトルのみとなり、デフォルトの表記がなくなります。

実装
フォルダ構成
主に使用するファイルのみ記述しています。
vuetify3-todo
├─ node_modules
├─ src
│  ├─ components
│  │  ├─ TaskForm.vue
│  │  └─ TaskItem.vue
│  ├─ router
│  │  └─ index.ts
│  ├─ store
│  │  ├─ app.ts
│  │  └─ index.ts
│  ├─ views
│  │  └─ Home.vue
│  ├─ App.vue
│  ├─ mian.ts
├─ package.json
︙
作成するコンポーネント
-
TaskForm.vue(タスクの入力フォーム)- テキストボックス
- 追加ボタン
-
TaskItem.vue(追加されたタスクの表示)- タスク名
- 削除ボタン
下記コマンドで2つのファイルを作成します。
$ touch src/components/{TaskForm,TaskItem}.vue
まずは作成したファイルをHome.vueでimportして使ってみましょう。
それぞれ下記のように編集します。
<script lang="ts" setup>
</script>
<template>
  <div>TaskForm</div>
</template>
<script lang="ts" setup>
</script>
<template>
  <div>TaskItem</div>
</template>
<script lang="ts" setup>
import TaskForm from "../components/TaskForm.vue";
import TaskItem from "../components/TaskItem.vue";
</script>

<template >
  <v-container>
    <h1>Todo App</h1>
    <TaskForm />
    <TaskItem />
  </v-container>
</template>
<script setup>の書き方だとimportだけでコンポーネントが使えるようになるので、とてもスッキリしますね。
ここではただ文字を出力させているだけです。
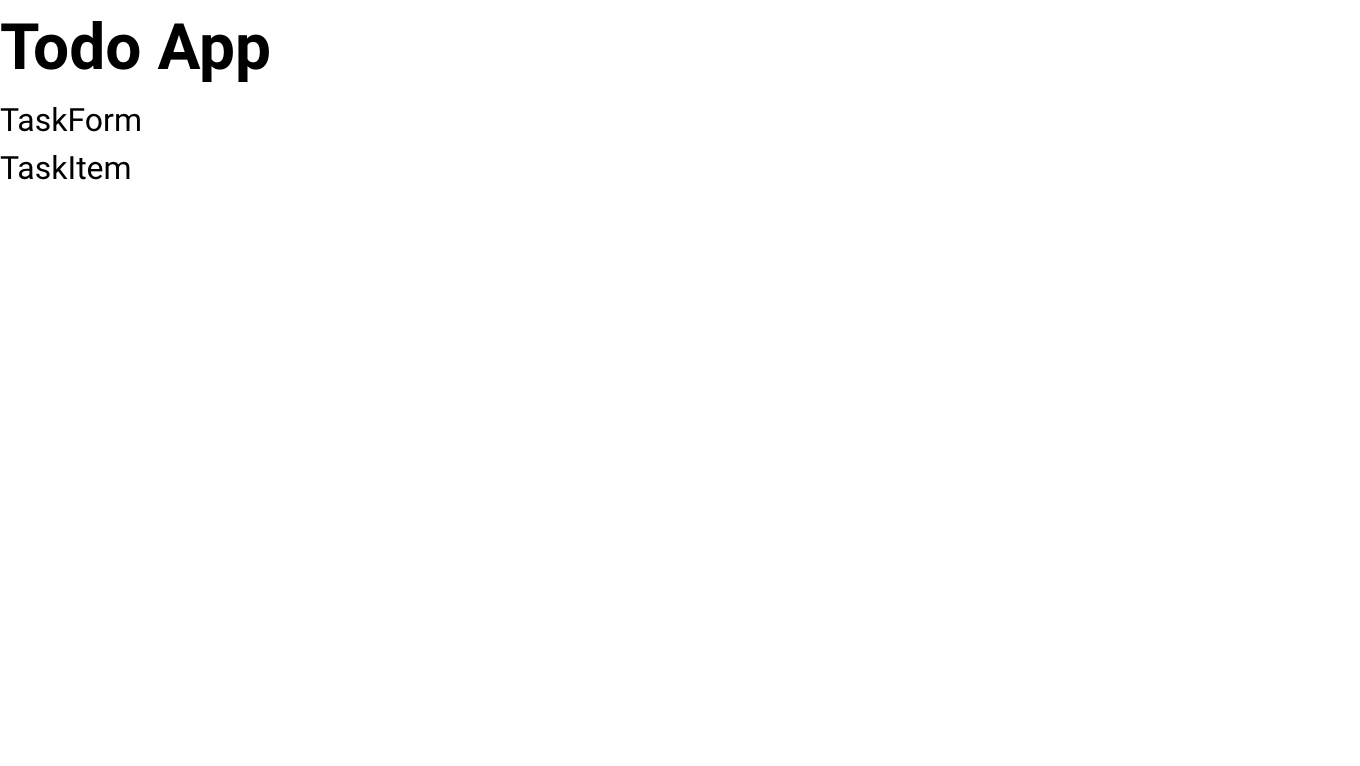
ブラウザに下のように表示されていれば、importがうまく動作してコンポーネントが使用されています。
TaskForm.vueの実装
このコンポーネントが持つ機能は
- 入力された内容をボタンが押されたときに親コンポーネントに渡して、テキストフィールドの中身を空にする
- 入力がないorスペースのみで追加ボタンが押されたとき、エラーメッセージを表示する
です。
以下のように実装します。
<script lang="ts" setup>
import { ref, defineEmits } from "vue";
const taskName = ref("");
const errorMessage = ref("");

const emits = defineEmits<{ (e: "submit", name: string): void }>();

/**
 * タスクを追加する.
 */
const addTask = (): void => {
  if (!taskName.value.trim()) {
    // 入力が空orスペースのみの場合はエラーメッセージを表示
    errorMessage.value = "入力してください。";
    return;
  }
  errorMessage.value = "";
  const name = taskName.value.trim();
  emits("submit", name);
  taskName.value = "";
};
</script>

<template>
  <!-- Enterでリロードが走らないようにする -->
  <v-form @submit.prevent>
    <v-row>
      <v-col cols="12" sm="6">
        <!-- 新規タスクを入力するテキストフィールド -->
        <v-text-field v-model="taskName" label="タスクを入力" variant="underlined"
          :error-messages="errorMessage"></v-text-field>
      </v-col>
      <v-col cols="12" sm="6">
        <!-- 入力したタスクを追加するボタン -->
        <v-btn @click="addTask">追加</v-btn>
      </v-col>
    </v-row>
  </v-form>
</template>
TaskItem.vue の実装
このコンポーネントが持つ機能は
- タスクの表示
- タスクの削除
です
以下のように実装します。
<script lang="ts" setup>
const props = defineProps<{
  taskId: number,
  name: string,
}>();

const emits = defineEmits<{
  (e: "deleteTask", id: number): void;
}>();

/**
 * タスクを削除する.
 */
const deleteTask = (): void => {
  emits("deleteTask", props.taskId);
};
</script>
<template>
  <div class="mt-2">
    <v-btn icon="mdi-delete" size="x-small" color="error" class="mr-2" @click="deleteTask"></v-btn>
    <span>{{ name }}</span>
  </div>
</template>
propsやemitのこのような書き方に慣れていなかったでのはじめ困惑しましたが、以前よりもわかりやすく書けるようになった気がします。
これらに関しては以下の記事を参考にさせていただきました。
Home.vueでTaskItem.vueにpropsを渡す
Home.vueを下のように編集します。
<script lang="ts" setup>
import TaskForm from "../components/TaskForm.vue";
import TaskItem from "../components/TaskItem.vue";
</script>

<template >
  <v-container>
    <h1>Todo App</h1>
    <TaskForm />
    <TaskItem :taskId="1" name="タスク1" />
    <TaskItem :taskId="2" name="タスク2" />
  </v-container>
</template>
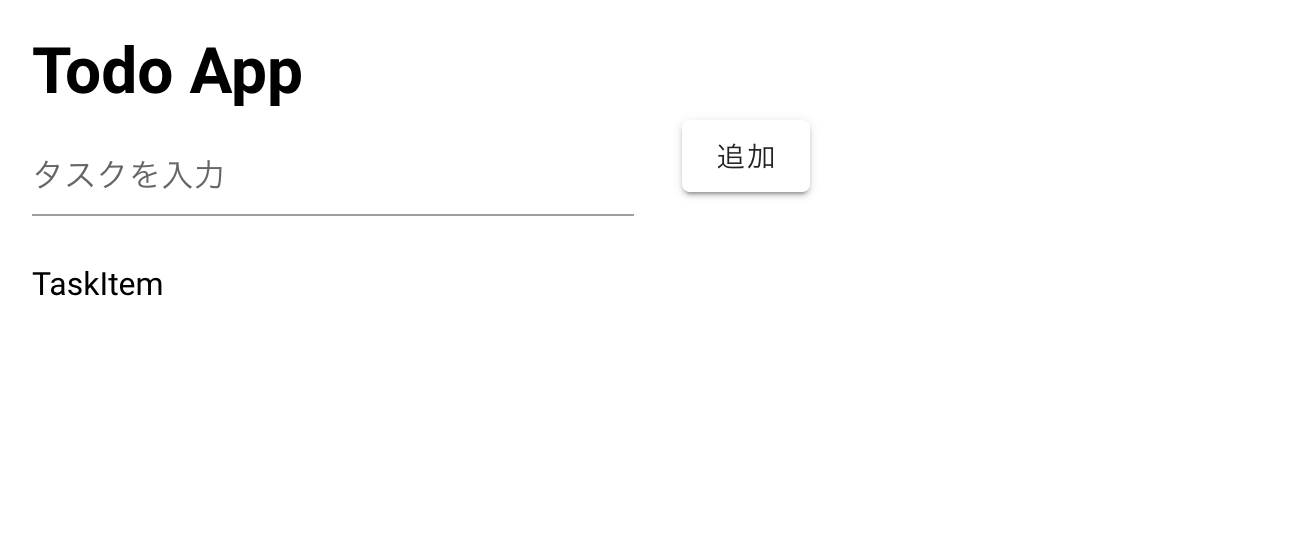
画像のように削除ボタンとタスクが2つ表示されます。
この時点ではまだタスクの追加や削除はできません。
タスクの値をPiniaで管理する
データストアはVuexが主流だと思っていましたが、最近はPiniaで実装するのがメジャーになってきたようなので今回はそちらを使用します。
Piniaに関しては以下の記事を参考にさせていただきました。
src/store/app.tsを下記のように編集します。
import { defineStore } from 'pinia'
import { ref, Ref } from 'vue'

// 型定義
interface Task {
  id: number;
  name: string;
}

export const useAppStore = defineStore('app', () => {
  const tasks: Ref<Task[]> = ref([]);
  let serialId = 0;

  /**
   * タスクを追加する.
   * @param name タスク名
   */
  const addTask = (name: string): void => {
    serialId++;
    tasks.value.push({ id: serialId, name: name })
  }

  /**
   * タスクを削除する.
   * @param id 削除するタスクid
   */
  const deleteTask = (id: number): void => {
    tasks.value = tasks.value.filter(task => task.id !== id);

  }

  return { tasks, addTask, deleteTask }
})
storeに記述したメソッドや値を使用するため、Home.vueを以下のように編集する。
<script lang="ts" setup>
import TaskForm from "../components/TaskForm.vue";
import TaskItem from "../components/TaskItem.vue";
import { useAppStore } from "../store/app";
const store = useAppStore();
</script>

<template >
  <v-container>
    <h1>Todo App</h1>
    <TaskForm @submit="store.addTask" />
    <!-- for文でタスクを表示させる -->
    <template v-for="task in store.tasks" :key="task.taskId">
      <TaskItem :taskId="task.id" :name="task.name" @deleteTask="store.deleteTask" />
    </template>
  </v-container>
</template>
これで完成になります。
タスクの追加や削除ができるようになったと思います。
個人的に子供のコンポーネントで渡した引数に関して、親であるHome.vueには何も書かなくてもstoreのメソッドに値がちゃんと渡ってくれるのが不思議な感じでした。
最後までお読みいただきありがとうございました。
