目的
- レシートと背景が写った写真からレシートをくりぬきたい
- OpenCVの理解
- なんか画像処理っぽいことしたい
前回のあらすじ
写真の中からレシート部分を認識。線で囲う、まで行った。
今回は射影変換をやってみたいと思いました。
環境
- Windows11 Home
- VSCode
- Python3.9
- pip
opencv-python 4.5.5.62
本編
射影変換をやってみたいと思いました。
参考:
輪郭抽出から
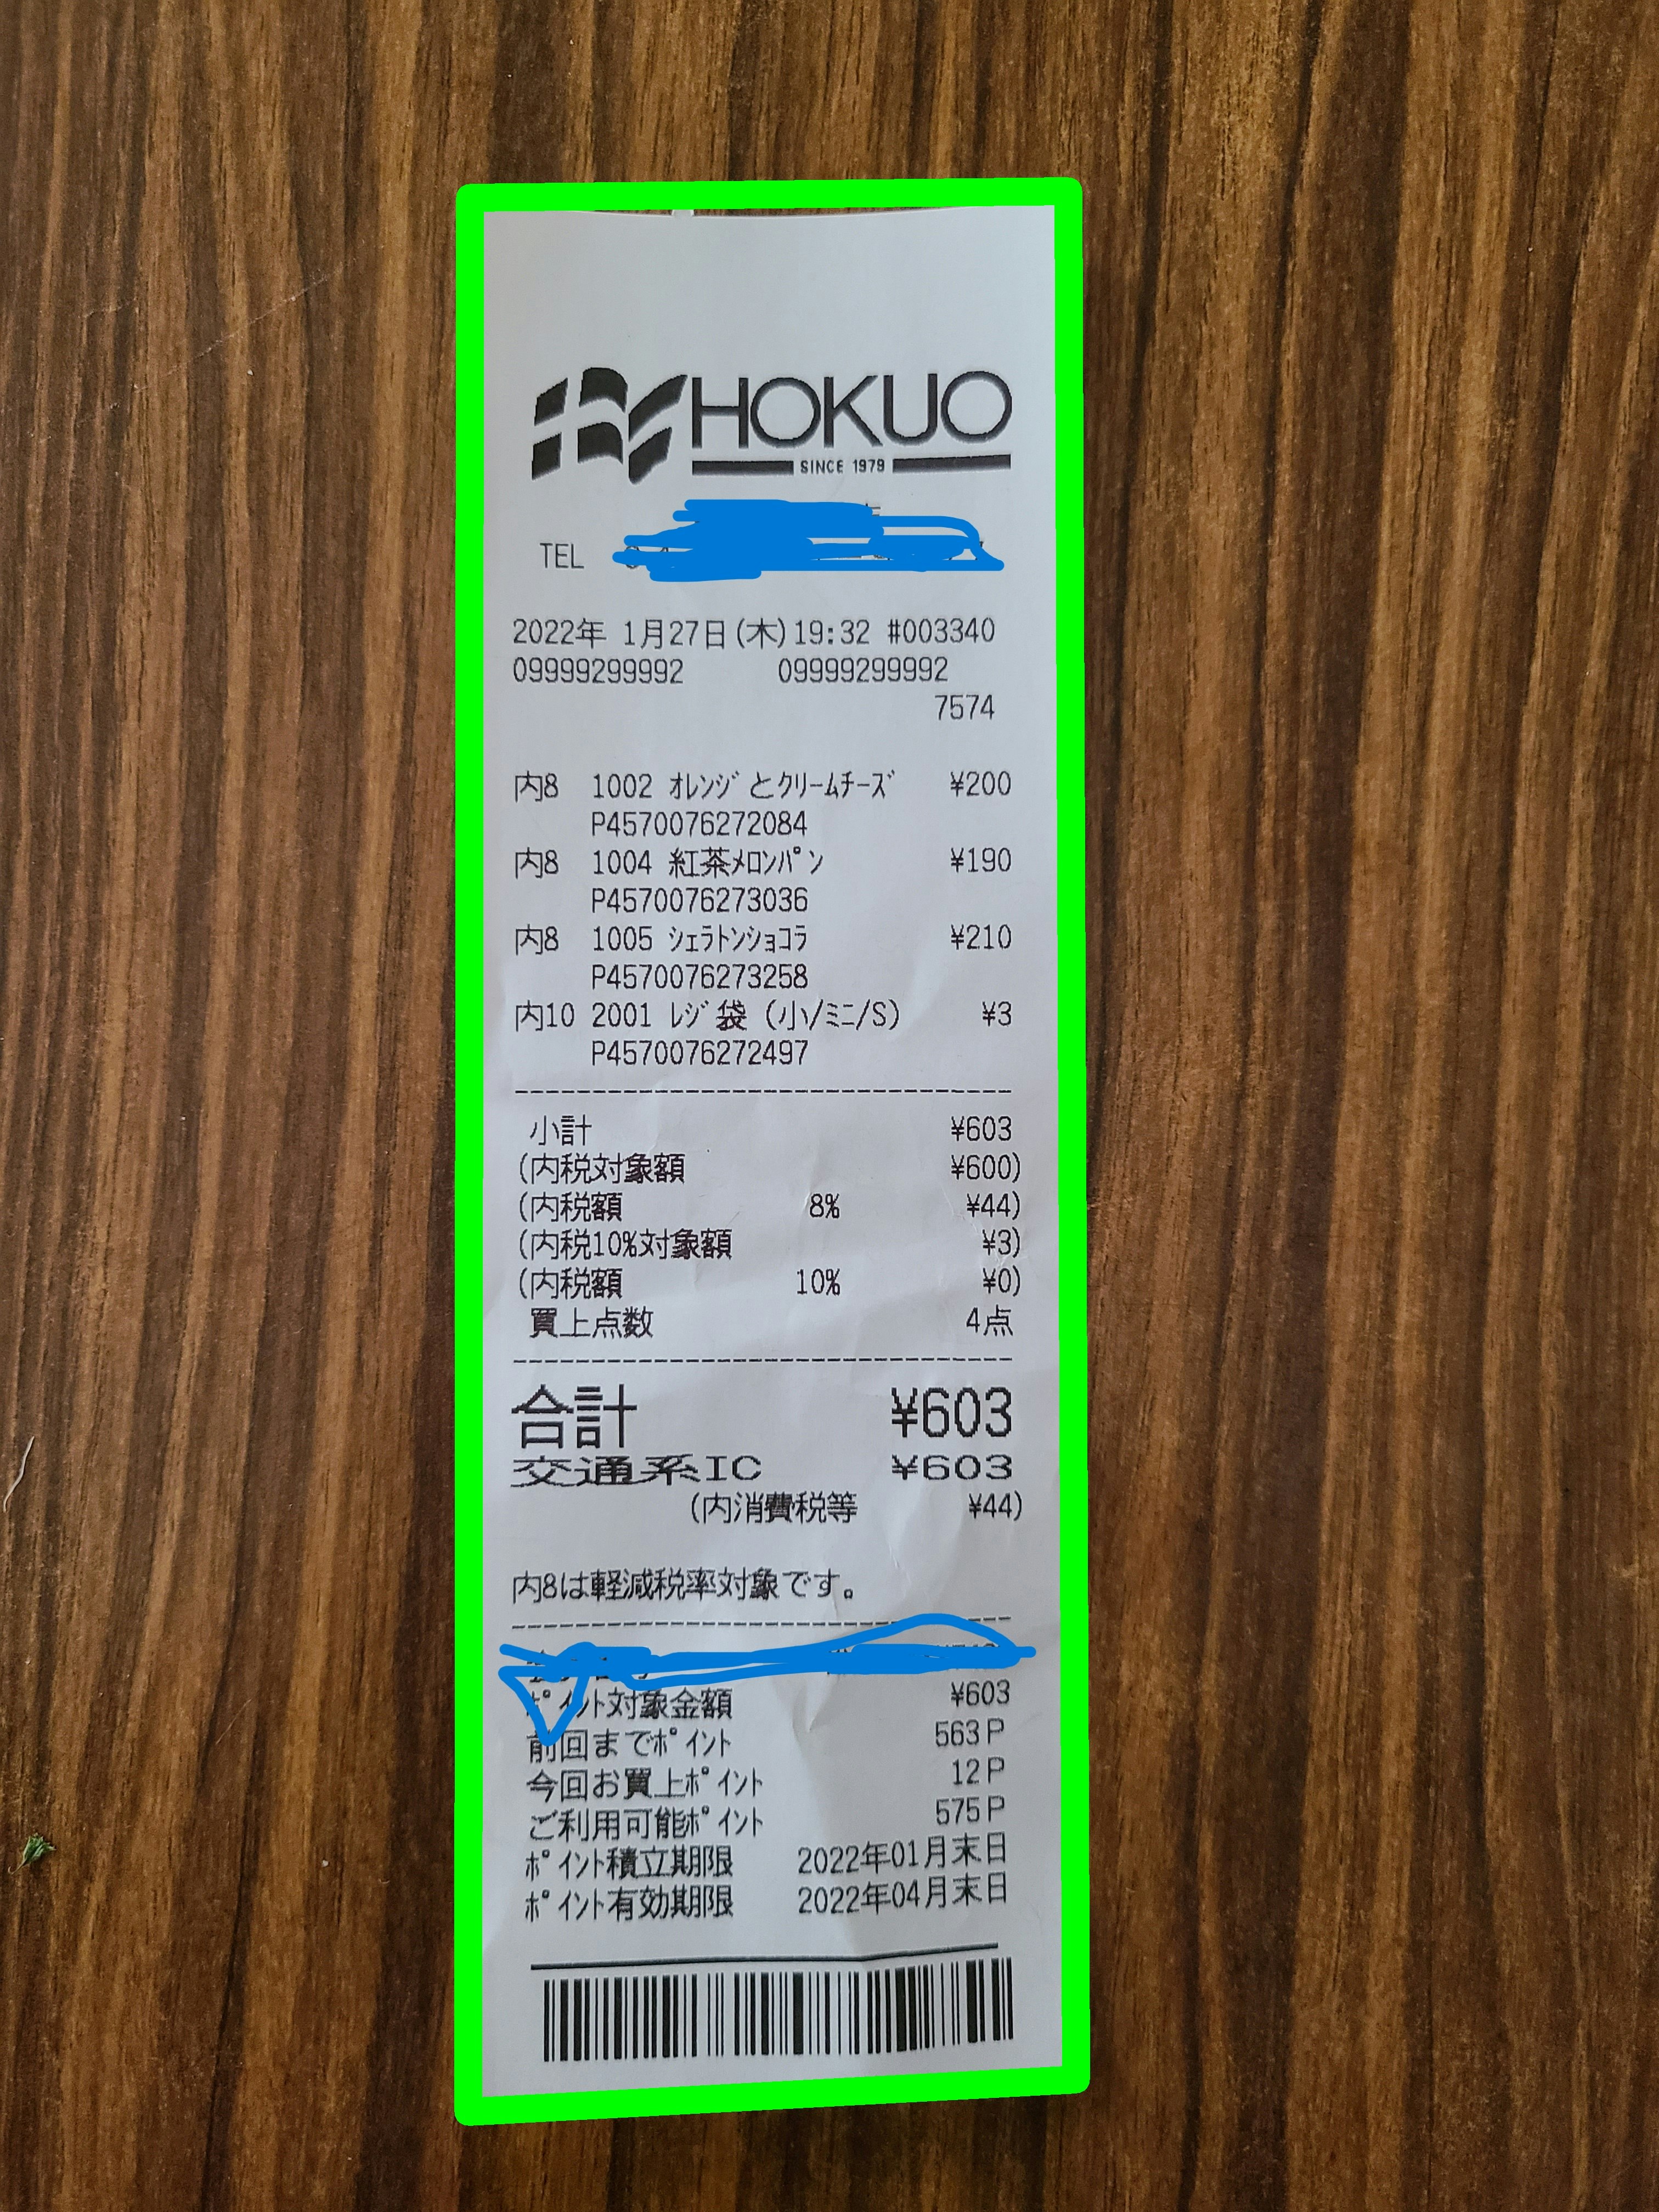
前回の輪郭抽出の結果はこんな感じ
射影変換
これを射影変換します。
    pts1 = np.float32(areas[0])
    pts2 = np.float32([[600,300],[600,0],[0,0],[0,300]])

    M = cv2.getPerspectiveTransform(pts1,pts2)
    dst = cv2.warpPerspective(img,M,(600,300))
    save_image(filename+"4", dst)
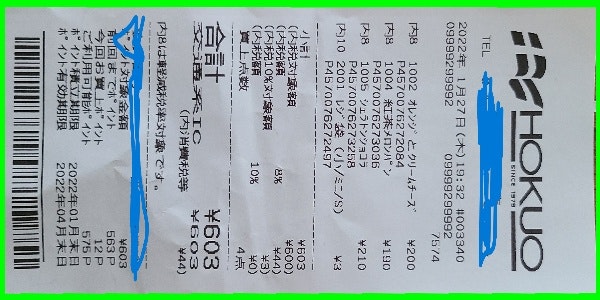
なんか90度回転してしまいました。
頂点はどのように出てくるのだろうと思い printしてみました。
print(areas[0])
輪郭抽出の頂点ですがどうやら
右上→左上→左下→右下
となっているようです。
多分一筆書きで方向は順不同?
で、設定した射影側の頂点は
右下→左下→左上→右上
なのでヘンテコになるのはそりゃそうですね。
[[[1947  348]]

 [[ 856  360]]

 [[ 853 3849]]

 [[1961 3790]]]
改善点
これを踏まえて以下の改善を行う。
- 輪郭抽出の頂点をソートし頂点の固定化
レシート画像なので縦位置で縦長レシートと仮定する。 - 縦横の比率をもとのレシートになるだけ合わせる。
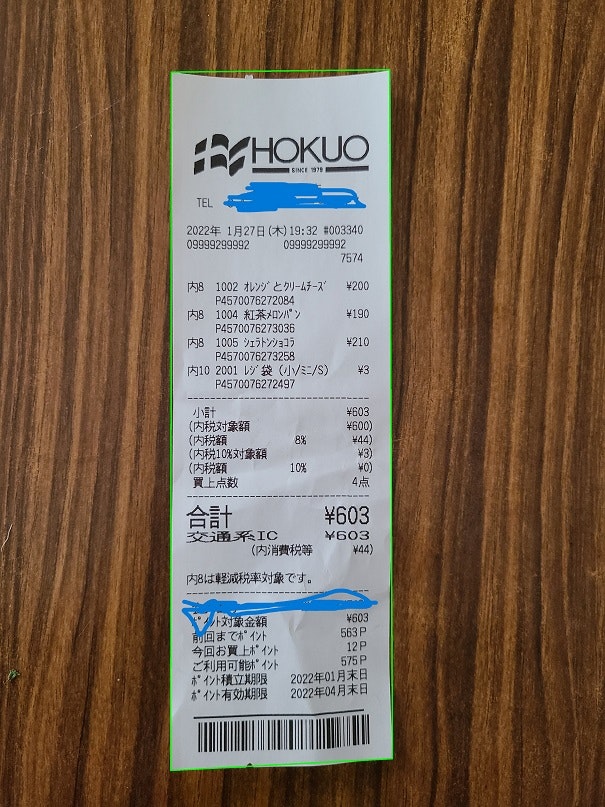
ちょっと冗長なプログラムになってしまいましたが何とかなりました。
    # 重心を求める
    cx=cy=0
    for i in areas[0]:
        cx += i[0][0]
        cy += i[0][1]
    cx /=len(areas[0])
    cy /=len(areas[0])

    # 切り取り画像サイズを求める
    h=w=0
    for i in areas[0]:
        if i[0][0]>cx :
            w +=i[0][0]
        else:
            w -=i[0][0]
        #右側
        if i[0][1]>cy:
            #右下
            h += i[0][1]
        else:
            #右上
            h -= i[0][1]

    # 点の順番を求める tmp
    tmp = []
    for i in areas[0]:
        if i[0][0]>cx :
            #右側
            if i[0][1]>cy:
                #右下
                tmp.append([w,h])
            else:
                #右上
                tmp.append([w,0])
        else:
            #左側
            if i[0][1]>cy:
                #左下
                tmp.append([0,h])
            else:
                #左上
                tmp.append([0,0])
    # 射影変換
    dst = []
    pts1 = np.float32(areas[0])
    pts2 = np.float32([tmp])

    M = cv2.getPerspectiveTransform(pts1,pts2)
    dst = cv2.warpPerspective(img,M,(w,h))
    save_image(filename+"4", dst)
