はじめに
SwiftUIでアプリを作っているとやはりTextFieldとキーボードの問題にぶつかります。
そんな時にSwiftUIで作られたこちらのパッケージが便利です。
KeyboardObserving
今回も備忘録兼ねて残します。
環境
iOS 13.1
Xcode 11.1 GMseed
Swift 5
導入
今回は、SwiftPMに対応しているので初めてSwiftPMで入れてみることにします。
導入手順は、こちらのSwift Package Managerがめっちゃ便利!の記事を参考にしたので、わからない方は、こちらを参照ください。
とても簡単でした。
使い方
レポジトリのREADMEに書かれているまんまですが、一応書いておきます。
まずは使うファイルでインポートしておきます。
import KeyboardObserving
使い方は、2パターンあります。
- ViewModifierを使用する
- KeyboardObservingViewを使用する
どちらも試してみましたが、問題なさそうでした。
1. ViewModifierを使用する
こちらは、釣り上げたいViewに.keyboardObserving()を追加するだけです。
           VStack {
                VStack {
                    Text("メールアドレス")
                    RoundedTextField("メールアドレスを入力してください", text: $mailAdress)
                        .padding(.bottom, 20.0)

                    Text("パスワード")
                    RoundedSecureTextField("パスワードを入力してください", text: $password)
                        .padding(.bottom, 20.0)

                    Text("パスワード(確認用)")
                    RoundedSecureTextField("上と同じパスワードを入力してください", text: $verifyPassword)
                        .padding(.bottom, 20.0)
                }
                .padding()
                .keyboardObserving()

                Spacer()

                Button(action: {

                }) {
                    NormalButtonText("確認メールを送る")
                }

                Spacer()
            }
2. KeyboardObservingViewを使用する
まず、SceneDelegate.swiftの中でルートに設定しているViewのenvironmentObjectにKeyboardプロパティを設定します。
func scene(_ scene: UIScene, willConnectTo session: UISceneSession, options connectionOptions: UIScene.ConnectionOptions) {
        if let windowScene = scene as? UIWindowScene {
            let window = UIWindow(windowScene: windowScene)
            let viewModel = HomeViewModel()
            window.rootViewController = UIHostingController(rootView: HomeView(viewModel).environmentObject(Keyboard()))
            self.window = window
            window.makeKeyAndVisible()
        }
    }
以下のようにKeyboardObservingViewは内部で@EnvironmentObjectを定義しているのでkeyboardを親のビューで設定していないとクラッシュしますので注意。
public struct KeyboardObservingView<Content: View>: View {

  @EnvironmentObject var keyboard: Keyboard

  let content: Content

  public init(@ViewBuilder builder: () -> Content) {
    self.content = builder()
  }

  public var body: some View {
      content
        .padding([.bottom], keyboard.state.height)
        .edgesIgnoringSafeArea((keyboard.state.height > 0) ? [.bottom] : [])
        .animation(.easeOut(duration: keyboard.state.animationDuration))
  }
}
そうしたら、釣り上げたい要素をKeyboardObservingViewで囲ってあげるだけで終わりです。
                VStack {
                    KeyboardObservingView {
                        VStack {
                            Text("メールアドレス")
                            RoundedTextField("メールアドレスを入力してください", text: $mailAdress)
                                .padding(.bottom, 20.0)

                            Text("パスワード")
                            RoundedSecureTextField("パスワードを入力してください", text: $password)
                                .padding(.bottom, 20.0)

                            Text("パスワード(確認用)")
                            RoundedSecureTextField("上と同じパスワードを入力してください", text: $verifyPassword)
                                .padding(.bottom, 20.0)
                        }
                        .padding()

                    }
                    Spacer()

                    Button(action: {

                    }) {
                        NormalButtonText("確認メールを送る")
                    }

                    Spacer()
                }
実行

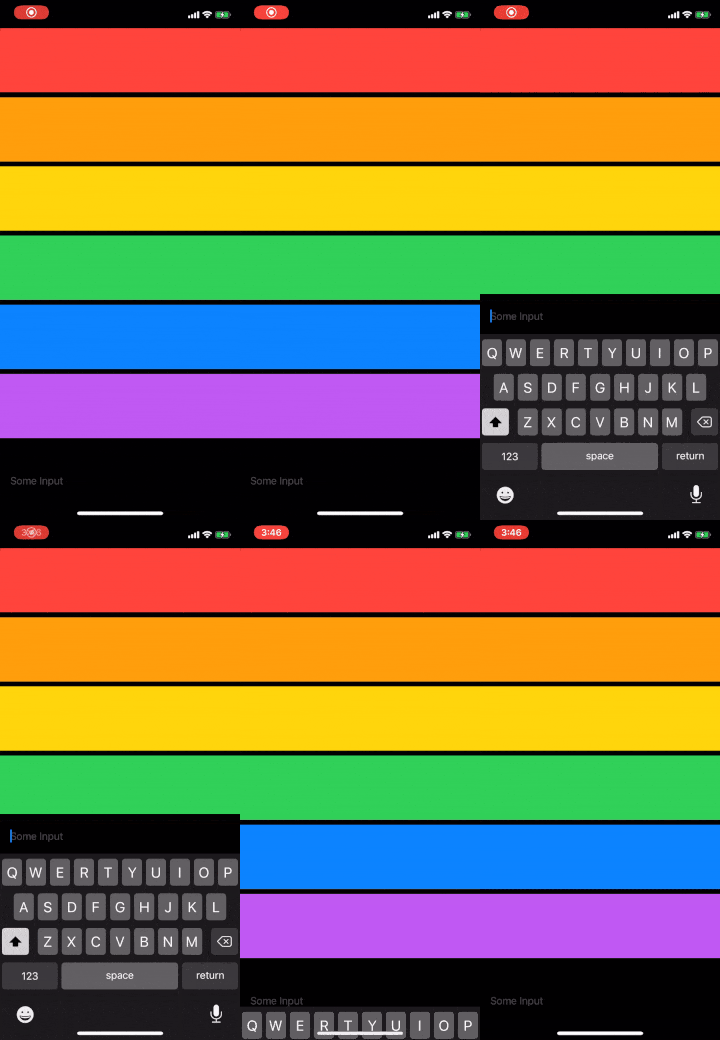
今回は、TextFieldはキーボードに完全にかぶっていませんが、.keyboardObserving()もしくは、KeyboardObservingViewで指定したViewがキーボードに隠れる場合は、釣り上げられるようになっているみたいです。
参考
Swift Package Managerがめっちゃ便利!
github KeyboardObserving
さいごに
今までは、高さを再計算してごにょごにょして割と面倒でしたよね。
まぁ、結局、内部的にやっていることは同じようなことですが、ここまでシンプルに記述できるのはとても嬉しいです。
KeyboardObserving側でやっていることはそんなに難しいことではないので、SwiftUI+Combineに慣れてきたらこれを参考に自分で作ってもいいかもしれません。
みなさんも良かったらぜひ使ってみてください。
それでは、ご覧いただきありがとうございました。
