 Flutterの記事を整理し本にしました
- 本稿の記事を含む様々な記事を体系的に整理し本にまとめました
- 今後はこちらを最新化するため、最新情報はこちらをご確認ください
- 25万文字を超える超大作になっています!!
まとめ記事
はじめに
- よく使うファイルサーバとの連携を確認しました。
概要
Firebase Storage(以下Storage)はファイルサーバとして、ファイルのダウンロード、アップロードを管理する環境を提供します。
有効化手順
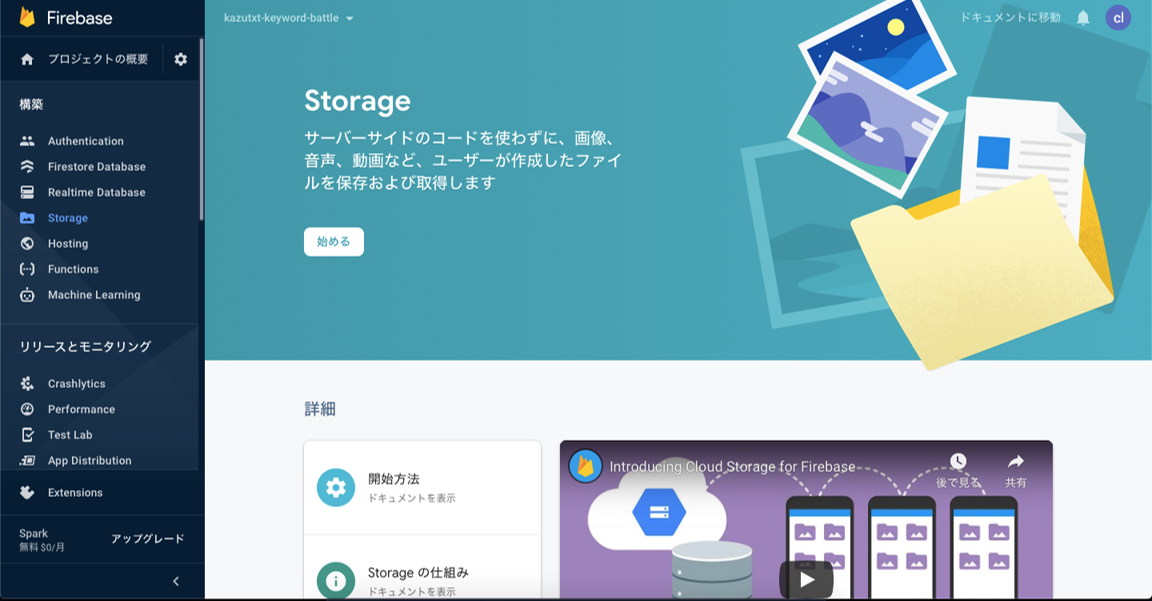
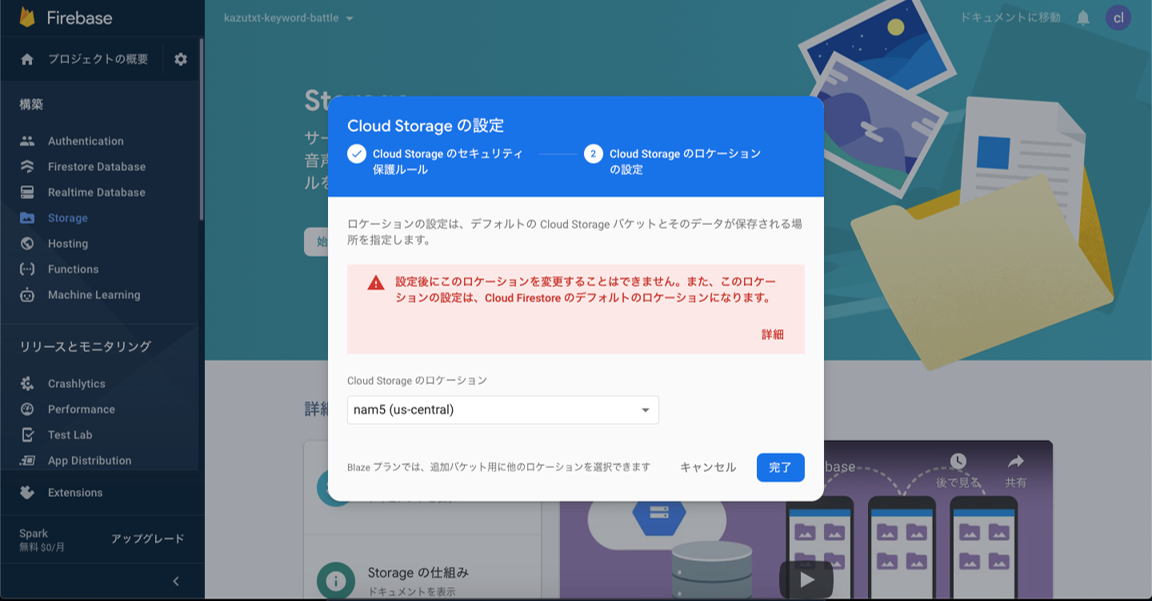
Storageの有効化は、Firebaseの左側のメニューのStorageを選択し、始めるをクリックします。
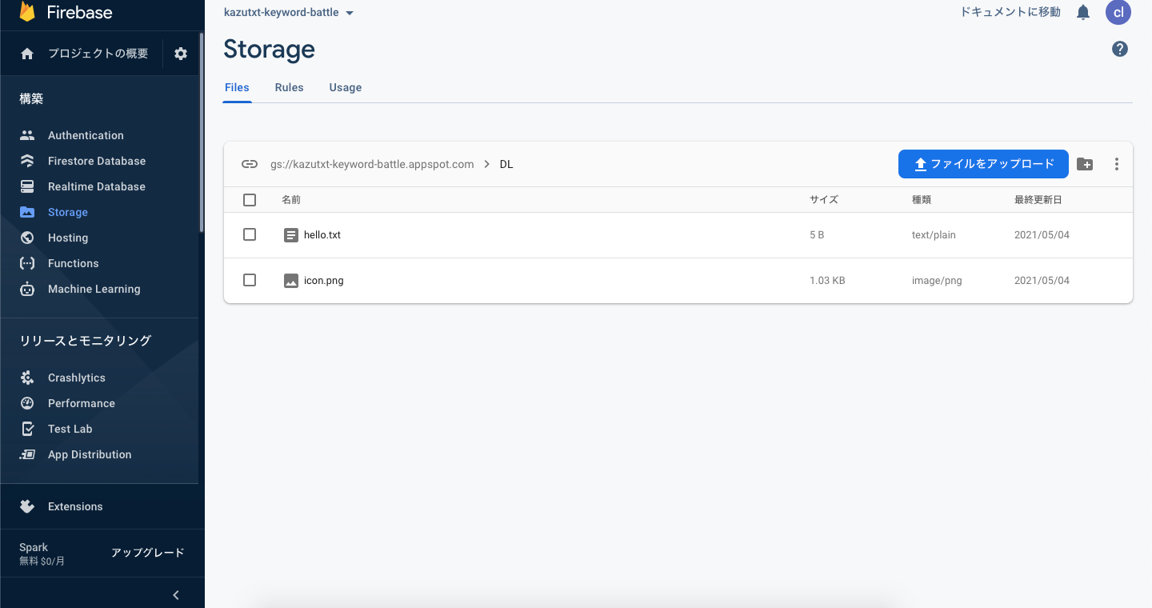
今後の動作確認用に、ダウンロード用とアップロード用のフォルダを作成します。
さらに、ダウンロード用のフォルダの下に、hello.txt(helloとかかれたファイル)とicon.png(flutterのロゴのpng)の2つのファイルを準備します。
準備
  firebase_core: ^1.1.0
  firebase_auth: ^1.1.1
  firebase_storage: ^8.0.5
  path_provider: ^2.0.1
  image_picker: ^0.7.4
firebase_coreとfirebase_storageはstorageを使うために必要なパッケージです。
firebase_authはFirebaseで認証を行うために必要なものです。
※storageは完全なフリーアクセスではなく、認証したユーザで行うために用います。
path_providerやimage_pickerはデバイスへの保存や画像の選択などを行うための補助的なパッケージです。
実装
ダウンロードでは、文字と画像のファイルをダウンロードし、文字の表示と画像の画面への表示、そして、画像ファイルのローカルへの保存を行います。
アップロードでは、image_pickerを使ってファイルを選択し、アップロードします。
import 'dart:io';

import 'package:firebase_auth/firebase_auth.dart';
import 'package:firebase_core/firebase_core.dart';
import 'package:flutter/material.dart';
import 'dart:convert';

import 'package:firebase_storage/firebase_storage.dart';
import 'package:image_picker/image_picker.dart';
import 'package:path_provider/path_provider.dart';

Future<void> main() async {
  WidgetsFlutterBinding.ensureInitialized();
  await Firebase.initializeApp();

  runApp(MyApp());
}

class MyApp extends StatelessWidget {
  @override
  Widget build(BuildContext context) {
    return MaterialApp(
      title: 'Flutter Demo',
      theme: ThemeData(
        primarySwatch: Colors.blue,
        visualDensity: VisualDensity.adaptivePlatformDensity,
      ),
      home: MyHomePage(title: 'Flutter Demo'),
    );
  }
}

class MyHomePage extends StatefulWidget {
  MyHomePage({Key key, this.title}) : super(key: key);
  final String title;

  @override
  _MyHomePageState createState() => _MyHomePageState();
}

class _MyHomePageState extends State<MyHomePage> {
  Image _img;
  Text _text;

  Future<void> _download() async {
    // ログイン処理
    await FirebaseAuth.instance.signInWithEmailAndPassword(
        email: "test@test.com", password: "testtest");

    // ファイルのダウンロード
    // テキスト
    FirebaseStorage storage = FirebaseStorage.instance;
    Reference textRef = storage.ref().child("DL").child("hello.txt");
    //Reference ref = storage.ref("DL/hello.txt"); // refで一度に書いてもOK

    var data = await textRef.getData();

    // 画像
    Reference imageRef = storage.ref().child("DL").child("icon.png");
    String imageUrl = await imageRef.getDownloadURL();

    // 画面に反映
    setState(() {
      _img = Image.network(imageUrl);
      _text = Text(ascii.decode(data));
    });

    Directory appDocDir = await getApplicationDocumentsDirectory();
    File downloadToFile = File("${appDocDir.path}/download-logo.png");
    try {
      await imageRef.writeToFile(downloadToFile);
    } catch (e) {
      print(e);
    }
  }

  void _upload() async {
    // imagePickerで画像を選択する
    // upload
    PickedFile pickerFile =
        await ImagePicker().getImage(source: ImageSource.gallery);
    File file = File(pickerFile.path);

    FirebaseStorage storage = FirebaseStorage.instance;
    try {
      await storage.ref("UL/upload-pic.png").putFile(file);
    } catch (e) {
      print(e);
    }
  }

  @override
  Widget build(BuildContext context) {
    return Scaffold(
        appBar: AppBar(
          title: Text(widget.title),
        ),
        body: Center(
          child: Column(
            mainAxisAlignment: MainAxisAlignment.center,
            children: <Widget>[
              if (_text != null) _text,
              if (_img != null) _img,
            ],
          ),
        ),
        floatingActionButton:
            Row(mainAxisAlignment: MainAxisAlignment.spaceEvenly, children: [
          FloatingActionButton(
            onPressed: _download,
            child: Icon(Icons.download_outlined),
          ),
          FloatingActionButton(
            onPressed: _upload,
            child: Icon(Icons.upload_outlined),
          ),
        ]));
  }
}
まず、firebaseを利用するために以下の2行で初期化処理をしています。
WidgetsFlutterBinding.ensureInitialized();
await Firebase.initializeApp();
ダウンロード用とアップロード用のボタンがあり、それぞれがダウンロードとアップロードに対応しています。
ダウンロード
ダウンロードを行っているのは、_downloadです。
まず、FirebaseAuthenticationを使った認証を行っています。
予めID「test@test.com」とPW「testtest」というユーザをFirebase側に作っておきます。
FirebaseAuthenticationの概要・設定方法については、下記をご参照ください。
その後、FirebaseStorage.instanceでインスタンスを作成し、storage.refにパスを与えて参照を取得します。
refにパスをすべて書いても良いですし、階層ごとにchildでメソッドチェインにしても良いです。
データはrefのgetDataメソッドで取得できますが、unit8List型のため、変換する場合には一工夫が必要です。
また、本体をダウンロードする場合は、getDownloadURLでURLを取得し、このURLからダウンロードします。
テキストはgetDataを利用し、画像はダウンロードしてデータを取得しています。
最後に、ファイルをデバイスにダウンロードするために、getApplicationDocumentsDirectoryでパスを取得して、writeToFileで出力しています
アップロード
アップロードを行っているのは、_uploadです。
ImagePickerを使って画像を選択し、そのファイルをStorageにアップロードしています。
インスタンスの生成や参照の作成は同じです。
putFileでファイルをサーバ側に配置します。
動作イメージ
ダウンロード
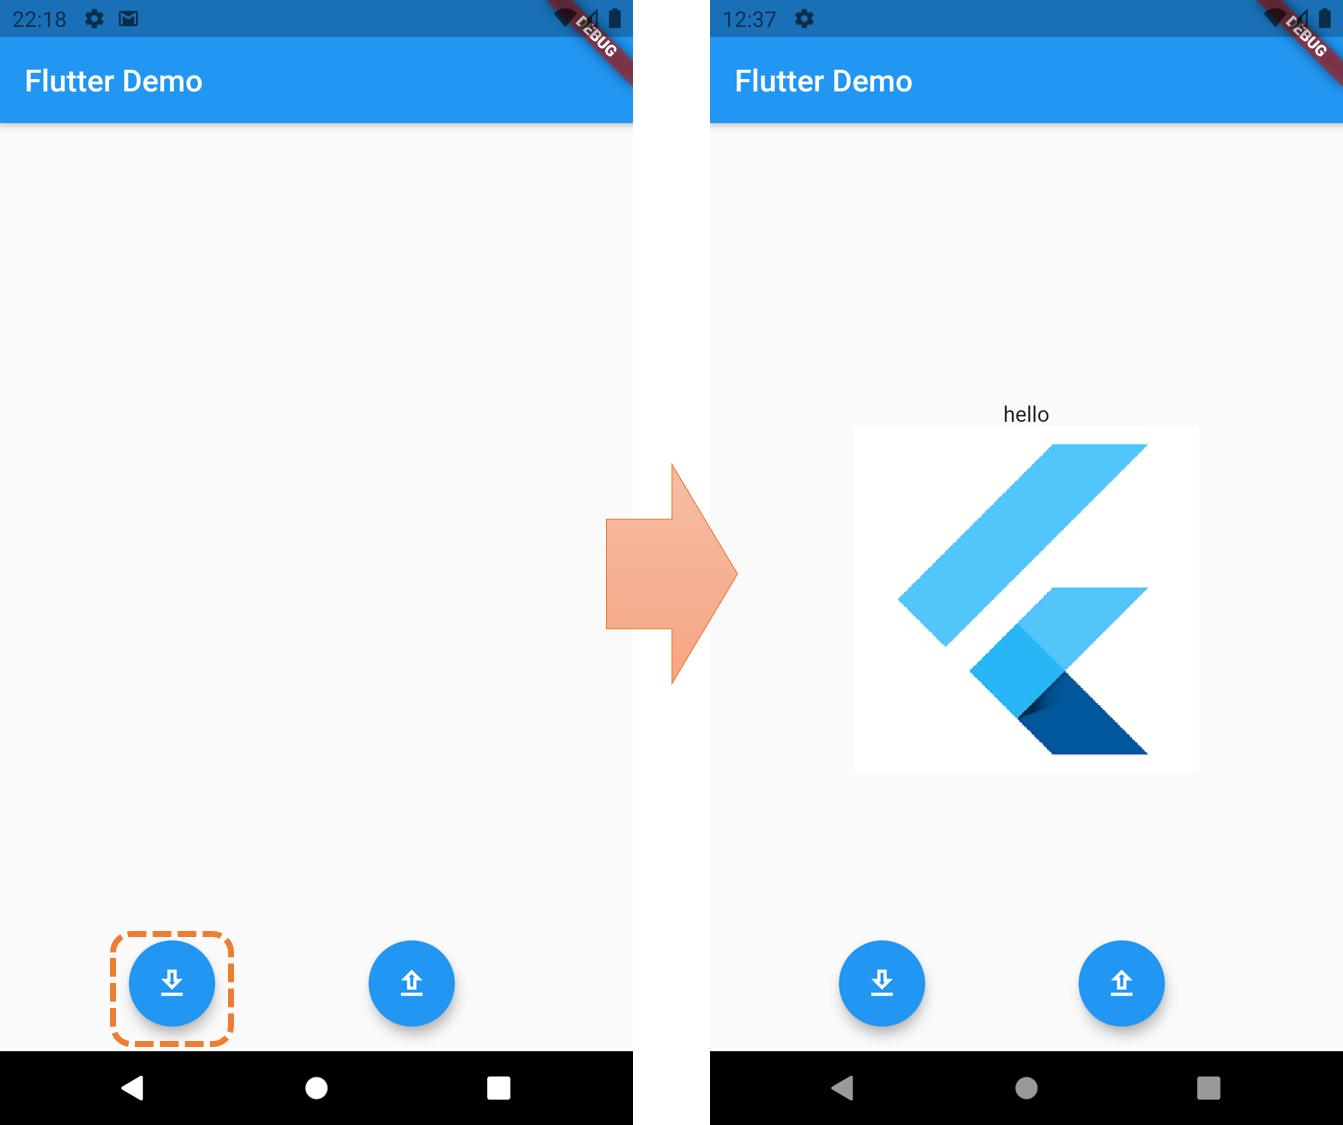
最初は画面には何もありませんが、ダウンロードを行うと、画面に文字や画像が表示されます。
アップロード
続けて、アップロードを行うと、ImagePickerが起動しファイルを選択できるようになります。
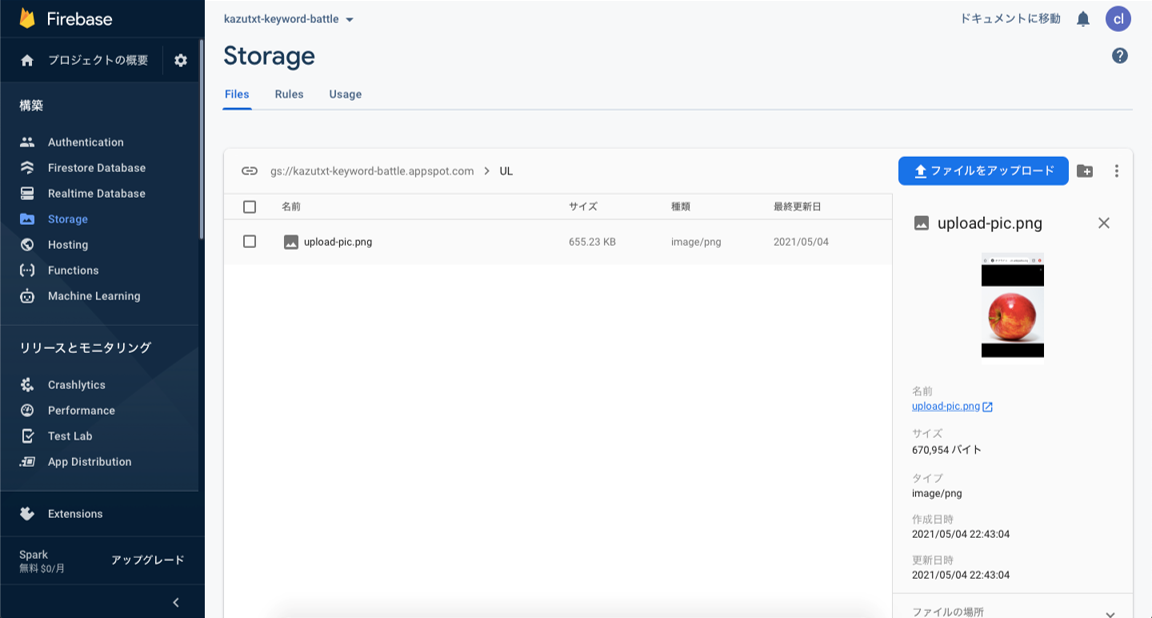
アップロードされたファイルはサーバ側からも確認できます。
