0
0

Delete article

Deleted articles cannot be recovered.

Draft of this article would be also deleted.

Are you sure you want to delete this article?

More than 1 year has passed since last update.

CloudFormationスタック作成時の設定について

Posted at

CloudFormationスタック作成時の設定について

1 スタック作成

AWS CloudFormation管理コンソールから、スタックの作成をクリックし、[新しいリソースを使用(標準)]を選択して下さい。

2 テンプレート選択

[スタックの作成]で、[テンプレートの準備完了]を選択し、[テンプレートファイルのアップロード]>
[ファイルの選択]で、テンプレートを選択します。

3 パラメーター値入力

各パラメータを入力します。スタックの名前は任意の名前を入れて下さい
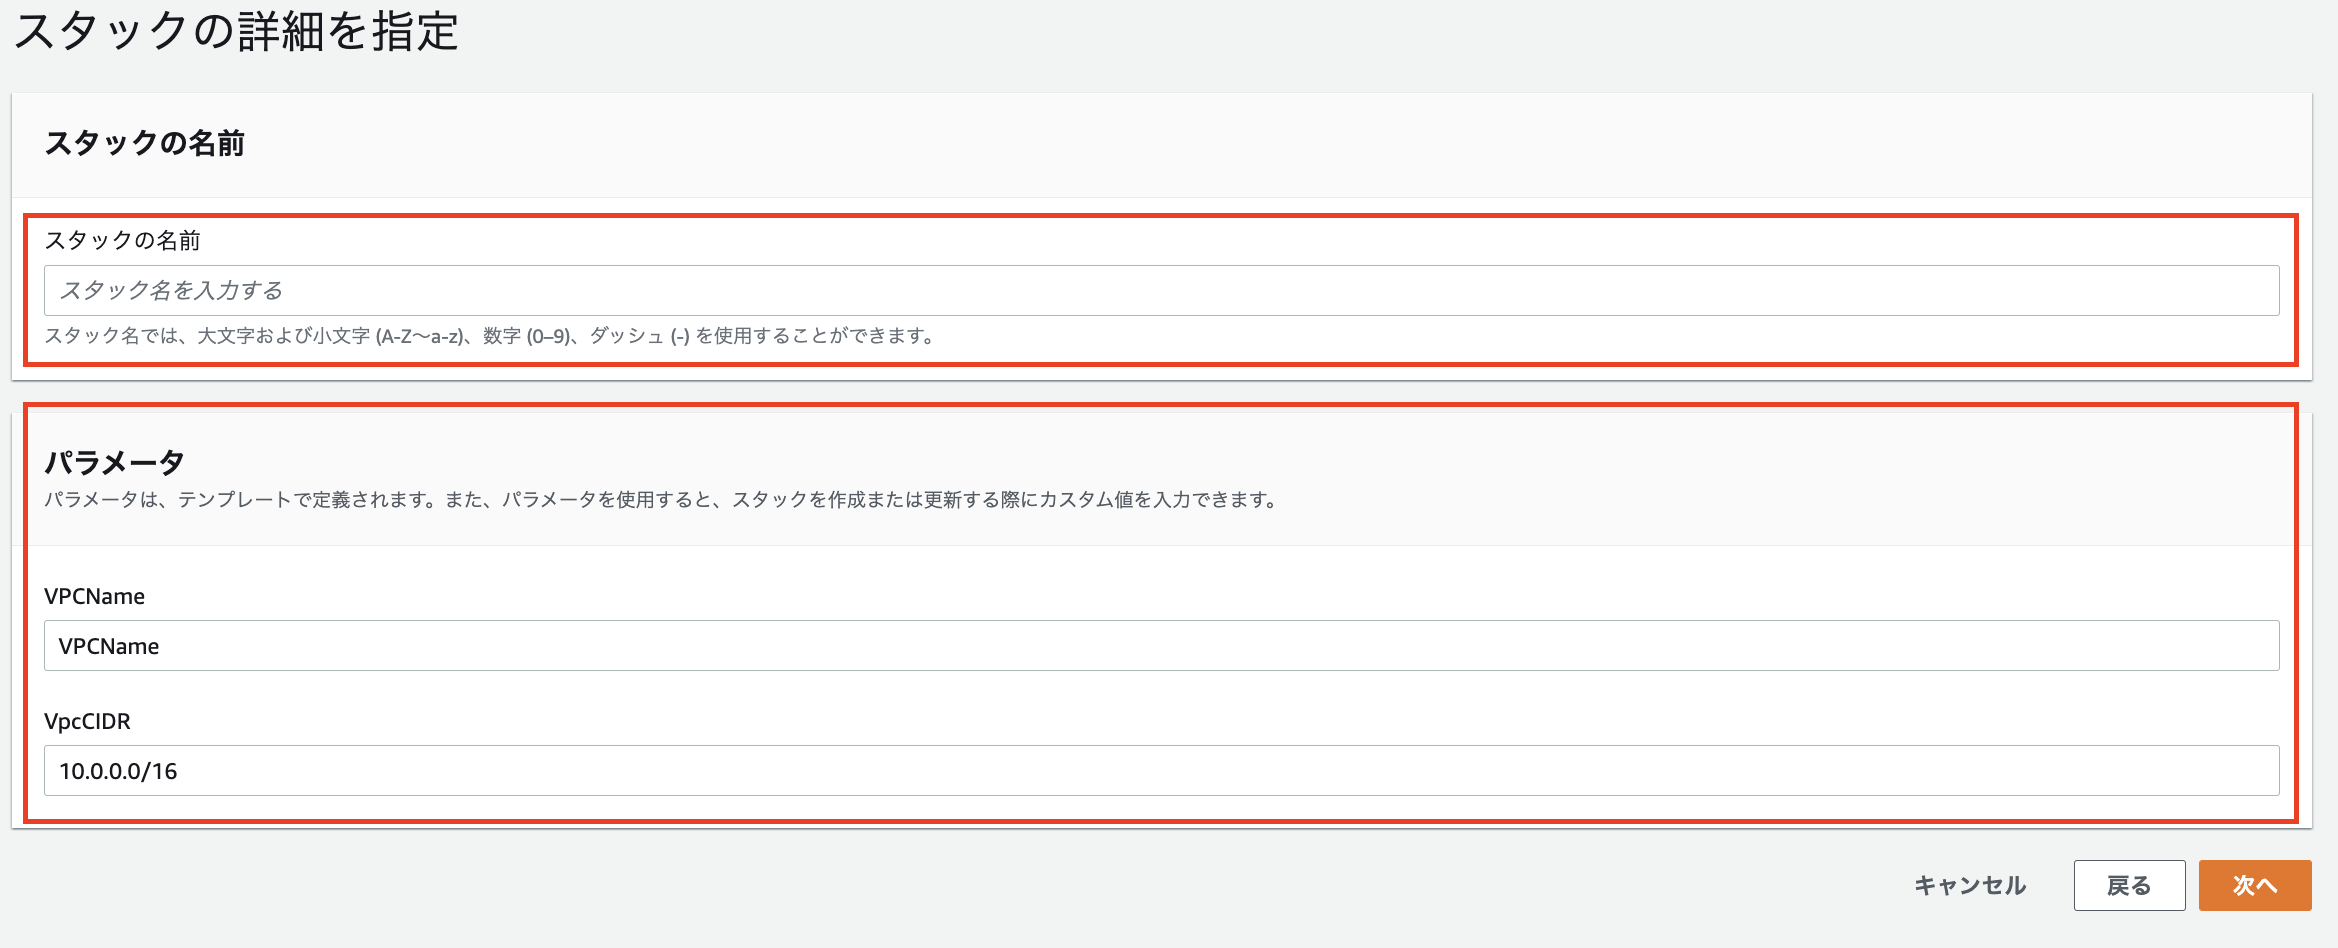
スクリーンショット 2022-11-22 20.50.32.png

4 スタックタグ入力

スタックにタグを付与したい場合は入力下さい
スクリーンショット 2022-11-22 20.55.33.png

5 アクセス許可

スタック実行時に必要なロールを自動で付与したい場合は空欄にして下さい。
スクリーンショット 2022-11-22 21.25.18.png

6 スタックの失敗オプション

スタックが失敗した場合に、正常に作成さえれたリソースを保持するか削除するかどうか
スクリーンショット 2022-11-22 21.35.24.png

7 スタックポリシー

スタックの更新を制限したい場合は追加して下さい。
スクリーンショット 2022-11-22 21.40.54.png

8 ロールバック設定

スタックの作成および更新時にCloudWatchアラームを設定して、スタック作成,更新後に特定の時間以内にアラームが発生した場合ロールバックする。
スクリーンショット 2022-11-22 21.53.00.png

9 SNS通知

スタックの作成、更新時にSNS通知が必要な場合は設定して下さい。
スクリーンショット 2022-11-22 21.55.15.png

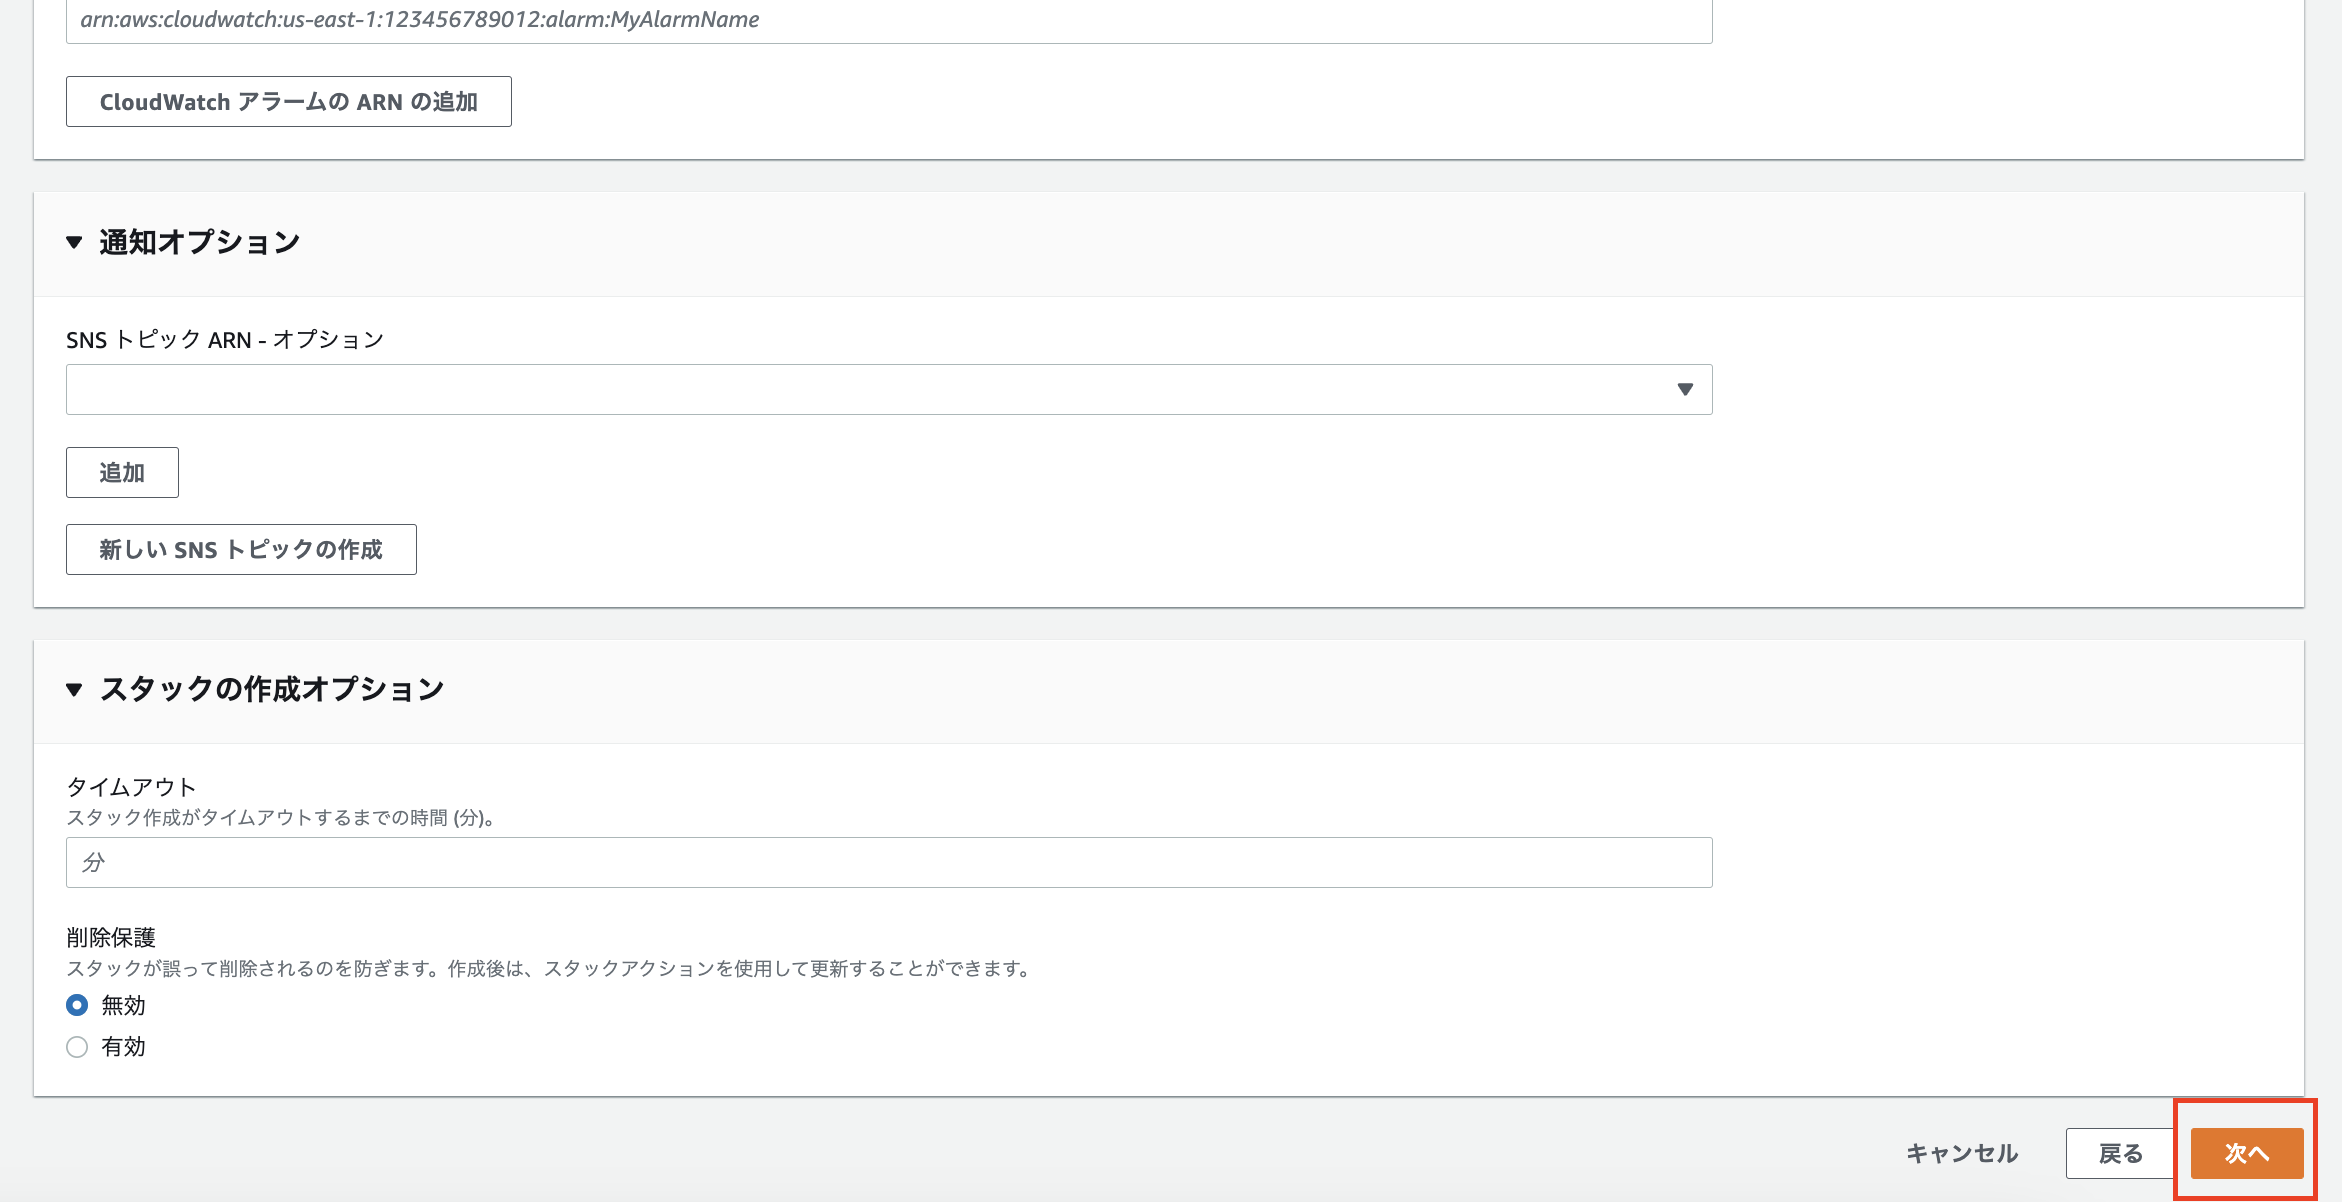
10 スタックの作成オプション

スタックの作成時間に制限が必要な場合は設定して下さい。
スクリーンショット 2022-11-22 21.56.28.png

11 確認

上記の設定が終了しら次へを選択して下さい。
スクリーンショット 2022-11-22 22.01.49.png

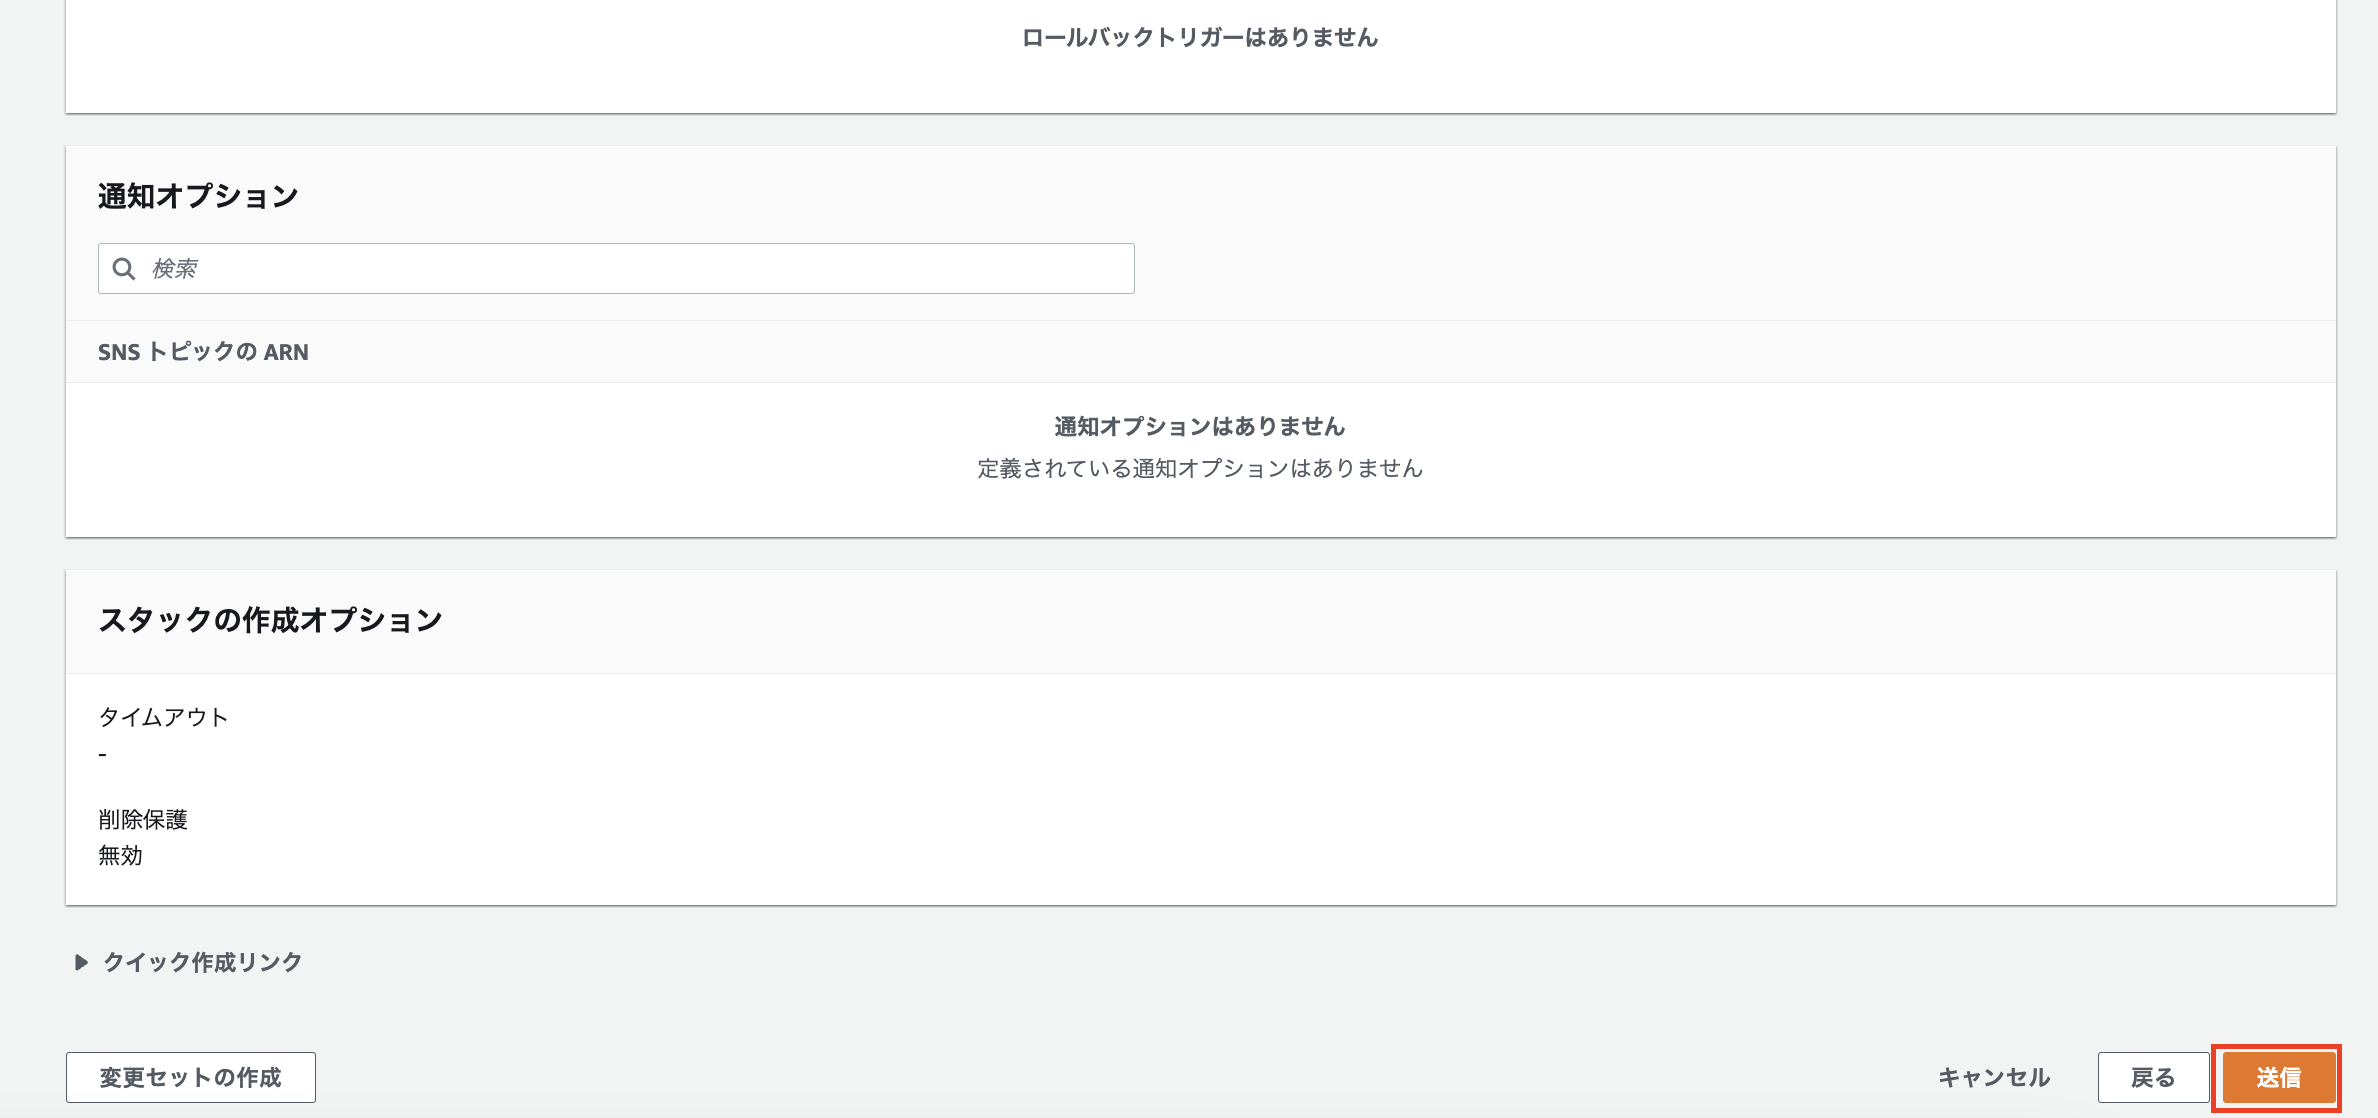
12 最終確認

終了したら送信を選択して下さい。
スクリーンショット 2022-11-22 22.02.32.png

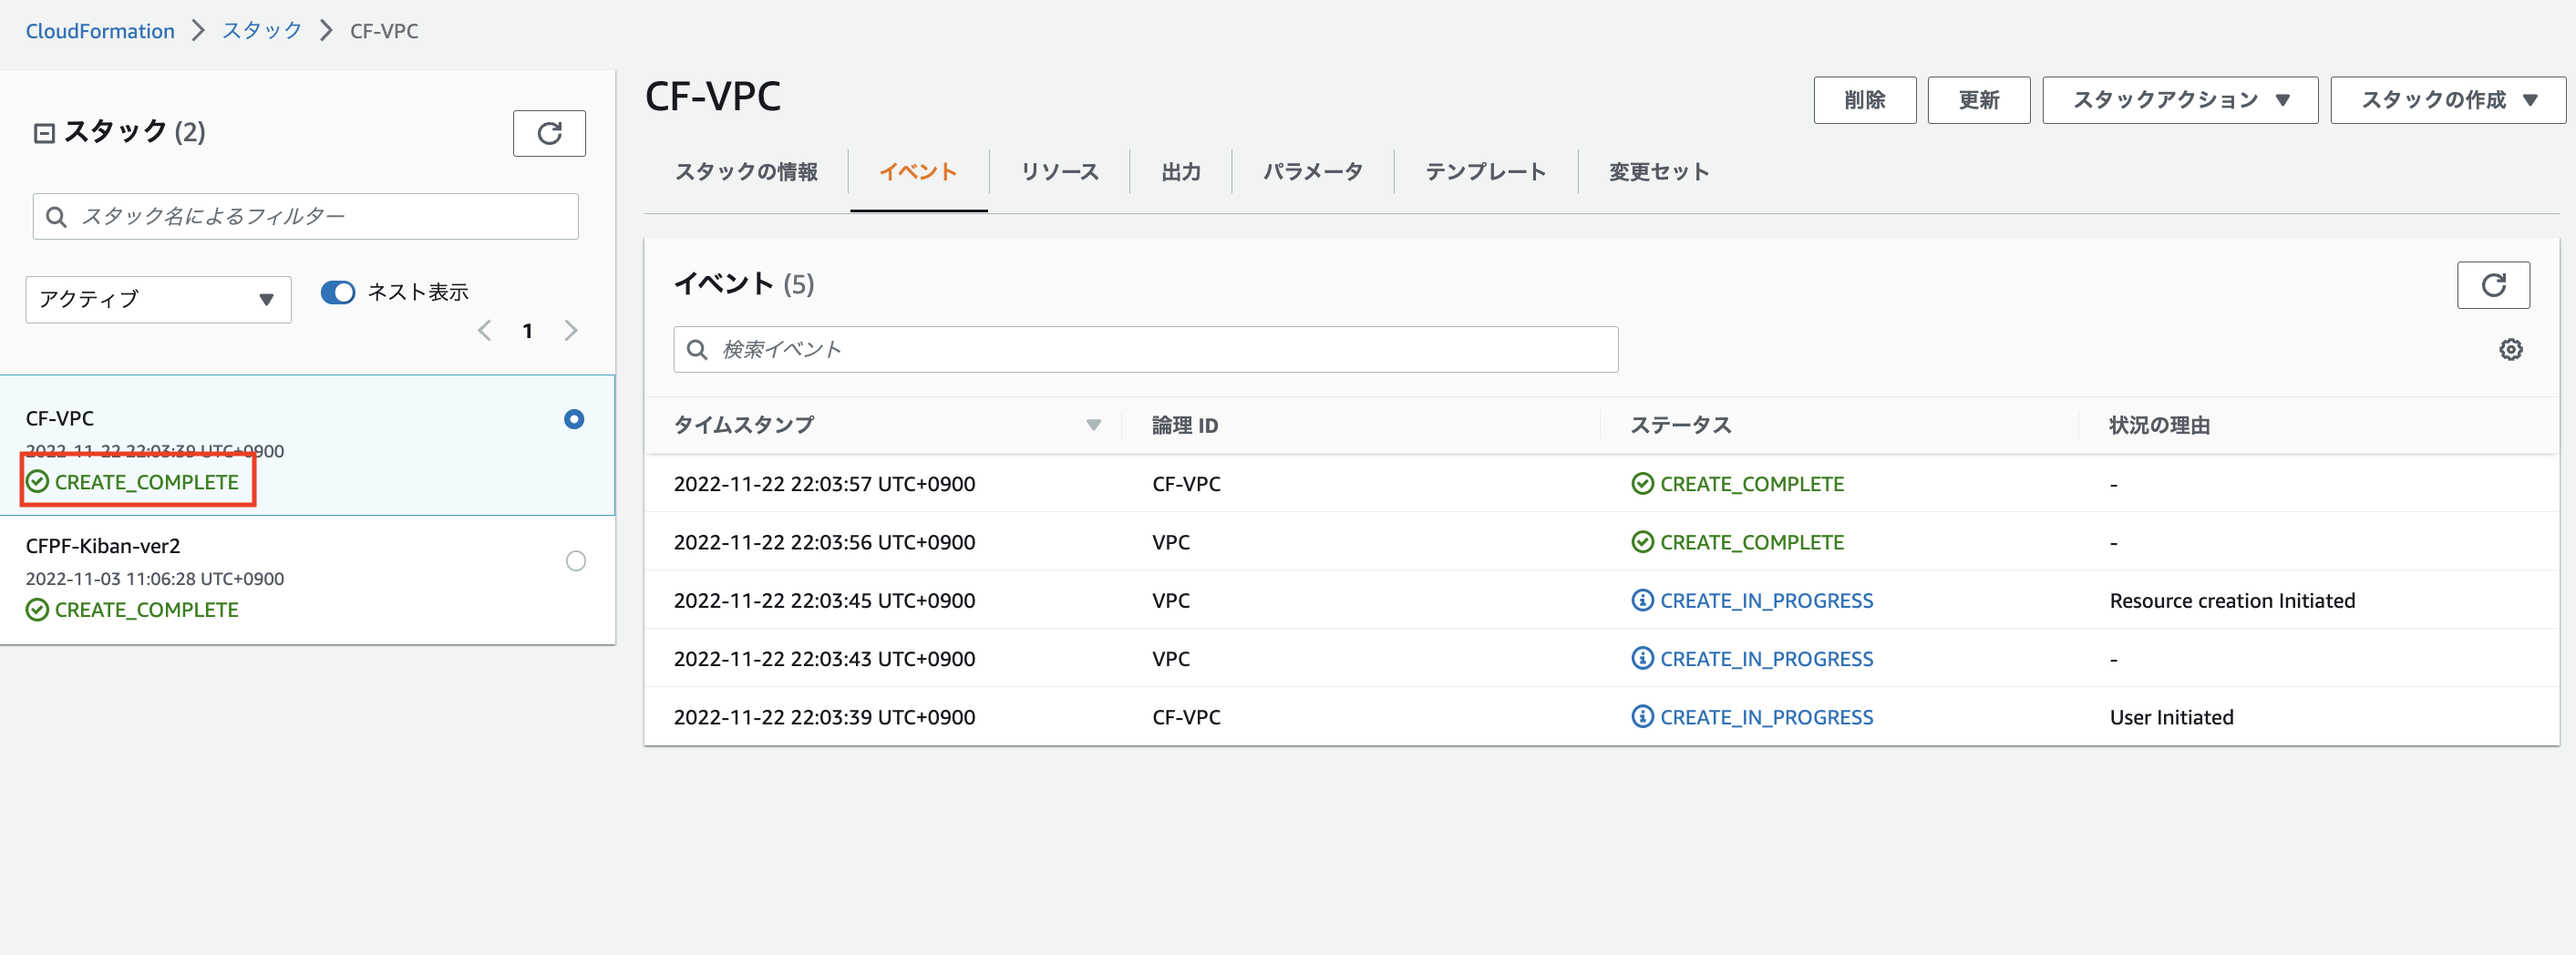
13 スタック正常終了確認

ステータスがCREATE_COMPLETEになったらスタックが正常終了しました。
スクリーンショット 2022-11-22 22.04.50.png

0
0
0

Register as a new user and use Qiita more conveniently

  1. You get articles that match your needs
  2. You can efficiently read back useful information
  3. You can use dark theme
What you can do with signing up
0
0

Delete article

Deleted articles cannot be recovered.

Draft of this article would be also deleted.

Are you sure you want to delete this article?