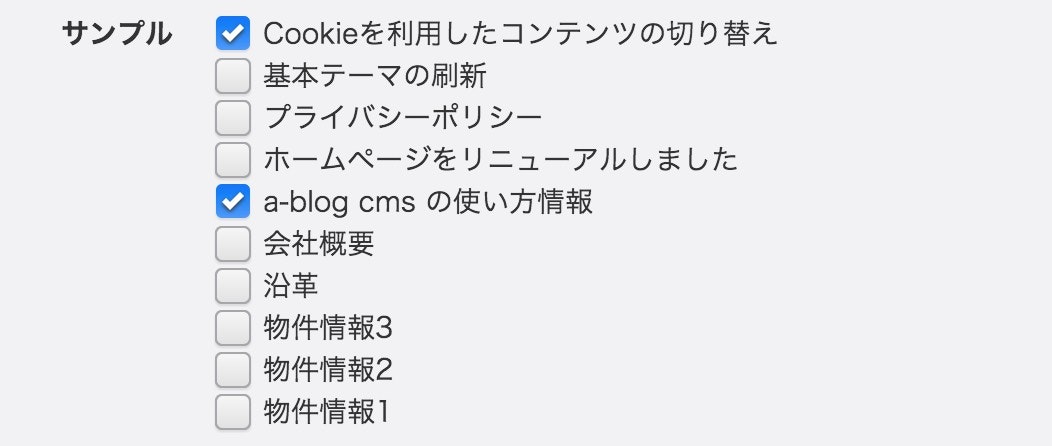
a-blog cms のカスタムフィールドは、テンプレートの HTML を手で書くことで選択肢を作ることができますが、その部分を動的にするにはカスタムフィールドの追加用のファイル field.html にモジュールを書いて追加することになります。
サンプルの HTML は以下のようになります。
field.html
    <!-- BEGIN_MODULE Entry_List id="moduleID" -->
    <!-- BEGIN entry:loop -->
    <label class="acms-admin-form-checkbox" for="input-sample-{eid}">
    <input type="checkbox" name="sample[]" value="{title}" id="input-sample-{eid}"\{sample:checked#{title}\} />
    <i class="acms-admin-ico-checkbox"></i>{title}</label><br>
    <!-- END entry:loop -->
    <input type="hidden" name="field[]" value="sample" />
    <!-- END_MODULE Entry_List -->
ポイントとしては \{sample:checked#{title}\} のようにモジュールが実行された後にも {変数} が残るようにバックスラッシュ (\) をつけてエスケープしておく必要があります。
これがわかれば、モジュールが入れ子になった複雑なモジュールのテンプレートも書けるようになると思います。
