エンジニアじゃないけどアプリが作りたかった
こんにちは。まつもとかづまさと申します
僕はこの記事を書いている現在は障害者支援施設で支援員として働いています。
今回は3 step wallet という知的障がいの方でも「暗号通貨決済をできるようにする」という目的で作成したアプリの話です
3 step walletはこちら
まずは作りたいページは3つ
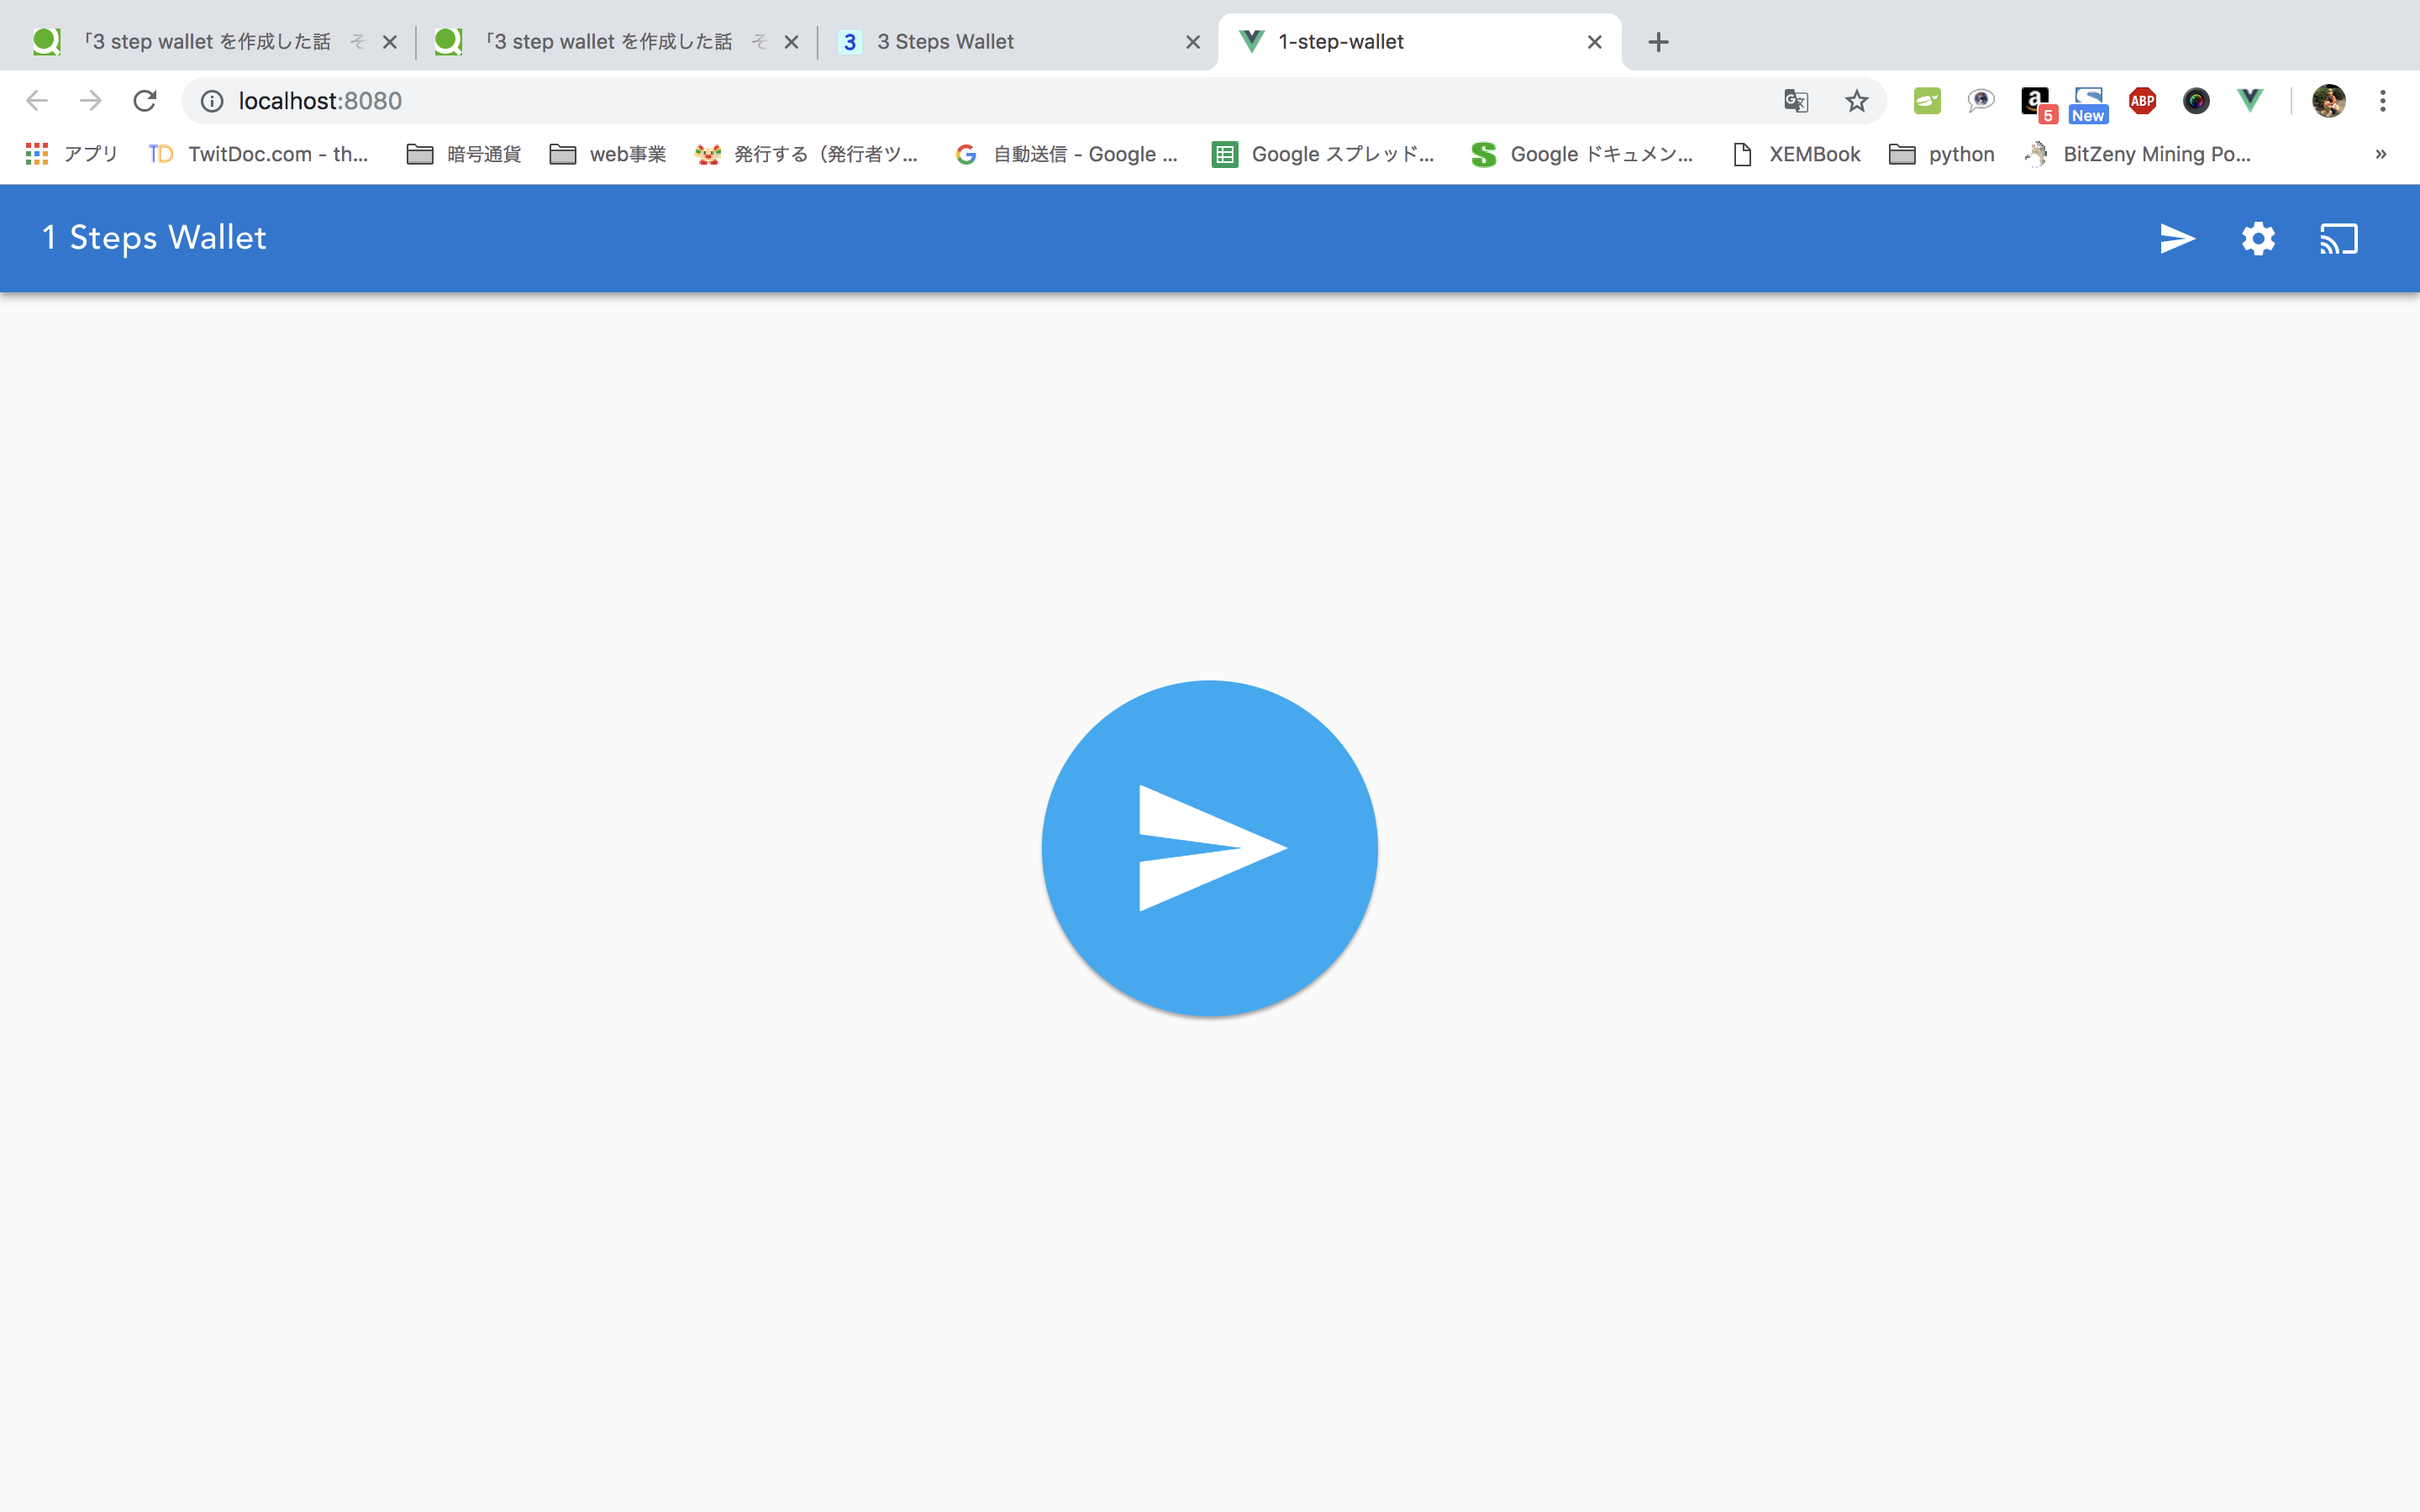
送金画面
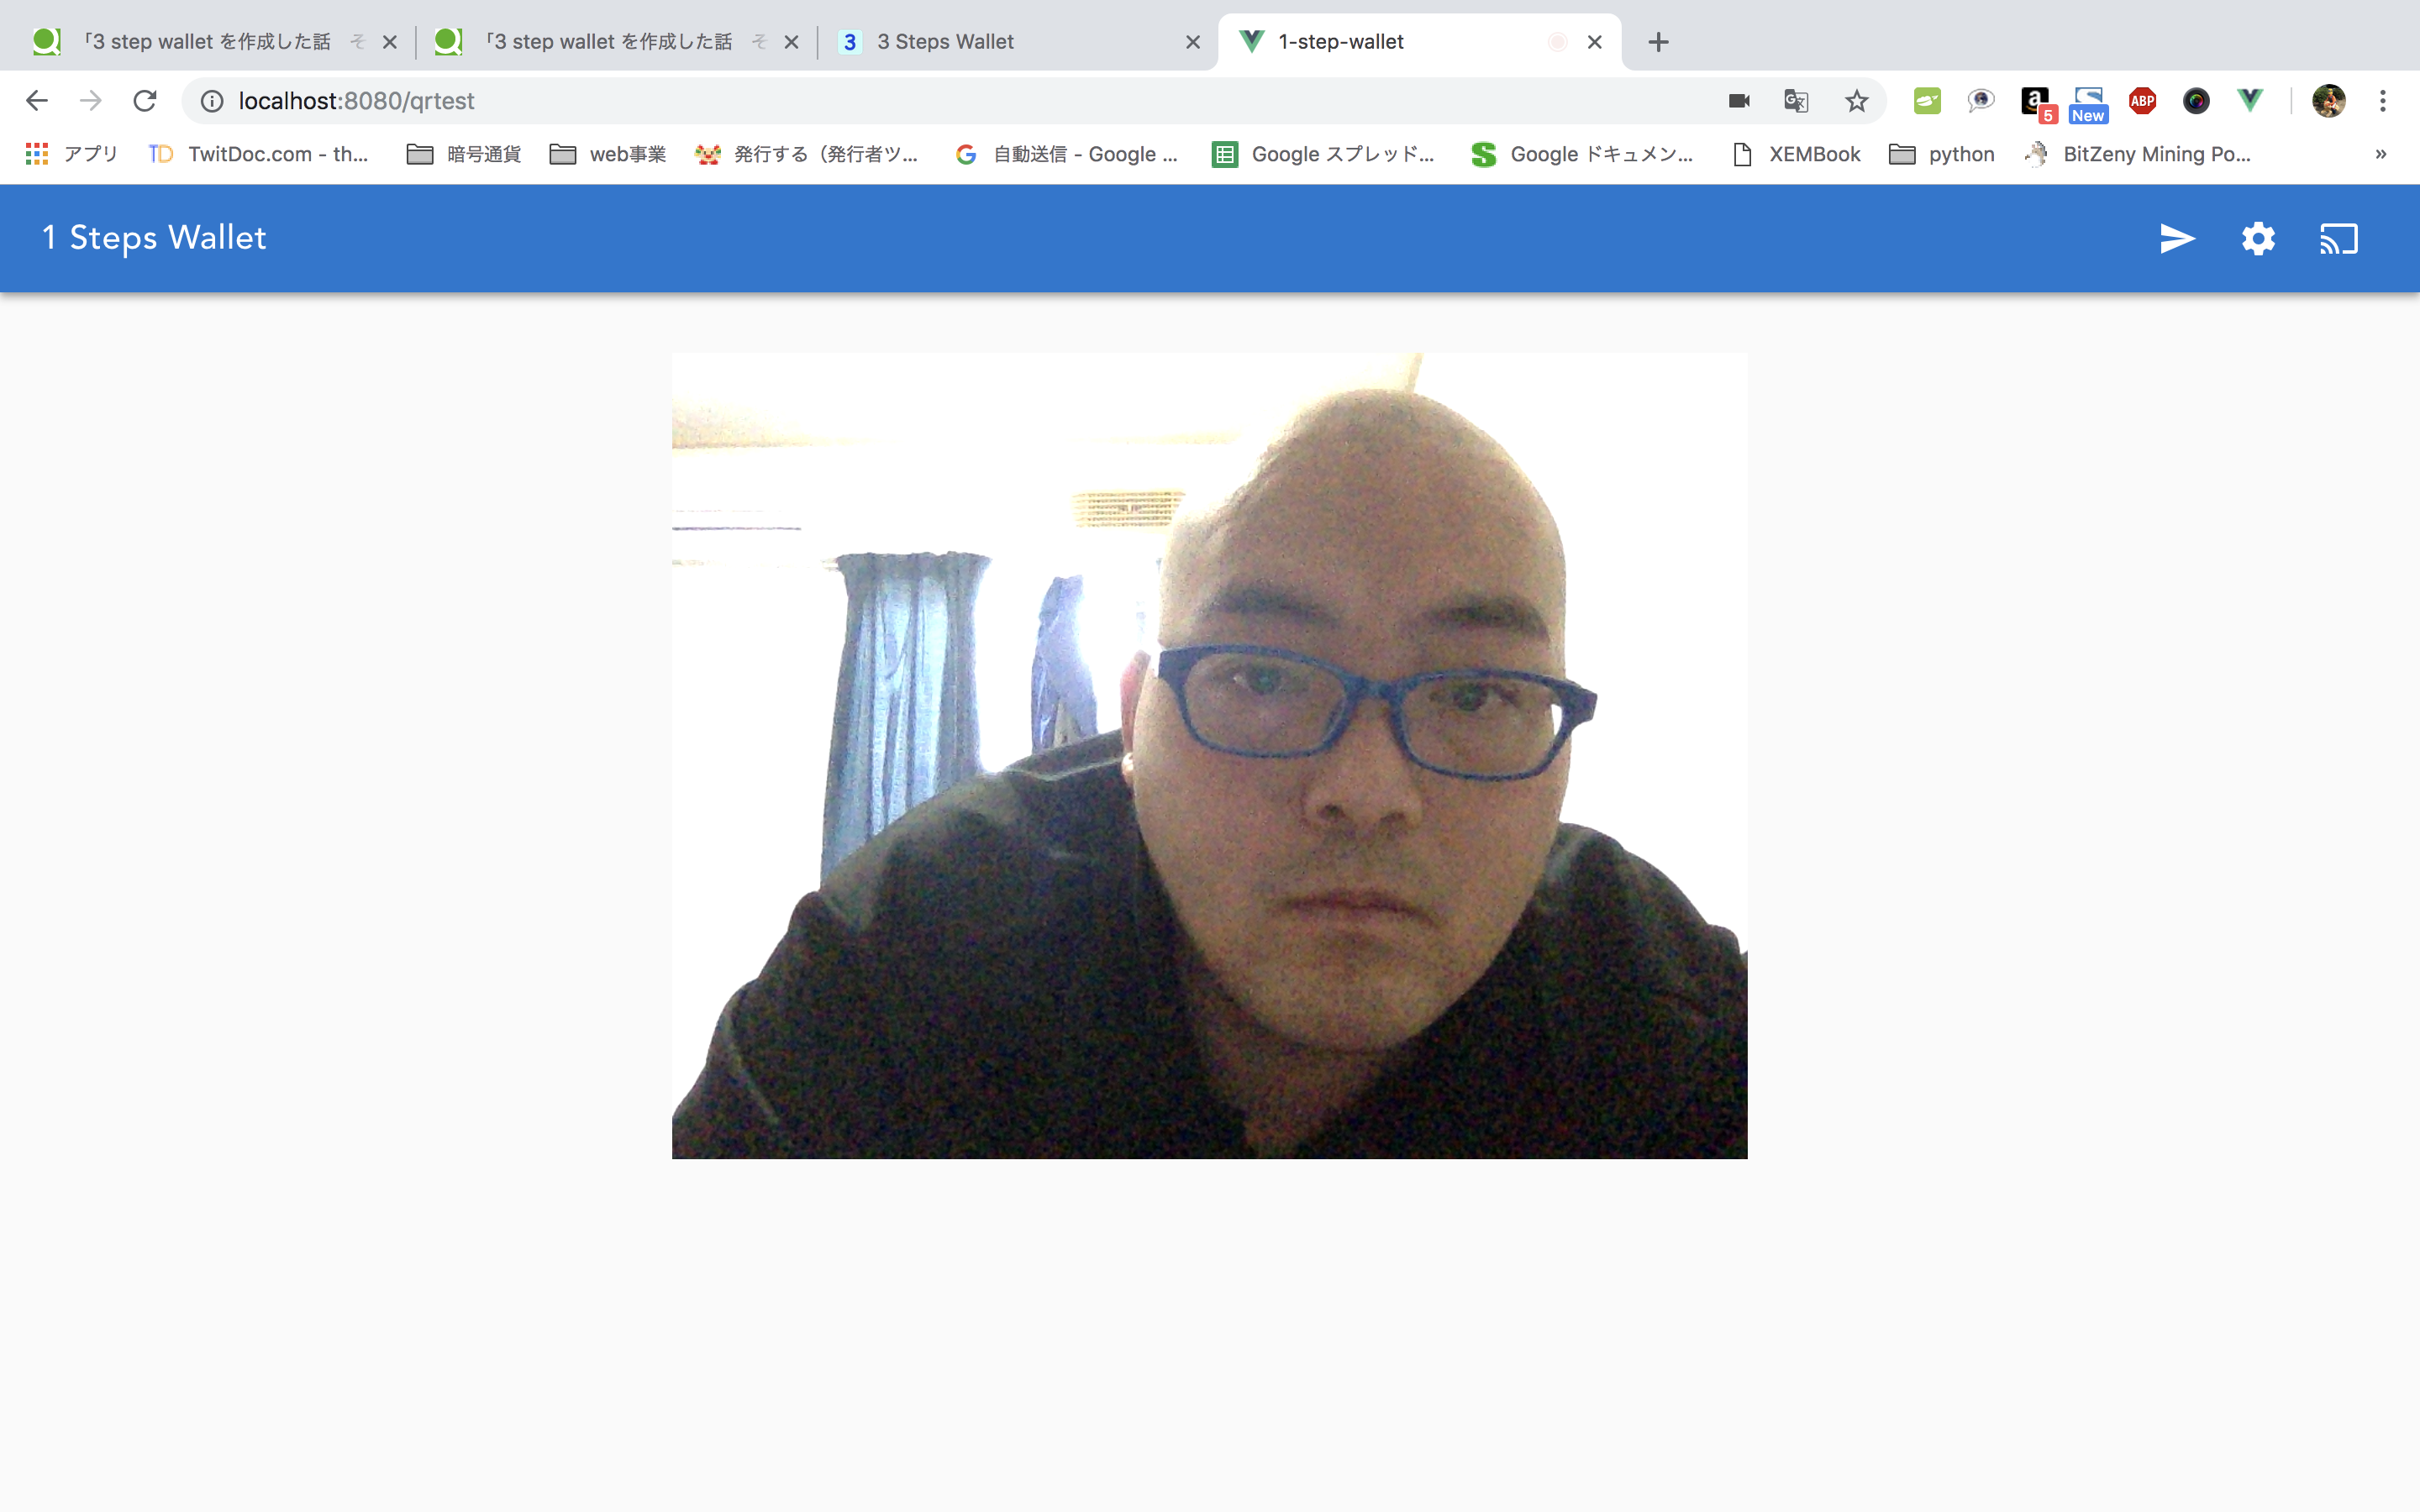
QRコード読み取り画面
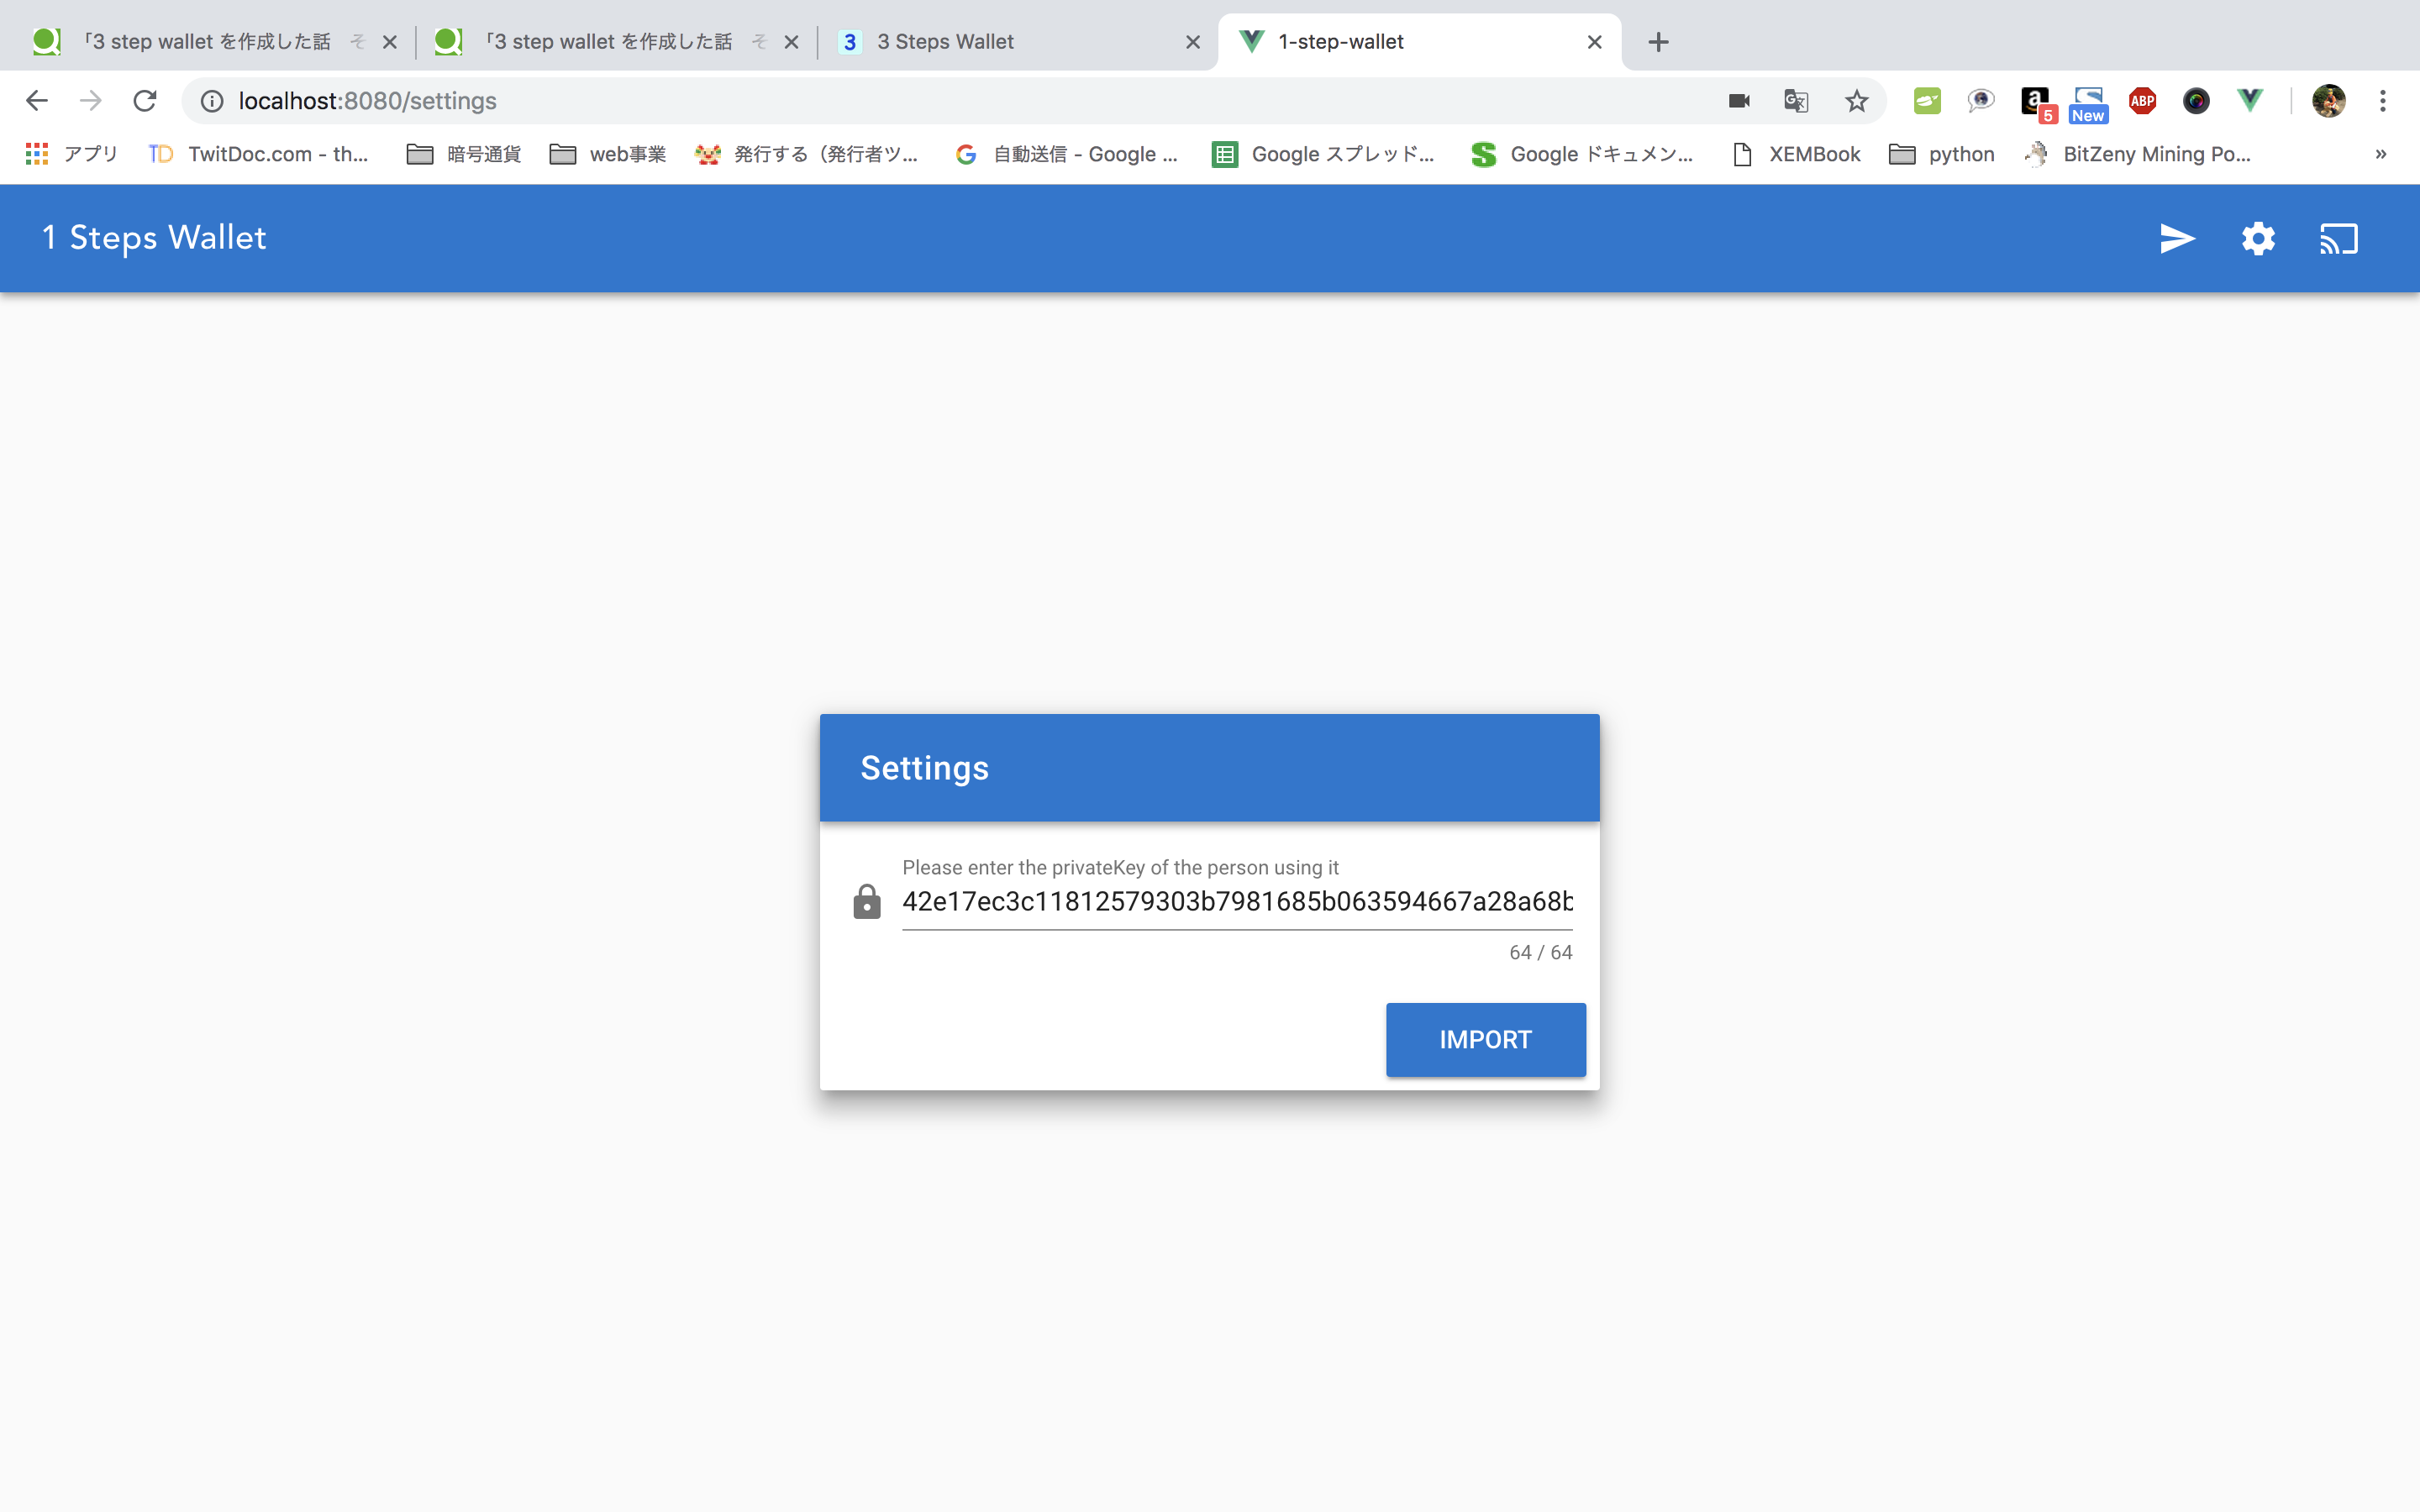
設定画面
この3つです。
これに加えて3ステップウォレットでは電話機能もありますがページの中身では送金画面となんら変わらないのが1つの理由と作り直しも兼ねてシングルシグで送金特化型のウォレットを作成中なので皆さんにも使いやすいようにして見ました。
3種類のページを作成します
それぞれを
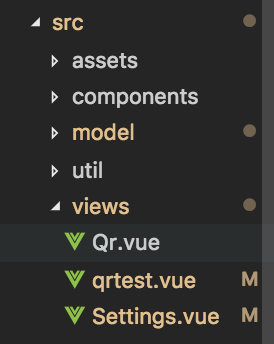
・Qr.vue
・qrtest.vue
・setting.vue
というページをviewsというファイルの中に作成しました。
イメージとしてはこんな感じ
これからの説明はvue-cli3で作成しているものを基準に話をしますが基本的なことは同じと思っていますのでこのまま進めていきます。
routerの設定
vue-cli3ではrouter.tsが設定されていますのでそこに書いていきます。
import Vue from 'vue';
import Router from 'vue-router';
import Qr from './views/Qr.vue';//Qr.vueというページ
import Qrtest from './views/qrtest.vue';//qrtest.vueというページ
import Settings from './views/Settings.vue'//Settings.vueというページ

Vue.use(Router);//vueのルーター使いますよと言っています(多分)

export default new Router({
  mode: 'history',
  base: process.env.BASE_URL,
  routes: [
    {
      path: '/', //最初に呼び出したいので'/'としています
      name: 'qr', //小文字
      component: Qr, //頭文字大文字
    },
    {
      path: '/settings',  //あとで説明します
      name: 'settings',
      component: Settings,
    },
    {
      path: '/qrtest', //あとで説明します
      name: 'qrtest',
      component: Qrtest,
    },
  ],
});
これでリンクによる表示が可能となりました。
まだ中身を作成していませんが一度
yarn serve
でページが表示されるか確認しましょう。
ライブラリのインポート
ここではこの記事を元に作成しています。ライブラリに関してもこれに1つQRコードを読み込むカメラ機能を追加します。
なのでこの記事を完成させてから
QRコードのライブラリの記事
を導入するという流れになります。
割愛しましたが結構簡単にできると思いますのでやって見てください。
import Vue from 'vue'
import App from './App.vue'
import router from './router'
import store from './store'
import './registerServiceWorker'
import Vuetify from 'vuetify'
import colors from 'vuetify/es5/util/colors'
import 'vue2-toast/lib/toast.css'
import Toast from 'vue2-toast'
import VueQriously from 'vue-qriously'
import 'material-icons/iconfont/material-icons.css'
import VueQrcodeReader from 'vue-qrcode-reader' //QRコードリーダー

Vue.use(Vuetify, {
  theme: {
    original: colors.purple.base,
    theme: '#FFDEEA',
    background: '#FFF6EA',
    view: '#ffa07a',
    select: '#FF7F78',
    button: '#5FACEF',
  },
  options: {
    themeVariations: ['original', 'secondary'],
  },
})
Vue.use(Toast, {
  defaultType: 'bottom',
  duration: 3000,
  wordWrap: true,
  width: '280px',
})
Vue.use(VueQriously)
Vue.use(VueQrcodeReader) //QRコードリーダー

Vue.config.productionTip = false;

new Vue({
  router,
  store,
  render: (h) => h(App),
}).$mount('#app')
declare module '*.vue' {
  import Vue from 'vue';
  export default Vue;
}
declare module 'nem-sdk'
declare module 'encoding-japanese'
declare module 'vuetify/es5/util/colors'
declare module 'vue2-toast'
declare module 'vue-qriously'
declare module 'vue-qrcode-reader'
HTMLとCSSを書いていきます
まずはツールバーの部分

この部分は左にタイトル。右にアイコン3つそれぞれページに移動しましょうという設定をしています。
<template>
  <v-app>
    <header>
      <v-toolbar
      dark
      color="primary"
      clipped-left
      fixed
      app
     >
      <v-toolbar-title class="white--text">1 Steps Wallet</v-toolbar-title>
      <v-spacer></v-spacer>
      <router-link to="/"><v-btn flat icon color="white lighten-2"><v-icon>send</v-icon></v-btn></router-link>
      <router-link to="/settings"><v-btn flat icon color="white lighten-2"><v-icon>settings</v-icon></v-btn></router-link>
      <router-link to="/qrtest"><v-btn flat icon color="white lighten-2"><v-icon>cast</v-icon></v-btn></router-link>
      </v-toolbar>
    </header>
    <main>
      <router-view/>
    </main>
  </v-app>
</template>
<style lang="stylus">
# app
  font-family 'Avenir', Helvetica, Arial, sans-serif
  -webkit-font-smoothing antialiased
  -moz-osx-font-smoothing grayscale
  text-align center
  color #2c3e50

# nav
  padding 30px
  a
    font-weight bold
    color #2c3e50
    &.router-link-exact-active
      color #42b983
</style>
この中で<router-link to="/">という部分はこのページに移動しますよ!ということです。
でvuetifyの<v-btn>と<v-icon>そしてグーグルマテリアルアイコンを使って右上の3つを作成しました。
<router-link to="/"><v-btn flat icon color="white lighten-2"><v-icon>send</v-icon></v-btn></router-link>
<router-link to="/settings"><v-btn flat icon color="white lighten-2"><v-icon>settings</v-icon></v-btn></router-link>
<router-link to="/qrtest"><v-btn flat icon color="white lighten-2"><v-icon>cast</v-icon></v-btn></router-link>
次にQr.vue
<template>
  <div
    class="home"
    style="margin-top: 100px;">
    <v-flex xs12 sm6 offset-sm3>
      <v-container fluid>
        <router-link to="qrtest">
          <a id="fab" href="#">
            <v-icon>send</v-icon>
          </a>
        </router-link>
      </v-container>
    </v-flex>
  </div>
</template>

<style>
# fab {/*円の部分*/
    display: block;
    position: absolute;
    left: 0px;
    right: 0px;
    top: 0px;
    bottom: 0px;
    margin: auto;
    width: 200px;/*幅*/
    height: 200px;/*高さ*/
    background: #03a9f4;/*背景色*/
    text-align: center;/*中央寄せ*/
    border-radius: 50%;/*角丸く*/
    transition: .3s;/*滑らかな動きに*/
    box-shadow: 0 2px 2px 0 rgba(0,0,0,.12), 0 2px 2px 0 rgba(0,0,0,.24);/*影*/
}

# fab:hover {/*ホバー時*/
  box-shadow: 0 4px 5px 0 rgba(0,0,0,.14), 0 1px 10px 0 rgba(0,0,0,.12), 0 2px 4px -1px rgba(0,0,0,.2);
}

# fab i {/*中央のアイコン*/
  position: relative;
  color: white;
  line-height: 200px;/*=幅と高さ*/
  font-size: 100px;/*サイズ*/
  display: block;
    position: absolute;
    left: 0px;
    right: 0px;
    top: 0px;
    bottom: 0px;
    margin: auto;
}
</style>
機能はボタンを押したら次のページに飛ぶよ。それだけです
位置の調節やまるボタンの大きさなどはcssで行なっています。
次にqrtest.vue
<template lang="html">
 <qrcode-reader @decode="onDecode" :paused="paused"></qrcode-reader>
</template>
<style>
.qrcode-reader__inner-wrapper {
    display: flex;
    justify-content: center;
    margin-top: 100px;
}
canvas.qrcode-reader__tracking-layer {
    display: none;
}
</style>
ここはTypescriptの機能は結構書きますが、HTMLとCSSだけだとこんな感じ。ただ単に画面が表示されるだけです。
次にSettings.vue
<template>
  <v-app id="inspire">
    <v-content>
      <v-container fluid fill-height>
        <v-layout align-center justify-center>
          <v-flex xs12 sm8 md4>
            <v-card class="elevation-12">
              <v-toolbar dark color="primary">
                <v-toolbar-title>Settings</v-toolbar-title>
                <v-spacer></v-spacer>
              </v-toolbar>
              <v-card-text>
                <v-form>
                  <v-text-field
                  id="privateKey"
                  prepend-icon="lock"
                  name="privateKey"
                  label="Please enter the privateKey of the person using it"
                  v-model="privateKey"
                  :counter="64"
                  type="privateKey"></v-text-field>
                </v-form>
              </v-card-text>
              <v-card-actions>
                <v-spacer></v-spacer>
                <v-btn color="primary" class="white--text" large @click="goImport()">Import</v-btn>
              </v-card-actions>
            </v-card>
          </v-flex>
        </v-layout>

        <v-dialog v-model="isShowDialog" max-width="500px">
          <v-card>
              <div class="w-break">
                <v-card-title><font color="blue">{{ dialogTitle }}</font></v-card-title>
                <v-card-text v-html="dialogMsg"></v-card-text>
              </div>
              <v-card-actions>
                <v-spacer></v-spacer>
                <v-btn color="green darken-1" flat="flat" @click.native="tapDialog()">OK</v-btn>
              </v-card-actions>
          </v-card>
        </v-dialog>
      </v-container>
    </v-content>
  </v-app>
</template>
特徴としてはデザインはvuetifyに完全に依存しています。
ここから秘密鍵を入力してアカウントをインポートする機能を実装しますがそれはまた後日書きます。
とりあえず今日はここまで
実際にページが表示されるとおお!!となるので初心者だった僕はその経験は今でも覚えています。
では。。。