はじめに
Docker環境下のフロントエンド(Nuxt.js)とバックエンド(Rails API)を別々のリポジトリとして切り分けてみたい。となった際に、サブモジュール化する手順を学びました。
本記事では、「Rails×Nuxtで初期プロジェクト作成し、サブモジュール化するまでの流れ」を備忘録的にまとめています。
実行環境
- macOS Catalina: 10.15.4
- docker version: 19.03.13
目次
- git submodulesの概要
- docker環境構築
- APIモードでrails×mysqlの初期プロジェクトを作成
- nuxt初期プロジェクトを作成
- サブモジュール化
最終的なディレクトリ構造
./
├── .gitmodules
├── docker-compose.yml
├── api/
│   ├── Gemfile
│   ├── Gemfile.lock
│   ├── Dockerfile
│   ├── environments
│   |   ├── db.env
│   ├── 以下省略
└── front/
│   ├── Dockerfile
│   ├── 以下省略
git submodulesの概要
git submoduleとは、外部のリポジトリを、自分のリポジトリのサブディレクトリとして紐付けて、特定のコミットを参照できるようにする仕組みのこと。
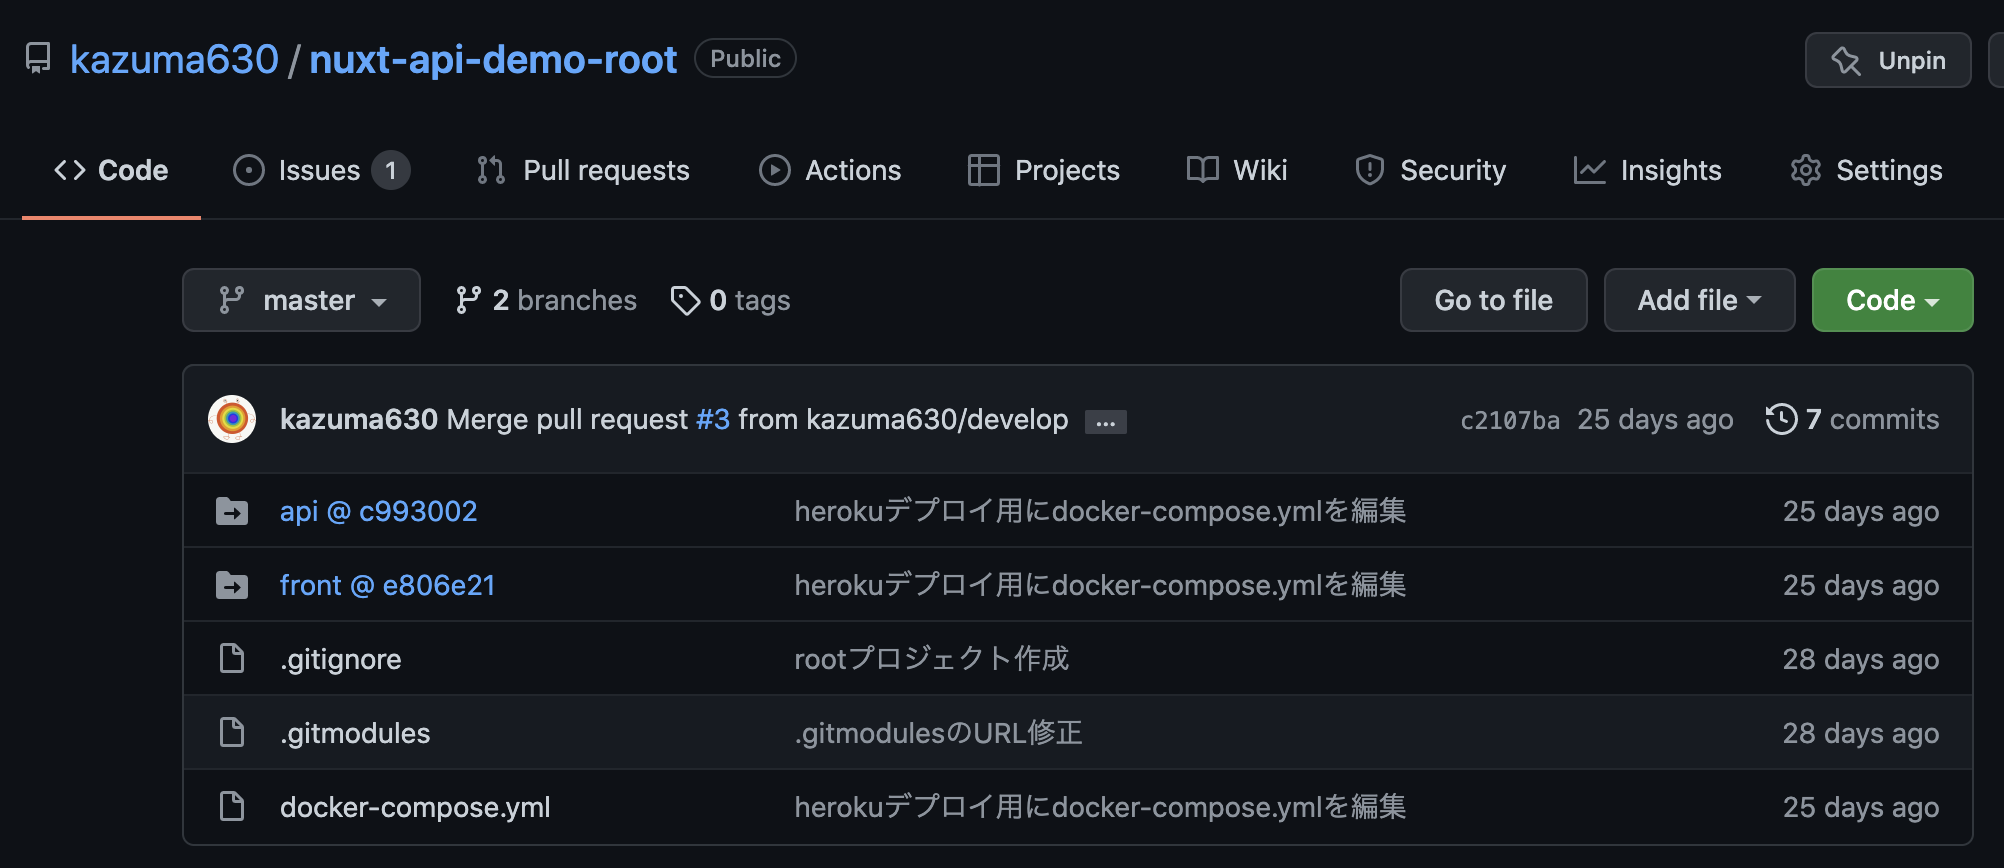
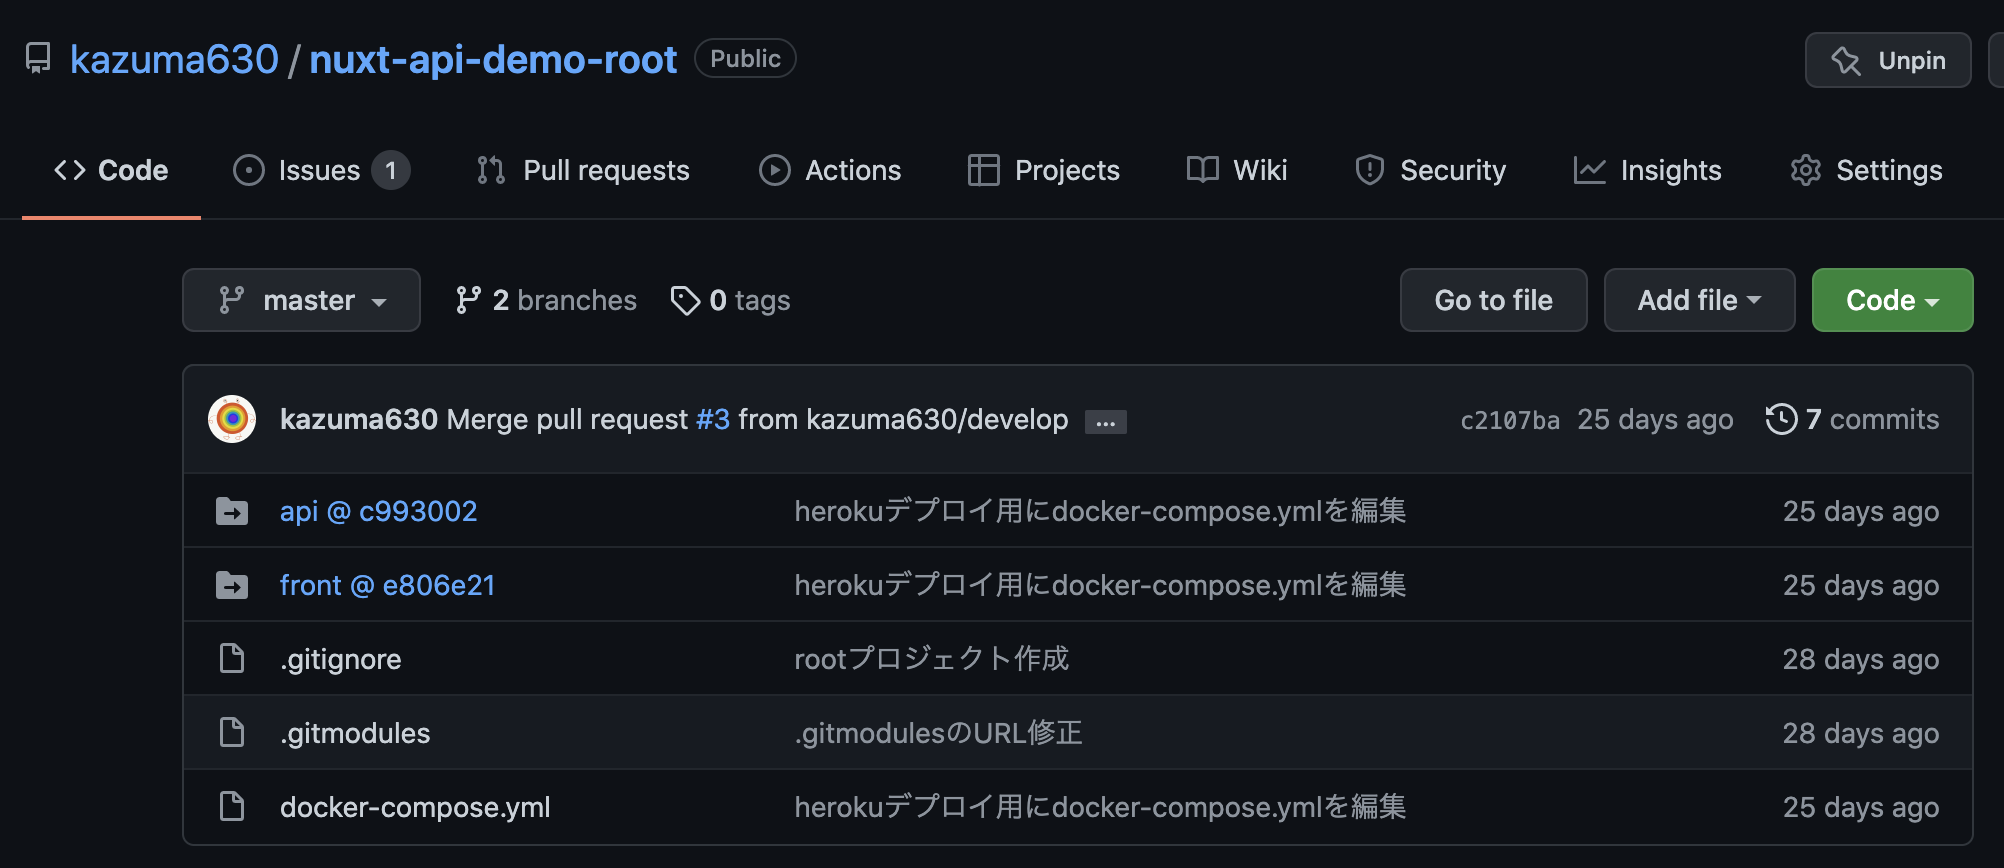
今回の例では、nuxt-api-demo-rootというリポジトリに、apiとfrontというリポジトリをサブモジュールとして紐付けています。
サブモジュール化することで何が嬉しいのか考える
自プロジェクトのコミットを汚さずに、別プロジェクトのコードを使えるのでプロジェクト間の疎結合を保ちやすいところだと思っています。
異なるリポジトリを紐付ける機能ので、ポリレポ(コードを多数のリポジトリに分割する )開発方針をとっている大規模な開発チームで採用されている印象です。
参考
-
ポリレポ VS モノリポについて Circle CIブログ
-
サブモジュールの詳細 git公式ドキュメント
Docker環境の構築【Rails×Nuxt×mysql】
実際にサブモジュール化するプロジェクトの作成をしていきます。
まずは、各プロジェクトディレクトリとDocker関連ファイル、Gemfileを作成します。
2022projects % mkdir nuxt-api-demo && cd $_
nuxt-api-demo % git init
nuxt-api-demo % mkdir {front,api} && cd api
# db.envは、mysqlの接続情報を記載するために作成
api % mkdir environments && touch environments/db.env
api % touch {Dockerfile,Gemfile,Gemfile.lock} && cd ../front
front % touch Dockerfile && cd ..
nuxt-api-demo % touch {docker-compose.yml}
Dockerfileを作成(api側)
# ベースイメージ指定
FROM ruby:2.7.2-alpine

# dockerfile内で使用する変数定義
ARG RUNTIME_PACKAGES="nodejs tzdata mysql-dev mysql-client git"
ARG DEV_PACKAGES="build-base curl-dev"

# Dockerコンテナ内で使える変数定義
ENV HOME="/app" \
    LANG=C.UTF-8 \
    TZ=Asia/Tokyo

# 作業ディレクトリ定義
WORKDIR ${HOME}

# ファイルコピー(ホスト -> コンテナ)
COPY Gemfile* ./

# apk => Alpine Linuxのコマンド
# apk update => パッケージの最新リストを取得
RUN apk update && \
    # apk upgrade => インストールパッケージを最新にする
    apk upgrade && \
    apk add --no-cache ${RUNTIME_PACKAGES} && \
    apk add --virtual build-dependencies --no-cache ${DEV_PACKAGES} && \
    # -j4(jobs=4) = Gemインストールの高速化
    bundle install -j4 && \
    # パッケージを削除(Dockerイメージを軽量化)
    apk del build-dependencies

COPY . ./

CMD ["rails", "server", "-b", "0.0.0.0"]
Dockerfileを作成(front側)
FROM node:16.13.1-alpine

ENV HOME="/app" \
    LANG=C.UTF-8 \
    TZ=Asia/Tokyo \
    HOST=0.0.0.0

WORKDIR ${HOME}
docker-compose.ymlファイルの作成
version: "3.8"

services:
  db:
    # ベースイメージを定義
    image: mysql:5.7
    # 環境変数を設定したファイルの読み込み
    env_file:
      - ./api/environments/db.env
    # sequel proとの接続のため、ローカルの4306番をMySQLコンテナの3306番と繋ぐ
    ports:
        - "4306:3306"
    # ホスト側のディレクトリをコンテナで使用(ホストパス:コンテナパス)
    volumes:
      - db-data:/var/lib/mysql:cached

  api:
    build:
      context: ./api
    env_file:
      - ./api/environments/db.env
    volumes:
      - ./api:/app:cached
    depends_on:
      - db
    ports:
      - 3000:3000

  front:
    build:
      context: ./front
    command: yarn run dev
    volumes:
      - ./front:/app:cached
    ports:
      - 8080:3000
    depends_on:
      - api

volumes:
  db-data:
APIモードでrails×mysqlの初期プロジェクトを作成
db.envファイルの作成
mysqlの接続情報を記述します。
MYSQL_ROOT_PASSWORD=rootsample
MYSQL_USER=sampleuser
MYSQL_PASSWORD=sample
Gemfileの作成
※後のdocker-compose buildで読み込ませるrailsのバージョンを指定します。
source 'https://rubygems.org'
gem 'rails', '~> 6.0.0'
Railsの初期プロジェクト作成
## ビルド
nuxt-api-demo % docker-compose build
## apiモードでrailsの初期プロジェクト作成(apiモード、データベースはmysqlを指定。)
nuxt-api-demo % docker-compose run --rm api rails new . -f -B -d mysql --api
## ビルド再実行(Gemfileが書き換わったことでbundle installが必要となるため)
nuxt-api-demo % docker-compose build
database.ymlの修正(host~passwordの追加)
default: &default
  adapter: mysql2
  encoding: utf8mb4
  pool: <%= ENV.fetch("RAILS_MAX_THREADS") { 5 } %>
  username: <%= ENV.fetch('MYSQL_USER') { 'sampleuser' } %>
  password: <%= ENV.fetch('MYSQL_PASSWORD') { 'sample' } %>
  host: db
先ほど設定したMYSQL_USERにmysqlデータベースへのアクセス権限を付与する。
これを実行しないと、dockerコンテナでdb:createなどを実行した際にConnectionErrorが発生してしまいます。
-- GRANT権限(dbへのアクセス権)を持つユーザーを作る
nuxt-api-demo % docker-compose up
greeting-app % docker-compose exec db bash
# mysql -u root -p -e"GRANT ALL PRIVILEGES ON *.* TO 'sampleuser'@'%'; FLUSH PRIVILEGES;"
DBを作成して、railsサーバーを立ち上げてみます。
## DB作成
nuxt-api-demo % docker-compose run --rm api rails db:create
## railsサーバーが立ち上がることを確認
nuxt-api-demo % docker-compose up api
localhost:3000でおなじみの画面がでていれば成功!
Nuxt.js初期プロジェクトの作成
次に、yarnコマンドを使ってnuxt.jsの初期プロジェクトを作成します。
nuxt-api-demo % docker-compose run --rm front yarn create nuxt-app . --overwrite-dir
## 選択画面(お好みで選択してください。)
# プロジェクト名
? Project name: nuxt-api-demo
# プログラミング言語(JavaScript or Typescript)
? Programming language: JavaScript
# パッケージマネージャ(yarnの方がビルド早いので、Yarnにしてます。)
? Package manager: Yarn
# 後から入れられるので、一旦None
? UI framework: None
#
? Nuxt.js modules: Axios - Promise based HTTP client
? Linting tools: ESLint
? Testing framework: None
? Rendering mode: Single Page App
? Deployment target: Server (Node.js hosting)
? Development tools: (Press <space> to select, <a> to toggle all, <i> to invert selection)
? Continuous integration: None
? Version control system: Git
## 作成したプロジェクトが立ち上がることを確認
nuxt-api-demo % docker-compose up front
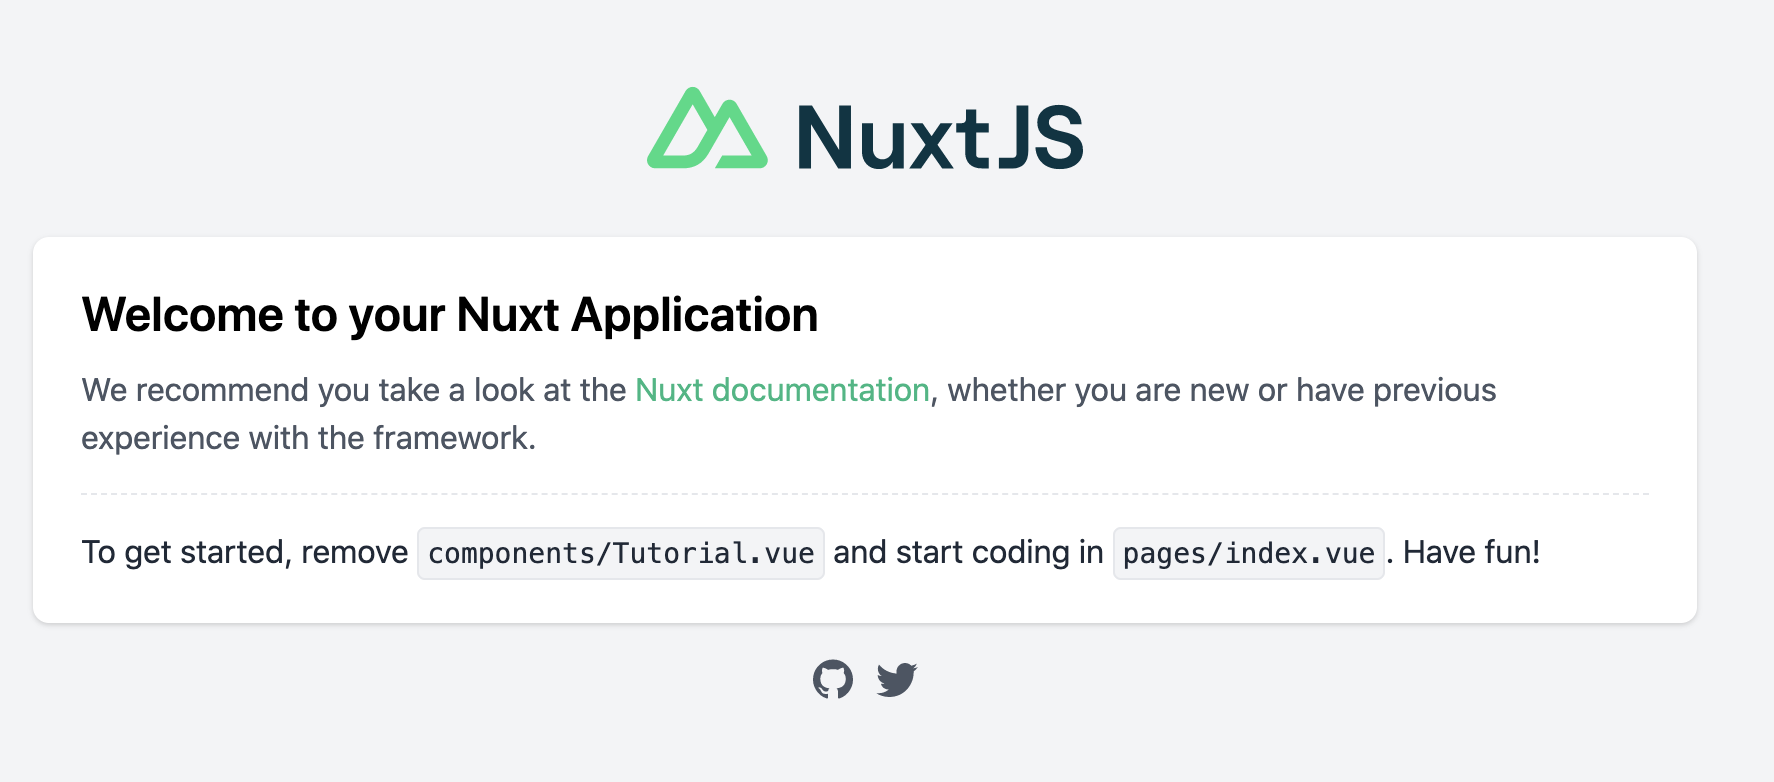
localhost:8080にアクセスして、下記のような表示がでていれば成功ですね。
git紐付け→サブモジュール化
サブモジュール化する各リポジトリが作成できたので、いよいよgitと紐付けていきます。
※サブモジュール→ルートの順番でコミットすすめる。
nuxt-api-demo % cd api
api % git add .
api % git commit -m "rails初期プロジェクト作成"
api % cd ../front
front % git init
front % git add .
front % git commit -m "nuxt初期プロジェクト作成"
front % cd ..
nuxt-api-demo % git add .
nuxt-api-demo % git commit -m "rootプロジェクト作成"
## サブモジュールの設定ファイルを作成
nuxt-api-demo % vi .gitmodules
gitmodulesを編集。(urlは後でgitリポジトリのリンクに変えるので仮置きです。)
[submodule "api"]
  path = api
  url = ./api
[submodule "front"]
  path = front
  url = ./front
サブモジュールの修正をコミット→github側でリポジトリ作成。
nuxt-api-demo % git add .
nuxt-api-demo % git commit -m "add .gitmodules"
nuxt-api-demo % cd api
## ここでgithubに移り、各リポジトリを作成しておく。(front,api,root)
## 作成したリポジトリurlを下に、リモートブランチと紐付けを行う。
api % git remote add origin git@github.com:kazuma630/nuxt-api-demo-api.git
api % git push
api % cd ../front
front % git remote add origin git@github.com:kazuma630/nuxt-api-demo-front.git
front % git push
front % cd ..
## ここで、仮置きしていたgitmodulesのURLを各リポジトリのURLへ修正する。
nuxt-api-demo % vi .gitmodules
gitmodulesの編集。
[submodule "api"]
  path = api
  url = https://github.com/kazuma630/nuxt-api-demo_api
[submodule "front"]
  path = front
  url = https://github.com/kazuma630/nuxt-api-demo_front
最後に、編集内容をコミット→ルートディレクトリをリモートリポジトリと紐付ける
nuxt-api-demo % git commit -am ".gitmodulesのURL修正"
nuxt-api-demo % git remote add origin git@github.com:kazuma630/nuxt-api-demo-root.git
nuxt-api-demo % git push
ここまで完了したら、githubに遷移して当初のゴールである「ルートディレクトリにapiとfrontリポジトリがサブモジュール化された状態」になっているはずです!
具体的なsubmoduleの使い方は、下記記事が非常に参考になりましたので、参照ください。
その他参考にさせていただいた資料
【前編】Rails+Nuxt+MySQL+Dockerで作ったWEBサービスをECS・ECR・CircleCIで自動テスト・デプロイしてterraform化する
【Git】既存の子ディレクトリをサブモジュール管理に変更する手順
完


