初めに
Next.jsでUnityWebGLアプリのホスティング方法が見つからなかったので、自分が実装した手順を記録します。
本手順では次のreact-unity-webglを使用しています。
手順
1.事前準備
2.Next.js環境構築&動作確認
- Node.jsの導入
次のサイトからダウンロード→インストールする
- Next.jsプロジェクト作成
npx create-next-app sample-app --use-npm --typescript
- サンプルプロジェクトディレクトリに移動
cd sample-app
- 開発環境で実行
以下のコマンドでビルド前でも動作を確認することができます
npm run dev
- ブラウザで開発環境での動作を確認
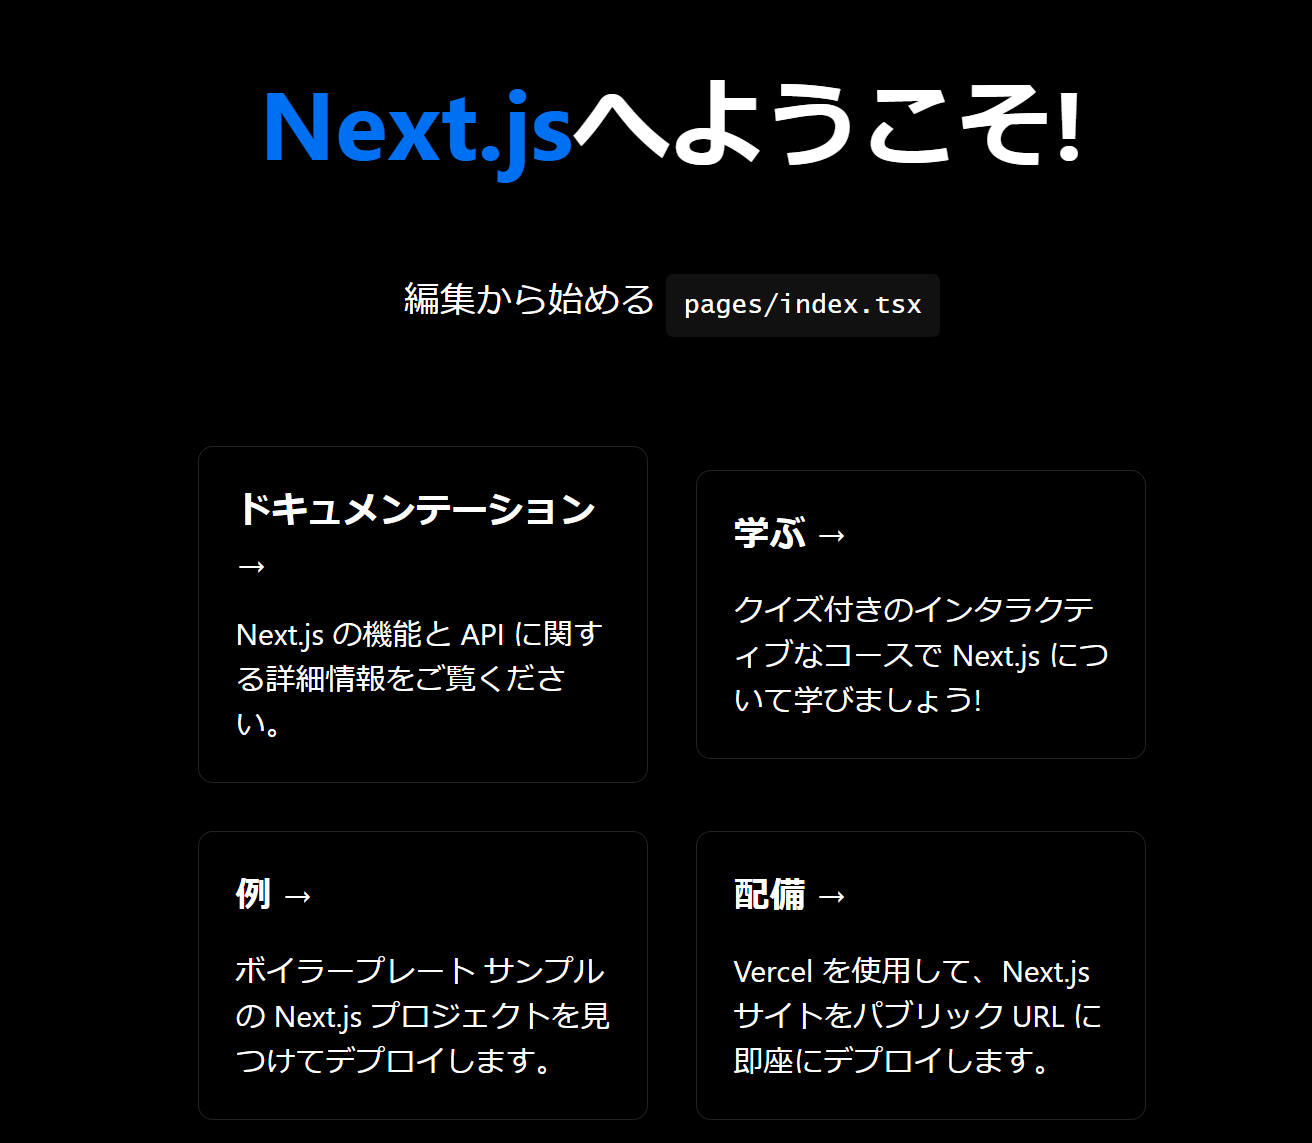
次の画面が表示されるのでURLをctrl + クリックでブラウザを開く

この画面が表示されれば環境構築が成功している(キャプチャは日本語翻訳が実行されている状態なので特に何もしていなければ英語で表示されます。)

3.UnityWebGLアプリの読み込み設定
- パッケージインストール
次のコマンドでreact-unity-webglをインストールする
npm install react-unity-webgl
sample-app\pages\index.tsx
// 先頭に追加
import Head from 'next/head'
import styles from '../styles/Home.module.css'
import UnityApp from '../components/UnityApp'

export default function Home() {
  return (
    <div className={styles.container}>
      <Head>
        <title>Create Next App</title>
        <meta name="description" content="Generated by create next app" />
        <link rel="icon" href="/favicon.ico" />
      </Head>
      <UnityApp></UnityApp>
    </div>
  )
}
- Unityビルドファイルの格納
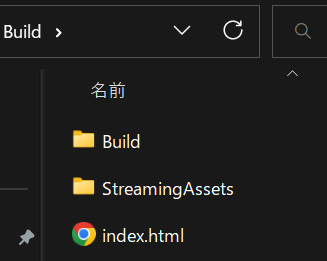
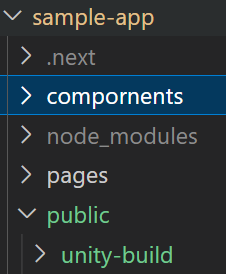
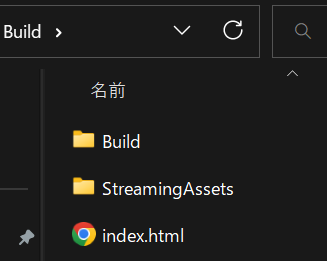
sample-app/public/にUnityのビルドファイルを格納するためのunity-build/をプロジェクトを追加し、その中にビルド時に生成されたディレクトリの中身をコピーする。
↓コピー元

↓コピー先sample-app/public/unity-build/

react-unity-webglのサンプルコードをベースにUnityApp.jsファイルを作成し、sample-app/public/unity-build/に格納されているファイルパスに修正する。
sample-app/compornents/UnityApp.js
import React from "react";
import { Unity, useUnityContext } from "react-unity-webgl";
export default function UnityApp() {
  const { unityProvider } = useUnityContext({
-    loaderUrl: "build/myunityapp.loader.js",
-    dataUrl: "build/myunityapp.data",
-    frameworkUrl: "build/myunityapp.framework.js",
-    codeUrl: "build/myunityapp.wasm",
+    loaderUrl: "../unity-build/Build/Build.loader.js",
+    dataUrl: "../unity-build/Build/Build.data.unityweb",
+    frameworkUrl: "../unity-build/Build/Build.framework.js.unityweb",
+    codeUrl: "../unity-build/Build/Build.wasm.unityweb",
+    streamingAssetsUrl: "../unity-build/StreamingAssets",
  });
  return (
    <Unity unityProvider={unityProvider} style={{ width: 800, height: 600 }} />
  );
}
ここでstyle={{ width: 800, height: 600 }} の部分をstyle={{ width: "100vw", height: "100vh" }} に書き換えるとUnityアプリ部分が全画面表示になります。
4.Next.jsプロジェクトのビルド&実行
- ビルド
次のコマンドでNext.jsプロジェクトをビルドする
npm run build
- 実行
次のコマンドでビルドしたプロジェクトを実行する
npm run start
開発環境時と同様にURLをctrl + クリック するとブラウザが起動し、アプリの動作を確認することができる

おまけ
多くのユースケースでUnity↔Next.js間で通信が必要になるメッセージ送受信方法についてはこちらを参考にしてみてください。
以上
