「IonicとFirebaseを使って3日で作る写真共有アプリ」シリーズの「画面処理の作成(Typescript)」編です。
まとめ記事はコチラ↓
https://qiita.com/kazuki502/items/585aef0d79ed1235bec0
前回までで見た目の部分は出来てきたので、今回は画面内の処理を作っていこうと思います。サーバーとの通信の部分は後程やるので、今回はアップロードする写真をプレビュー表示する部分を作っていきます。
写真をアップロードする前にプレビュー表示させる
前回の画面を作った段階ではこのような画面になっていると思います。

…もっとカッコよくしたいですよね。
画面のデザインを整える
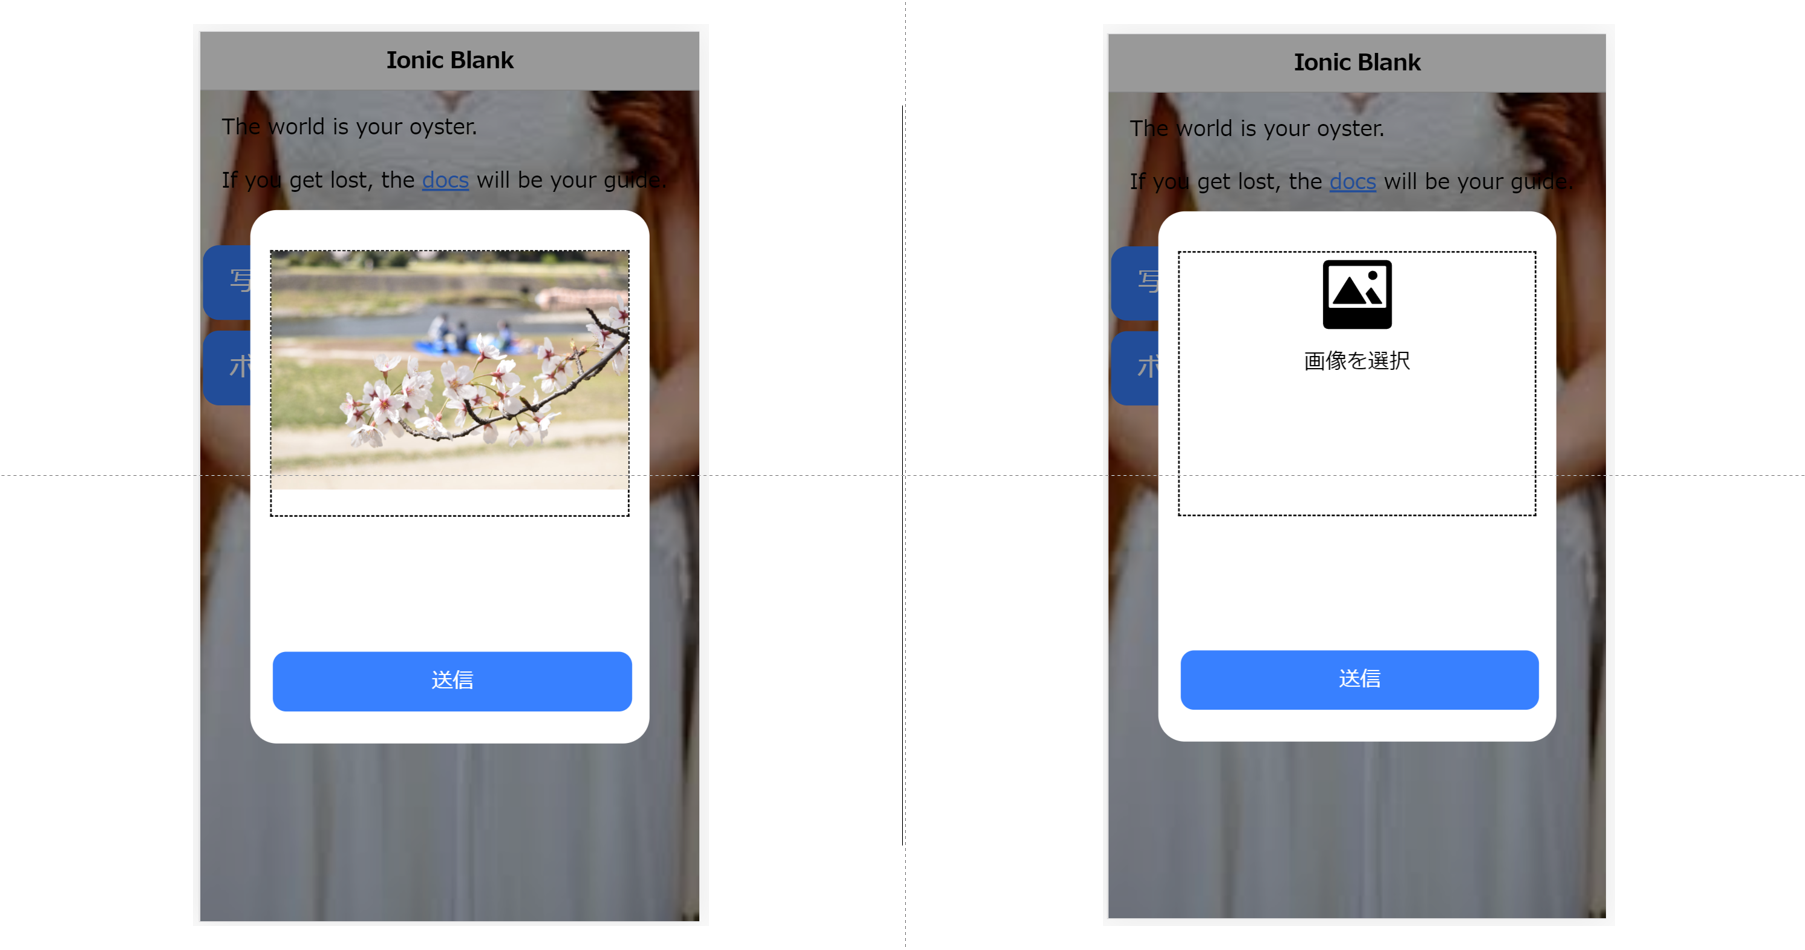
こういう時は、他のサイトを参考にして画面をデザインしていきましょう!とりあえず出てきたのはこんな感じの画面ですね。

破線の枠がある感じです。ではまずこれを作っていきましょう。ここでは"label"タグをいじっていきます。
<label class="photo" for="photo-upload">画像を選択</label>
<input type="file" name="photo" id="photo-upload">

<ion-button>送信</ion-button>
余計な文言を消して、"label"にcssクラスを追加しました。
そしてscssファイルを以下のように編集します(コピペでOKです)。
.photo {
    width: 90%;
    height: 200px;
    border: 1px #000 dashed;
    position: absolute;
    left: 50%;
    transform: translateX(-50%);
    top: 30px;
}
そうすると、先ほどのモーダル画面がこんな風になります。
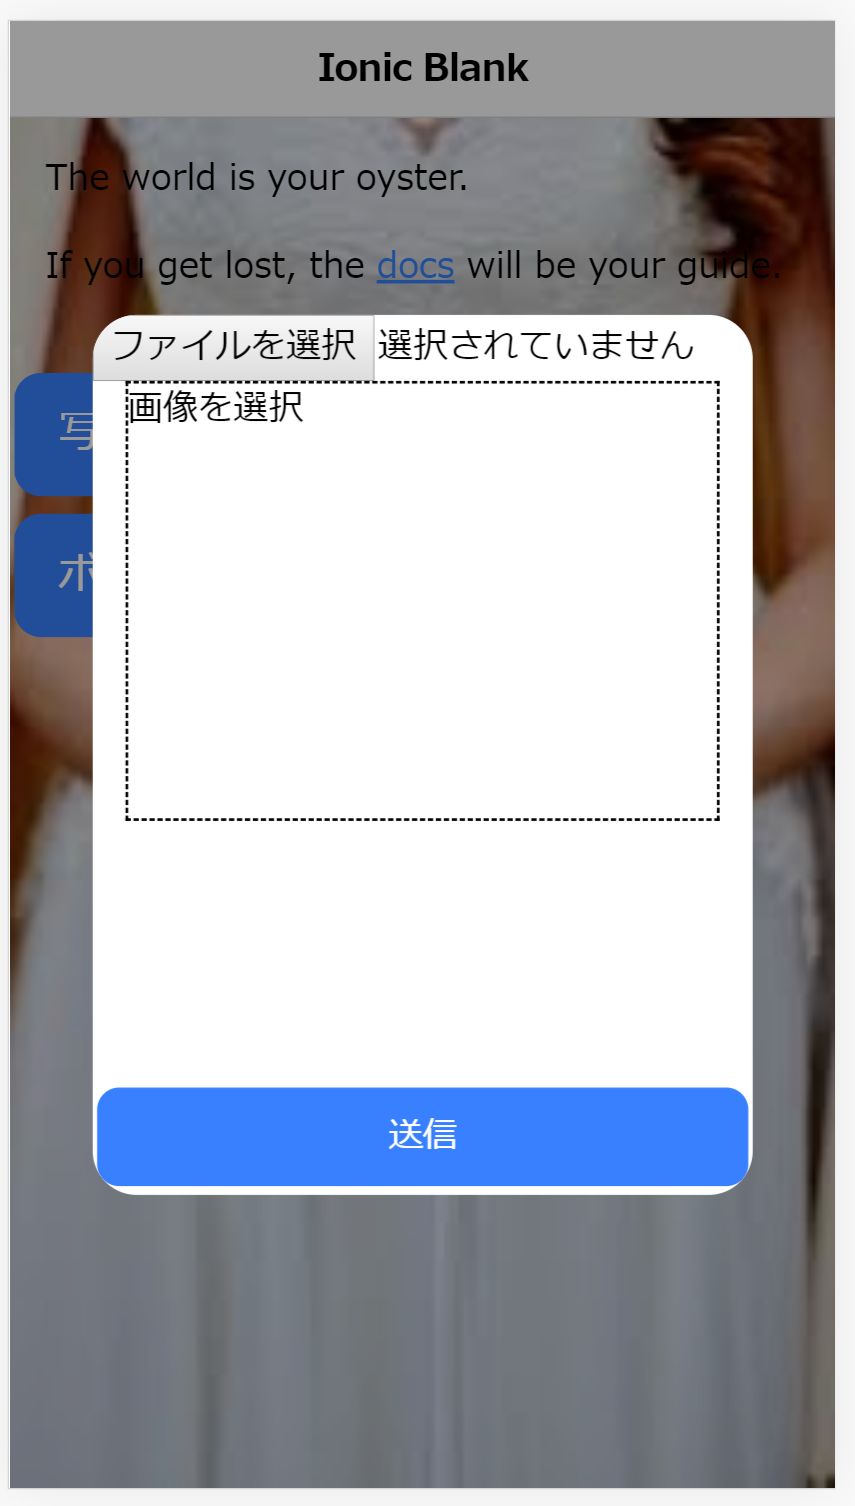
それっぽくなってきました。もうひと頑張りしたい方は、枠の中に写真のロゴなんか入れてみるとさらにそれっぽくなりますよ!Ionicにはロゴも用意されているので、目的にあるロゴを選びましょう。
Ionic logo
https://ionicons.com/
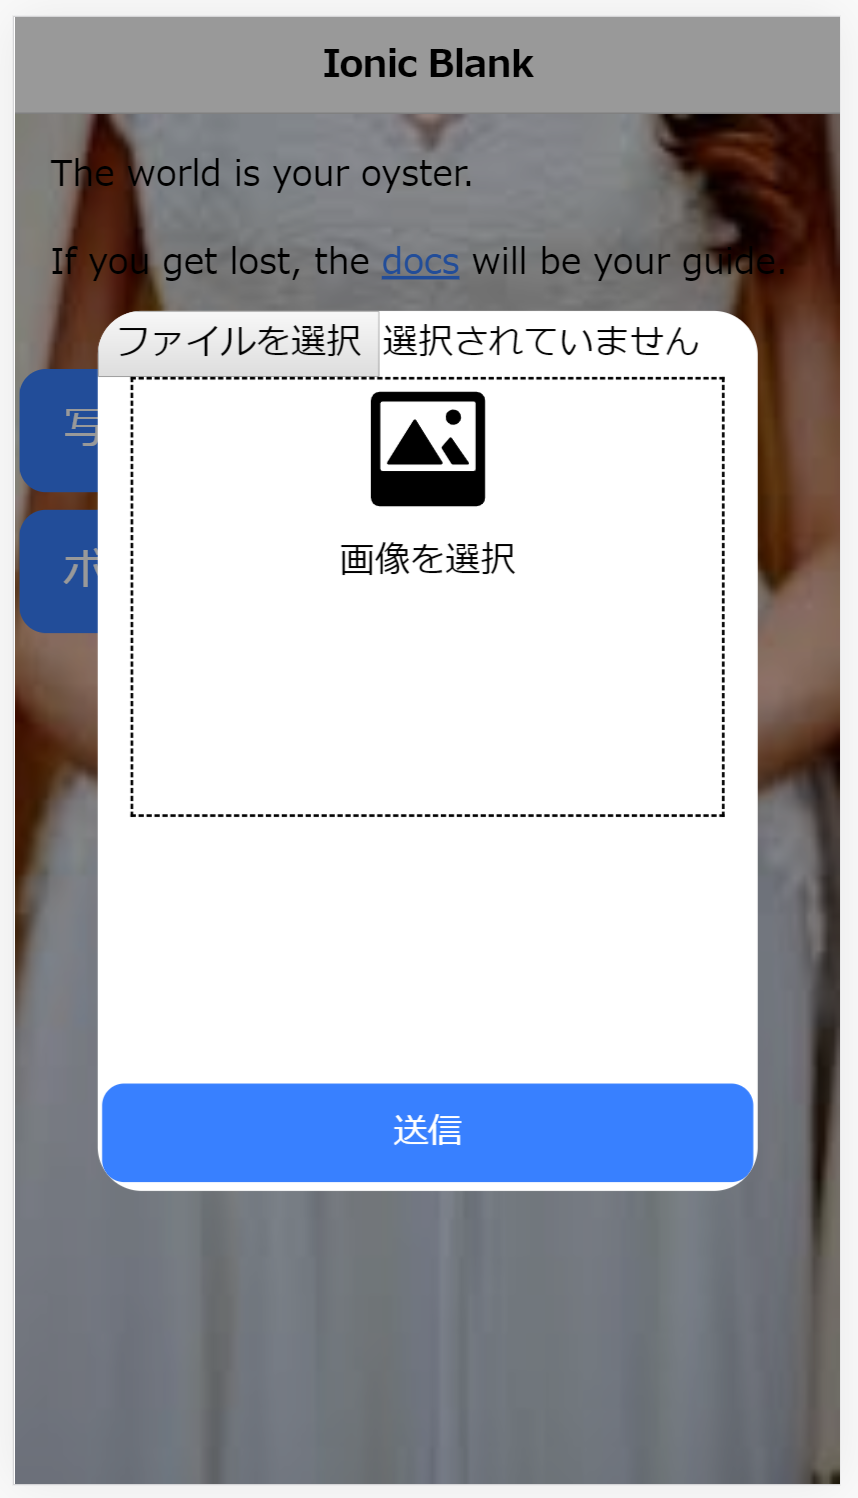
アイコンをクリックして下に出てきた"WEB COMPONENT CODE"をクリックしてコピーして自分のソースにペーストしましょう。それから少し調整を加えるとこのようになります。
<label class="photo" for="photo-upload">
  <ion-icon name="image"></ion-icon><br>
  画像を選択
</label>
<input type="file" name="photo" id="photo-upload">

<ion-button>送信</ion-button>
.photo {
    width: 90%;
    height: 200px;
    border: 1px #000 dashed;
    position: absolute;
    left: 50%;
    transform: translateX(-50%);
    top: 30px;
    text-align: center;
    vertical-align: middle;

    & > ion-icon {
        font-size: 4em;
    }
}
それっぽくなりましたね。
"ファイルを選択ボタン"を消す
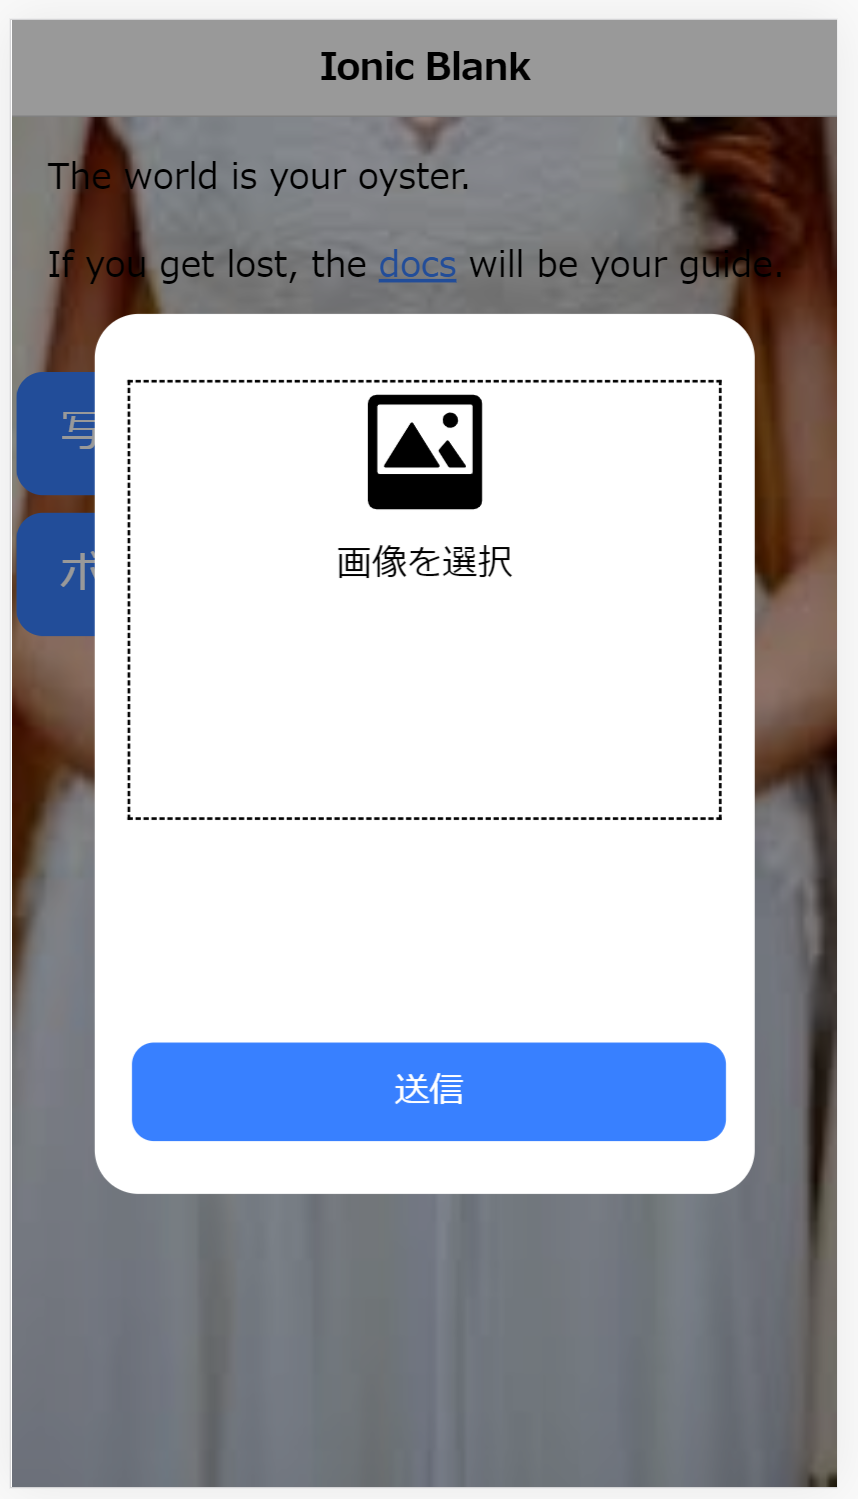
ファイルを選択ボタンはなんかいらない気がしますよね。枠線の中のエリアをクリックするとファイル選択画面が開くようにしたいですよね。はい、やりましょう。とても簡単です。ボタンの表示設定で非表示に設定すればいいんです。
.photo {
    width: 90%;
    height: 200px;
    border: 1px #000 dashed;
    position: absolute;
    left: 50%;
    transform: translateX(-50%);
    top: 30px;
    text-align: center;
    vertical-align: middle;

    & > ion-icon {
        font-size: 4em;
    }
}

// 送信ボタンスタイル
.send {
    position: absolute;
    bottom: 20px;
    left: 50%;
    transform: translateX(-50%);
    width: 90%;
}

// 画像選択input
# photo-upload {
    display: none; // ファイルをアップロードボタンを非表示に設定
}
そうすると、このような画面になります。(送信ボタンなど一部スタイルをして調整しています。
選択した写真を表示させる。
このままだと、写真を選択しても画面には何も反映されません。選択した写真を画面に反映させるにはどうすればいいでしょうか。それには、"FileReader"を使えばうまくいきます。まずは完成イメージと、完成ソースコードをご覧ください。説明はその後にします。
<label class="photo" for="photo-upload">
  <div [ngClass]="{'inactive': isSelected}">
    <ion-icon name="image"></ion-icon><br>
    画像を選択
  </div>
  <ion-img [ngClass]="{'inactive': !isSelected}" [src]="imageSrc"></ion-img>
</label>
<input type="file" name="photo" id="photo-upload" accept="image/*" (change)="previewPhoto($event)">

<ion-button class="send">送信</ion-button>
.photo {
    width: 90%;
    height: 200px;
    border: 1px #000 dashed;
    position: absolute;
    left: 50%;
    transform: translateX(-50%);
    top: 30px;
    text-align: center;
    vertical-align: middle;

    ion-icon {
        font-size: 4em;
    }
}

.inactive {
    display: none;
}

// 送信ボタンスタイル
.send {
    position: absolute;
    bottom: 20px;
    left: 50%;
    transform: translateX(-50%);
    width: 90%;
}

// 画像選択input
# photo-upload {
    display: none;
}
import { Component, OnInit, Input } from '@angular/core'; // Inputを追加
import { NavParams } from '@ionic/angular'; // 追加

const RESULT = 'result';

@Component({
  selector: 'app-modal-upload',
  templateUrl: './modal-upload.component.html',
  styleUrls: ['./modal-upload.component.scss'],
})
export class ModalUploadComponent implements OnInit {

  // "value" passed in componentProps
  public imageSrc: any;
  public isSelected: boolean;
  @Input() value: number;
  private reader = new FileReader();

  constructor(
    navParams: NavParams // 追加
  ) { }

  ngOnInit() {}

  public previewPhoto(event) {
    const file = event.target.files[0];
    this.reader.onload = ((e) => {
      this.imageSrc = e.target[RESULT];
      this.isSelected = true;
    });
    this.reader.readAsDataURL(file);
  }
}
このコードをコピペすればとりあえず動くと思います。それでは、それぞれで何をしているのか順を追って説明していきましょう。
FileReaderを設定する
まずは"modal-upload.component.ts"をご覧ください。今回はFileReaderをつかうので、内部オブジェクトとして宣言しています。
private reader = new FileReader();
そして、写真を選択したときの処理を定義します。
  public previewPhoto(event) {
    const file = event.target.files[0]; // パラメータからファイルを抽出
    this.reader.onload = ((e) => {
      this.imageSrc = e.target[RESULT]; // 予め用意しておいた変数に画像データを格納する
      this.isSelected = true; // 写真選択フラグを切り替える
    });
    this.reader.readAsDataURL(file);
  }
これで、選択した写真がthis.imageSrcに格納されます。FileReaderに関してはこれだけです。
previewを設定する
選択した写真をアプリに保持出来るようになったので、写真をどのように表示させるのかを説明していきます。先ほど"previewPhoto"という関数を定義しましたが、定義しただけでは関数を実行させることはできません。画面の要素と関連付ける必要があります。今回関連付けるべき要素は、"input"タグですね。画面要素と処理の紐づけはこのようにして書くことが出来ます。
<input type="file" name="photo" id="photo-upload" accept="image/*" (change)="previewPhoto($event)">
(change)="previewPhoto($event)"が重要な部分です。"(change)"はangularのイベントバインディングと呼ばれるもので、"change"というのは、要素に変更があったときなので写真が選択されたときですね。Angularのバインディングについて詳しく説明しているサイトが合ったので、もっと知りたい方はこちらをご覧ください。
これで、「写真が選択された」というイベントと、「選択された写真をアプリの中に保持する」という処理がつながりました。画像を表示するためにはこのように書けばよいです。
<ion-img [ngClass]="{'inactive': !isSelected}" [src]="imageSrc"></ion-img>
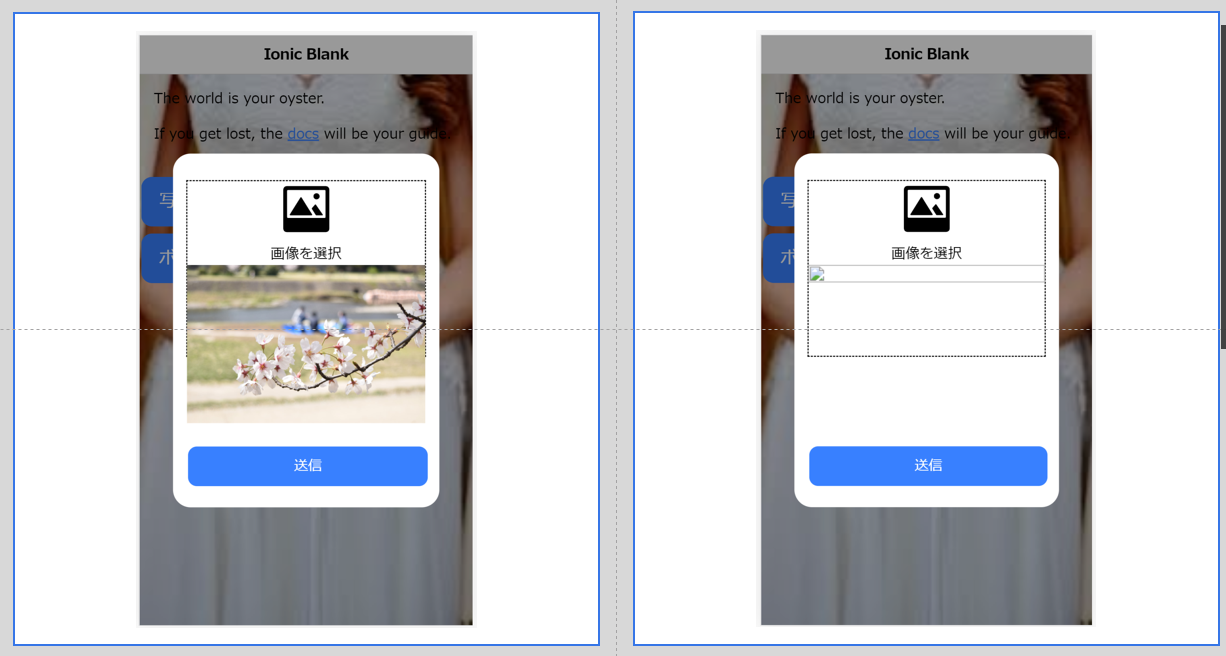
ion-imgタグのsrc要素に画像情報が保持されている変数を割り当てるだけです。"src"ではなく、"[src]"と括弧が付いているのも、Angularのバインディングの一種です。[ngClass]="{'inactive': !isSelected}"は、条件によってCSSクラスを切り替えるための記述です。写真を設定したときに、初期表示で出ていた文字と写真アイコンを消して、画像を表示するためのものです。これが無い場合は、初期表示・写真選択時にこんな表示の仕方になります。
イメージと違うというか、すこぶるダサいですよね笑。今回は、CSSクラスで表示・非表示を切り替えましたが、"*ngIf=..."というのを使っても同じことが出来ます。
