今回はSpring Securityから提供されているLDAP認証を使ってユーザ認証を行なってみたいと思います。
動作検証バージョン
- Spring Security 5.0.0.RELEASE
- Spring Boot 2.0.0.M7
- OpenLDAP 1.1.11
- phpLDAPadmin 0.7.1
- Apache Directpry Service 1.5.5 (おまけ:組み込みLDAPとして利用)
- Docker Community Edition Version 17.09.0-ce-mac35 (19611)
- macOS High Sierra Version 10.13.2
NOTE:
Spring Security 4.2.3.RELEASE(Spring Boot 1.5.9.RELEASE)でも同じコード・設定で動作します。
デモアプリのソースコード
OpenLDAPを立てる
なにはともあれLDAP環境がないと話が進まないので・・・今回はDocker(実際はDocker Compose)を利用してOpenLDAP(+phpLDAPadmin)環境を作成します。
version: '2'

services:
  openldap:
    image: osixia/openldap:1.1.11
    container_name: openldap
    environment:
      LDAP_ORGANISATION: "example"
      LDAP_DOMAIN: "example.com"
      LDAP_ADMIN_PASSWORD: "password"
    ports:
      - "10389:389"

  phpldapadmin:
    image: osixia/phpldapadmin:0.7.1
    container_name: phpldapadmin
    environment:
      PHPLDAPADMIN_LDAP_HOSTS: "ldap"
      PHPLDAPADMIN_HTTPS: "false"
    ports:
      - "18080:80"
    links:
      - "openldap:ldap"
Docker Composeを使用してOpenLDAPとphpLDAPadminのコンテナを起動します。
$ docker-compose up
Starting openldap ...
Starting openldap ... done
Starting phpldapadmin ...
Starting phpldapadmin ... done
Attaching to openldap, phpldapadmin
openldap        | *** CONTAINER_LOG_LEVEL = 3 (info)
openldap        | *** Set environment for startup files
openldap        | *** Environment files will be proccessed in this order :
openldap        | Caution: previously defined variables will not be overriden.
openldap        | /container/environment/99-default/default.yaml
openldap        |
openldap        | To see how this files are processed and environment variables values,
openldap        | run this container with '--loglevel debug'
openldap        | *** Running /container/run/startup/:ssl-tools...
openldap        | *** Running /container/run/startup/slapd...
openldap        | *** Set environment for container process
openldap        | *** Environment files will be proccessed in this order :
openldap        | Caution: previously defined variables will not be overriden.
openldap        | /container/environment/99-default/default.yaml
openldap        |
openldap        | To see how this files are processed and environment variables values,
openldap        | run this container with '--loglevel debug'
openldap        | *** Running /container/run/process/slapd/run...
openldap        | 5a313c11 @(#) $OpenLDAP: slapd  (Aug 10 2017 19:12:46) $
openldap        |       Debian OpenLDAP Maintainers <pkg-openldap-devel@lists.alioth.debian.org>
openldap        | TLS: warning: ignoring dhfile
openldap        | 5a313c11 slapd starting
phpldapadmin    | *** CONTAINER_LOG_LEVEL = 3 (info)
phpldapadmin    | *** Set environment for startup files
phpldapadmin    | *** Environment files will be proccessed in this order :
phpldapadmin    | Caution: previously defined variables will not be overriden.
phpldapadmin    | /container/environment/99-default/default.yaml
phpldapadmin    |
phpldapadmin    | To see how this files are processed and environment variables values,
phpldapadmin    | run this container with '--loglevel debug'
phpldapadmin    | *** Running /container/run/startup/:apache2...
phpldapadmin    | *** Running /container/run/startup/:cron...
phpldapadmin    | *** Running /container/run/startup/:logrotate...
phpldapadmin    | *** Running /container/run/startup/:php7.0-fpm...
phpldapadmin    | *** Running /container/run/startup/:ssl-tools...
phpldapadmin    | *** Running /container/run/startup/:syslog-ng-core...
phpldapadmin    | *** Running /container/run/startup/ldap-client...
phpldapadmin    | *** Running /container/run/startup/phpldapadmin...
phpldapadmin    | Set apache2 http config...
phpldapadmin    | *** Set environment for container process
phpldapadmin    | *** Environment files will be proccessed in this order :
phpldapadmin    | Caution: previously defined variables will not be overriden.
phpldapadmin    | /container/environment/99-default/default.yaml
phpldapadmin    |
phpldapadmin    | To see how this files are processed and environment variables values,
phpldapadmin    | run this container with '--loglevel debug'
phpldapadmin    | *** Running runit daemon...
phpldapadmin    | AH00558: apache2: Could not reliably determine the server's fully qualified domain name, using 172.19.0.3. Set the 'ServerName' directive globally to suppress this message
phpldapadmin    | AH00558: apache2: Could not reliably determine the server's fully qualified domain name, using 172.19.0.3. Set the 'ServerName' directive globally to suppress this message
phpldapadmin    | [Wed Dec 13 14:41:23.028729 2017] [core:warn] [pid 778:tid 139877479732416] AH00098: pid file /var/run/apache2/apache2.pid overwritten -- Unclean shutdown of previous Apache run?
phpldapadmin    | [Wed Dec 13 14:41:23.029523 2017] [mpm_event:notice] [pid 778:tid 139877479732416] AH00489: Apache/2.4.25 (Debian) OpenSSL/1.0.2l configured -- resuming normal operations
phpldapadmin    | [Wed Dec 13 14:41:23.029564 2017] [core:notice] [pid 778:tid 139877479732416] AH00094: Command line: '/usr/sbin/apache2 -D FOREGROUND'
phpldapadmin    | [13-Dec-2017 14:41:23] NOTICE: fpm is running, pid 766
phpldapadmin    | [13-Dec-2017 14:41:23] NOTICE: ready to handle connections
phpldapadmin    | [13-Dec-2017 14:41:23] NOTICE: systemd monitor interval set to 10000ms
phpldapadmin    | Dec 13 14:41:23 c62e83f54d9e syslog-ng[767]: syslog-ng starting up; version='3.8.1'
http://localhost:18080/ を開くと以下のような画面が表示されます。
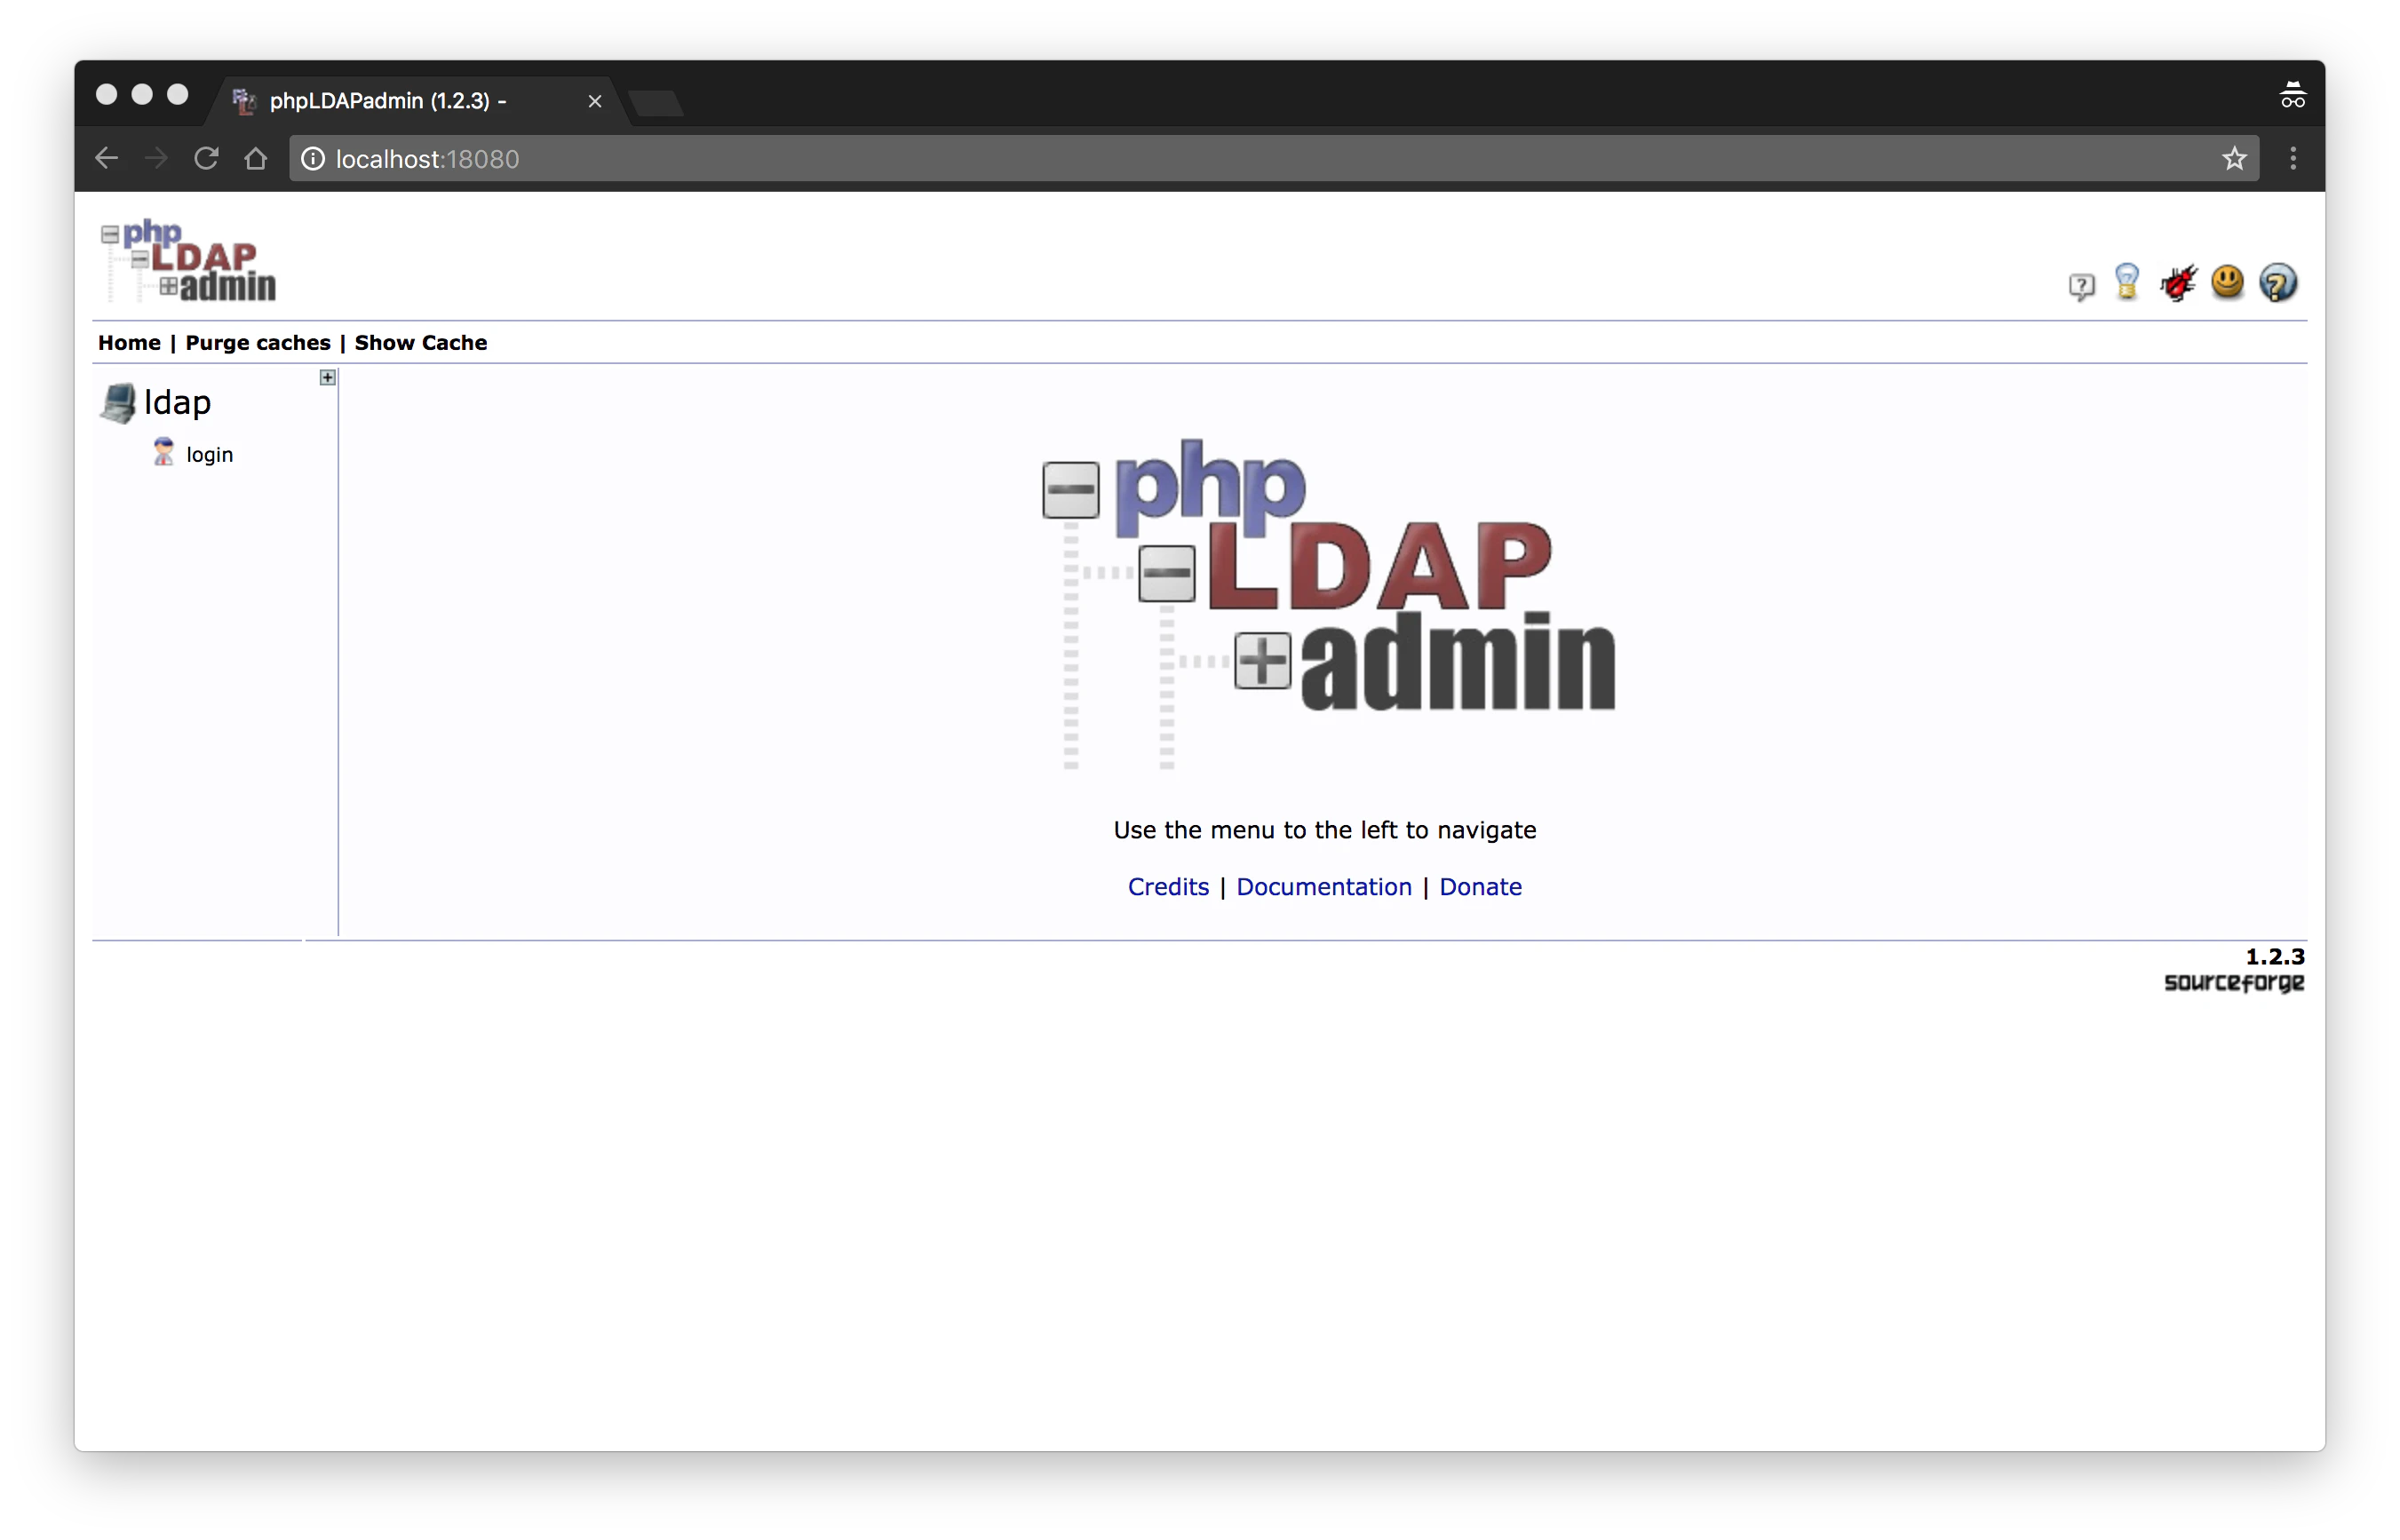
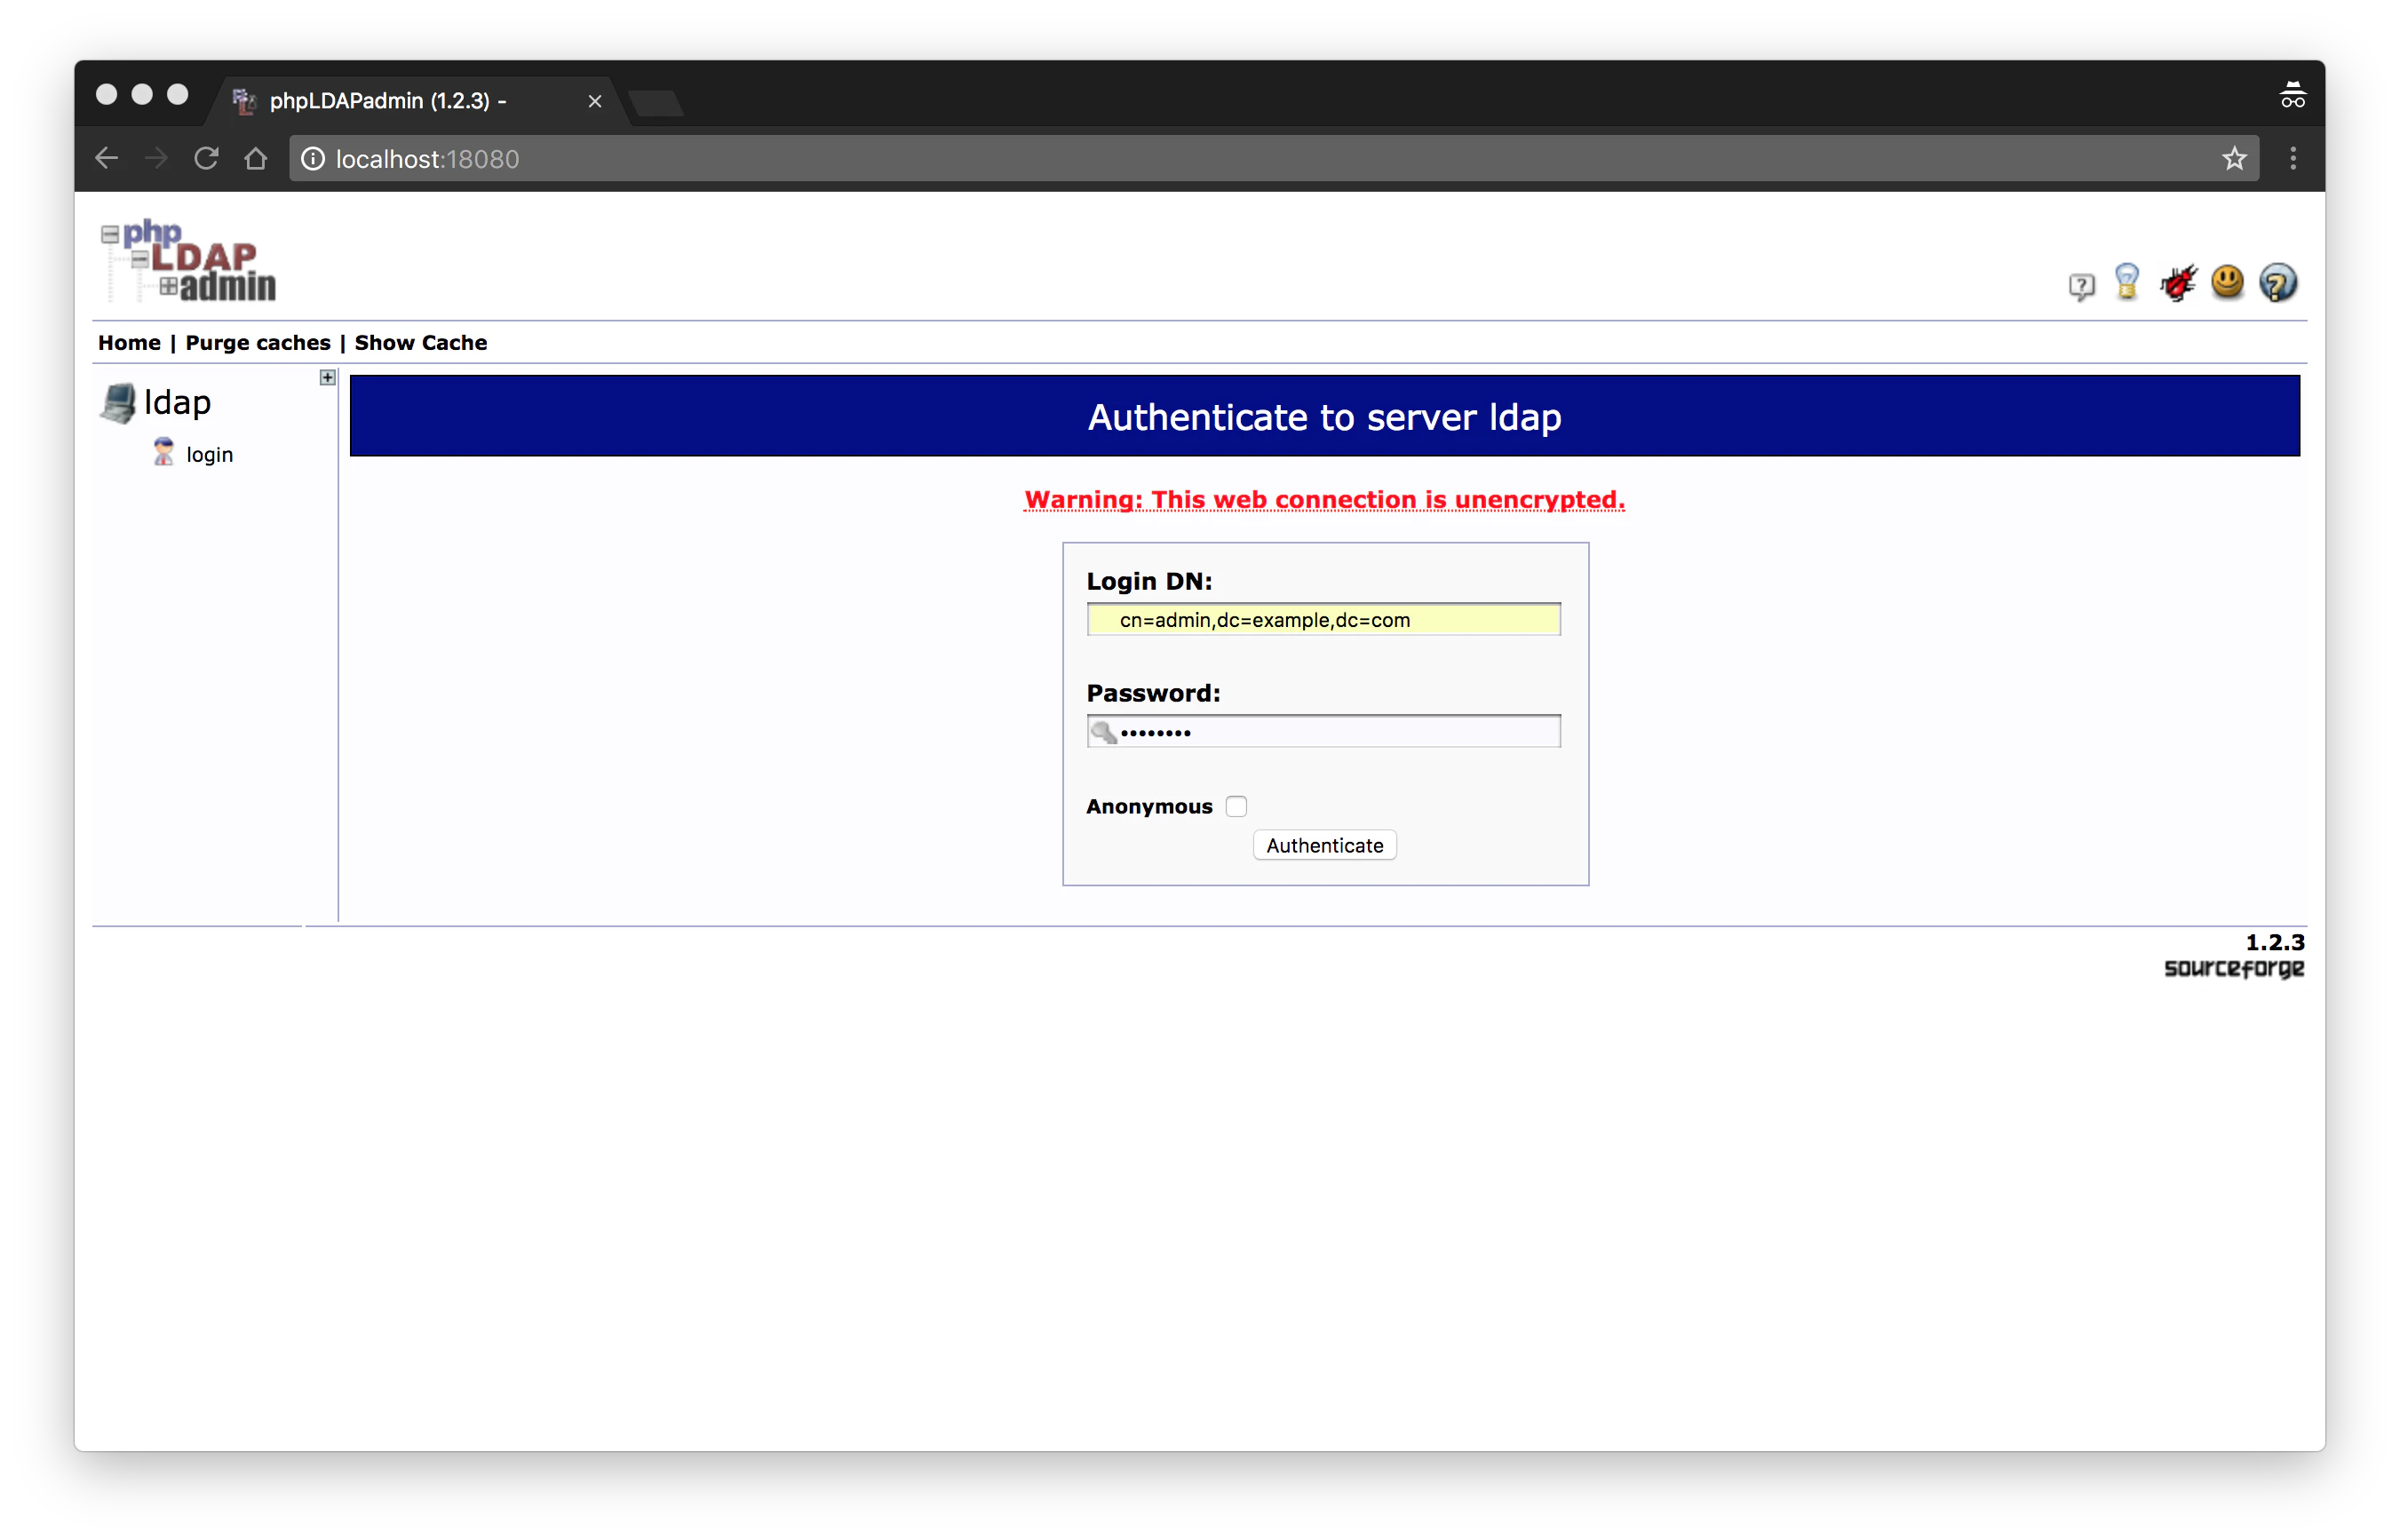
レフトメニューのloginリンクを押下し、
- Login DL :
cn=admin,dc=example,dc=com - Password :
password
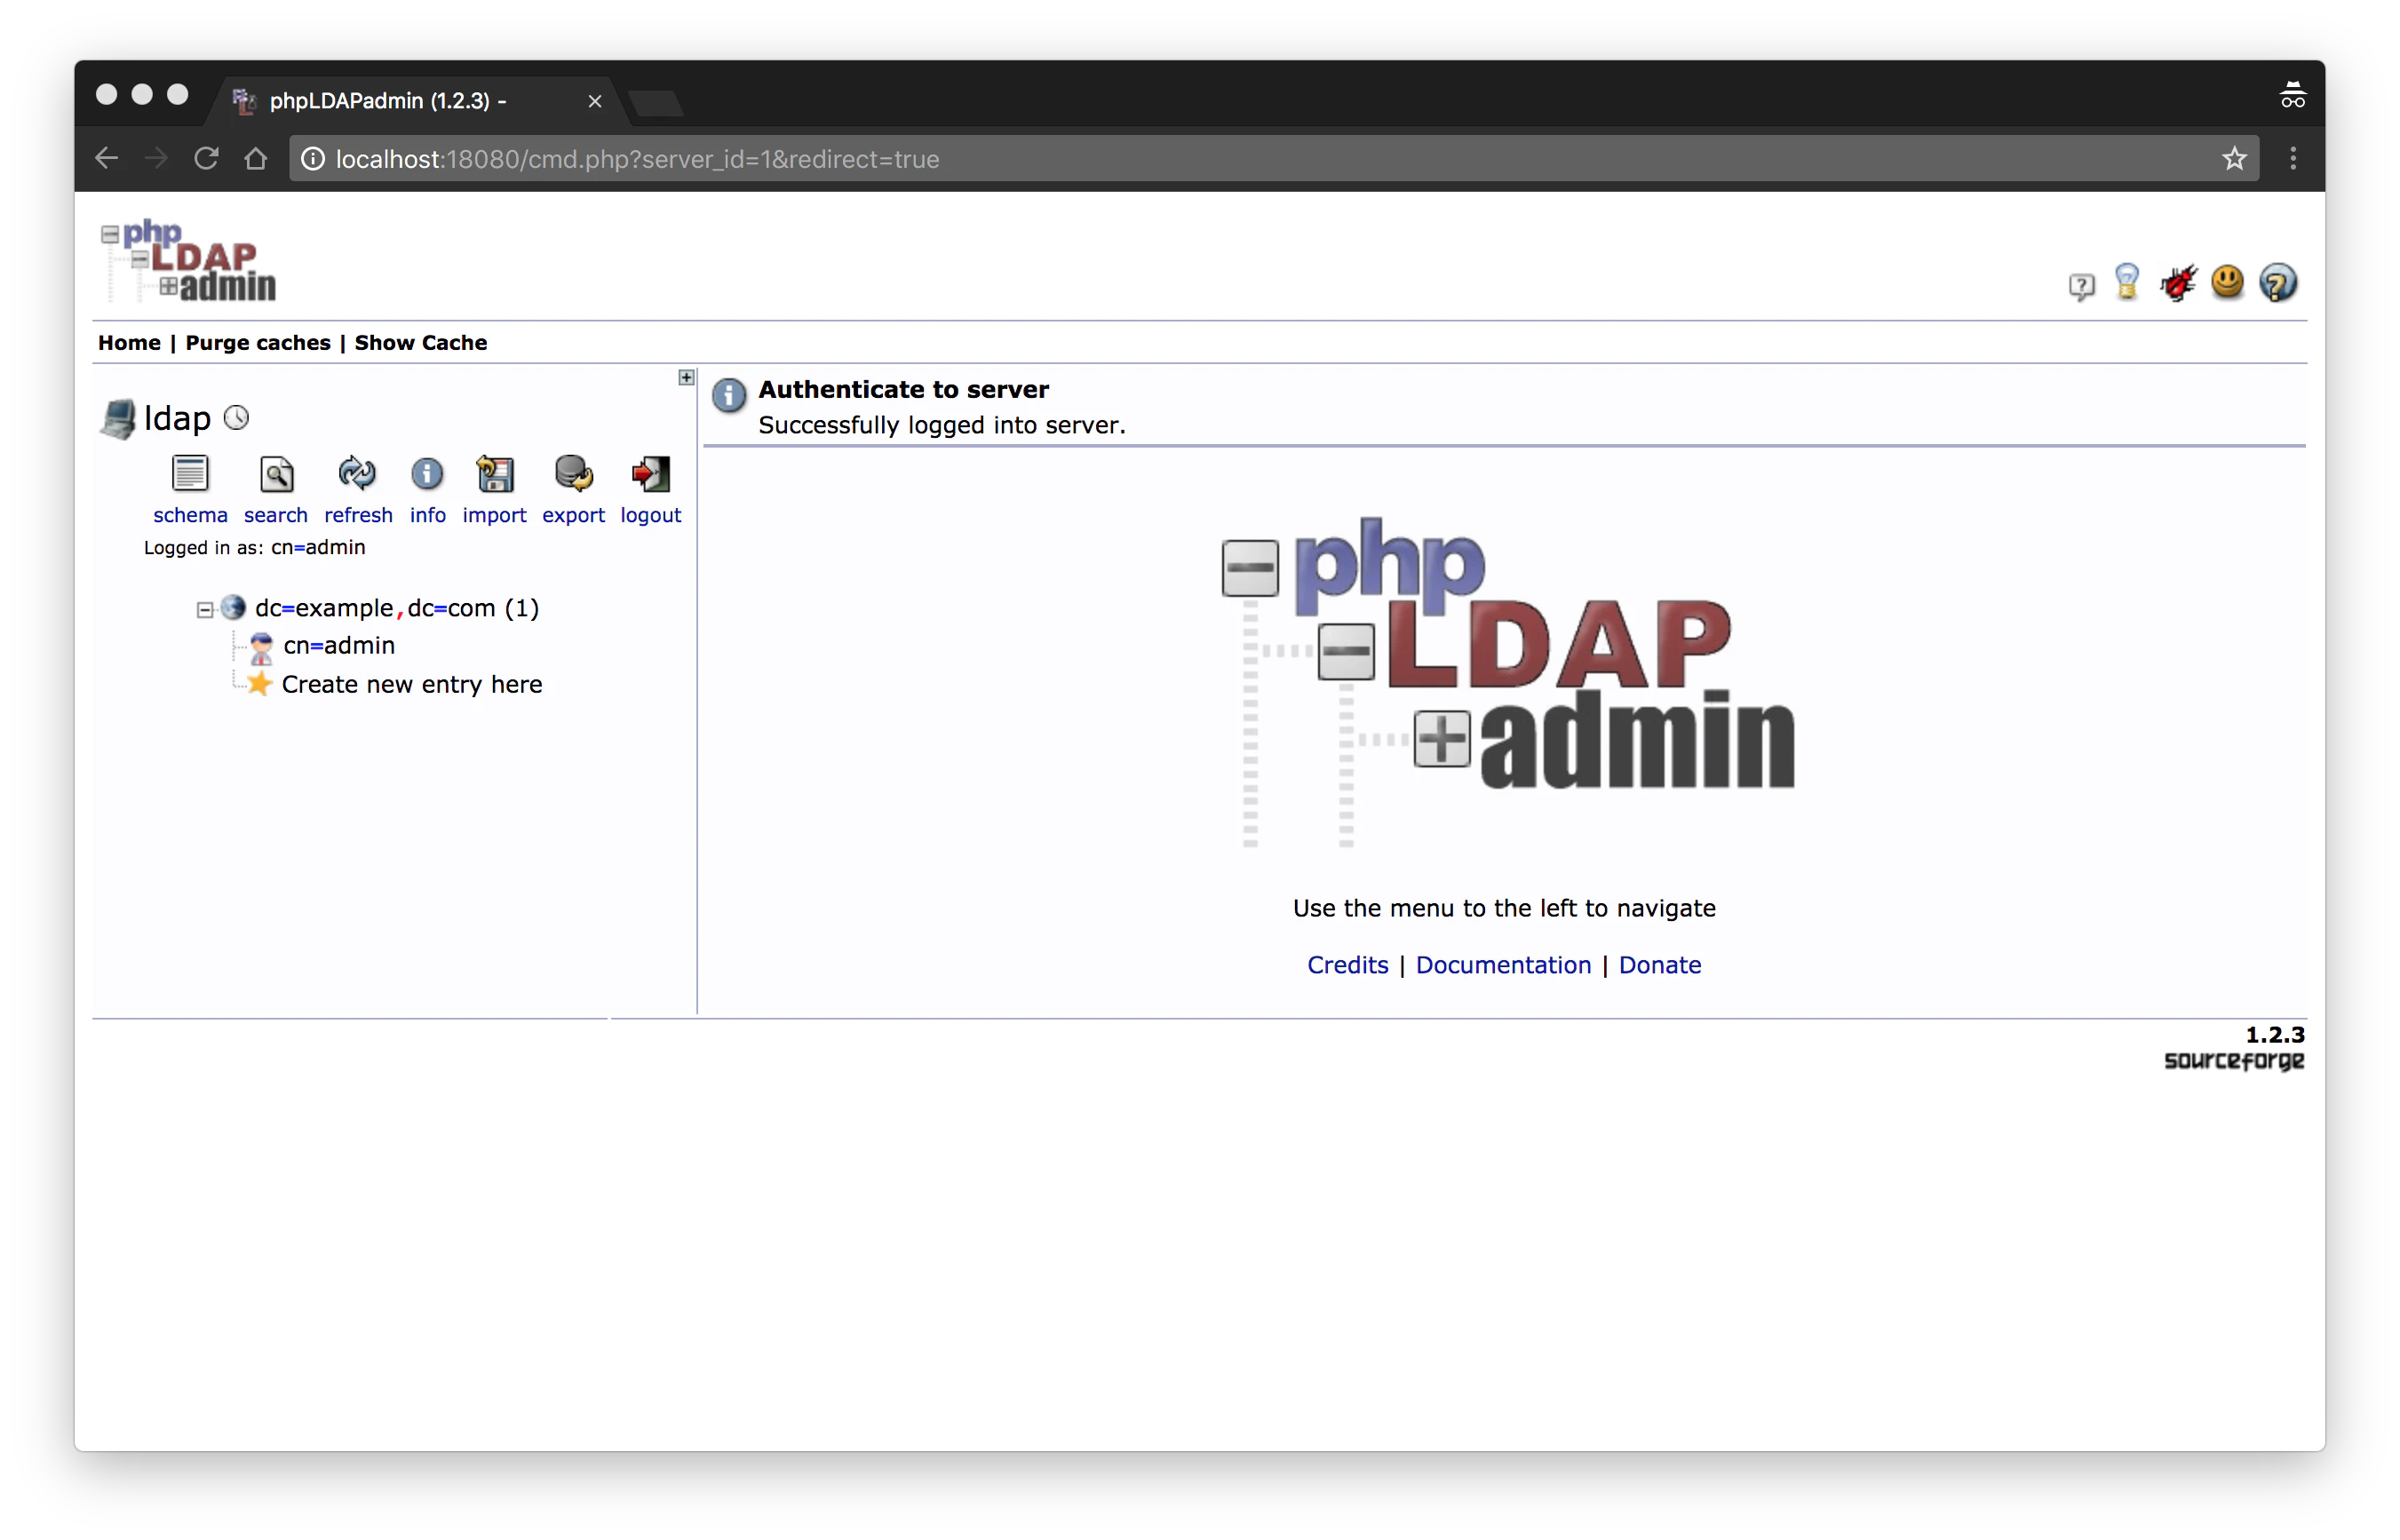
を入力して「Authentication」ボタンを押下するとLDAPの管理アプリケーションにログインすることができます。
ログインして直後は、LDAPの管理ユーザーが登録されているだけなので、アプリケーション用のユーザーおよびグループを作成しましょう。
本エントリーでは、以下のLDIF(LDAP Interchange Format)のデータをインポートすることで、ユーザーおよびグループを作成します。
version: 1

dn: ou=people,dc=example,dc=com
objectclass: top
objectclass: organizationalUnit
ou: people

dn: uid=admin,ou=people,dc=example,dc=com
cn: Kazuki Shimizu
objectclass: top
objectclass: person
objectclass: organizationalPerson
objectclass: inetOrgPerson
sn: Kazuki
uid: admin
userpassword: {CRYPT}7pnoyta7lRz7M

dn: uid=user,ou=people,dc=example,dc=com
cn: Taro Yamada
objectclass: top
objectclass: person
objectclass: organizationalPerson
objectclass: inetOrgPerson
sn: Taro
uid: user
userpassword: {CRYPT}5yE50Zf2Dqg2o

dn: ou=groups,dc=example,dc=com
objectclass: top
objectclass: organizationalUnit
ou: groups

dn: cn=admin,ou=groups,dc=example,dc=com
cn: admin
objectclass: groupOfUniqueNames
objectclass: top
uniquemember: uid=admin,ou=people,dc=example,dc=com

dn: cn=user,ou=groups,dc=example,dc=com
cn: user
objectclass: groupOfUniqueNames
objectclass: top
uniquemember: uid=admin,ou=people,dc=example,dc=com
uniquemember: uid=user,ou=people,dc=example,dc=com
| ユーザ名 | パスワード | 氏名(cn) | 所属するグループ (=ロール) |
|---|---|---|---|
| admin | password | Kazuki Shimizu | admin, user |
| user | password | Taro Yamada | user |
NOTE:
Spring Securityのデフォルト実装では、グループがロールとして扱われます。上記の例だと・・・
- adminには「ROLE_ADMIN」「ROLE_USER」
- userには「ROLE_USER」
の権限情報が割り当てられることになります。
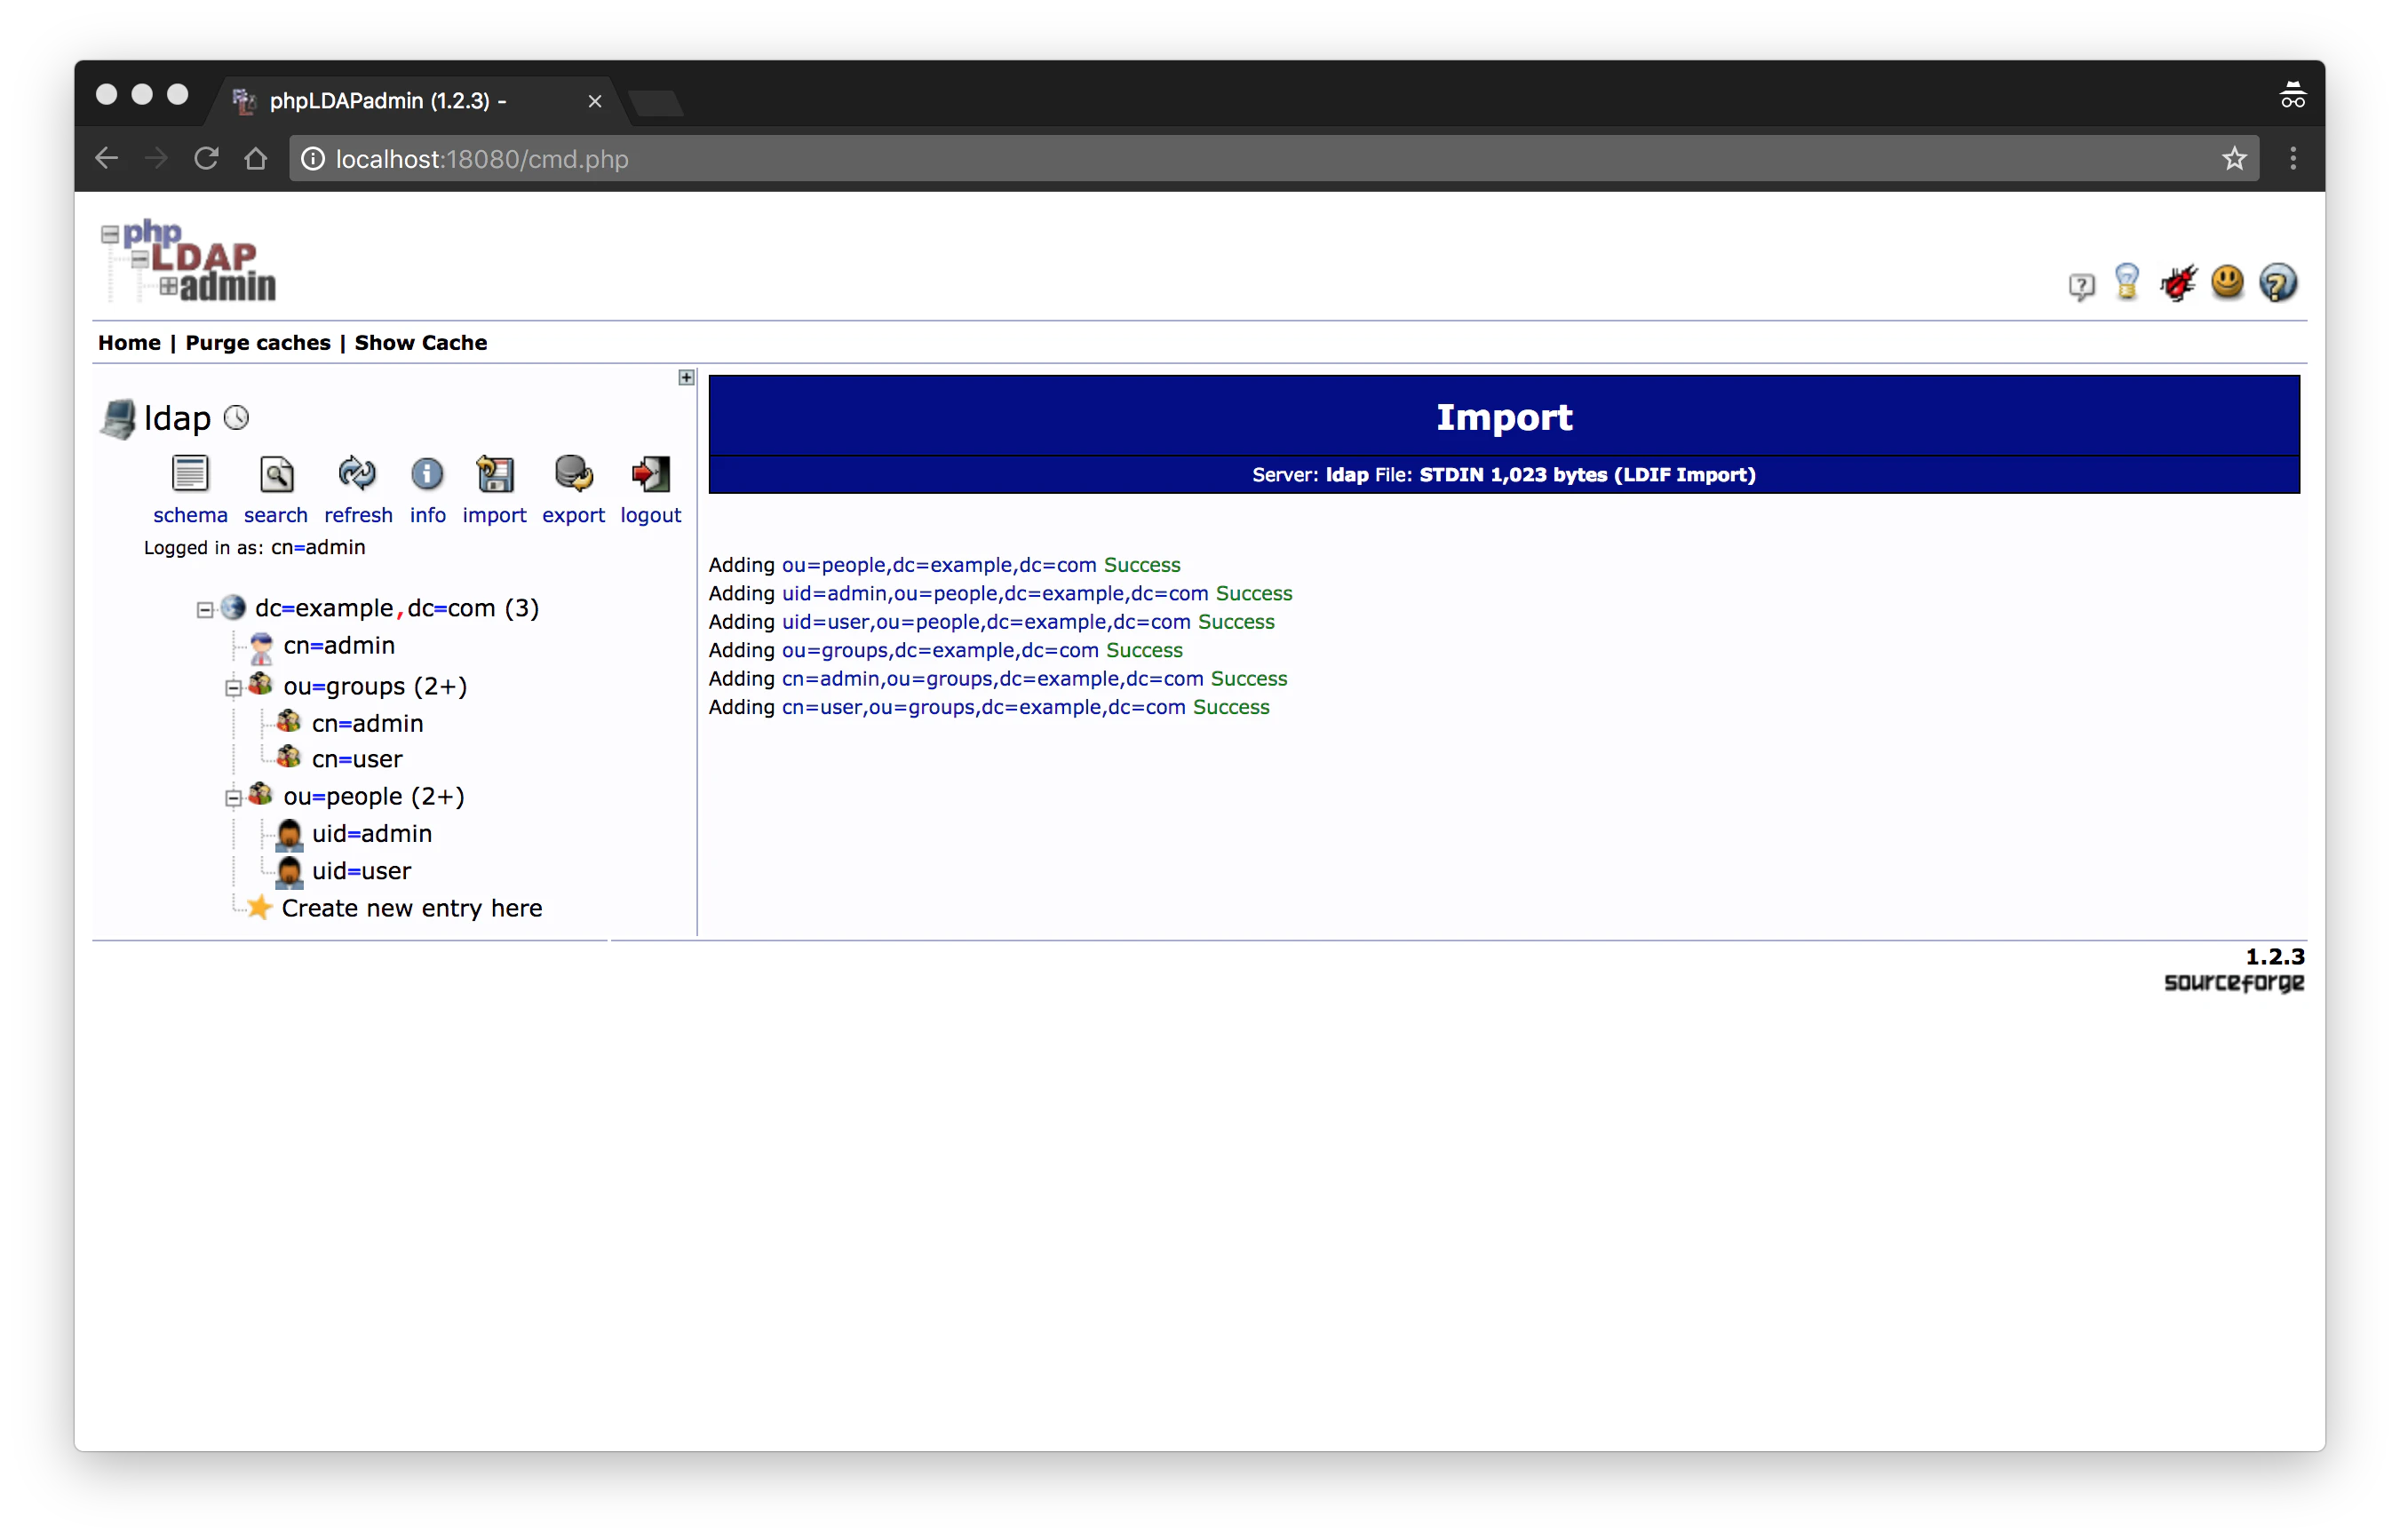
メニューから「Import」を選択し、LDIFファイルをアップロードする or テキストエリアにLDIFデータを貼り付けて「Proceed >>」ボタンを押下します。
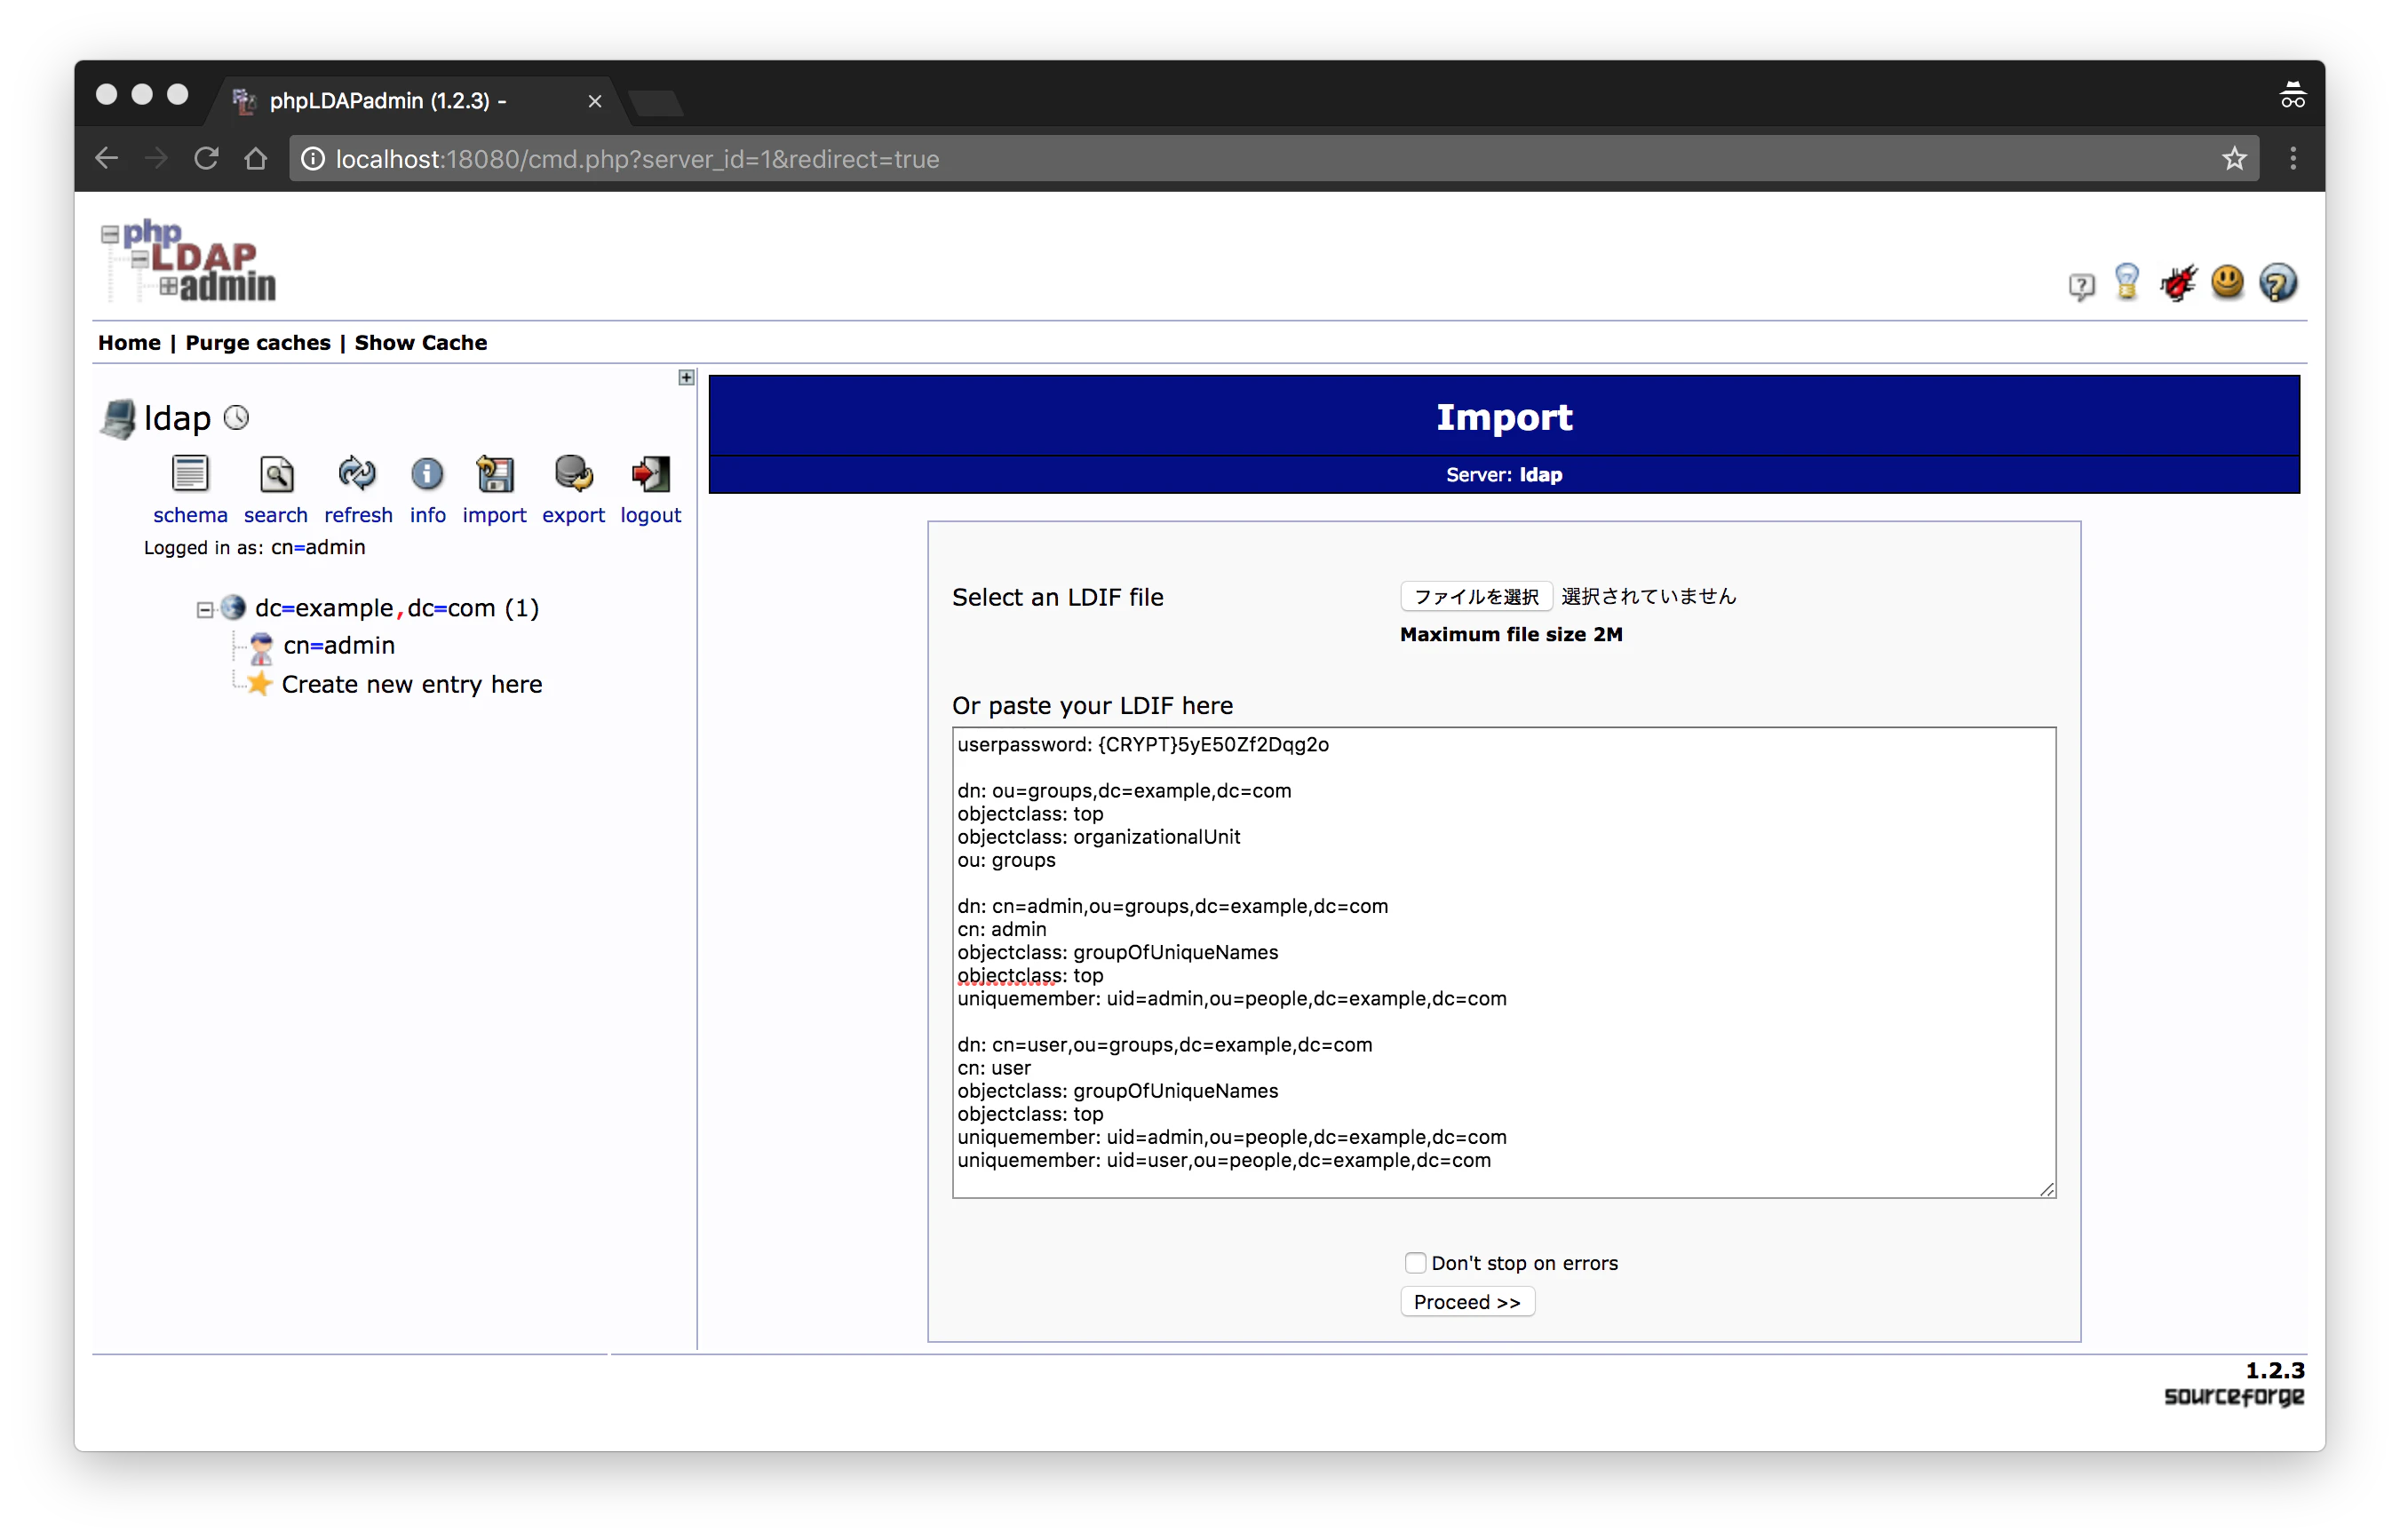
以下のようになればLDAP環境のセットアップは完了です。
開発プロジェクトを作る
OpenLDAPの準備が終わったら、SPRING INITIALIZRにて、Dependenciesに「Web」「Security」「Thymeleaf」を選択してプロジェクトを作成します。(本エントリではMavenプロジェクト前提での説明になります)
次に、SPRING INITIALIZRで作成したプロジェクトに、「spring-security-ldap」「thymeleaf-extras-springsecurity4」を追加します。
<dependency>
	<groupId>org.springframework.security</groupId>
	<artifactId>spring-security-ldap</artifactId>
</dependency>
<dependency>
	<groupId>org.thymeleaf.extras</groupId>
	<artifactId>thymeleaf-extras-springsecurity4</artifactId>
</dependency>
Controllerを作る
まず、「Home Page」を表示するためのControllerクラスを作ります。
package com.example.ldapauthdemo;

import org.springframework.stereotype.Controller;
import org.springframework.web.bind.annotation.GetMapping;
import org.springframework.web.bind.annotation.RequestMapping;

@RequestMapping("/")
@Controller
public class HomeController {
	@GetMapping
	String home() {
		return "home";
	}
}
View(ThymeleafのHTMLテンプレート)を作る
つぎに、「Home Page」用のViewを作成します。
<!DOCTYPE html>
<html xmlns="http://www.w3.org/1999/xhtml" xmlns:th="http://www.thymeleaf.org"
      xmlns:sec="http://www.thymeleaf.org/thymeleaf-extras-springsecurity4">
<head>
  <title>Home</title>
</head>
<body>
<div>
  <!-- ログインユーザーの氏名(cn)を表示する -->
  <h1>Hello <span sec:authentication="principal.cn[0]">User</span> !</h1>
</div>

<form th:action="@{/logout}" method="post">
  <button>Logout</button>
</form>
</body>
</html>
LDAP認証用のBean定義を行う
さいごに、LDAP認証を行うためのBean定義を行ないます。
package com.example.ldapauthdemo;

import org.springframework.context.annotation.Configuration;
import org.springframework.security.config.annotation.authentication.builders.AuthenticationManagerBuilder;
import org.springframework.security.config.annotation.web.builders.HttpSecurity;
import org.springframework.security.config.annotation.web.configuration.WebSecurityConfigurerAdapter;
import org.springframework.security.ldap.userdetails.PersonContextMapper;

@Configuration
public class SecurityConfig extends WebSecurityConfigurerAdapter {

	@Override
	protected void configure(HttpSecurity http) throws Exception {
		http.authorizeRequests()
				.antMatchers("/**").authenticated() // 全てのパスに対して「認証済み」を要求するアクセスポリシーを設定する
				.and()
				.logout().permitAll() // ログアウト機能を有効化
				.and()
				.formLogin().permitAll(); // フォームログイン機能を有効化
	}

	@Override
	protected void configure(AuthenticationManagerBuilder auth) throws Exception {
		// LDAP認証を有効化
		auth.ldapAuthentication()
				// ユーザーの識別名(DN=Distinguished Name)パターンを指定
				// {0}にはログインフォームで入力したusernameが埋め込まれる
				.userDnPatterns("uid={0},ou=people")
				// グループ(ロール)を検索するユニットを指定
				.groupSearchBase("ou=groups")
				// LDAPのデータソースを指定
				.contextSource()
					// 接続URLを指定
					.url("ldap://localhost:10389/dc=example,dc=com")
					// LDAPに接続するためのユーザーの識別名を指定
					.managerDn("cn=admin,dc=example,dc=com")
					// LDAPに接続するためのパスワードを指定
					.managerPassword("password")
				.and()
				// UserDetailsを生成するオブジェクトを指定
				// デフォルトはLdapUserDetailsMapperが利用されるが、本エントリーでは氏名(cn=Common Name)が参照できるPersonContextMapperを利用
				// → 要件にあった実装を選択する or 実装する
				.userDetailsContextMapper(new PersonContextMapper());
	}
}
ユーザー認証する際には、urlに指定したドメインコンポーネント(dc)配下からユーザーを検索します。(「uid={0},ou=people,dc=example,dc=com」に一致するユーザーオブジェクトを検索する)
NOTE:
本エントリーでは説明を割愛しますが、上記意外にも「ユーザーを検索する方法」「グループを検索する方法」「権限情報を生成する方法」などをカスタマイズ・拡張するための仕組みが提供されています。
LDAP認証を行う
Spring Bootアプリケーションを起動して、ログインしてみましょう。
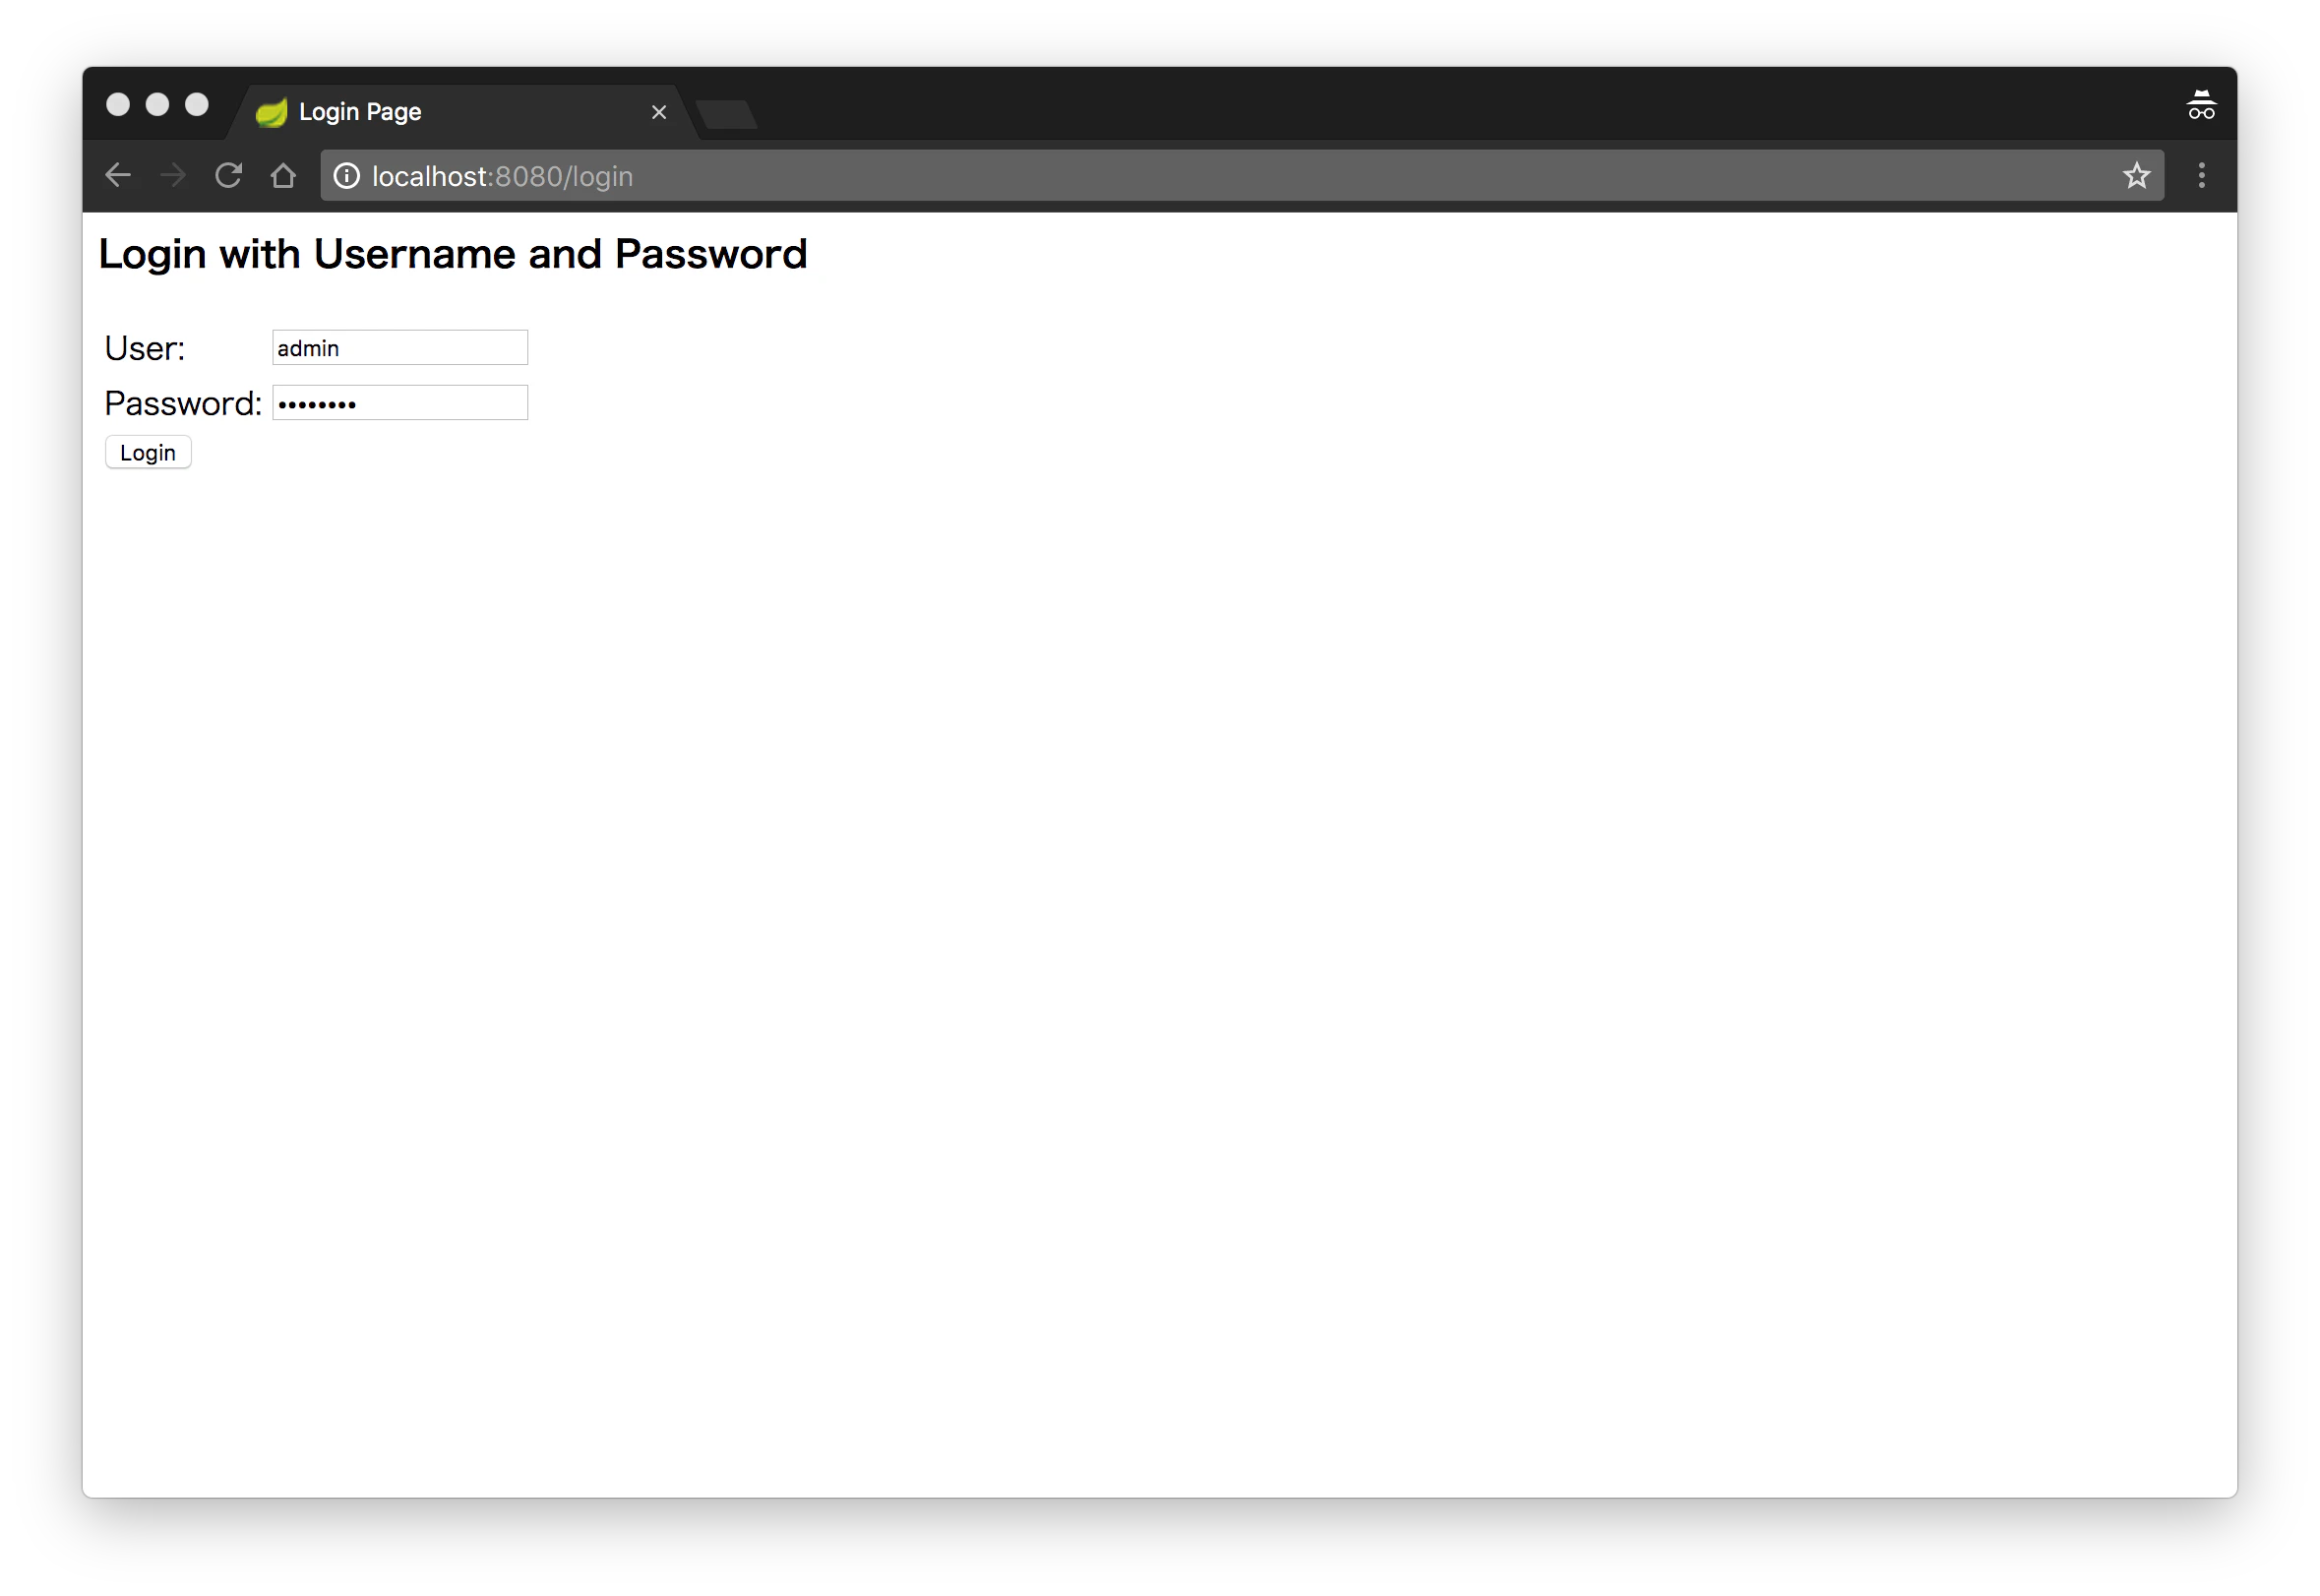
「Login」ボタンを押下すると・・・
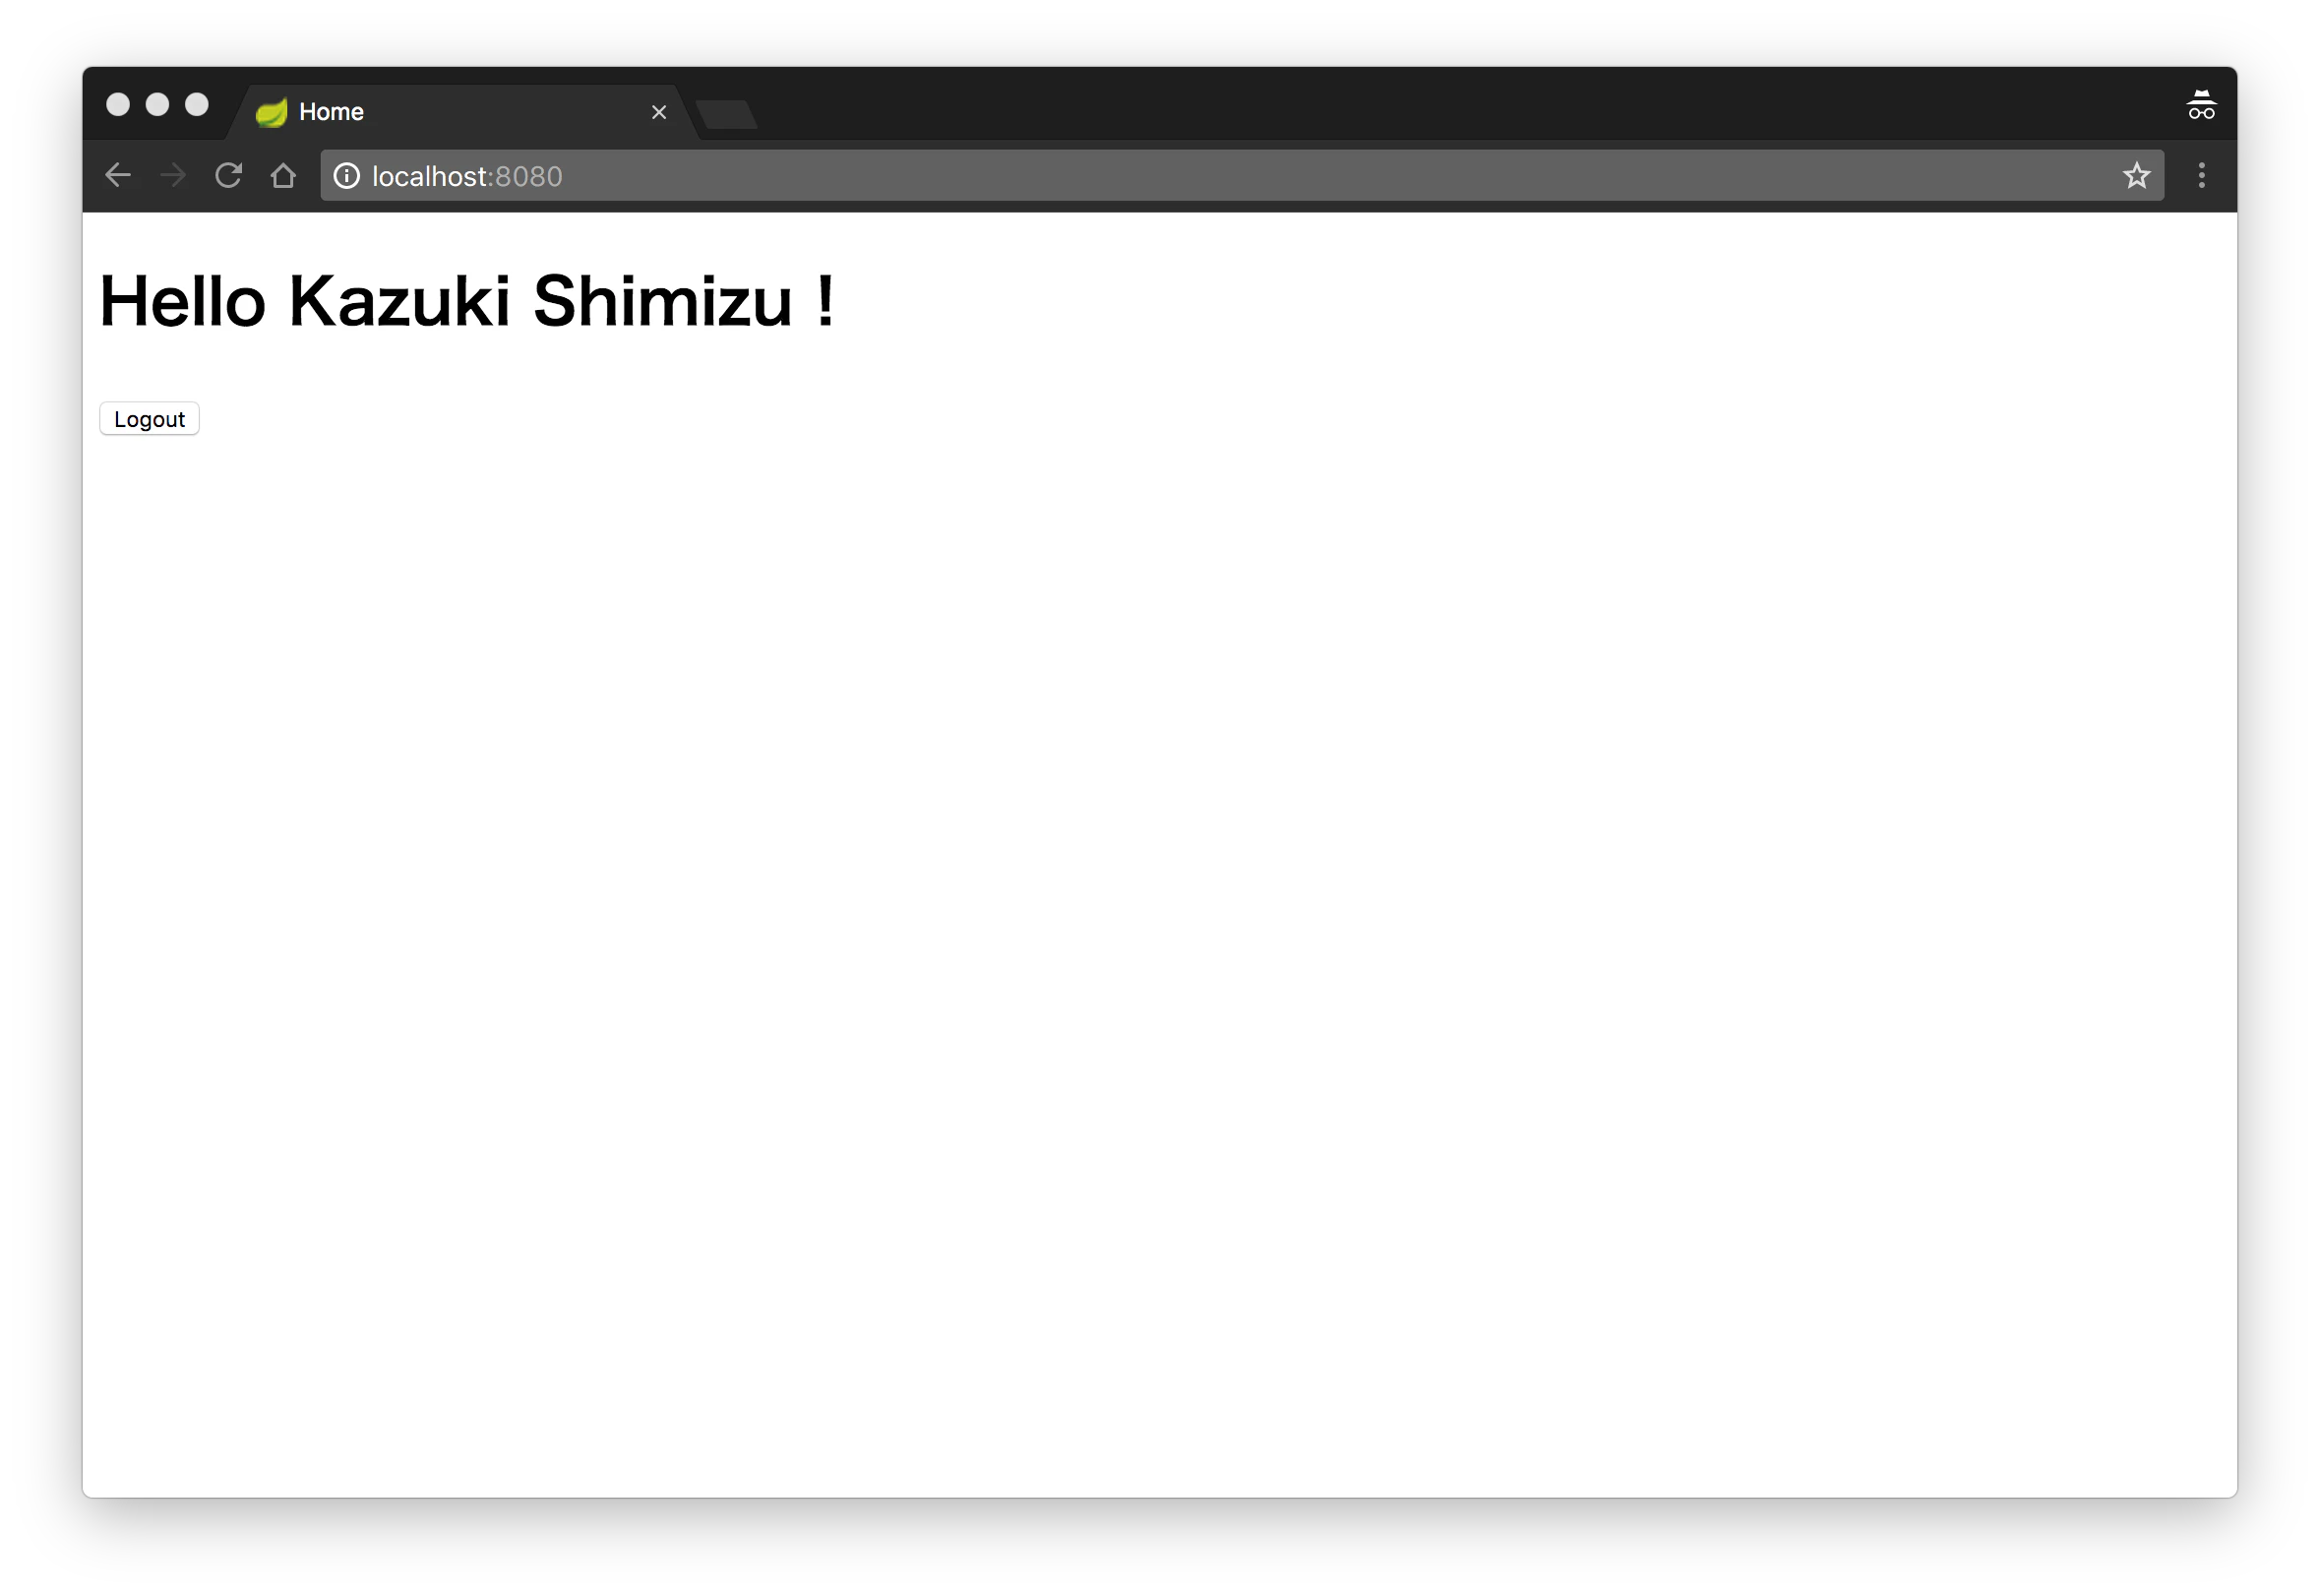
となり、LDAP認証することができました ![]()
権限制御を確認する
どうやら認証は成功したみたいですが、権限制御は大丈夫?とちょっと思ったので・・・グループ(ロール)を参照するアクセスポリシーを設けて確認したいと思います。
@Override
protected void configure(HttpSecurity http) throws Exception {
	http.authorizeRequests()
			.antMatchers("/user", "/user.*", "/user/**").hasRole("USER") // userグループ用
			.antMatchers("/admin", "/admin.*", "/admin/**").hasRole("ADMIN") // adminグループ用
			.antMatchers("/**").authenticated()
			.and()
			.logout().permitAll()
			.and()
			.formLogin().permitAll();
}
上記設定に変更して「user」でログインした後に、
- userグループ用のパスにアクセスした際は「404 Not Found」
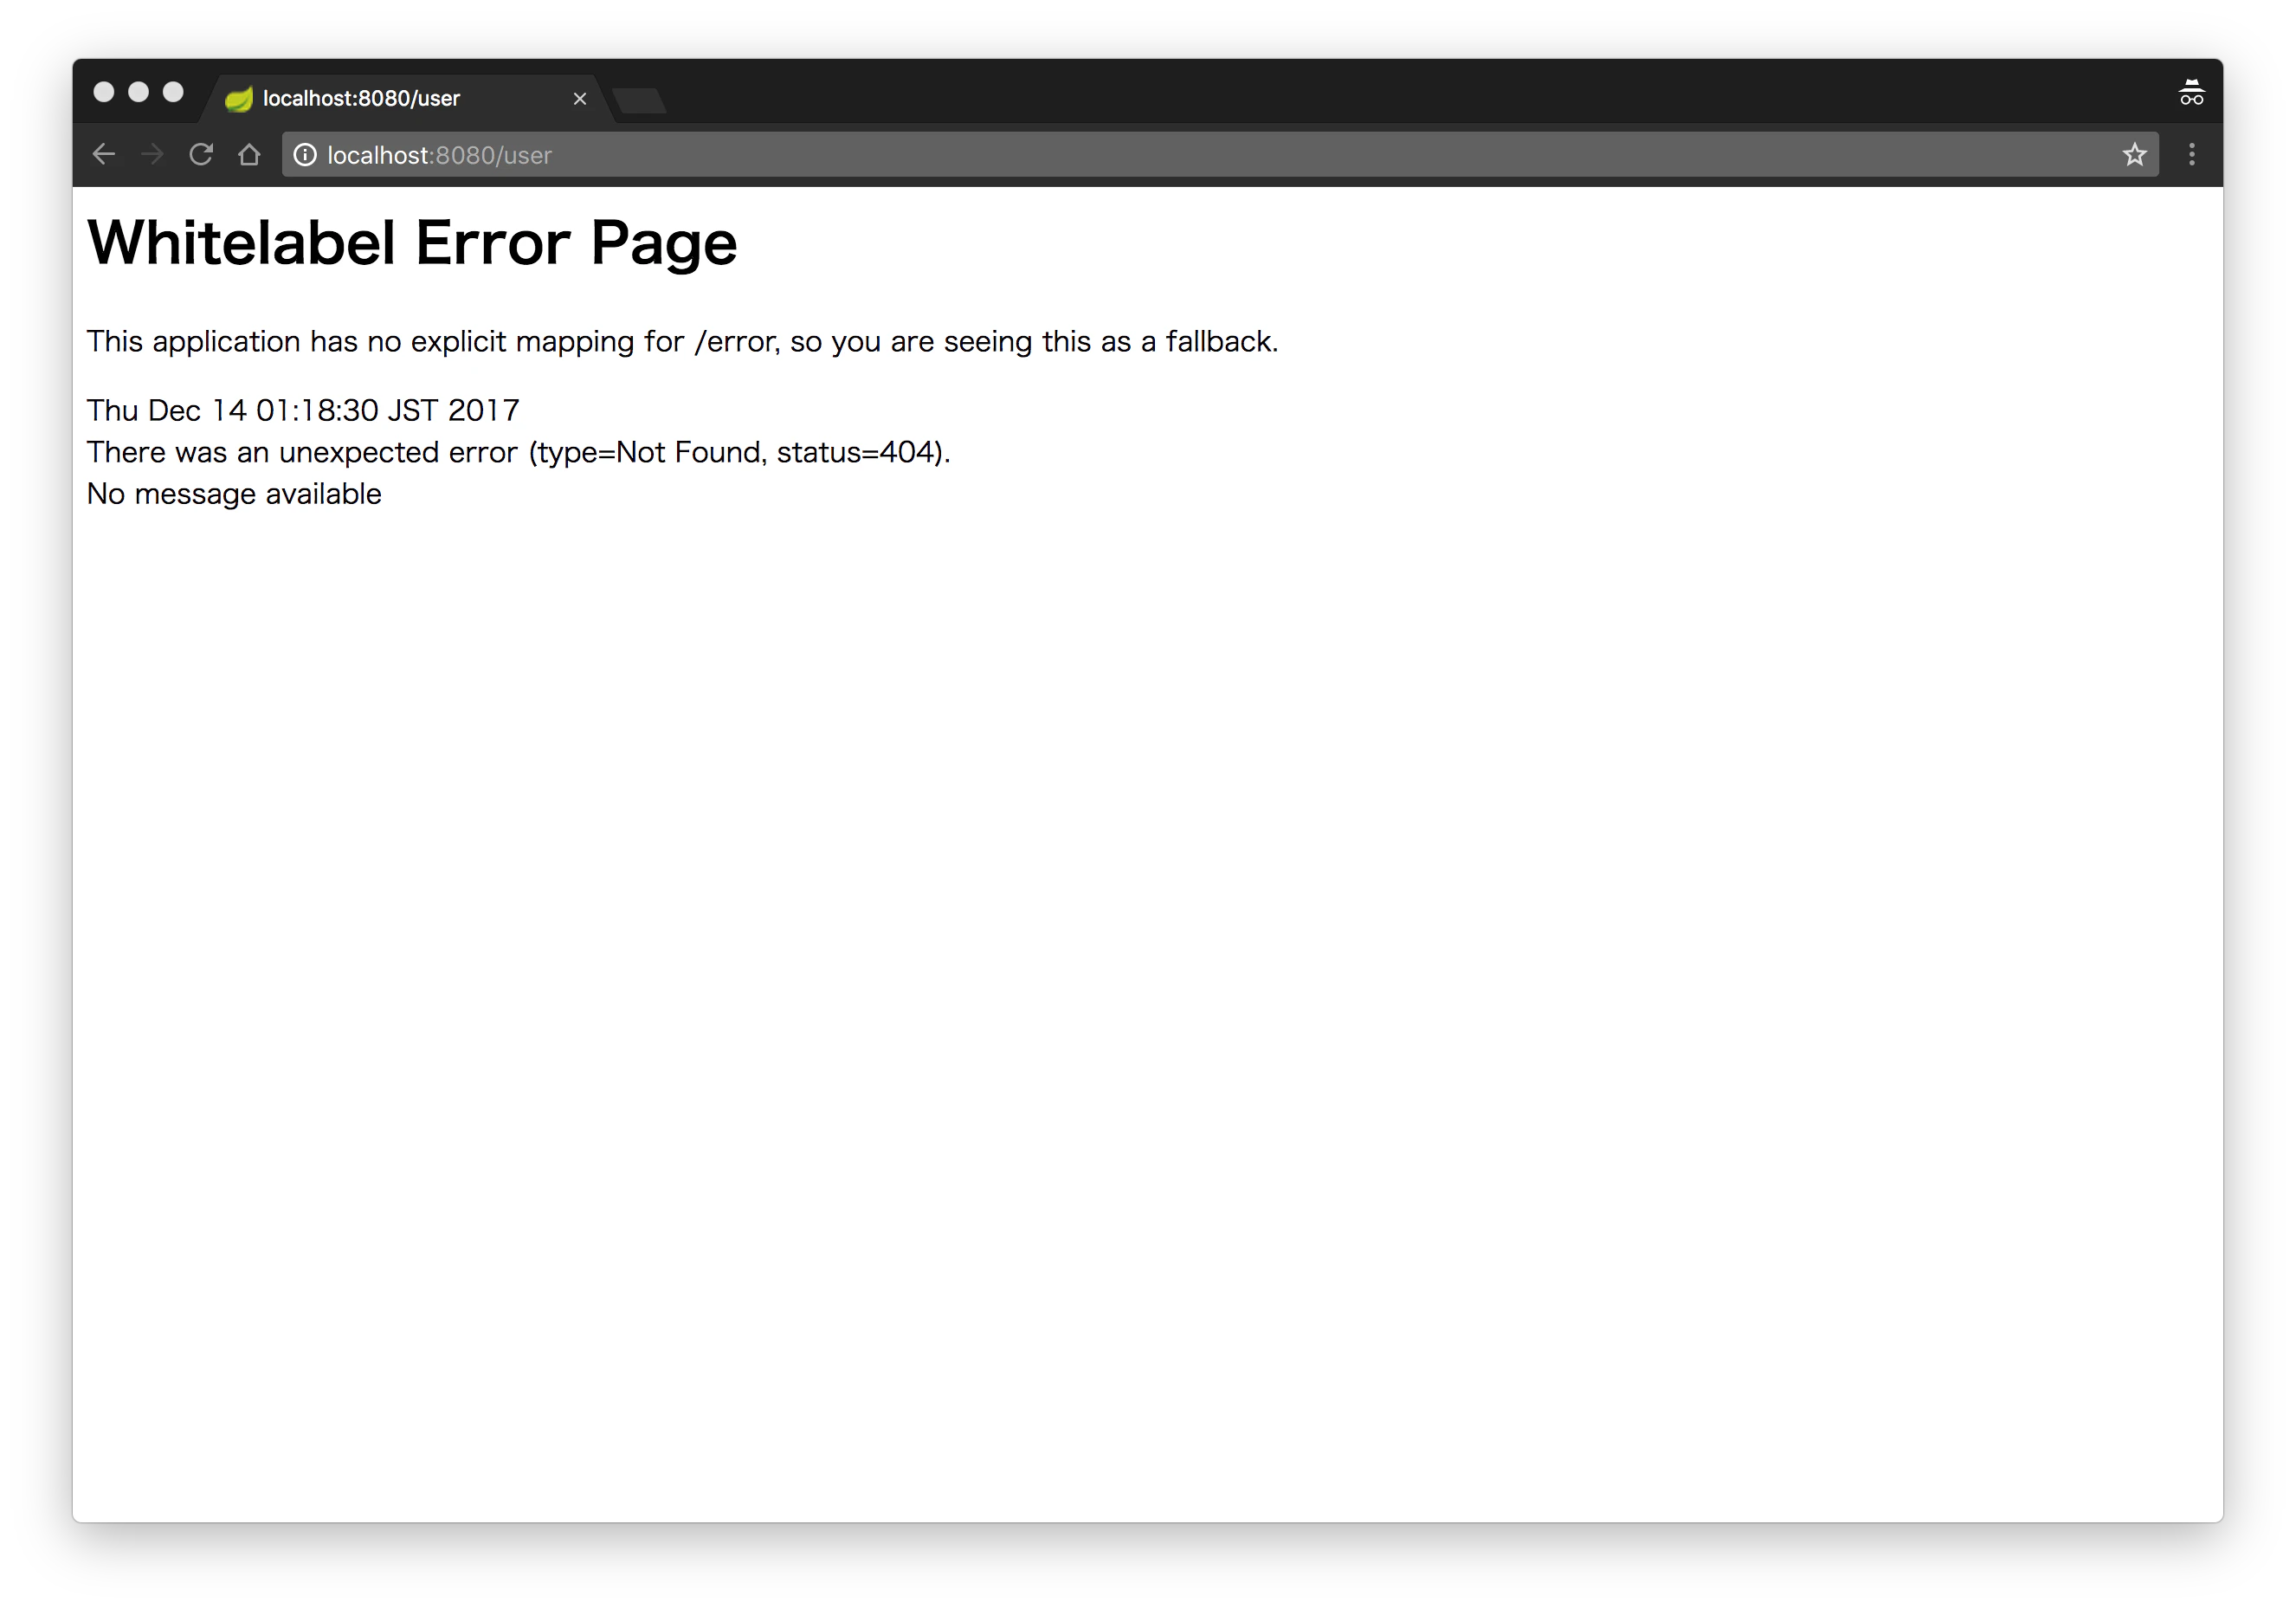
- adminグループ用のパスにアクセスした際は「403 Forbidden」
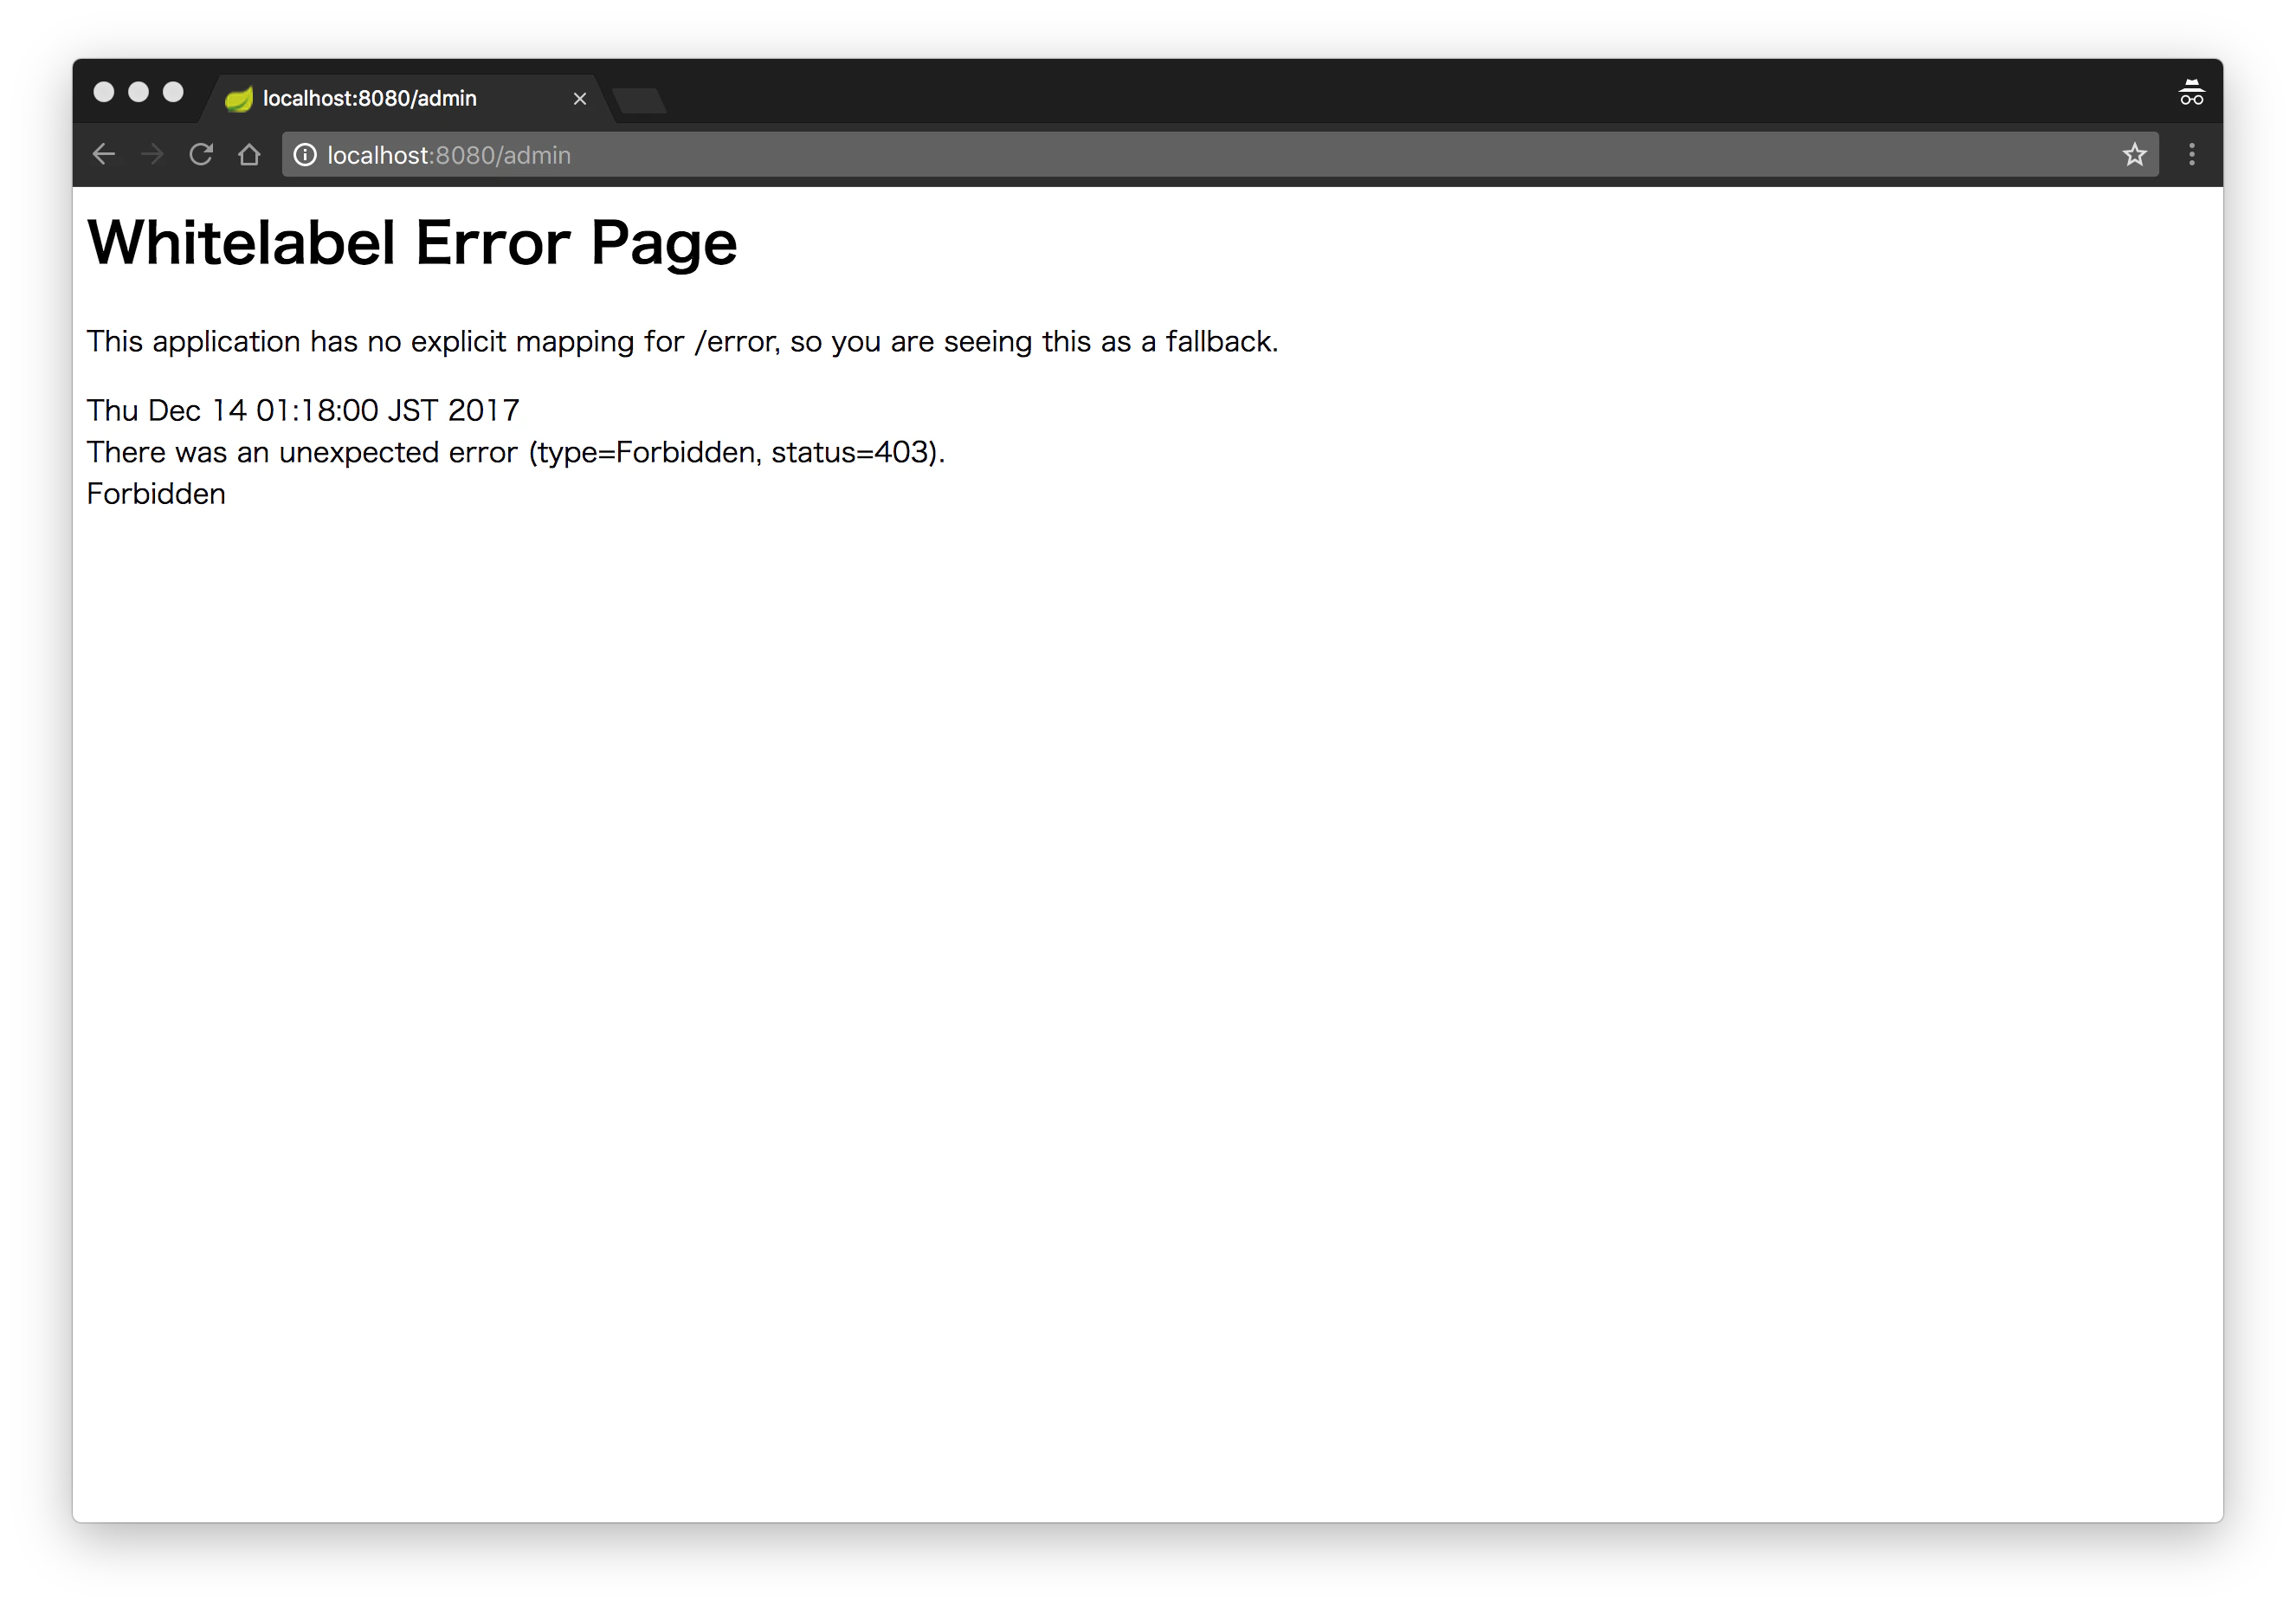
になれば、正しく権限制御ができています!!
おまけ:組み込みLDAPの利用
「テスト」や「ちょっとしたデモンストレーション」を行うようなシチュエーションでは、「外部のLDAPサーバ」ではなく「組み込みのLDAPサーバ」を利用したいケースがあります。ここでは、Apache Directry Serviceを利用して、アプリケーション内にLDAPサーバを組み込んで動かす際の設定方法を簡単に紹介しておきます。
まず、Apache Directry Serviceのldap用のアーティファクトを依存ライブラリに追加します。
<dependency>
	<groupId>org.apache.directory.server</groupId>
	<artifactId>apacheds-protocol-ldap</artifactId>
	<version>1.5.5</version>
</dependency>
つぎに、Spring SecurityのBean定義を組み込み用に変更します。
@Override
protected void configure(AuthenticationManagerBuilder auth) throws Exception {
	auth.ldapAuthentication()
			.userDnPatterns("uid={0},ou=people")
			.groupSearchBase("ou=groups")
			.contextSource()
				.root("dc=example,dc=com") // urlの代わりにrootを使用してドメインコンポーネントを指定
			.and()
			.userDetailsContextMapper(new PersonContextMapper());
}
さいごに、「OpenLDAPを立てる」のところで紹介したLDIFデータをLDIFファイルとしてクラスパス直下に配置します。ファイル名に制約はありませんが、拡張子は「ldif」にする必要があります。
まとめ
ユーザーの識別子を一元管理する手段としてLDAP(or Active Directory)を使うことがあると思いますが、Spring SecurityもLDAP認証(とActive Directory認証)をデフォルトでサポートしてるよ!というお話でした。
最近はOAuth 2.0/OpenID Connect 1.0に対応しているプロバイダと連携してログインできるサイトが多くなっていますが、社内システムなどではLDAP(or Active Directory)認証もまだまだ現役!?
(Spring Securityとは関係ありませんが)開発時に使うツール(GitLab/GitBucket/Bitbucket/GitHub Enterprise、Redmine/JIRA、Jenkinsなど)のユーザー識別子を一元管理するためにLDAPを使っていたりします。