注意点
本番稼働する WordPress を想定していません。
検証してすぐにインスタンスを削除するような用途を想定しています。
手動構築の流れ
- Amazon Linux 2 でインスタンス起動
- インターネットゲートウェイが存在するパブリックサブネットで、パブリックIPを有効にして起動
- セキュリティグループのインバウンドルールで 80 番ポートを許可
- ssh接続ができるように 22 番ポートを自分のIPアドレスで許可 または Session Manager で接続できるようにインスタンスプロファイルに適切な権限を持つ IAM ロールをアタッチ
- インスタンスに接続してコマンドを入力し、 WordPress に必要な環境( DB , Apache , PHP )をインストール
- WordPress インストールパッケージをダウンロード
- ブラウザからインスタンスのパブリックIPを入力し、必要事項を入力してWordPress のインストールを開始する
上記はほとんど以下のチュートリアルの内容に沿っています。
参考チュートリアル
チュートリアル:Amazon Linux2にLAMPWebサーバーをインストールする
チュートリアル:Amazon Linux2でWordPressブログをホストする
自動構築の内容
ユーザーデータを使用して上記 2,3 を自動化します。
2 コマンドを入力して WordPress に必要な環境( DB , Apache , PHP )をインストール
3 WordPress インストールパッケージをダウンロード
ユーザーデータ
# ! /bin/bash
yum update -y
amazon-linux-extras install -y lamp-mariadb10.2-php7.2 php7.2
yum install -y httpd mariadb-server
systemctl start httpd
systemctl enable httpd
systemctl start mariadb
systemctl enable mariadb
useradd -m -U ssm-user
usermod -a -G apache ssm-user
echo "ssm-user ALL=(ALL) NOPASSWD:ALL" >> /etc/sudoers.d/90-cloud-init-users
chown -R ssm-user:apache /var/www
chmod 2775 /var/www && find /var/www -type d -exec sudo chmod 2775 {} \;
wget https://wordpress.org/latest.tar.gz
tar -xzf latest.tar.gz
mysql -u root -e "CREATE USER 'wordpress-user'@'localhost' IDENTIFIED BY 'password'; CREATE DATABASE \`wordpress-db\`;GRANT ALL PRIVILEGES ON \`wordpress-db\`.* TO 'wordpress-user'@'localhost'; FLUSH PRIVILEGES;"
cp -r wordpress/* /var/www/html/
mkdir /var/www/html/blog
cp -r wordpress/* /var/www/html/blog/
cp /var/www/html/blog/wp-config-sample.php /var/www/html/blog/wp-config.php
注意点
- ssm-userの作成は、Session Manager で接続をしない場合不要です
- 本来 ssm-user は Session Manager で接続する際に自動作成されますが、ユーザーデータ内で ssm-user の存在が前提のコマンドを実行するため、この時点で ssm-user を作成しています。
- Session Managerで接続しない場合、 ssm-user は ec2-user に置き換えてください
- DBでユーザーなどの作成をしていますが、好みでユーザー名、パスワード、DB名などを変更してください( WordPress インストール時にこれらの値を使用します。)
- セキュリティは考慮していません
セキュリティ面も気をつけたい場合は以下のユーザーデータを参考にするとよいかもしれません。
ユーザーデータを利用して構築してみる
EC2起動
設定は省略します。
ユーザーデータ実行完了まで数分かかりますが、5分もあれば完了します。
私はCDKで作成しました。
既存のリソースを参照しているため、使用する際はご注意ください。
import * as cdk from '@aws-cdk/core';
import * as ec2 from '@aws-cdk/aws-ec2'
import {readFileSync} from 'fs';

export class WordpressEc2Stack extends cdk.Stack {
  constructor(scope: cdk.Construct, id: string, props?: cdk.StackProps) {
    super(scope, id, props);

    const vpc = ec2.Vpc.fromLookup(this, 'vpc', {
      vpcId: '既存のVPCIDを入力'
    })

    const sg = ec2.SecurityGroup.fromLookup(this, 'sg', '既存のセキュリティグループIDを入力')

    // The code that defines your stack goes here
    const instance = new ec2.Instance(this, 'wordpress', {
      vpc: vpc,
      vpcSubnets: { subnetType: ec2.SubnetType.PUBLIC },
      instanceType: ec2.InstanceType.of(
        ec2.InstanceClass.BURSTABLE2,
        ec2.InstanceSize.MICRO
      ),
      machineImage: ec2.MachineImage.fromSsmParameter('/aws/service/ami-amazon-linux-latest/amzn2-ami-hvm-x86_64-gp2'),
      instanceName: 'WordPress',
      securityGroup: sg,
      role: iam.Role.fromRoleArn(this, 'role', 'ロールのARNを入力')
    });
    const userDataScript = readFileSync('./lib/user-data.sh', 'utf8');
    instance.addUserData(userDataScript);
  }
}
# !/usr/bin/env node
import 'source-map-support/register';
import * as cdk from '@aws-cdk/core';
import { WordpressEc2Stack } from '../lib/wordpress-ec2-stack';

const app = new cdk.App();
new WordpressEc2Stack(app, 'WordpressEc2Stack', {
  /* If you don't specify 'env', this stack will be environment-agnostic.
   * Account/Region-dependent features and context lookups will not work,
   * but a single synthesized template can be deployed anywhere. */

  /* Uncomment the next line to specialize this stack for the AWS Account
   * and Region that are implied by the current CLI configuration. */
  env: { account: process.env.CDK_DEFAULT_ACCOUNT, region: process.env.CDK_DEFAULT_REGION },

  /* Uncomment the next line if you know exactly what Account and Region you
   * want to deploy the stack to. */
  // env: { account: '123456789012', region: 'us-east-1' },

  /* For more information, see https://docs.aws.amazon.com/cdk/latest/guide/environments.html */
});
WordPressインストール
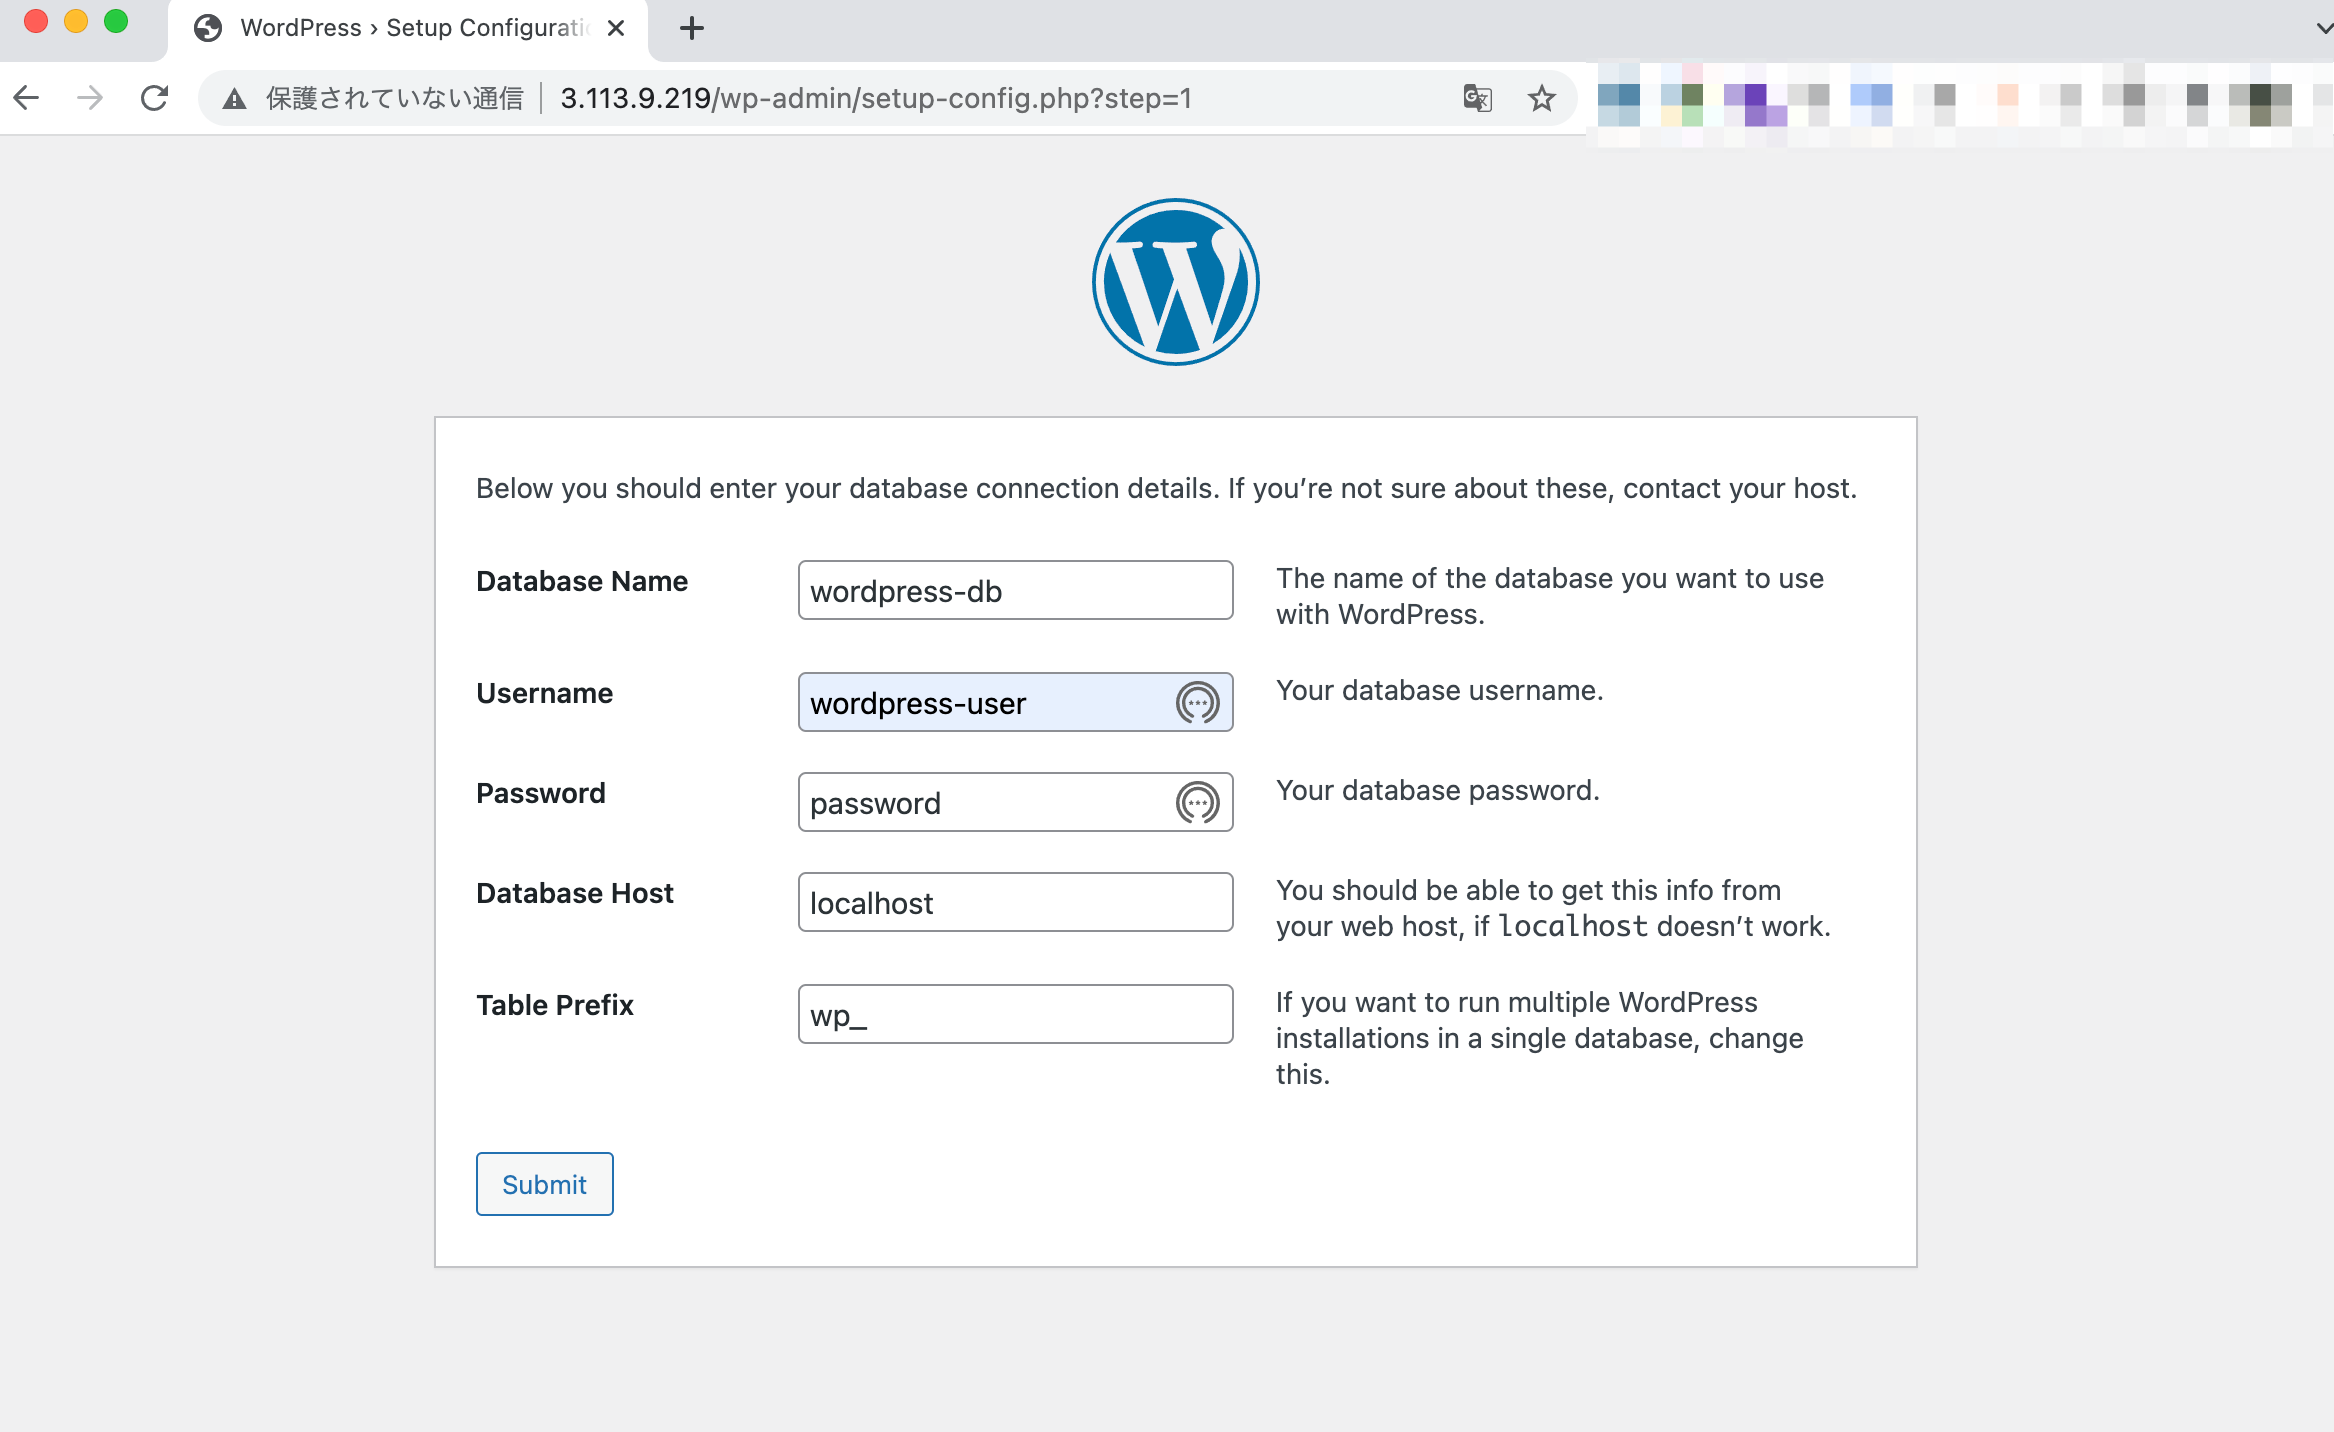
インスタンスのパブリックIPをブラウザに入力すると、 WordPress の DB 情報の入力を求める画面が表示されます。
ユーザーデータのコマンドでDB名などを設定したので、その値を入力します。
インストールの準備ができたので、次に行きます。
サイトのタイトルなどを入力し、 WordPress のインストールを始めます。
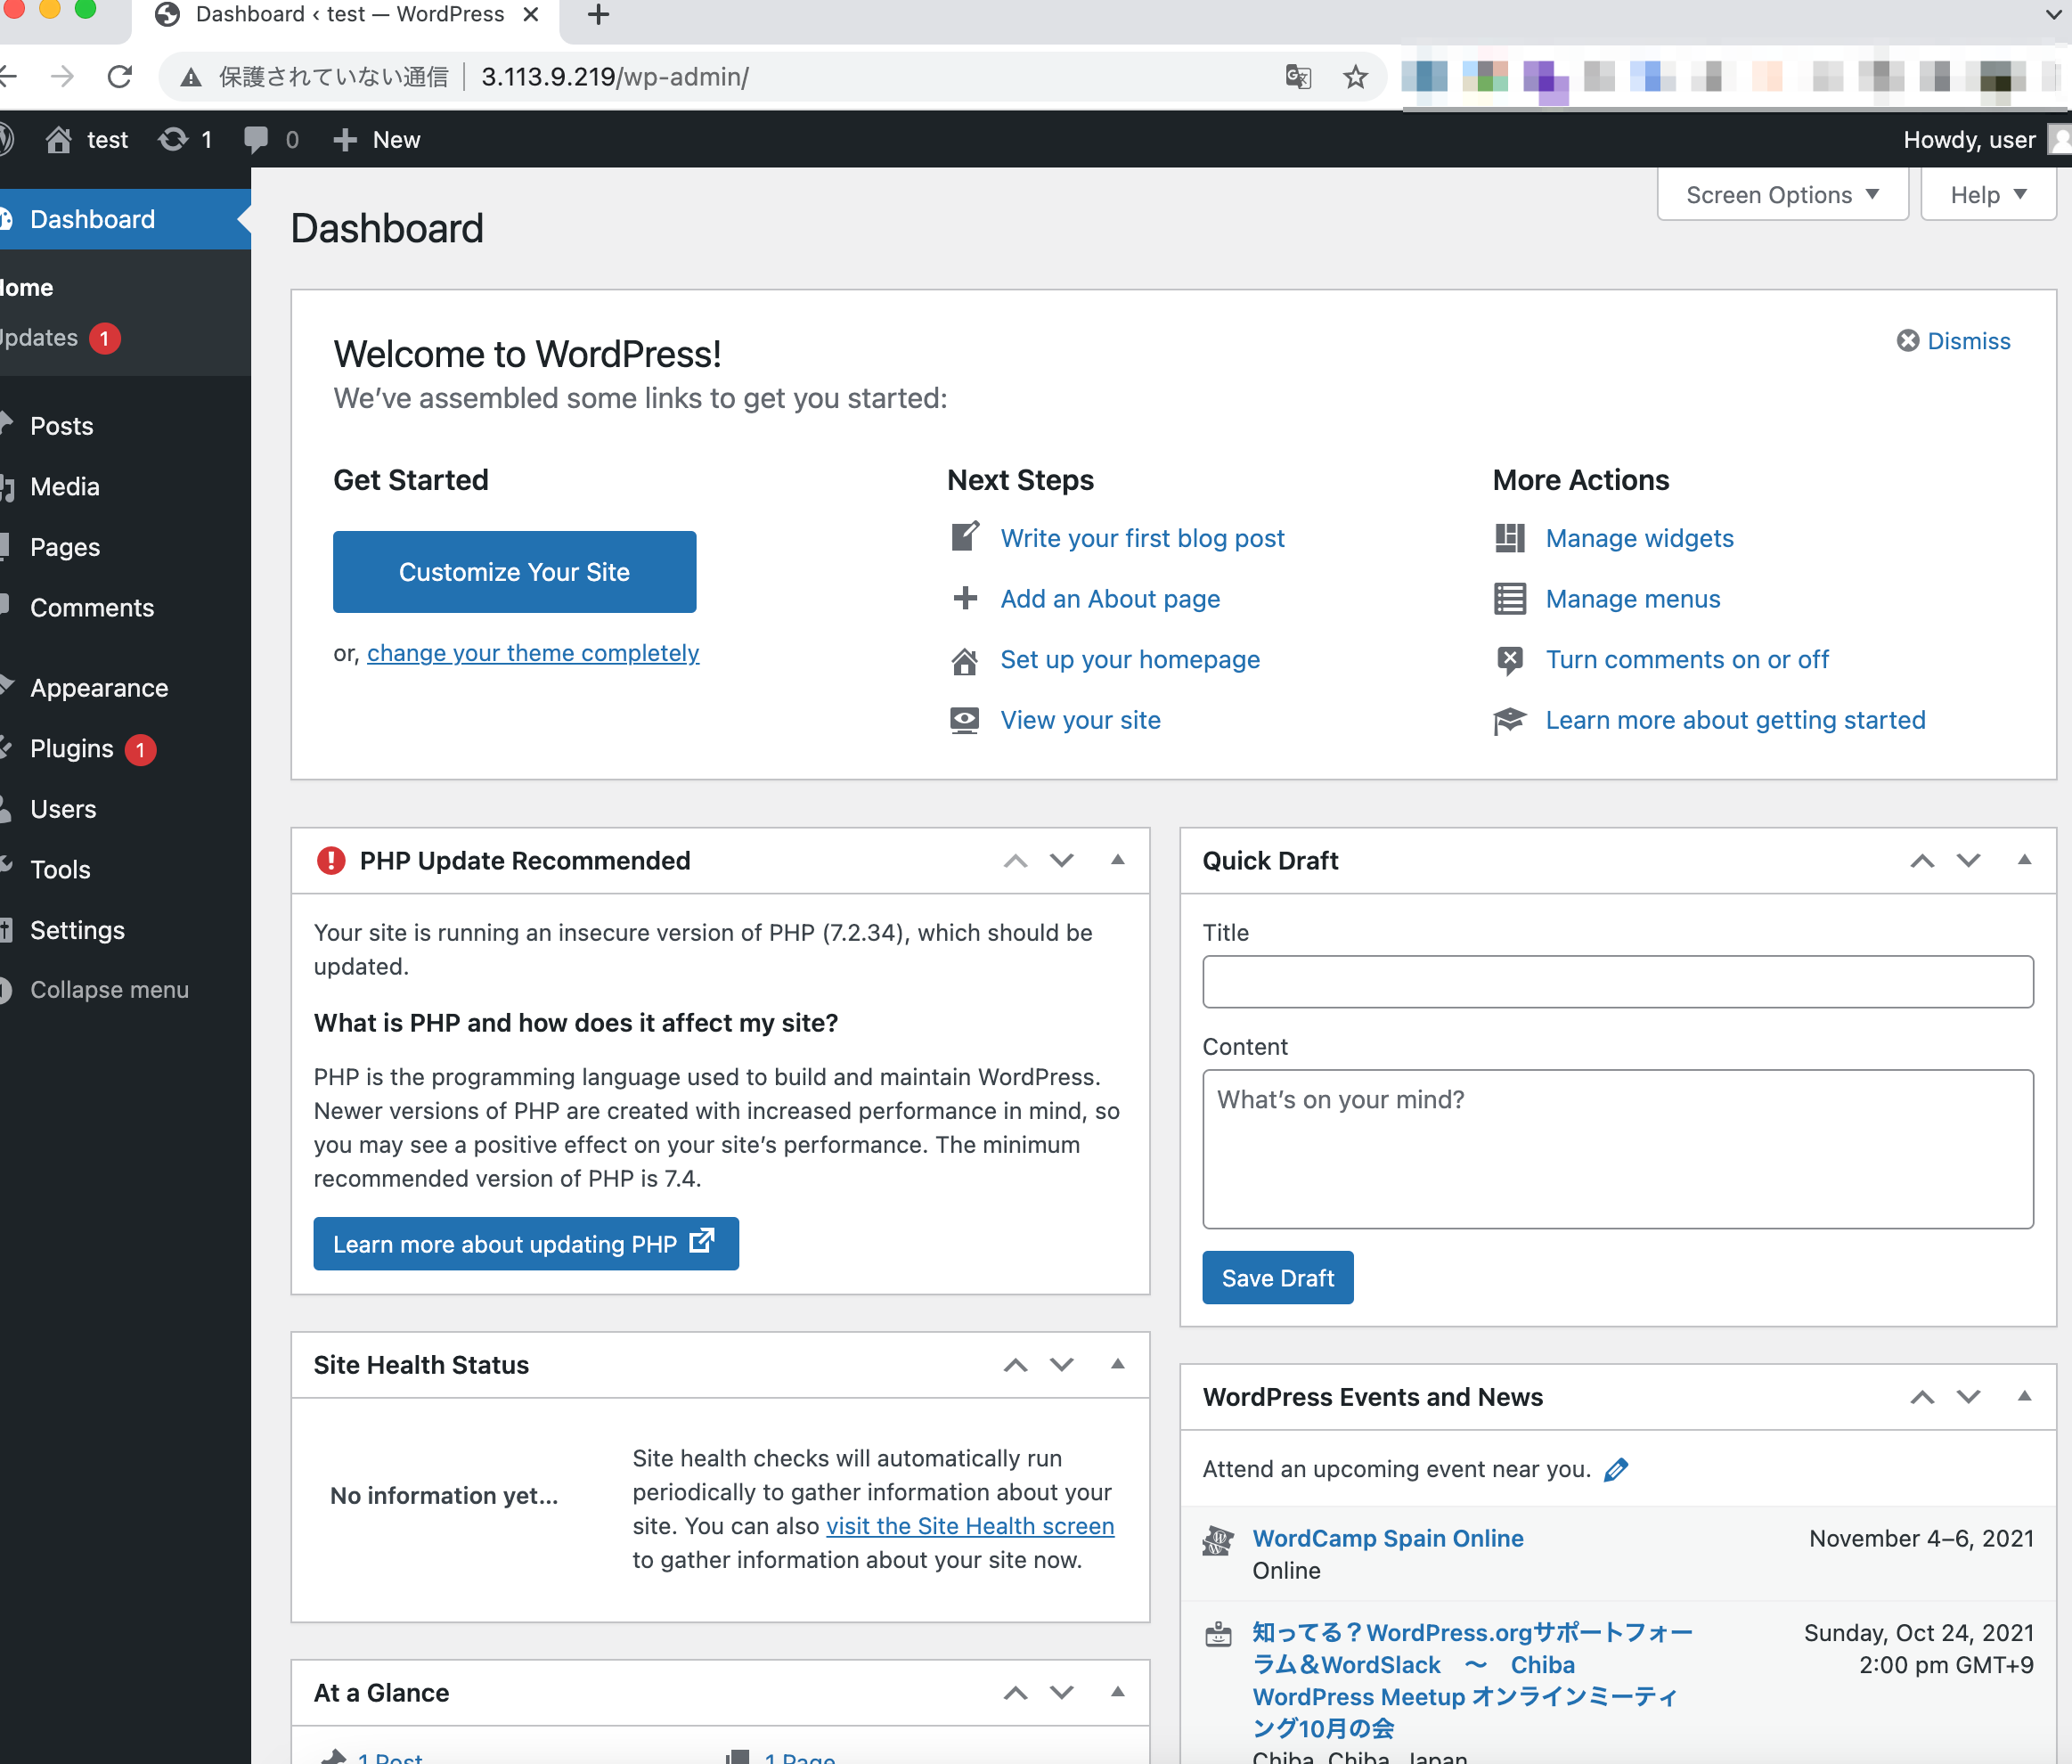
インストール成功です。
ログインして管理者画面も確認できました。
ユーザーデータ実行ログ
ログは/var/log/cloud-init-output.logで確認可能。


