概要
仮想サーバーを契約できるDigitalOceanを用いてWebサーバーを構築し、ドメイン設定、SSH取得までを行う
DigitalOceanで仮想サーバーを用意する
会員登録から新規プロジェクト作成まで
下記より、会員登録をする
会員登録完了後、NewProjectから新しいプロジェクトを作成する
※ Safariでは何故か会員登録後のwelcomeページから永遠に進めなかったため、Chromeで作業した
プロジェクト名、説明、目的を設定する
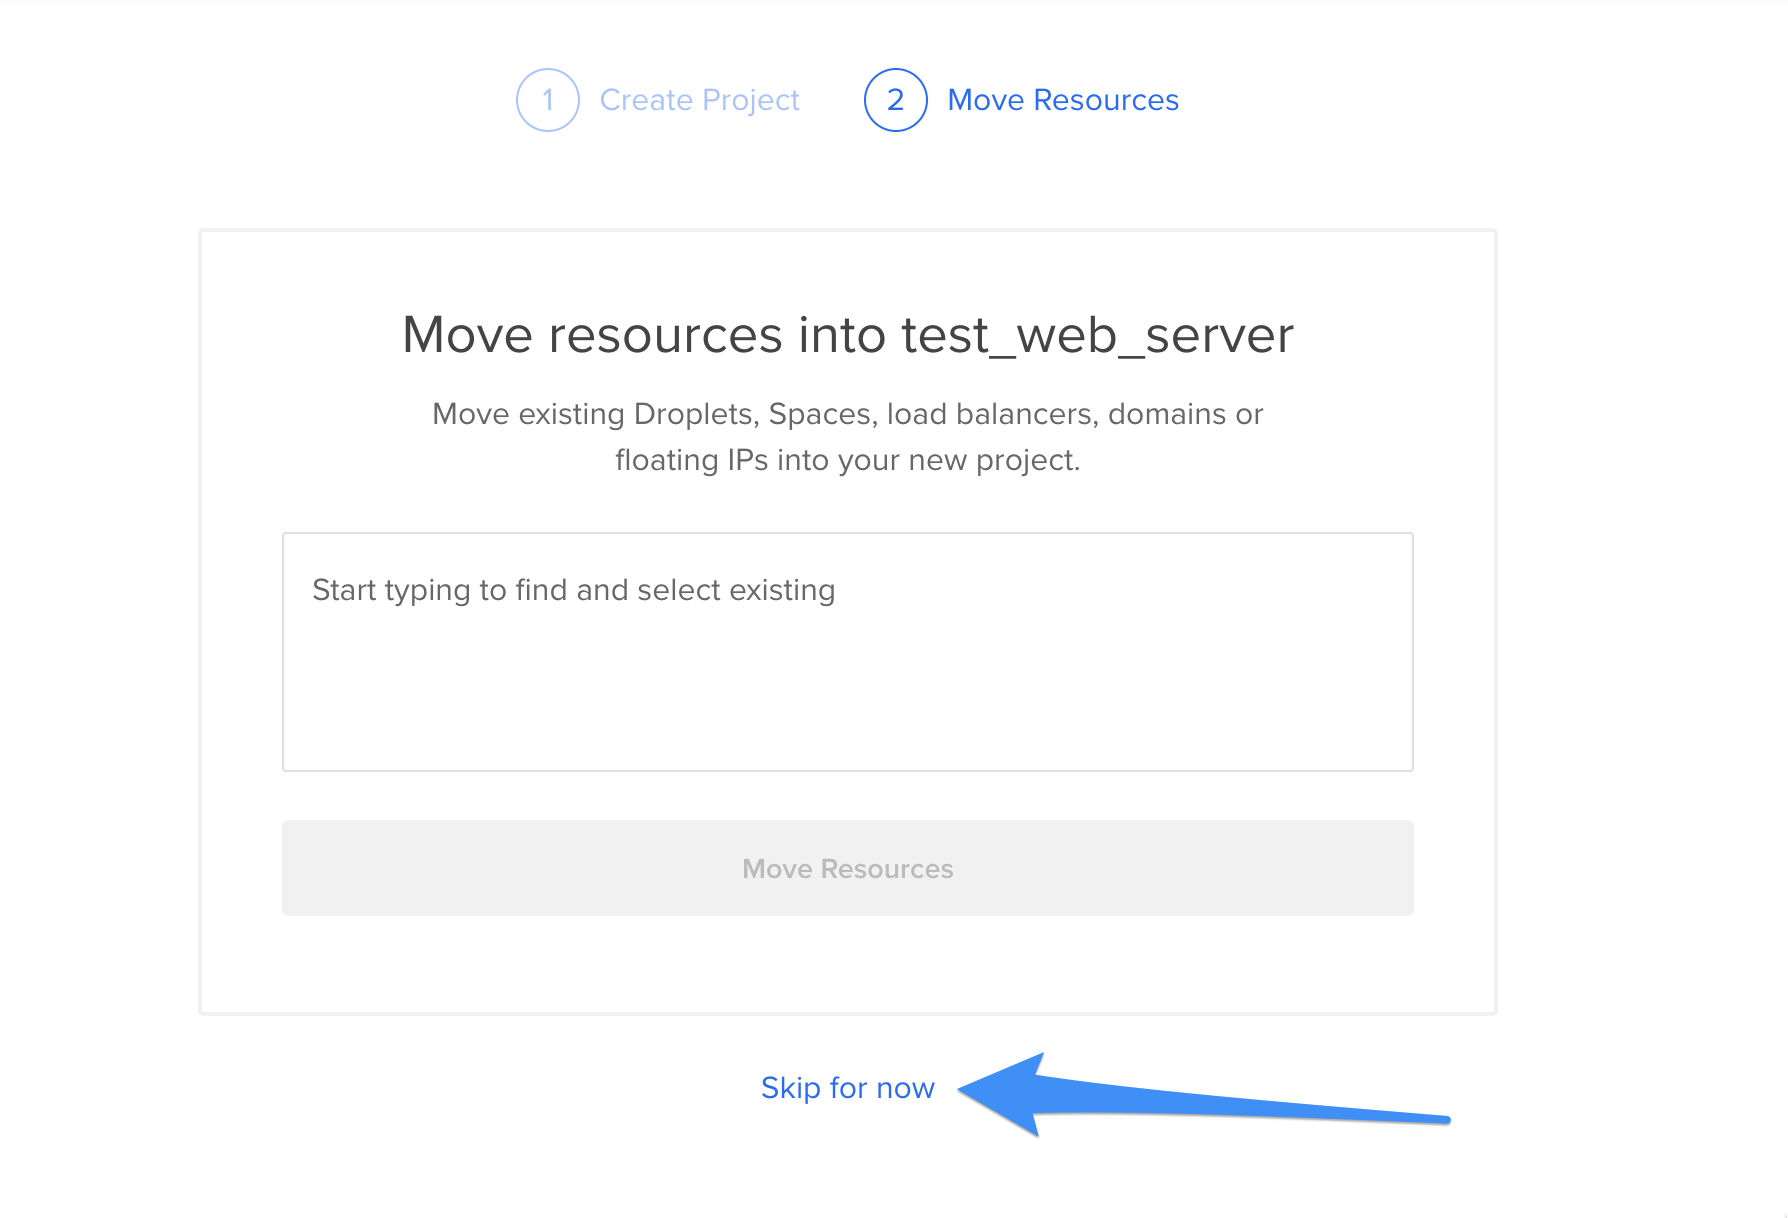
既存の何かを持ってくるわけではないのでskip
サーバーの設定
新しいプロジェクトが用意されたので仮想サーバーを作成する
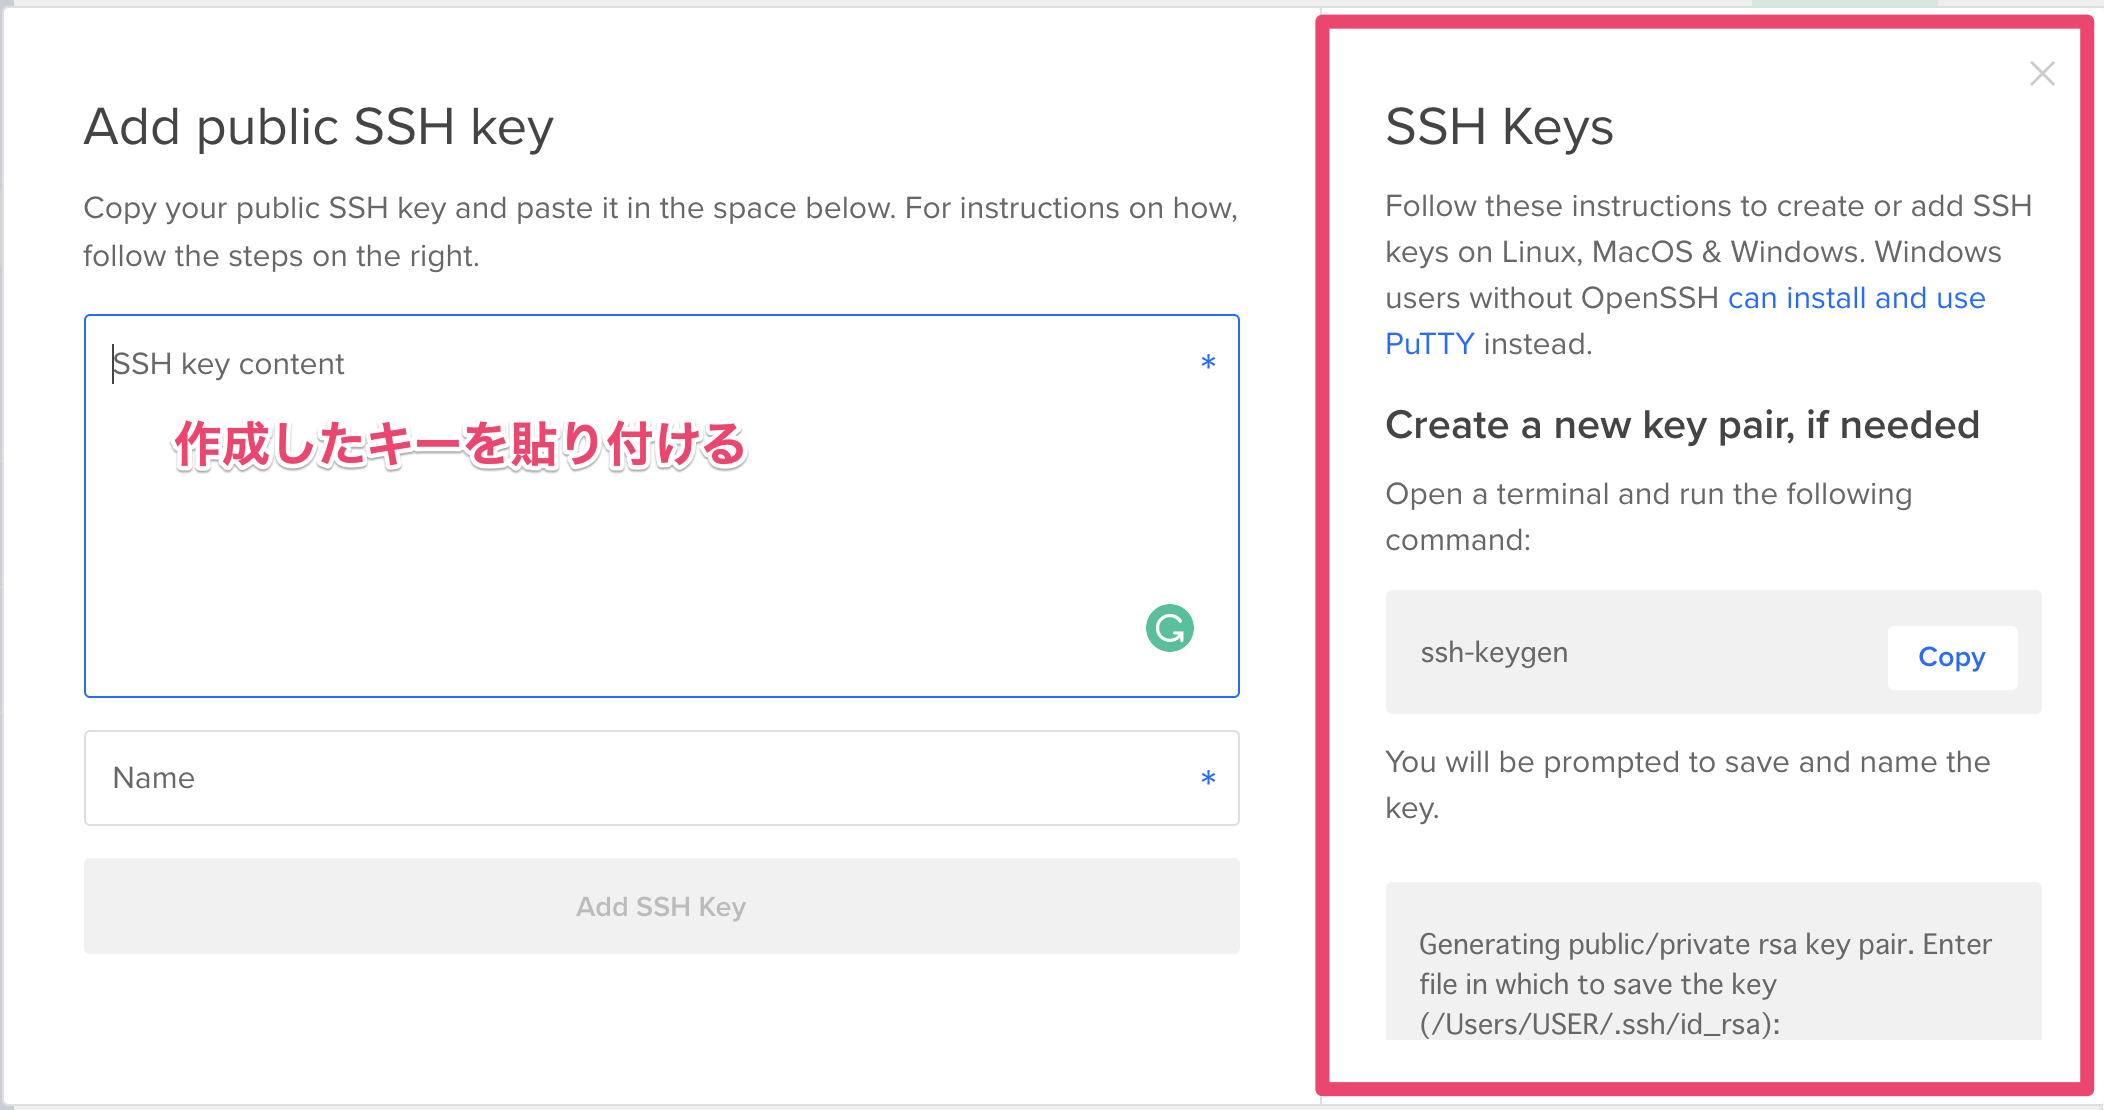
説明に従ってキーを作成し、作成したキーを設定する
SSHキー設定後にサーバー構成を確定させる
作成された仮想サーバーの情報
実際にできた環境
サーバーにアクセスしてみる
作成したsshキーを用いてサーバーにアクセスする
$ ssh -i ~/.ssh/id_rsa root@`IPアドレス`
サーバーにアクセスしたら、webサーバーとして利用するためにnginxをインストールする
$ apt update
$ apt install nginx

# nginxが動いているかを確認
$ systemctl status nginx
動作確認をするとactiveになっている
nginx起動後に仮想サーバーのIPアドレスにブラウザでアクセスする

ドメインを発行する
お名前.comにアクセスして、アカウントを作成する
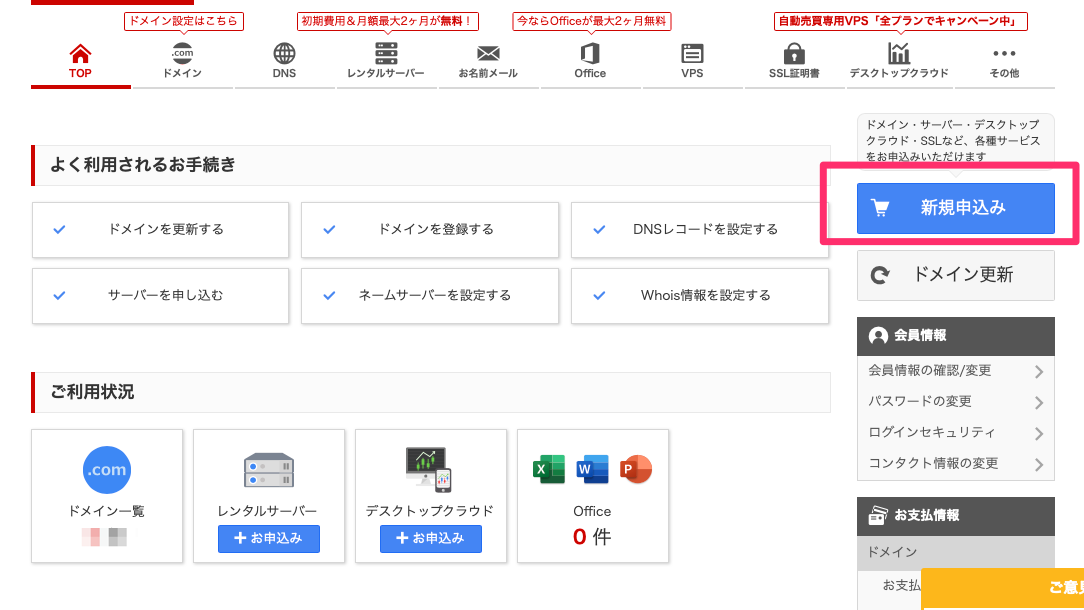
ドメインの新規申し込み
希望のドメインを指定する
DigitalOceanの仮想サーバーを用意しているためサーバー利用は不要
あとは画面に従ってドメインの契約をしていく
発行したドメインにIPアドレスを紐付ける
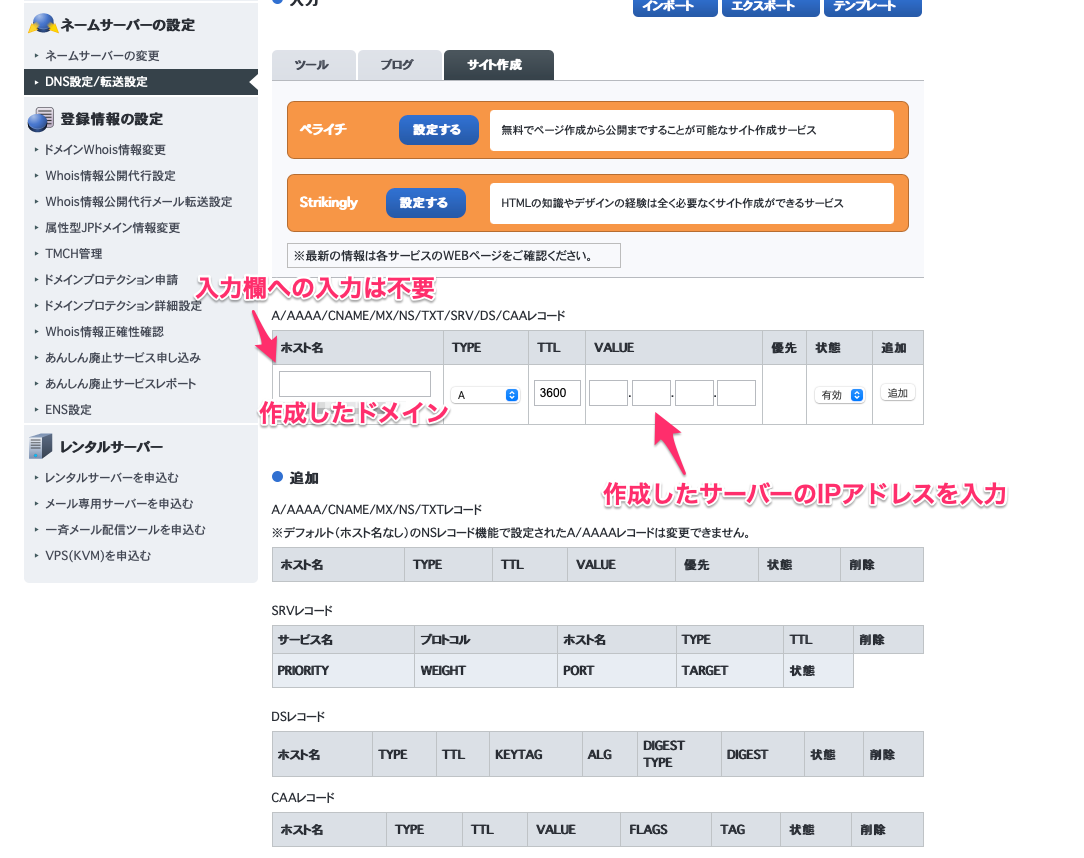
発行したドメインにIPアドレスを紐付けるためにDNS設定をする


ドメイン,サーバーのIPアドレスを用いてAレコードを設定する
上記入力後、ネームサーバーの変更にチェックを入れて確認画面へ
※ これにチェックを入れないとドメインからIPアドレスが検索されない

あとは画面に従って登録をする
※ 反映までに時間がかかります
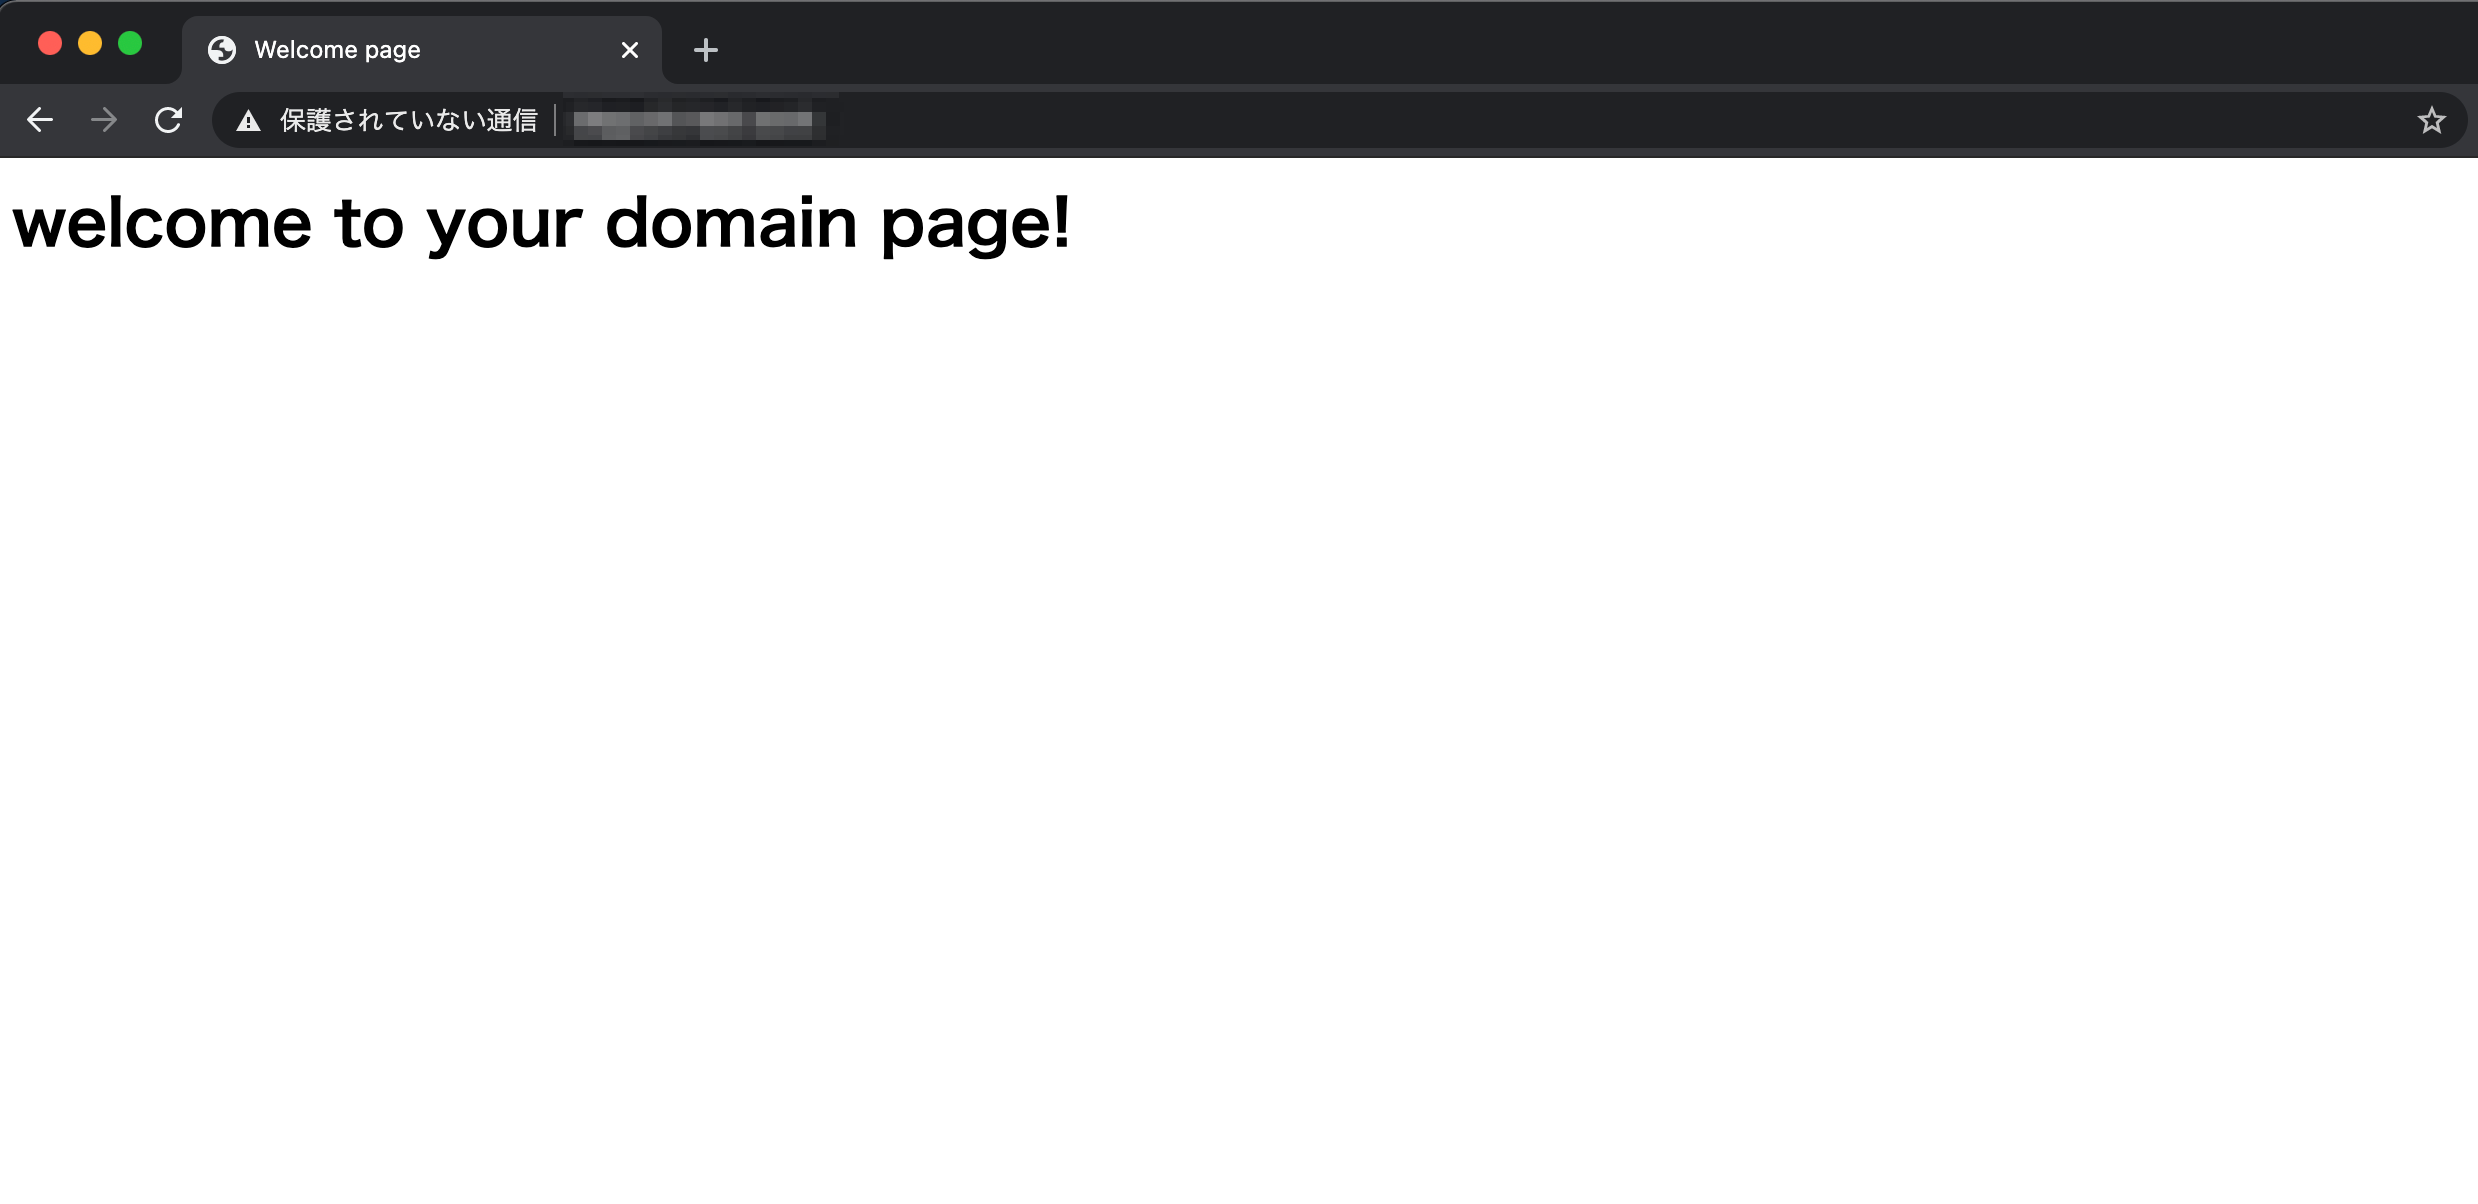
暇な時間で静的なHTMLページを作成
DigitalOceanの仮想サーバーにアクセスして、ドメインにアクセスした際の静的ページを作成する
$ mkdir -p /var/www/`your_domain`/html
# example.comであれば
# $ mkdir -p /var/www/example/html

$ vi /var/www/`your_domain`/html/index.html
<html>
  <head>
    <title>Welcome page</title>
  </head>
  <body>
    <h1>welcome to your domain page!</h1>
  </body>
</html>
ドメインアクセスのためのサーバーの設定
ドメインでのアクセスがあった際にどのようなページを表示するかを設定する
$ vi /etc/nginx/sites-available/`your_domain`

server {
        listen 80;
        listen [::]:80;

        root /var/www/`your_domain`/html;
        index index.html index.htm index.nginx-debian.html;

        server_name `your_domain` www.`your_domain`;

        location / {
                try_files $uri $uri/ =404;
        }
}
nginxの設定も更新する
$ vi /etc/nginx/nginx.conf

# comment outされているのでuncomment
server_names_hash_bucket_size 64;
指定のページを表示させるために新たにシンボリックリンクを設定する
$ ln -s /etc/nginx/sites-available/`your_domain` /etc/nginx/sites-enabled/
nginxを再起動して変更を反映させる
$ systemctl restart nginx
この時点で作成したHTMLが表示されずnginxのデフォルトページのままの場合はsites-available、sites-enabledにdefault配下にファイルが存在している可能性がある
削除してnginxを再起動する
SSLを設定する
雑に言えばhttpsでアクセスできるようにする
データ通信の暗号化プロトコルのためのSSL証明書の発行
今回使用するのはLet's Encryptであるため必要なものをインストールする
$ apt install certbot python3-certbot-nginx
実際にSSLを発行していく
下記のコマンドを実行するとメールアドレス等の情報入力が求められるため入力する
$ certbot --nginx -d `your_domain.xxx`
# ドメインがexample.comであれば
# $ certbot --nginx -d example.com
サイト設定に反映させる
$ vi /etc/nginx/sites-available/`your_domain`

server {
        listen 80;
        listen [::]:80;

        root /var/www/`your_domain`/html;
        index index.html index.htm index.nginx-debian.html;

        server_name `your_domain` www.`your_domain`;

        location / {
                try_files $uri $uri/ =404;
        }
        listen 443 ssl;
        ssl_certificate /etc/letsencrypt/live/`your_domain.xxx`/fullchain.pem;
        ssl_certificate_key /etc/letsencrypt/live/`your_domain.xxx`/privkey.pem;
        # ドメインがexample.comであれば
        # ssl_certificate /etc/letsencrypt/live/example.com/fullchain.pem;
}
最後にnginxを再起動する
$ systemctl restart nginx
作成したドメインへhttpsを先頭としたURLでアクセスする


