対象読者
- 自身のポートフォリオサイトを作成してみたい人
- 時間やお金などのコストをかけず手軽にページを公開したい人
エンジニアに転職してから約8ヶ月が経とうとしている私ですが、そろそろ自分のポートフォリオサイトが欲しいなと思いまして...。
ちょうど今、ReactとTypeScriptを勉強中という事もあり、練習がてらサクッと作ってGitHubページに公開してみました。
その手順があまりにも手軽で簡単だったため、今回はメモ書きとして残しておきます。現役エンジニアだけでなく、これから転職活動を始めようと思っている人も試してみていただければ幸いです。
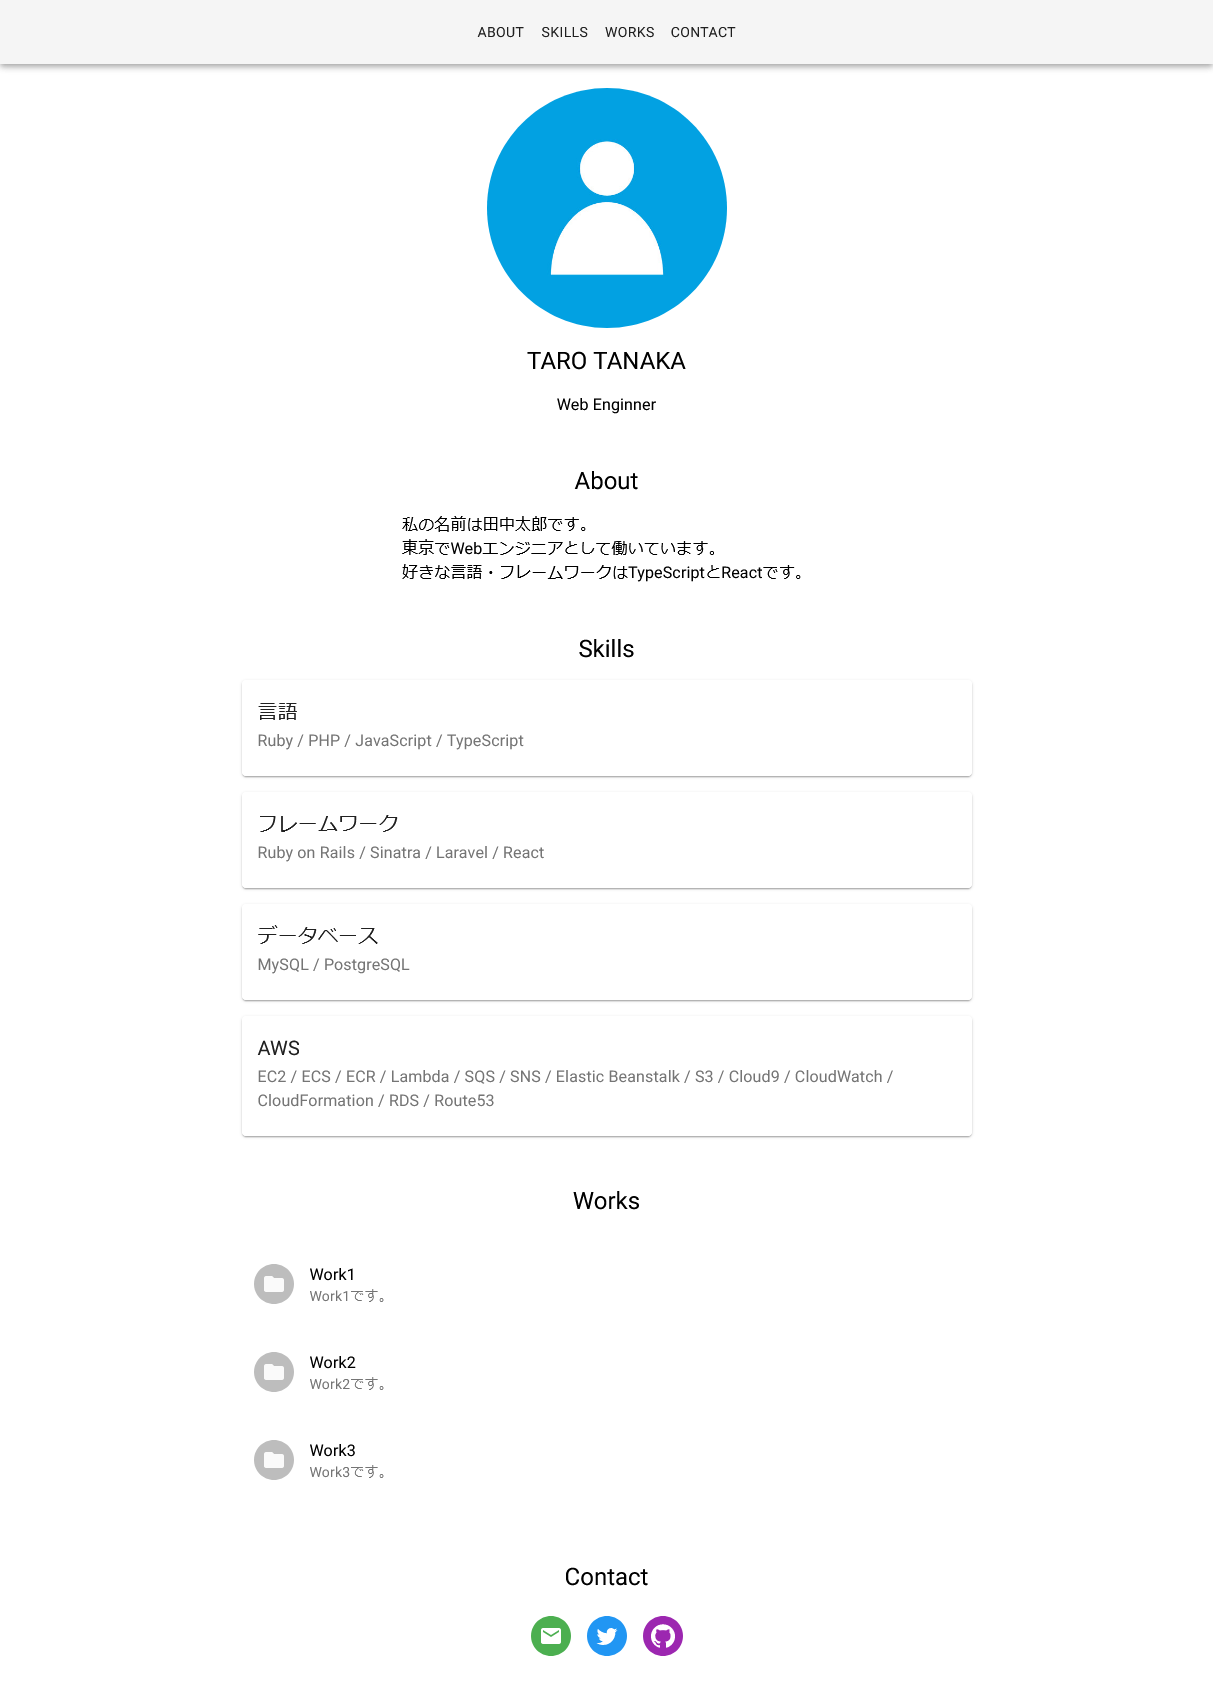
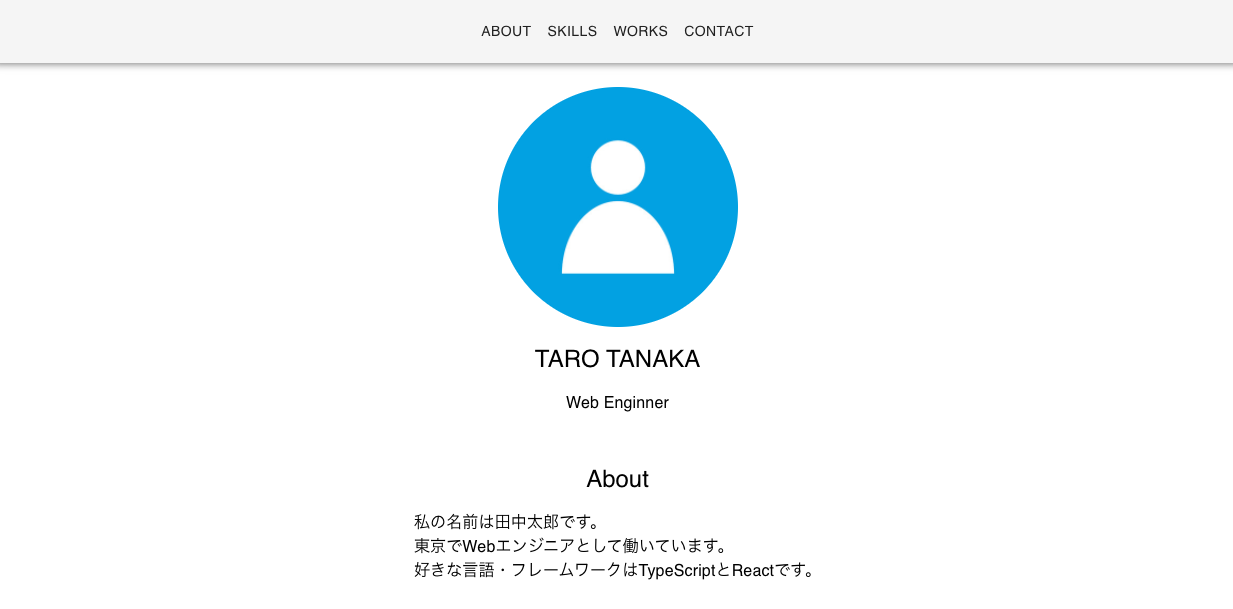
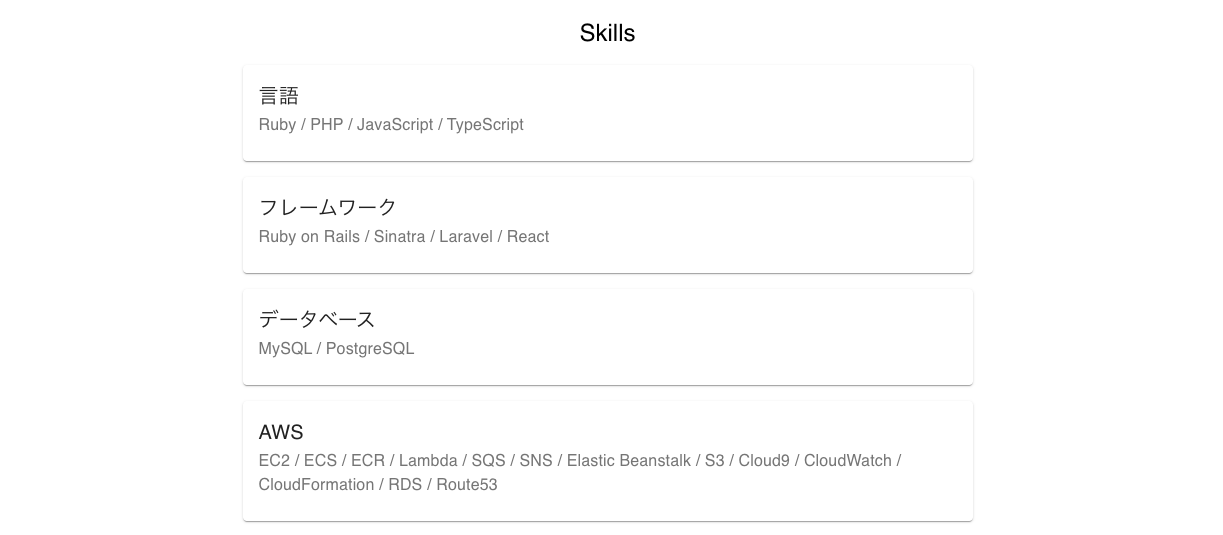
完成イメージ
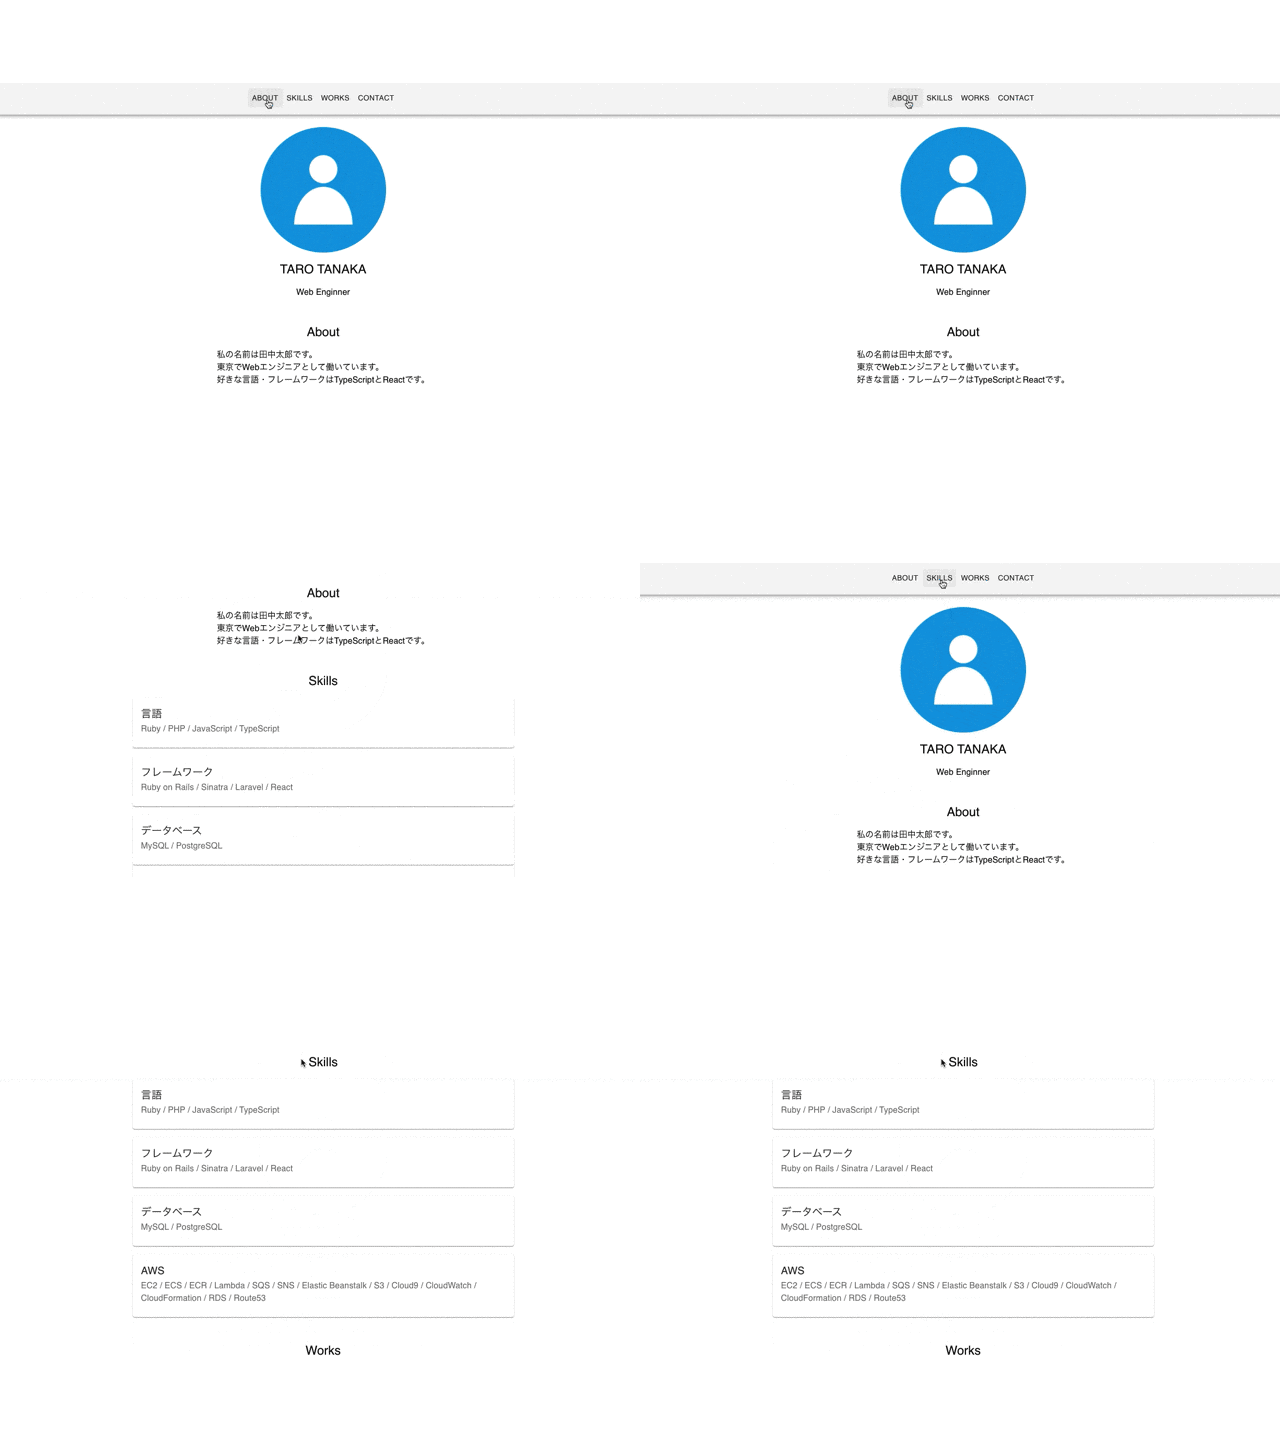
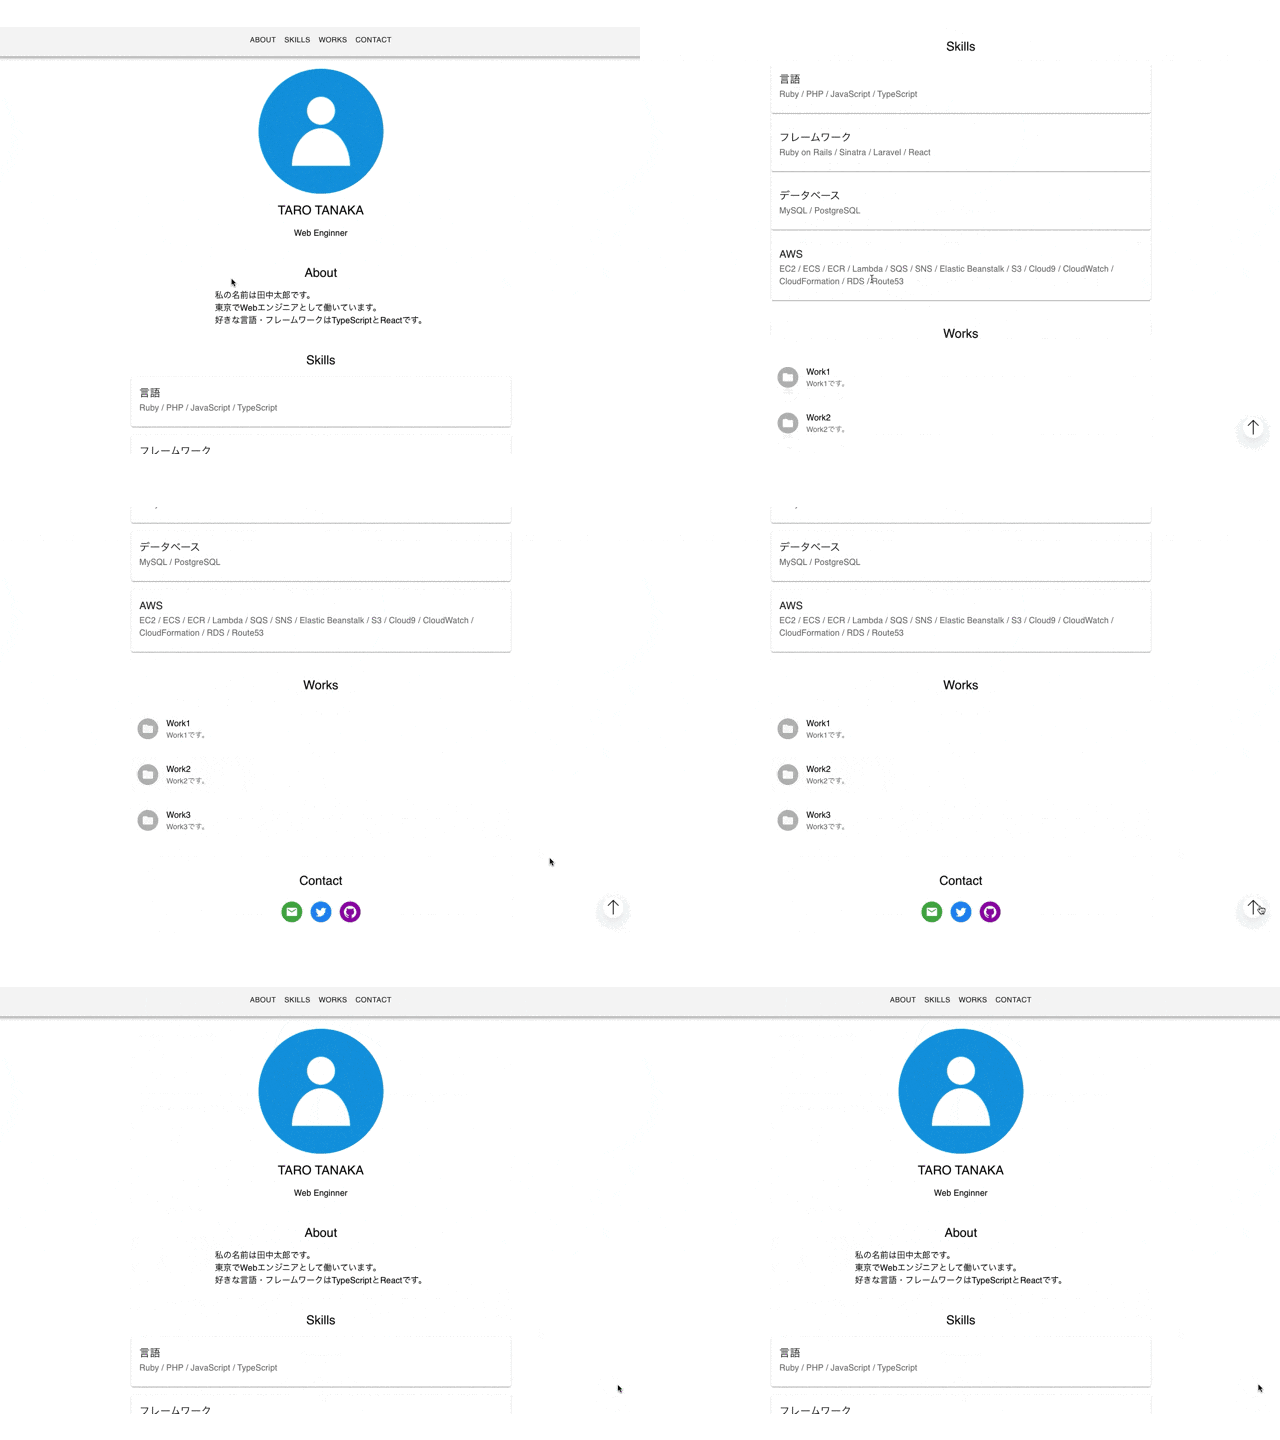
後でカスタマイズしやすいよう至ってシンプルな感じにしました。画像ではわかりませんが、アンカーリンクやスムーズスクロールなども取り入れています。
下準備(環境構築)
まず最初に環境構築から。
create-react-app
$ npx create-react-app portfolio-sample --template typescript
create-react-appコマンドで一気に雛型を作成します。
$ cd portfolio-sample
$ yarn start
「localhost:3000」でReactのデフォルト画面が表示されていれば成功です。
不要なファイルを削除
自動生成された各種ファイルの中で今後使用する予定の無いものを削除してしまいます。
- App.css
- App.test.tsx
- logo.svg
App.tsxを編集
先ほどいつくかのファイルを削除した影響でコンパイルに失敗するようになっているため、App.tsxを書き換えます。
import React from 'react';

const App: React.FC = () => {
  return (
    <h1>Hello React!</h1>
  );
}

export default App;
「Hello React!」に変わっていればOKです。
Material-UIをインストール
今回は「Material-UI」というコンポーネントライブラリの力を借りてデザインを調整していきます。
$ yarn add @material-ui/core
$ yarn add @material-ui/icons
コードを実装
下準備が終わったのでいよいよコードの実装に入ります。
ナビゲーションバーを作成
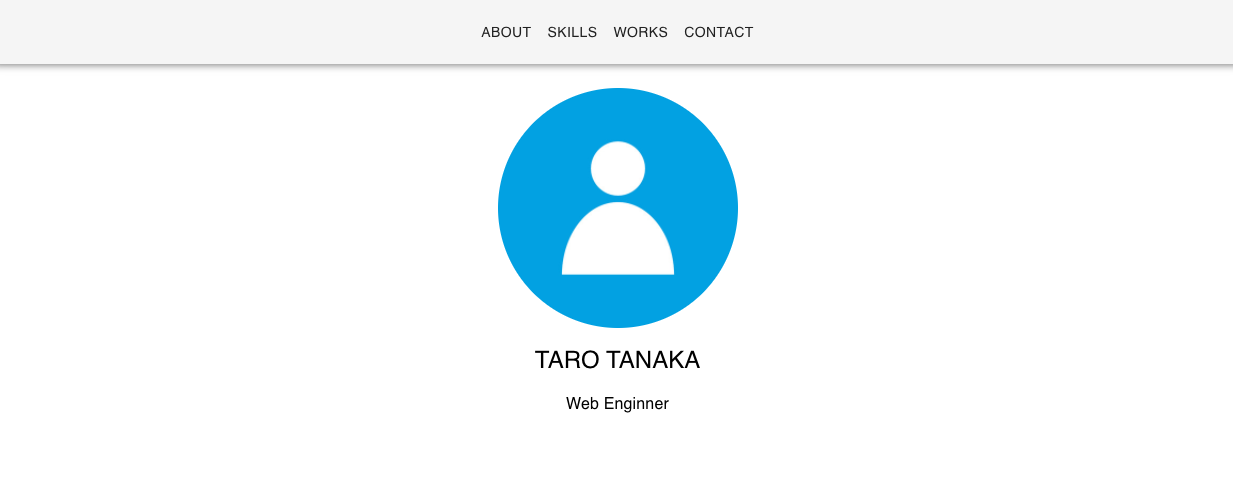
ナビゲーションバーは「AppBar」コンポーネントを中心に作成していきます。
https://material-ui.com/components/app-bar/
$ mkdir src/components
$ touch src/components/Navbar.tsx
import React from 'react'
import AppBar from '@material-ui/core/AppBar'
import Toolbar from '@material-ui/core/Toolbar'
import Button from '@material-ui/core/Button'

const Navbar: React.FC = () => {
  return (
    <>
      <AppBar
        color='default'
        position='static'
        style={{ alignItems: 'center'}}
      >
        <Toolbar>
          <Button>
            ABOUT
          </Button>
          <Button color='inherit'>
            SKILLS
          </Button>
          <Button color='inherit'>
            Works
          </Button>
          <Button color='inherit'>
            CONTACT
          </Button>
        </Toolbar>
      </AppBar>
    </>
  );
}

export default Navbar;
import React from 'react'
import Navbar from './components/Navbar'

const App: React.FC = () => {
  return (
    // Navbarコンポーネントを追記
    <Navbar />
  );
}

export default App;
アバターを作成
アバターは「Avatar」コンポーネントを中心に作成していきます。
https://material-ui.com/components/avatars/
$ mkdir src/static
$ mkdir src/static/images
「src/static/images」というフォルダを作成し、その中にアバターとして使いたい画像ファイルを入れておきます。
※今回は「my_avatar.jpg」というファイル名で使用する想定です。
$ touch src/components/MyAvatar.tsx
import React from 'react'
import { makeStyles } from '@material-ui/core/styles'
import Box from '@material-ui/core/Box'
import Avatar from '@material-ui/core/Avatar'
import Typography from '@material-ui/core/Typography'

// 画像ファイルをインポート
import ImageFile from '../static/images/my_avatar.jpg'

const useStyles = makeStyles((theme) => ({
  // 表示サイズを指定
  large: {
    width: theme.spacing(30),
    height: theme.spacing(30),
  },
}));

const MyAvatar: React.FC = () => {
  const classes = useStyles();

  return (
    <>
      <Box p={2}>
        <Box display='flex' justifyContent='center' p={1} >
          <Avatar
            alt='Taro Tanaka'
            src={ImageFile}
            className={classes.large}
          />
        </Box>
        <Box display='flex' justifyContent='center' p={1} >
          <Typography variant='h5' >
            TARO TANAKA
          </Typography>
        </Box>
        <Box display='flex' justifyContent='center' p={1} >
          <Typography variant='body1'>
            Web Enginner
          </Typography>
        </Box>
      </Box>
    </>
  );
}

export default MyAvatar;
import React from 'react'
import Navbar from './components/Navbar'
// 追記
import MyAvatar from './components/MyAvatar'

const App: React.FC = () => {
  return (
    <> // 要素が増えたので「<></>」で囲う
      <Navbar />
      // 追記
      <MyAvatar />
    </>
  );
}

export default App;
自己紹介(About)を作成
自己紹介は「Typography」コンポーネントを中心に作成していきます。
https://material-ui.com/components/typography/
$ touch src/components/About.tsx
import React from 'react'
import Box from '@material-ui/core/Box'
import Typography from '@material-ui/core/Typography'

const About: React.FC = () => {
  return (
    <>
      <Box p={2}>
        <Box display='flex' justifyContent='center' p={1}>
          <Typography variant='h5' >
            About
          </Typography>
        </Box>
        <Box display='flex' justifyContent='center' p={1}>
          <Typography variant='body1' align='left'>
            私の名前は田中太郎です。<br />
            東京でWebエンジニアとして働いています。<br />
            好きな言語・フレームワークはTypeScriptとReactです。
          </Typography>
        </Box>
      </Box>
    </>
  );
}

export default About;
import React from 'react'
import Navbar from './components/Navbar'
import MyAvatar from './components/MyAvatar'
// 追記
import About from './components/About'

const App: React.FC = () => {
  return (
    <>
      <Navbar />
      <MyAvatar />
      // 追記
      <About />
    </>
  );
}

export default App;
スキル一覧(Skills)を作成
スキル一覧は「Card」コンポーネントを中心に作成していきます。
https://material-ui.com/components/cards/
$ touch src/components/Skills.tsx
import React from 'react'
import Box from '@material-ui/core/Box'
import { makeStyles } from '@material-ui/core/styles'
import Card from '@material-ui/core/Card'
import CardContent from '@material-ui/core/CardContent'
import Typography from '@material-ui/core/Typography'

const useStyles = makeStyles({
  root: {
    width: 730,
    maxWidth: '100%',
  },
});

const Skills: React.FC = () => {
  const classes = useStyles();

  return (
    <>
      <Box p={2}>
        <Box display='flex' justifyContent='center' p={1} >
          <Typography variant='h5' >
            Skills
          </Typography>
        </Box>
        <Box display='flex' justifyContent='center' p={1} >
          <Card className={classes.root}>
            <CardContent>
              <Typography variant="h6">
                言語
              </Typography>
              <Typography color="textSecondary">
                Ruby / PHP / JavaScript / TypeScript
              </Typography>
            </CardContent>
          </Card>
        </Box>
        <Box display='flex' justifyContent='center' p={1} >
          <Card className={classes.root}>
            <CardContent>
              <Typography variant="h6">
                フレームワーク
              </Typography>
              <Typography color="textSecondary">
                Ruby on Rails / Sinatra / Laravel / React
              </Typography>
            </CardContent>
          </Card>
        </Box>
        <Box display='flex' justifyContent='center' p={1} >
          <Card className={classes.root}>
            <CardContent>
              <Typography variant="h6">
                データベース
              </Typography>
              <Typography color="textSecondary">
                MySQL / PostgreSQL
              </Typography>
            </CardContent>
          </Card>
        </Box>
        <Box display='flex' justifyContent='center' p={1} >
          <Card className={classes.root}>
            <CardContent>
              <Typography variant="h6">
                AWS
              </Typography>
              <Typography color="textSecondary">
                EC2 / ECS / ECR / Lambda / SQS / SNS / Elastic Beanstalk / S3 / Cloud9 / CloudWatch / CloudFormation / RDS / Route53
              </Typography>
            </CardContent>
          </Card>
        </Box>

      </Box>
    </>
  );
}

export default Skills;
import React from 'react'
import Navbar from './components/Navbar'
import MyAvatar from './components/MyAvatar'
import About from './components/About'
// 追記
import Skills from './components/Skills'

const App: React.FC = () => {
  return (
    <>
      <Navbar />
      <MyAvatar />
      <About />
      // 追記
      <Skills />
    </>
  );
}

export default App;
作品一覧(Works)を作成
作品一覧は「List」コンポーネントを中心に作成していきます。
https://material-ui.com/components/lists/
$ touch src/components/Works.tsx
import React from 'react'
import Box from '@material-ui/core/Box'
import Typography from '@material-ui/core/Typography'

import { makeStyles } from '@material-ui/core/styles'
import List from '@material-ui/core/List'
import ListItem, { ListItemProps } from '@material-ui/core/ListItem'
import ListItemText from '@material-ui/core/ListItemText'
import ListItemAvatar from '@material-ui/core/ListItemAvatar'
import Avatar from '@material-ui/core/Avatar'
import FolderIcon from '@material-ui/icons/Folder'

const useStyles = makeStyles((theme) => ({
  root: {
    width: 770,
    maxWidth: '100%',
  },
}));

function ListItemLink(props: ListItemProps<'a', { button?: true }>) {
  return <ListItem button component="a" {...props} />;
}

const Works: React.FC = () => {
  const classes = useStyles();

  return (
    <>
      <Box p={2}>
        <Box display='flex' justifyContent='center' p={1} >
          <Typography variant='h5' >
            Works
          </Typography>
        </Box>
        <Box display='flex' justifyContent='center' p={1} >
          <List className={classes.root}>
            <ListItem>
              // GitHubリポジトリなどのURLを貼る
              <ListItemLink href='#'>
                <ListItemAvatar>
                  <Avatar>
                    <FolderIcon />
                  </Avatar>
                </ListItemAvatar>
                // 「primary」に作品名、「secondary」に説明文を書く
                <ListItemText primary='Work1' secondary='Work1です。' />
              </ListItemLink>
            </ListItem>
            <ListItem>
              <ListItemLink href='#'>
                <ListItemAvatar>
                  <Avatar>
                    <FolderIcon />
                  </Avatar>
                </ListItemAvatar>
                <ListItemText primary='Work2' secondary='Work2です。' />
              </ListItemLink>
            </ListItem>
            <ListItem>
              <ListItemLink href='#'>
                <ListItemAvatar>
                  <Avatar>
                    <FolderIcon />
                  </Avatar>
                </ListItemAvatar>
                <ListItemText primary='Work3' secondary='Work3です。' />
              </ListItemLink>
            </ListItem>
          </List>
        </Box>
      </Box>
    </>
  );
}

export default Works;
import React from 'react'
import Navbar from './components/Navbar'
import MyAvatar from './components/MyAvatar'
import About from './components/About'
import Skills from './components/Skills'
// 追記
import Works from './components/Works'

const App: React.FC = () => {
  return (
    <>
      <Navbar />
      <MyAvatar />
      <About />
      <Skills />
      // 追記
      <Works />
    </>
  );
}

export default App;
連絡先(Contact)を作成
連絡先は「Icon」コンポーネントを中心に作成していきます。
https://material-ui.com/components/icons/
$ touch src/components/Contact.tsx
import React from 'react'
import Box from '@material-ui/core/Box'
import Typography from '@material-ui/core/Typography'
import { makeStyles } from '@material-ui/core/styles'
import Link from '@material-ui/core/Link'
import MailIcon from '@material-ui/icons/Mail'
import TwitterIcon from '@material-ui/icons/Twitter'
import GitHubIcon from '@material-ui/icons/GitHub'
import Avatar from '@material-ui/core/Avatar'
import { green, blue, purple } from '@material-ui/core/colors'

const useStyles = makeStyles((theme) => ({
  root: {
    display: 'flex',
    '& > *': {
      margin: theme.spacing(1),
    },
  },
  green: {
    color: '#fff',
    backgroundColor: green[500],
  },
  blue: {
    color: theme.palette.getContrastText(blue[500]),
    backgroundColor: blue[500],
  },
  purple: {
    color: theme.palette.getContrastText(purple[500]),
    backgroundColor: purple[500],
  },
}));

const Contact: React.FC = () => {
  const classes = useStyles();

  return (
    <>
      <Box p={2}>
        <Box display='flex' justifyContent='center' p={1} >
          <Typography variant='h5' >
            Contact
          </Typography>
        </Box>
        <Box className={classes.root} display='flex' justifyContent='center' p={1}>
          <Link href='#' color='inherit'>
            <Avatar className={classes.green}>
              // 何のアイコンを使うかは各自お好みで(今回はメール、Twitter、GithHub)
              <MailIcon />
            </Avatar>
          </Link>
          <Link href='#' color='inherit'>
            <Avatar className={classes.blue}>
              <TwitterIcon />
            </Avatar>
          </Link>
          <Link href='#' color='inherit'>
            <Avatar className={classes.purple}>
              <GitHubIcon />
            </Avatar>
          </Link>
        </Box>
      </Box>
    </>
  );
}

export default Contact;
import React from 'react'
import Navbar from './components/Navbar'
import MyAvatar from './components/MyAvatar'
import About from './components/About'
import Skills from './components/Skills'
import Works from './components/Works'
// 追記
import Contact from './components/Contact'

const App: React.FC = () => {
  return (
    <>
      <Navbar />
      <MyAvatar />
      <About />
      <Skills />
      <Works />
      // 追記
      <Contact />
    </>
  );
}

export default App;
アンカーリンクを作成
ここまでの作業で大体のレイアウトは作成できたと思いますが、よりユーザビリティを良くするための機能としてアンカーリンクを追加していきます。
react-anchor-link-smooth-scrollをインストール
$ yarn add react-anchor-link-smooth-scroll
アンカーリンクは「react-anchor-link-smooth-scroll」という別のコンポーネントライブラリを使用します。
https://github.com/mauricevancooten/react-anchor-link-smooth-scroll
$ mkdir src/types
$ touch src/types/Types.d.ts
// 型定義
declare module 'react-anchor-link-smooth-scroll' {
  interface Props {
    href: string;
    offset?: function | number;
    onClick?: (e: Event) => void;
    [key: string]: any;
  }

  export default class AnchorLink extends React.Component<Props> {}
}
import React from 'react'
// 追記
import AnchorLink from 'react-anchor-link-smooth-scroll'
import AppBar from '@material-ui/core/AppBar'
import Toolbar from '@material-ui/core/Toolbar'
import Button from '@material-ui/core/Button'

const Navbar: React.FC = () => {
  return (
    <>
      <AppBar
        color='default'
        position='static'
        style={{ alignItems: 'center'}}
      >
        <Toolbar>
          // href属性に飛ばしたい位置を指定
          <AnchorLink href='#about' style={{
            textDecoration: 'none',
            color: 'inherit'
          }}>
            <Button>
              ABOUT
            </Button>
          </AnchorLink>
          <AnchorLink href='#skills' style={{
            textDecoration: 'none',
            color: 'inherit'
          }}>
            <Button color='inherit'>
              SKILLS
            </Button>
          </AnchorLink>
          <AnchorLink href='#works' style={{
            textDecoration: 'none',
            color: 'inherit'
          }}>
            <Button color='inherit'>
              Works
            </Button>
          </AnchorLink>
          <AnchorLink href='#contact' style={{
            textDecoration: 'none',
            color: 'inherit'
          }}>
            <Button color='inherit'>
            CONTACT
            </Button>
          </AnchorLink>
        </Toolbar>
      </AppBar>
    </>
  );
}

export default Navbar;
import React from 'react'
import Navbar from './components/Navbar'
import MyAvatar from './components/MyAvatar'
import About from './components/About'
import Skills from './components/Skills'
import Works from './components/Works'
import Contact from './components/Contact'

const App: React.FC = () => {
  return (
    <>
      <section>
        <Navbar />
      </section>
      <section>
        <MyAvatar />
      </section>
      // 「section」タグで囲み、id属性を付与
      <section id='about'>
        <About />
      </section>
      <section id='skills'>
        <Skills />
      </section>
      <section id='works'>
        <Works />
      </section>
      <section id='contact'>
        <Contact />
      </section>
    </>
  );
}

export default App;
これでナビゲーションバーのボタンを押すと任意の場所まで飛んでくれるはずです。
スムーズスクロールを作成
最後にスムーズスクロールを作成していきます。
画面端っこのトップに戻れるボタンみたいなヤツですね。
react-scroll-to-topをインストール
$ yarn add react-scroll-to-top
スムーズスクロール は「react-scroll-to-top」という別のコンポーネントライブラリを使用します。
https://github.com/HermanNygaard/react-scroll-to-top#readme
$ mkdir src/utils
$ touch src/utils/ScrollUp.tsx
import React from 'react'
import ScrollToTop from 'react-scroll-to-top'

const ScrollUp: React.FC = () => {

  return(
    <>
      <ScrollToTop
        smooth
        style={{
          borderRadius: '50%'
        }}
      />
    </>
  );
}

export default ScrollUp;
import React from 'react'
import Navbar from './components/Navbar'
import MyAvatar from './components/MyAvatar'
import About from './components/About'
import Skills from './components/Skills'
import Works from './components/Works'
import Contact from './components/Contact'
// 追記
import ScrollUp from './utils/ScrollUp'

const App: React.FC = () => {
  return (
    <>
      <section>
        <Navbar />
      </section>
      <section>
        <MyAvatar />
      </section>
      <section id='about'>
        <About />
      </section>
      <section id='skills'>
        <Skills />
      </section>
      <section id='works'>
        <Works />
      </section>
      <section id='contact'>
        <Contact />
      </section>
      // 追記
      <ScrollUp />
    </>
  );
}

export default App;
右下あたりに↑ボタンが出ていればOKです。
GiHub Pagesで公開
さて、これでポートフォリオサイトの作成が完了したのでGitHub Pagesを使い全世界に公開していきます。
GitHubリポジトリを作成 & プッシュ
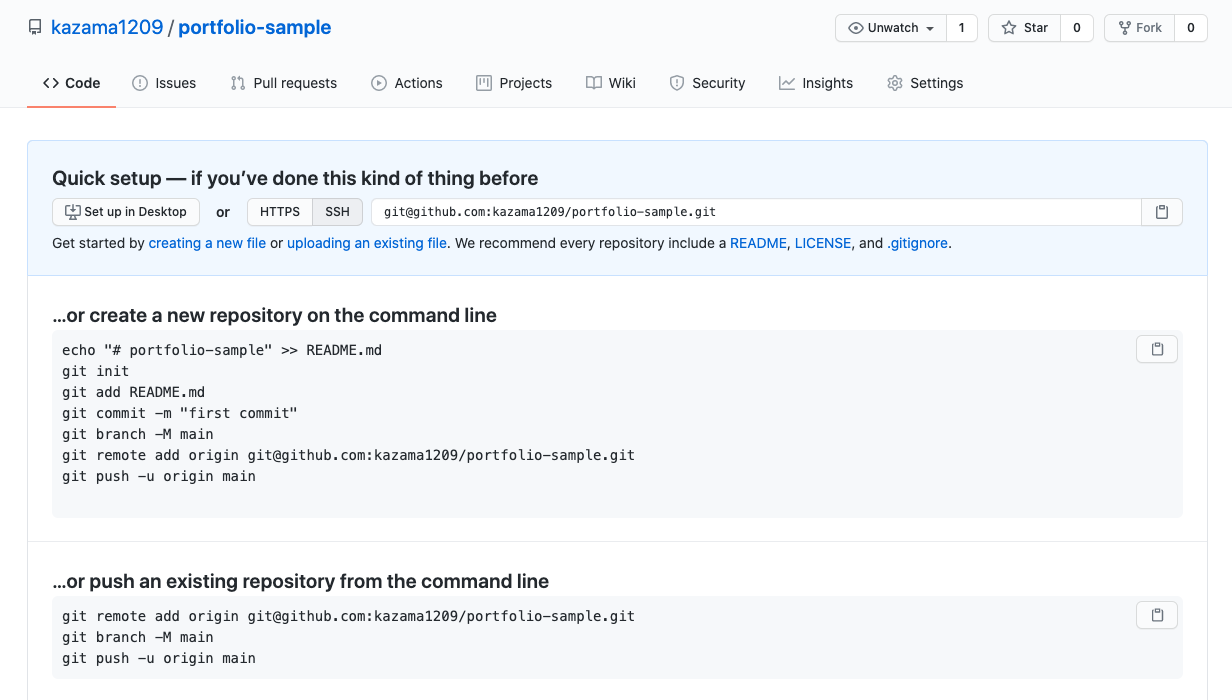
適当なGitHubリポジトリを作成し、プッシュしておきます。
gh-pagesインストール
$ yarn add gh-pages
「gh-pages」というライブラリを使うとGitHub Pagesへのデプロイが簡単にできるのでインストールしておきます。
 // ...
  "homepage": "http://<GitHubアカウント名>.github.io/<アプリ名>",
  "scripts": {
 // ...
    "deploy": "yarn build && gh-pages -d build"
  }
「homepage」に公開後のURLを指定し、「scripts」内に「deploy」コマンドを追加します。(筆者の場合は「http://kazama1209.github.io/portfolio-sample」)
$ yarn deploy

...
yarn run v1.22.5
Creating an optimized production build...

Compiled successfully.

File sizes after gzip:

  75.26 KB  build/static/js/2.c4987627.chunk.js
  1.75 KB   build/static/js/main.f4ccca09.chunk.js
  1.4 KB    build/static/js/3.d03e520a.chunk.js
  1.18 KB   build/static/js/runtime-main.29ad46c8.js
  278 B     build/static/css/main.6dea0f05.chunk.css

The project was built assuming it is hosted at /portfolio-sample/.
You can control this with the homepage field in your package.json.

The build folder is ready to be deployed.

Find out more about deployment here:

  https://cra.link/deployment

Published
✨  Done in 39.48s.
こんな感じでレスポンスが返ってくれば成功です。
先ほど指定したURLにアクセスし、しっかりと公開しているか確認してください。
※デプロイ後、反映されるまでに数分程度かかる事もあるので気長に待ちましょう。
あとがき
以上、React × TypeScriptで作ったポートフォリオサイトをGitHub Pagesで公開するまでの手順でした。書いてある通りに実行すればきっと同じものが作れたはずです。
私は今回初めてGitHub Pagesを使いましたが、めちゃくちゃ簡単にサイトを公開できるので何かと重宝しそうな気がしました。
Materiau-UIは手軽に綺麗なページを作れるので、この記事をベースに色々とカスタマイズしてみてください。
