背景
Railsで作ったアプリにChart.js(JavaScript製のチャート描画ライブラリ)を導入したかったのですが、
- v2系とv3系どちらのChart.jsを使うか
- bundle install と yarn install のどちらで入れるか
など色々な要因が絡み合い、やや苦戦する場面がありました。
特に Rails6 以降は Webpacker の存在もあるため、古めの記事はあまり参考にならない事も多かったです。
そこで今回は比較的新しめの開発環境で Chart.js を導入するまでの手順についてメモを残しておこうと思います。
環境
- Ruby 3.0.1
- Rails 6.1.4.1
- Webpacker
- Chart.js 3.6.2
- Docker
再現性を高めるために Docker を使用していますが、この辺は各自のお好みでお願いします。
実装
早速ですが、手を動かしていきましょう。
作業ディレクトリ & 各種ファイルを作成
$ mkdir rails6-webpacker-chart_js && cd rails6-webpacker-chart_js
$ touch Dockerfile docker-compose.yml entrypoint.sh Gemfile Gemfile.lock
FROM ruby:3.0

RUN curl https://deb.nodesource.com/setup_14.x | bash

RUN curl -sS https://dl.yarnpkg.com/debian/pubkey.gpg | apt-key add - \
    && echo "deb https://dl.yarnpkg.com/debian/ stable main" | tee /etc/apt/sources.list.d/yarn.list

RUN apt-get update -qq && apt-get install -y build-essential libpq-dev nodejs yarn

ENV APP_PATH /myapp

RUN mkdir $APP_PATH
WORKDIR $APP_PATH

COPY Gemfile $APP_PATH/Gemfile
COPY Gemfile.lock $APP_PATH/Gemfile.lock
RUN bundle install

COPY . $APP_PATH

COPY entrypoint.sh /usr/bin/
RUN chmod +x /usr/bin/entrypoint.sh
ENTRYPOINT ["entrypoint.sh"]
EXPOSE 3000

CMD ["rails", "server", "-b", "0.0.0.0"]
version: "3"
services:
  db:
    image: mysql:5.7
    environment:
      MYSQL_ROOT_PASSWORD: password
    volumes:
      - mysql-data:/var/lib/mysql
      - /tmp/dockerdir:/etc/mysql/conf.d/
    ports:
      - 4306:3306
  web:
    build:
      context: .
      dockerfile: Dockerfile
    command: bash -c "rm -f tmp/pids/server.pid && bundle exec rails s -p 3000 -b '0.0.0.0'"
    volumes:
      - .:/myapp
      - ./vendor/bundle:/myapp/vendor/bundle
    environment:
      TZ: Asia/Tokyo
      RAILS_ENV: development
    ports:
      - "3000:3000"
    depends_on:
      - db
volumes:
  mysql-data:
# !/bin/bash
set -e

# Remove a potentially pre-existing server.pid for Rails.
rm -f /myapp/tmp/pids/server.pid

# Then exec the container's main process (what's set as CMD in the Dockerfile).
exec "$@"
# frozen_string_literal: true

source "https://rubygems.org"

git_source(:github) {|repo_name| "https://github.com/#{repo_name}" }

gem "rails", "~> 6"
# 空欄でOK
rails new
おなじみのコマンドでアプリの雛型を作成。
$ docker-compose run web rails new . --force --no-deps -d mysql --skip-test
database.ymlを編集
デフォルトの状態だとデータベースとの接続ができないので「database.yml」の一部を書き換えます。
default: &default
  adapter: mysql2
  encoding: utf8mb4
  pool: <%= ENV.fetch("RAILS_MAX_THREADS") { 5 } %>
  username: root
  password: password # デフォルトだと空欄になっているはずなので変更
  host: db # デフォルトだとlocalhostになっているはずなので変更

development:
  <<: *default
  database: myapp_development

test:
  <<: *default
  database: myapp_test

production:
  <<: *default
  database: <%= ENV["DATABASE_NAME"] %>
  username: <%= ENV["DATABASE_USERNAME"] %>
  password: <%= ENV["DATABASE_PASSWORD"] %>
コンテナを起動 & データベースを作成
$ docker-compose build
$ docker-compose up -d
$ docker-compose run web bundle exec rails db:create
動作確認(localhost:3000 にアクセス)
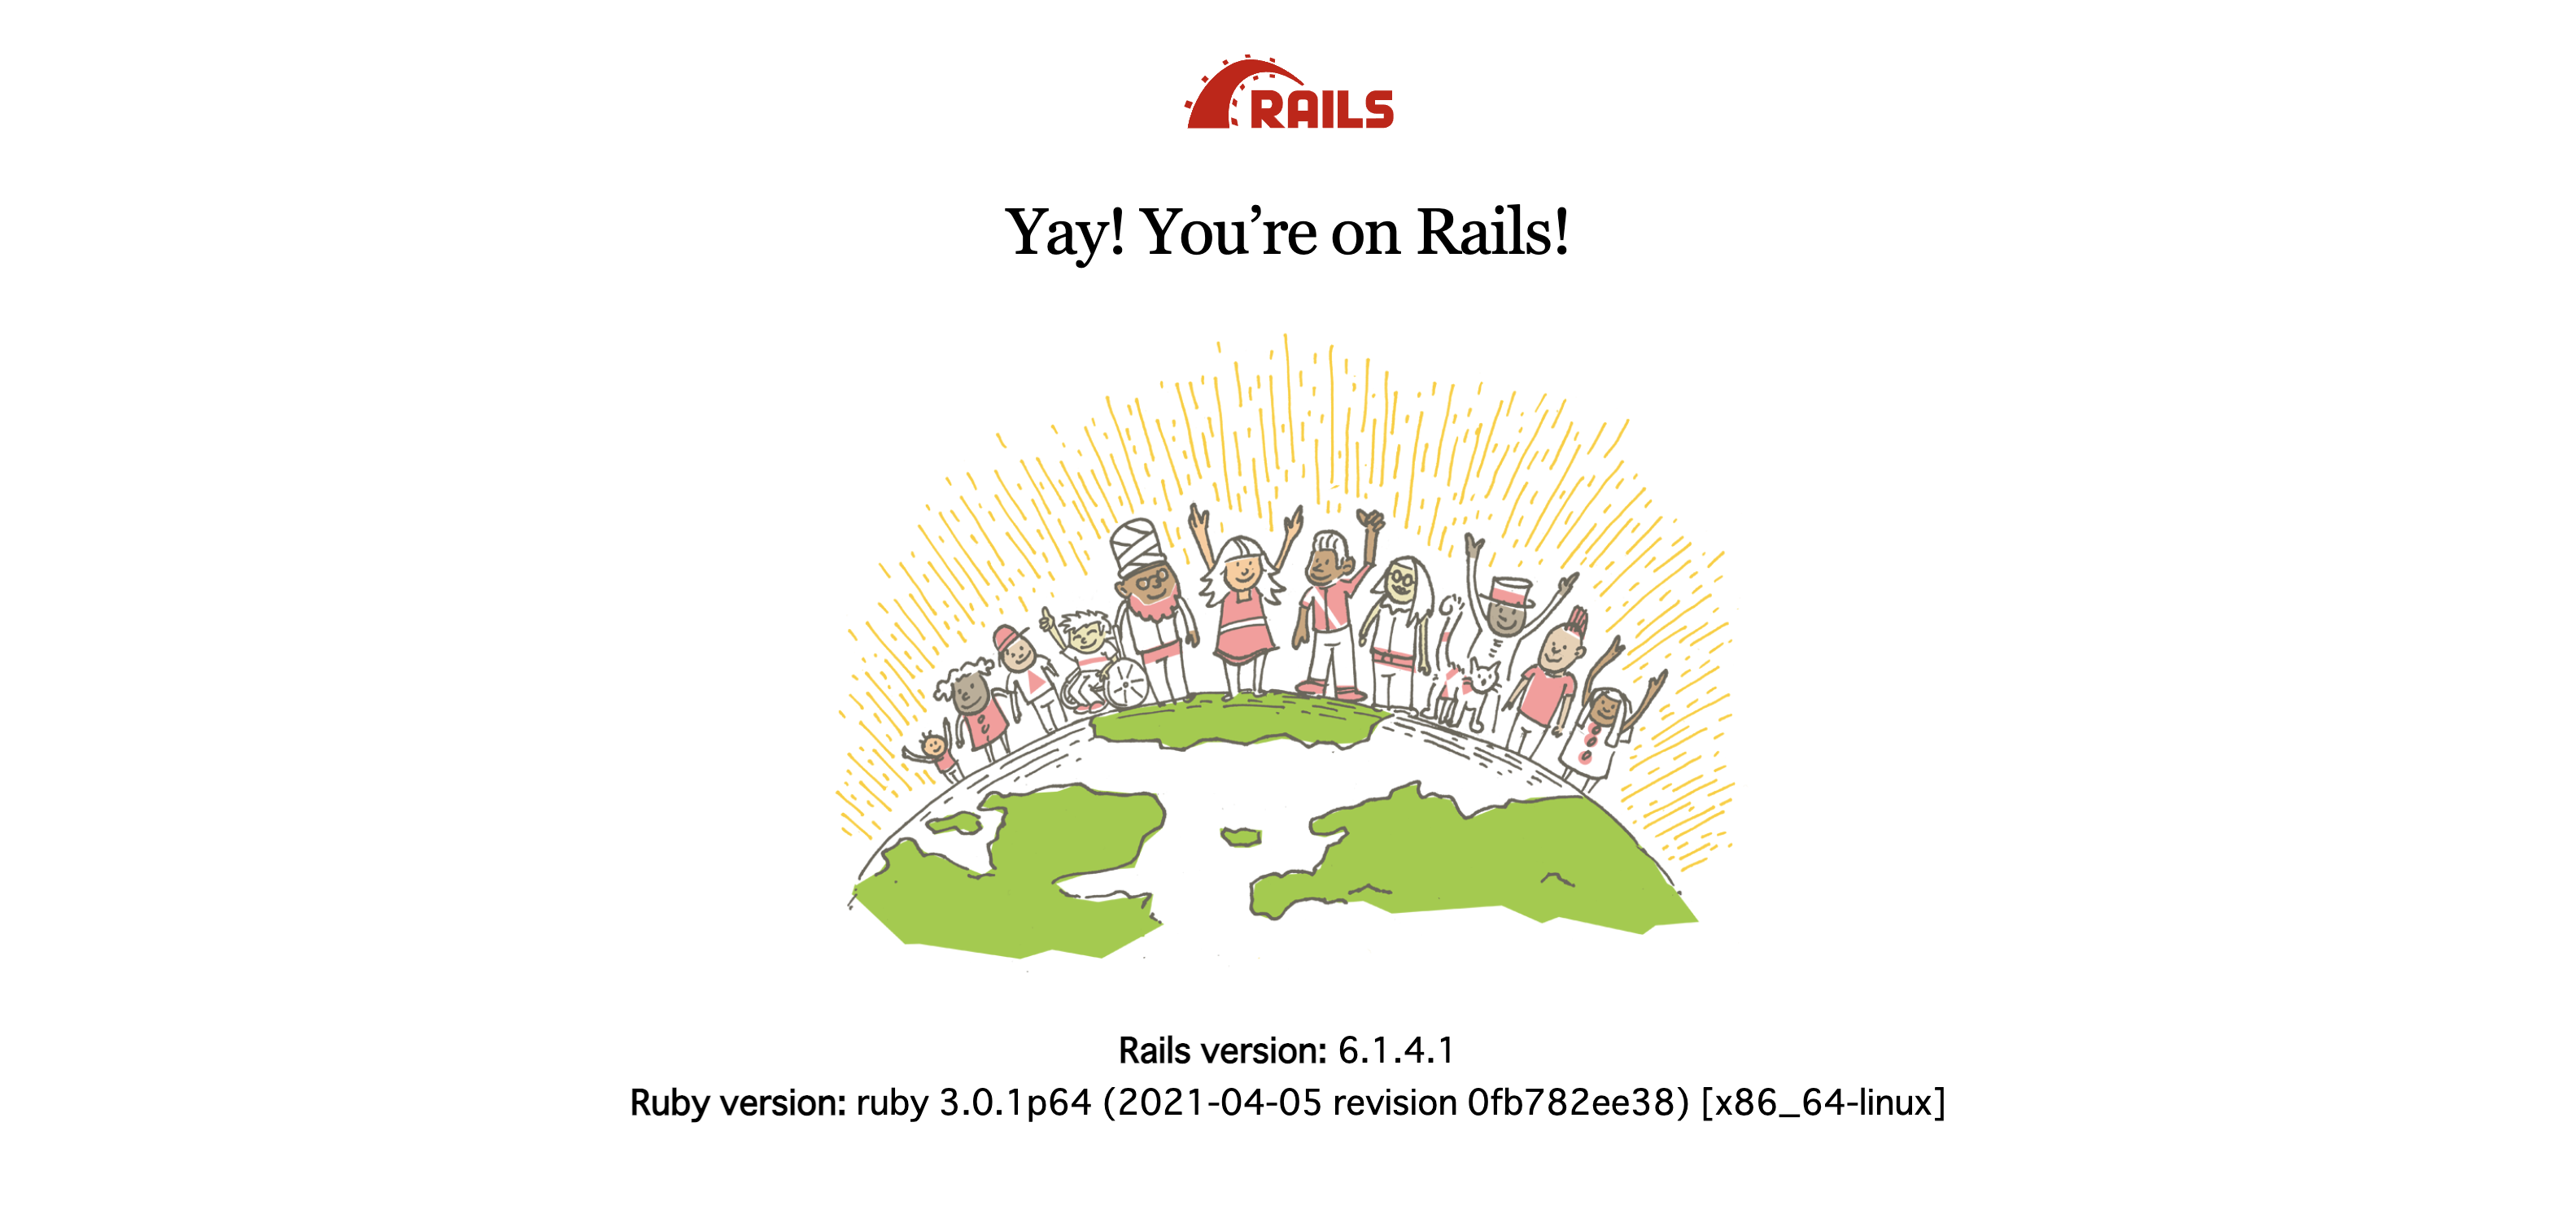
localhost:3000 にアクセスしてウェルカムページが表示されればOKです。
Chart.js をインストール
アプリの雛型ができたところで Chart.js をインストールしていきます。
$ docker-compose run web yarn add chart.js
今回は Yarn 経由でインストール。
application.js を変更
app/javascripts/packs/application.js の中に次の2行を記述をしてください。
import Chart from "chart.js/auto";
global.Chart = Chart;
Chart.js に関する古めの記事だったりすると
require("chart.js");
↑ の1行を追記しろ的な事が書かれていたりするのを見ますが、
- Rails 6.1.4.1
- Chart.js 3.6.2
といった自分の環境では少なくとも動きませんでした。
どうやら Chart.js の v2 系と v3 系ではこの辺の仕様が大きく違うらしく、 v3 系からは必要なモジュールを自分で逐一選択してインポート & 登録する必要があるとの事。(おそらく、巷にある記事は v2 系を前提として書いてあるものが多いのかもしれません。)
https://www.chartjs.org/docs/latest/getting-started/integration.html#bundlers-webpack-rollup-etc
Chart.js 3 is tree-shakeable, so it is necessary to import and register the controllers, elements, scales and plugins you are going to use.
import {
  Chart,
  ArcElement,
  LineElement,
  BarElement,
  PointElement,
  BarController,
  BubbleController,
  DoughnutController,
  LineController,
  PieController,
  PolarAreaController,
  RadarController,
  ScatterController,
  CategoryScale,
  LinearScale,
  LogarithmicScale,
  RadialLinearScale,
  TimeScale,
  TimeSeriesScale,
  Decimation,
  Filler,
  Legend,
  Title,
  Tooltip,
  SubTitle
} from 'chart.js';

Chart.register(
  ArcElement,
  LineElement,
  BarElement,
  PointElement,
  BarController,
  BubbleController,
  DoughnutController,
  LineController,
  PieController,
  PolarAreaController,
  RadarController,
  ScatterController,
  CategoryScale,
  LinearScale,
  LogarithmicScale,
  RadialLinearScale,
  TimeScale,
  TimeSeriesScale,
  Decimation,
  Filler,
  Legend,
  Title,
  Tooltip,
  SubTitle
);
ただし、こんな長ったらしい記述を行うのが面倒な場合、上記のように import Chart from "chart.js/auto"; と記述すれば全てのモジュールのインポート & 登録が完了するみたいなので今回はそちらを使用しました。
チャートを描画
諸々の準備ができたので、いよいよチャートを描画していきましょう。
$ docker-compose run web rails g controller home index
適当なコントローラーとビューを作成。
Rails.application.routes.draw do
  root "home#index"
end
class HomeController < ApplicationController
  def index
  end
end
<canvas id="myRadorChart"></canvas>
<script>
  var ctx = document.getElementById("myRadorChart");
  var myRadorChart = new Chart(ctx, {
    /* グラフの種類 (bar、line、rader、pie、doughnut、polarArea、bubble などがある) */
    type: "radar",
    data: {
      /* 各項目のラベル(上から時計回り) */
      labels: [
        "Eating",
        "Drinking",
        "Sleeping",
        "Designing",
        "Coding",
        "Cycling",
        "Running",
      ],
      /* データの設定 */
      datasets: [
        {
          /* グラフ全体のラベル */
          label: "My First Dataset",
          /* グラフのデータ(上から時計回り) */
          data: [65, 59, 90, 81, 56, 55, 40],
          /* グラフを塗りつぶすかどうか(falseにすると枠線だけのグラフになる)*/
          fill: true,
          /* 背景色 */
          backgroundColor: "rgba(255, 99, 132, 0.2)",
          /* 枠線色 */
          borderColor: "rgb(255, 99, 132)",
          /* ポイントを塗りつぶす色 */
          pointBackgroundColor: "rgb(255, 99, 132)",
          /* ポイントの枠線色 */
          pointBorderColor: "#fff",
          /* ホバー時のポイントの背景色 */
          pointHoverBackgroundColor: "#fff",
          /* ホバー時のポイントの枠線色 */
          pointHoverBorderColor: "rgb(255, 99, 132)",
        },
        {
          label: "My Second Dataset",
          data: [28, 48, 40, 19, 96, 27, 100],
          fill: true,
          backgroundColor: "rgba(54, 162, 235, 0.2)",
          borderColor: "rgb(54, 162, 235)",
          pointBackgroundColor: "rgb(54, 162, 235)",
          pointBorderColor: "#fff",
          pointHoverBackgroundColor: "#fff",
          pointHoverBorderColor: "rgb(54, 162, 235)",
        },
      ],
    },
    //オプションの設定
    options: {
      elements: {
        line: {
          /* 枠線の太さ */
          borderWidth: 3,
        },
      },
    },
  });
</script>
今回はあくまでもサンプルなので最小限の設定しかしていませんが、その気になればかなり幅広いカスタマイズができるみたいなので、気になる方はドキュメントなどを参考に色々いじってみてください。
なお、オプションの指定方法なども v2 系 とv3 系では異なる部分があるらしいので重ね重ねご注意を。
https://www.chartjs.org/docs/3.2.0/getting-started/v3-migration.html
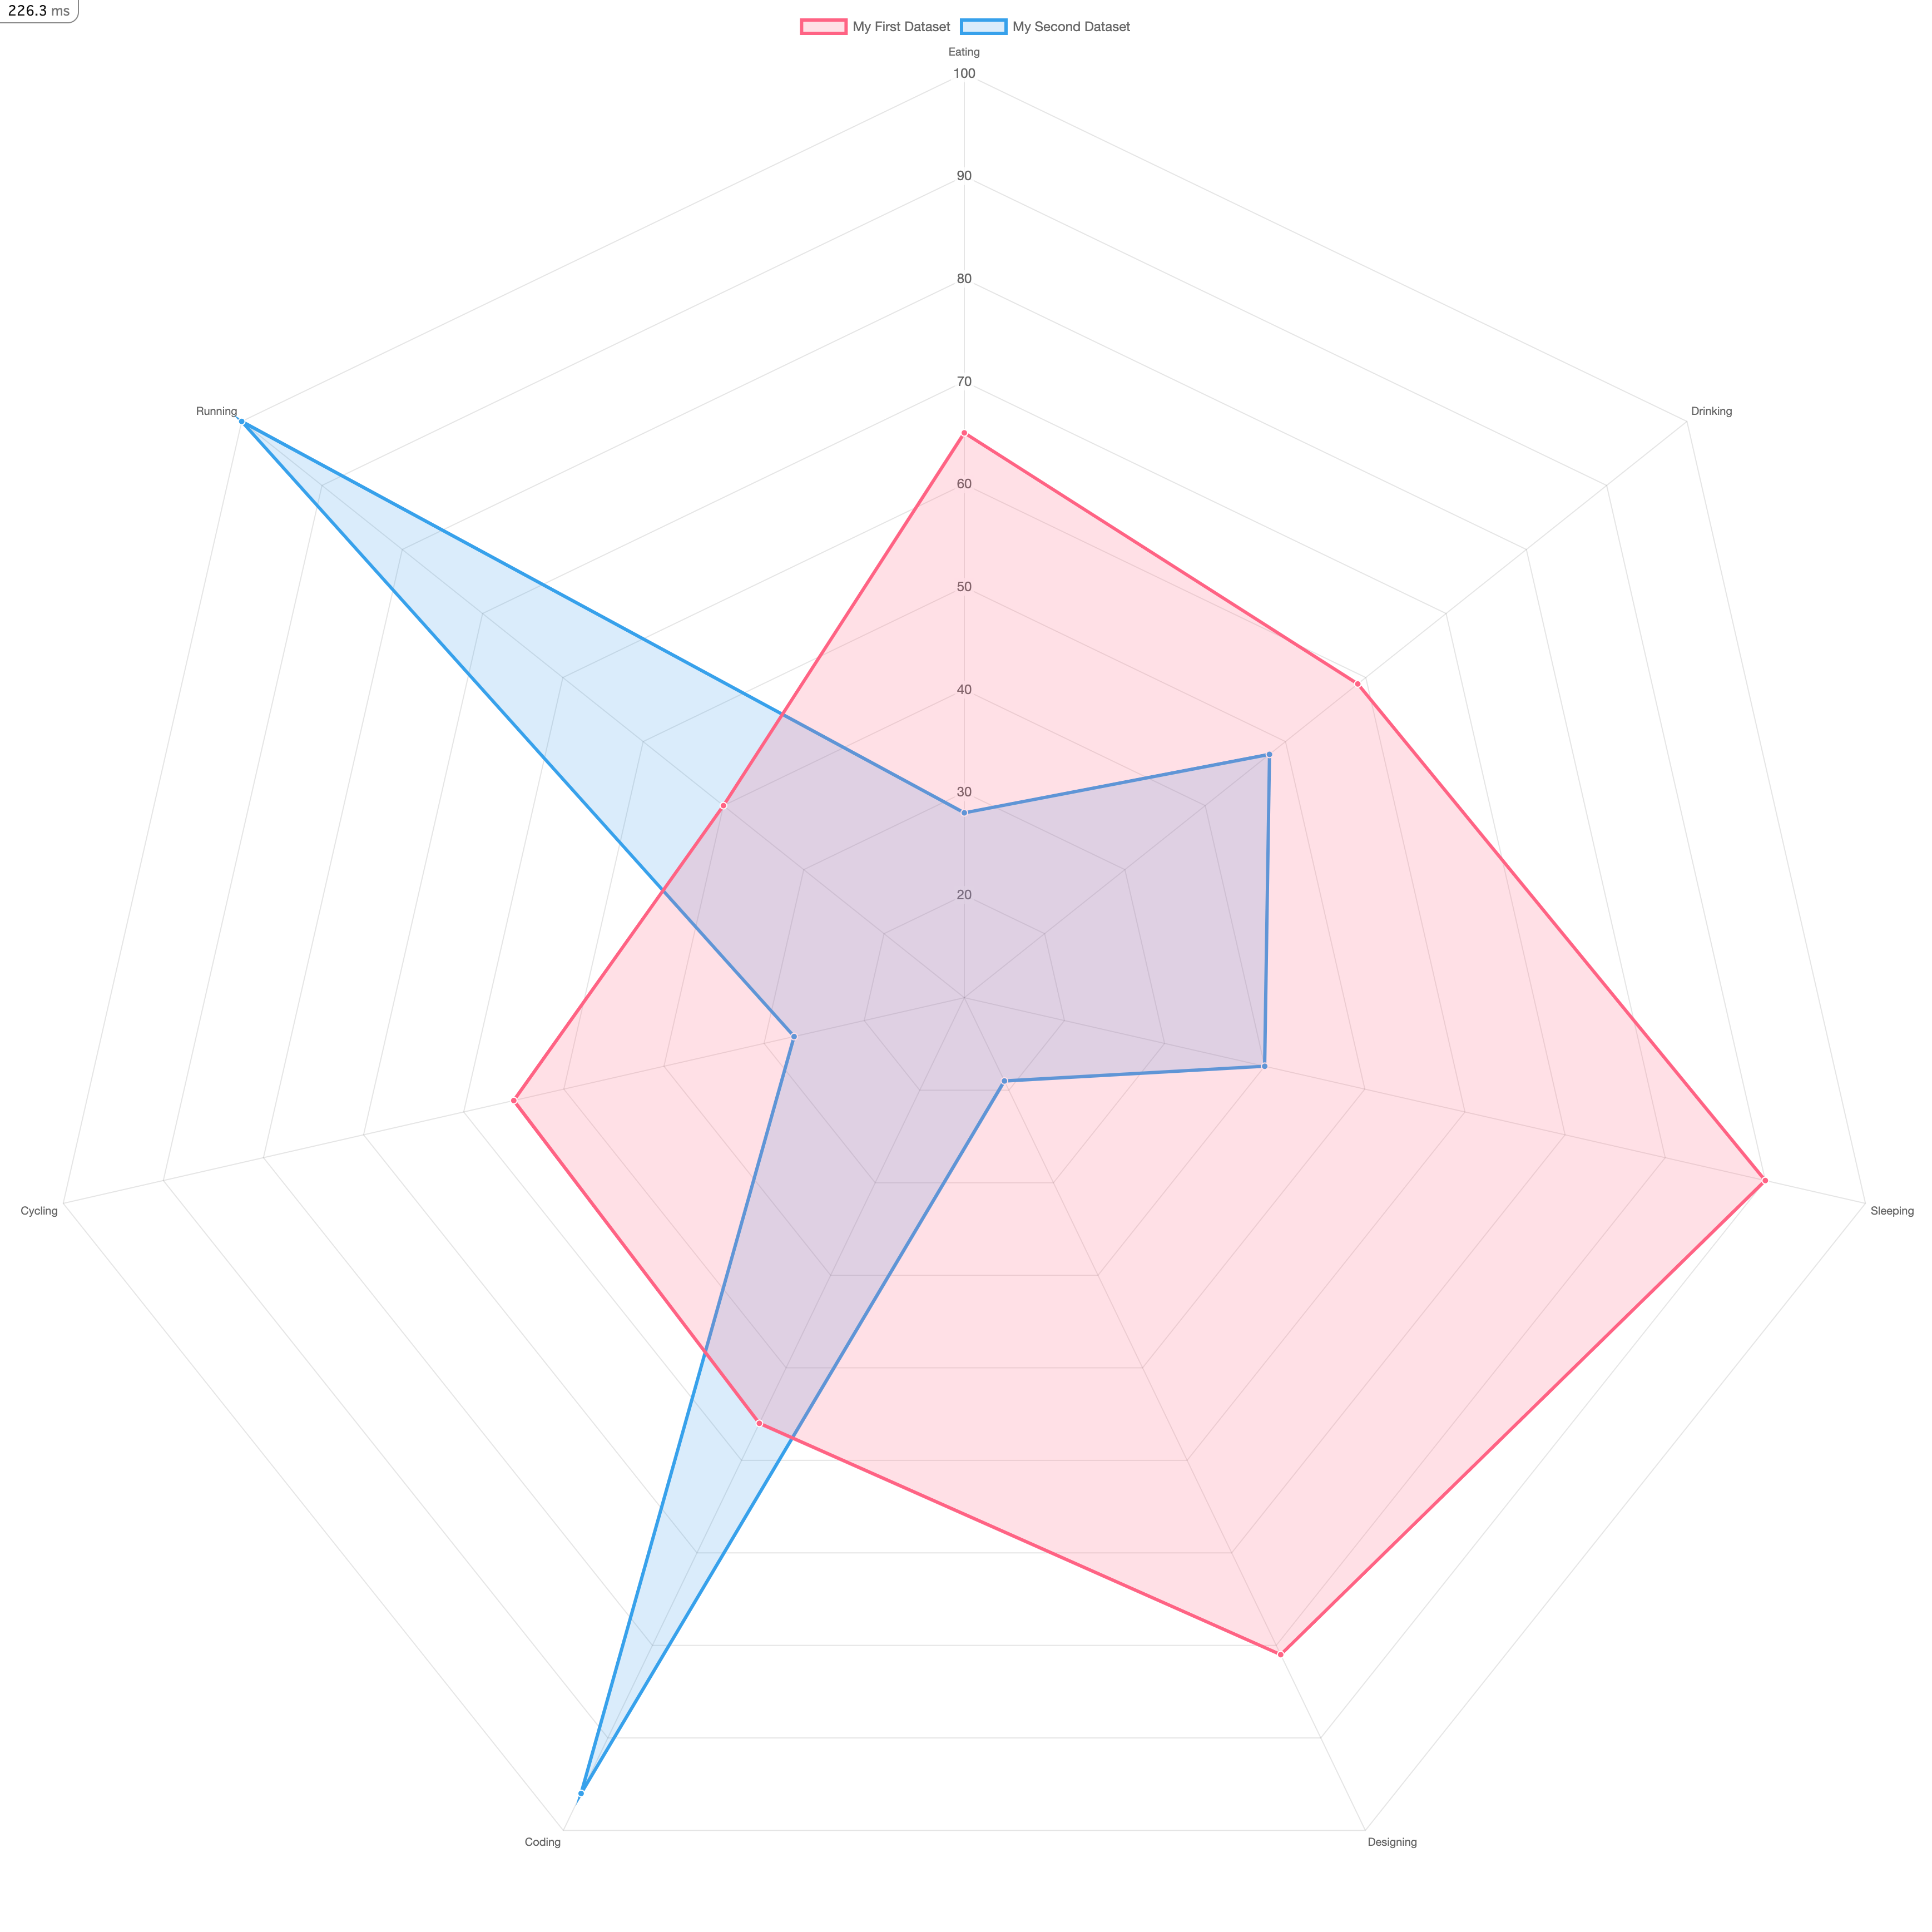
localhost:3000 に再度アクセスして ↑ のようなチャートが描画されていれば成功です。
あとがき
以上、Rails 6(with Webpacker) で作ったアプリケーションに Chart.js を導入してみました。
前述の通り、 Chart.js は v2 系から v3 系へ移行する際に大幅な変更(破壊的なものも含む)があったそうなので、参考にする記事によっては上手くいかないなんて事もザラにありそうです。
また、 gem と node_modules のどちらかを使うかにもよるかもしれません。
どのバージョンを使用するかなどについては個人の好みもあると思うのでお任せしますが、特にこれから新しくRailsアプリを作るといった方の場合、今回の記事の内容はそれなりに有効だと思うので参考にしてみてください。


