概要
業務でVue.jsを使う事になったため、とりあえずTodoアプリを作りながら入門してみました。
全体的な構成としては、バックエンドにRails API、フロントエンドにVue.jsを採用したSPA(Singe Page Application)になっています。
完成イメージ
全体構成
rails-vue-todo-app
├── backend
│   ├── app
│   ├── bin
│   ├── config
│   ├── db
│   ├── lib
│   ├── log
│   ├── public
│   ├── storage
│   ├── test
│   ├── tmp
│   ├── vendor
│   ├── config.ru
│   ├── docker-compose.yml
│   ├── Dockerfile
│   ├── entrypoint.sh
│   ├── Gemfile
│   ├── Gemfile.lock
│   ├── Rakefile
│   └── README.md
└── frontend
    ├── public
    ├── src
    ├── babel.config.js
    ├── package.json
    ├── README.md
    ├── tsconfig.json
    └── yarn.lock
- バックエンド
- Ruby 3
- Rails 6(APIモード)
- フロントエンド
- Vue.js 3
- TypeScript
- データベース
- MySQL 8
今回は再現性を考慮してバックエンド + データベースの部分のみDockerで環境構築していきます。
したがって、先にDockerをインストールしておいてください。
参照記事: DockerをMacにインストールする
また、フロントエンドの雛型はVue CLIを使用して作成するのでこちらも事前に準備をお願いします。
参照記事: インストール | Vue CLI
実装
準備ができたら実際に手を動かしていきます。
プロジェクト本体
適当な名前で良いので、まずはプロジェクト本体を作成してください。
$ mkdir rails-vue-todo-spa && cd rails-vue-todo-spa
バックエンド
今回は先にバックエンド部分から作成していきます。
各種ディレクトリ・ファイルを作成
$ mkdir backend && cd backend
$ touch Dockerfile
$ touch docker-compose.yml
$ touch entrypoint.sh
$ touch Gemfile
$ touch Gemfile.lock
FROM ruby:3.0

RUN apt-get update -qq && apt-get install -y build-essential libpq-dev nodejs

ENV APP_PATH /myapp

RUN mkdir $APP_PATH
WORKDIR $APP_PATH

COPY Gemfile $APP_PATH/Gemfile
COPY Gemfile.lock $APP_PATH/Gemfile.lock
RUN bundle install

COPY . $APP_PATH

COPY entrypoint.sh /usr/bin/
RUN chmod +x /usr/bin/entrypoint.sh
ENTRYPOINT ["entrypoint.sh"]
EXPOSE 3000

CMD ["rails", "server", "-b", "0.0.0.0"]
version: "3"
services:
  db:
    image: mysql:8.0
    environment:
      MYSQL_ROOT_PASSWORD: password
    command: --default-authentication-plugin=mysql_native_password
    volumes:
      - mysql-data:/var/lib/mysql
      - /tmp/dockerdir:/etc/mysql/conf.d/
    ports:
      - 3306:3306
  api:
    build:
      context: .
      dockerfile: Dockerfile
    command: bash -c "rm -f tmp/pids/server.pid && bundle exec rails s -p 3000 -b '0.0.0.0'"
    volumes:
      - .:/myapp
      - ./vendor/bundle:/myapp/vendor/bundle
    environment:
      TZ: Asia/Tokyo
      RAILS_ENV: development
    ports:
      - "3000:3000"
    depends_on:
      - db
volumes:
  mysql-data:
# !/bin/bash
set -e

# Remove a potentially pre-existing server.pid for Rails.
rm -f /myapp/tmp/pids/server.pid

# Then exec the container's main process (what's set as CMD in the Dockerfile).
exec "$@"
# frozen_string_literal: true

source "https://rubygems.org"

git_source(:github) {|repo_name| "https://github.com/#{repo_name}" }

gem "rails", "~> 6"
# 空欄でOK
rails new
前述の通り、APIモードで作成します。
$ docker-compose run api rails new . --force --no-deps -d mysql --api
database.ymlを編集
デフォルトの状態だとデータベースとの接続ができないので「database.yml」の一部を書き換えます。
default: &default
  adapter: mysql2
  encoding: utf8mb4
  pool: <%= ENV.fetch("RAILS_MAX_THREADS") { 5 } %>
  username: root
  password: password # デフォルトだと空欄になっているはずなので変更
  host: db # デフォルトだとlocalhostになっているはずなので変更

development:
  <<: *default
  database: myapp_development

test:
  <<: *default
  database: myapp_test

production:
  <<: *default
  database: <%= ENV["DATABASE_NAME"] %>
  username: <%= ENV["DATABASE_USERNAME"] %>
  password: <%= ENV["DATABASE_PASSWORD"] %>
コンテナを起動 & データベースを作成
$ docker-compose build
$ docker-compose up -d
$ docker-compose run api bundle exec rails db:create
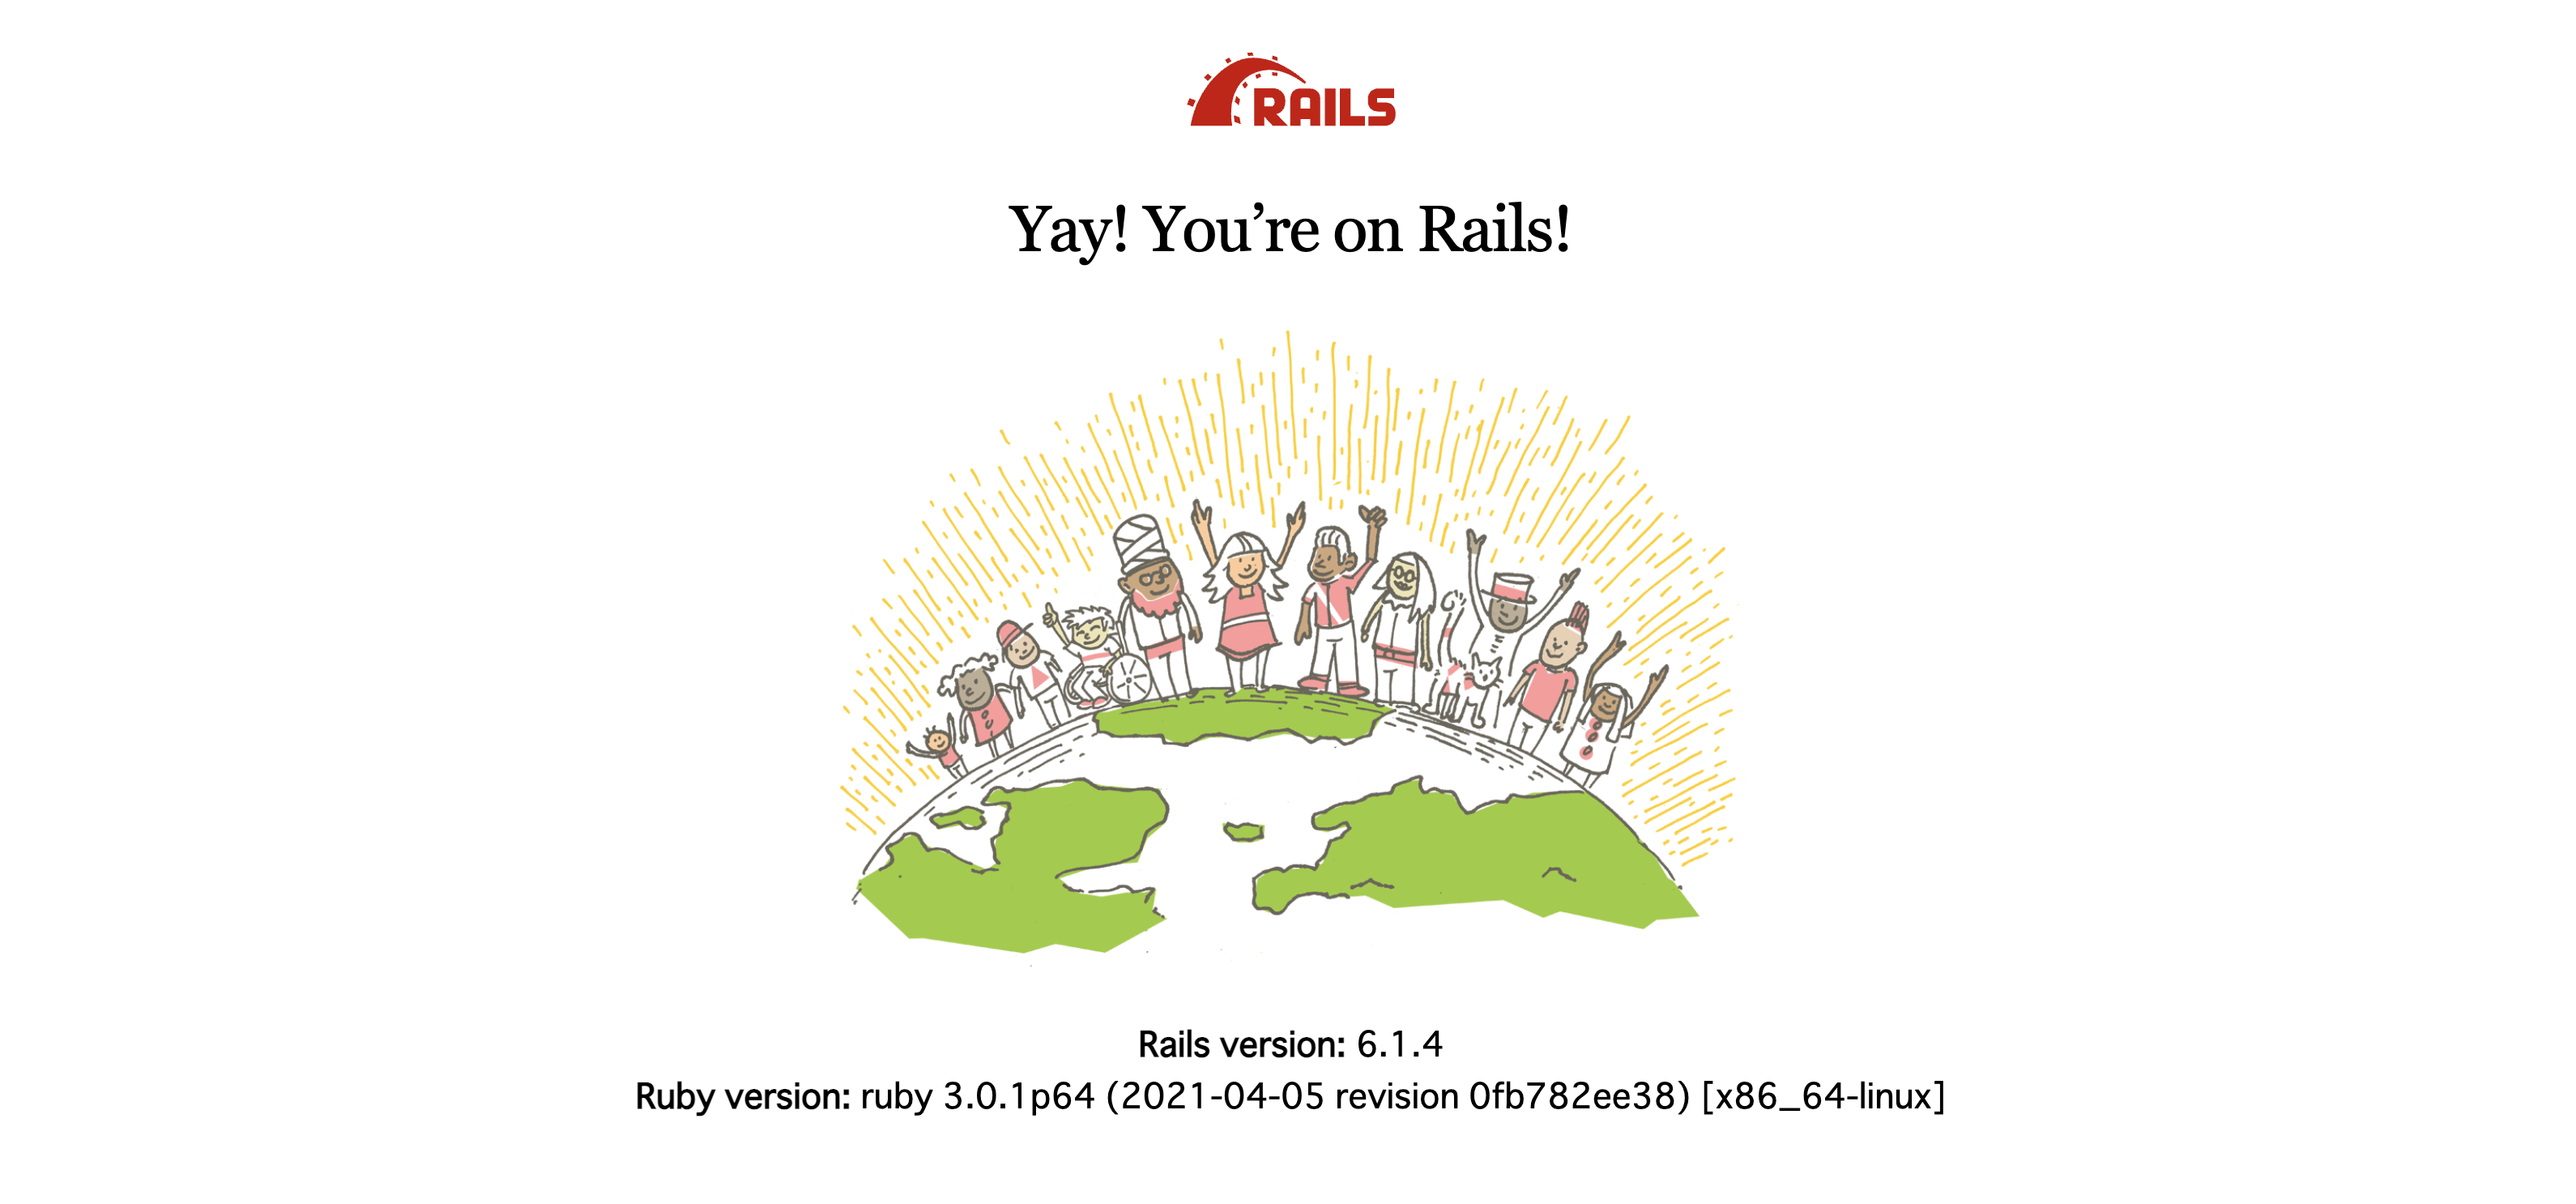
localhost:3000 にアクセス
localhost:3000 にアクセスして初期状態の画面が表示されればOKです。
モデルを作成
$ docker-compose run api rails g model Todo title:string
$ docker-compose run api rails db:migrate
class Todo < ApplicationRecord
  validates :title, presence: true, length: { maximum: 140 }
end
- title必須
- 最大140文字
忘れずにバリデーションも設定。
コントローラーを作成
$ docker-compose run api rails g controller api/v1/todos
class Api::V1::TodosController < ApplicationController
  def index
    render json: { status: 200, todos: Todo.all, message: "success" }
  end

  def create
    todo = Todo.new(todo_params)

    if todo.save
      render json: { status: 200, todo: todo, message: "success" }
    else
      render json: { status: 500, todo: nil, message: todo.errors }
    end
  end

  def destroy
    todo = Todo.find(params[:id])

    if todo.destroy
      render json: { status: 200, todo: todo, message: "success" }
    else
      render json: { status: 500, todo: nil, message: todo.errors }
    end
  end

  private

    def todo_params
      params.require(:todo).permit(:title)
    end
end
ルーティングを記述
Rails.application.routes.draw do
  namespace :api do
    namespace :v1 do
     resources :todos, only: %i[index create destroy]
    end
  end
end
初期データを作成
puts 'Creating todos...'

# 適当なTodoを5つ作成
5.times do |i|
  Todo.create(title: "Todo#{i + 1}")
end

puts '...Done!'
動作確認用の初期データを作成。
$ docker-compose run api rails db:seed
curlコマンドで確認
$ curl -X GET http://localhost:3001/api/v1/todos
{
    "status": 200,
    "message": "success",
    "todos": [
        {
            "id": 1,
            "title": "Todo1",
            "created_at": "2021-07-11T15:13:45.123Z",
            "updated_at": "2021-07-11T15:13:45.123Z"
        },
        {
            "id": 2,
            "title": "Todo2",
            "created_at": "2021-07-11T15:13:45.131Z",
            "updated_at": "2021-07-11T15:13:45.131Z"
        },
        {
            "id": 3,
            "title": "Todo3",
            "created_at": "2021-07-11T15:13:45.138Z",
            "updated_at": "2021-07-11T15:13:45.138Z"
        },
        {
            "id": 4,
            "title": "Todo4",
            "created_at": "2021-07-11T15:13:45.145Z",
            "updated_at": "2021-07-11T15:13:45.145Z"
        },
        {
            "id": 5,
            "title": "Todo5",
            "created_at": "2021-07-11T15:13:45.151Z",
            "updated_at": "2021-07-11T15:13:45.151Z"
        }
    ]
}
しっかりデータが挿入されているのが確認できれば成功です。
CORS設定
今回の構成ではバックエンドとフロントエンドを完全に分けているため、RailsとVue.jsがそれぞれ別のドメインで立ち上がっています。(localhost:3000とlocalhost:8080)
この場合、デフォルトの状態だとセキュリティの問題でVue.js側からRails側のAPIを使用できない点に注意が必要です。
使用できるようにするためには、「CORS(クロス・オリジン・リソース・シェアリング)」の設定を行わなければなりません。
参照記事: オリジン間リソース共有 (CORS)
rack-corsをインストール
RailsにはCORSの設定を簡単に行えるgemがあるのでそちらをインストールしましょう。
gem 'rack-cors'
APIモードで作成している場合、すでにGemfile内に記載されているのでコメントアウトを外すだけでOKです。
$ docker-compose build
Gemfileを更新したので再度ビルド。
cors.rbを編集
「config/initializers/」に設定ファイルが存在するはずなので、「localhost:8080」からアクセス可能なように編集しておきます。
Rails.application.config.middleware.insert_before 0, Rack::Cors do
  allow do
    origins 'localhost:8080' # Vue.js側で使用するドメイン

    resource '*',
      headers: :any,
      methods: [:get, :post, :put, :patch, :delete, :options, :head]
  end
end
$ docker-compose restart
設定の変更を反映させるためにコンテナを再起動。
これでバックエンドの準備は完了です。
フロントエンド
次にフロントエンドの部分を作成していきます。
$ mkdir frontend && cd frontend
vue create
前述の通り、Vue CLIで雛型を作っていくわけですが、その際にいくつか設定をしなければならないので以下のように行ってください。
$ vue create .

# 現在のディレクトリにプロジェクトを作成するかどうか
? Generate project in current directory? Yes

# 手動で細かい設定を行うかどうか
? Please pick a preset: Manually select features

# 必要な機能を選択 (ここでTypeScriptなどを選択)
? Check the features needed for your project: Choose Vue version, Babel, TS, Lin
ter

# バージョンを選択 (今回は3系)
? Choose a version of Vue.js that you want to start the project with 3.x

? Use class-style component syntax? No

? Use Babel alongside TypeScript (required for modern mode, auto-detected polyfi
lls, transpiling JSX)? Yes

? Pick a linter / formatter config: Basic

? Pick additional lint features: Lint on save

? Where do you prefer placing config for Babel, ESLint, etc.? In dedicated confi
g files

# 将来的に作られるプロジェクトにこの設定を適用するかどうか
? Save this as a preset for future projects? (y/N) No
対話形式で質問が行われ、全てに回答するとプロジェクトが作られ始められるはずです。
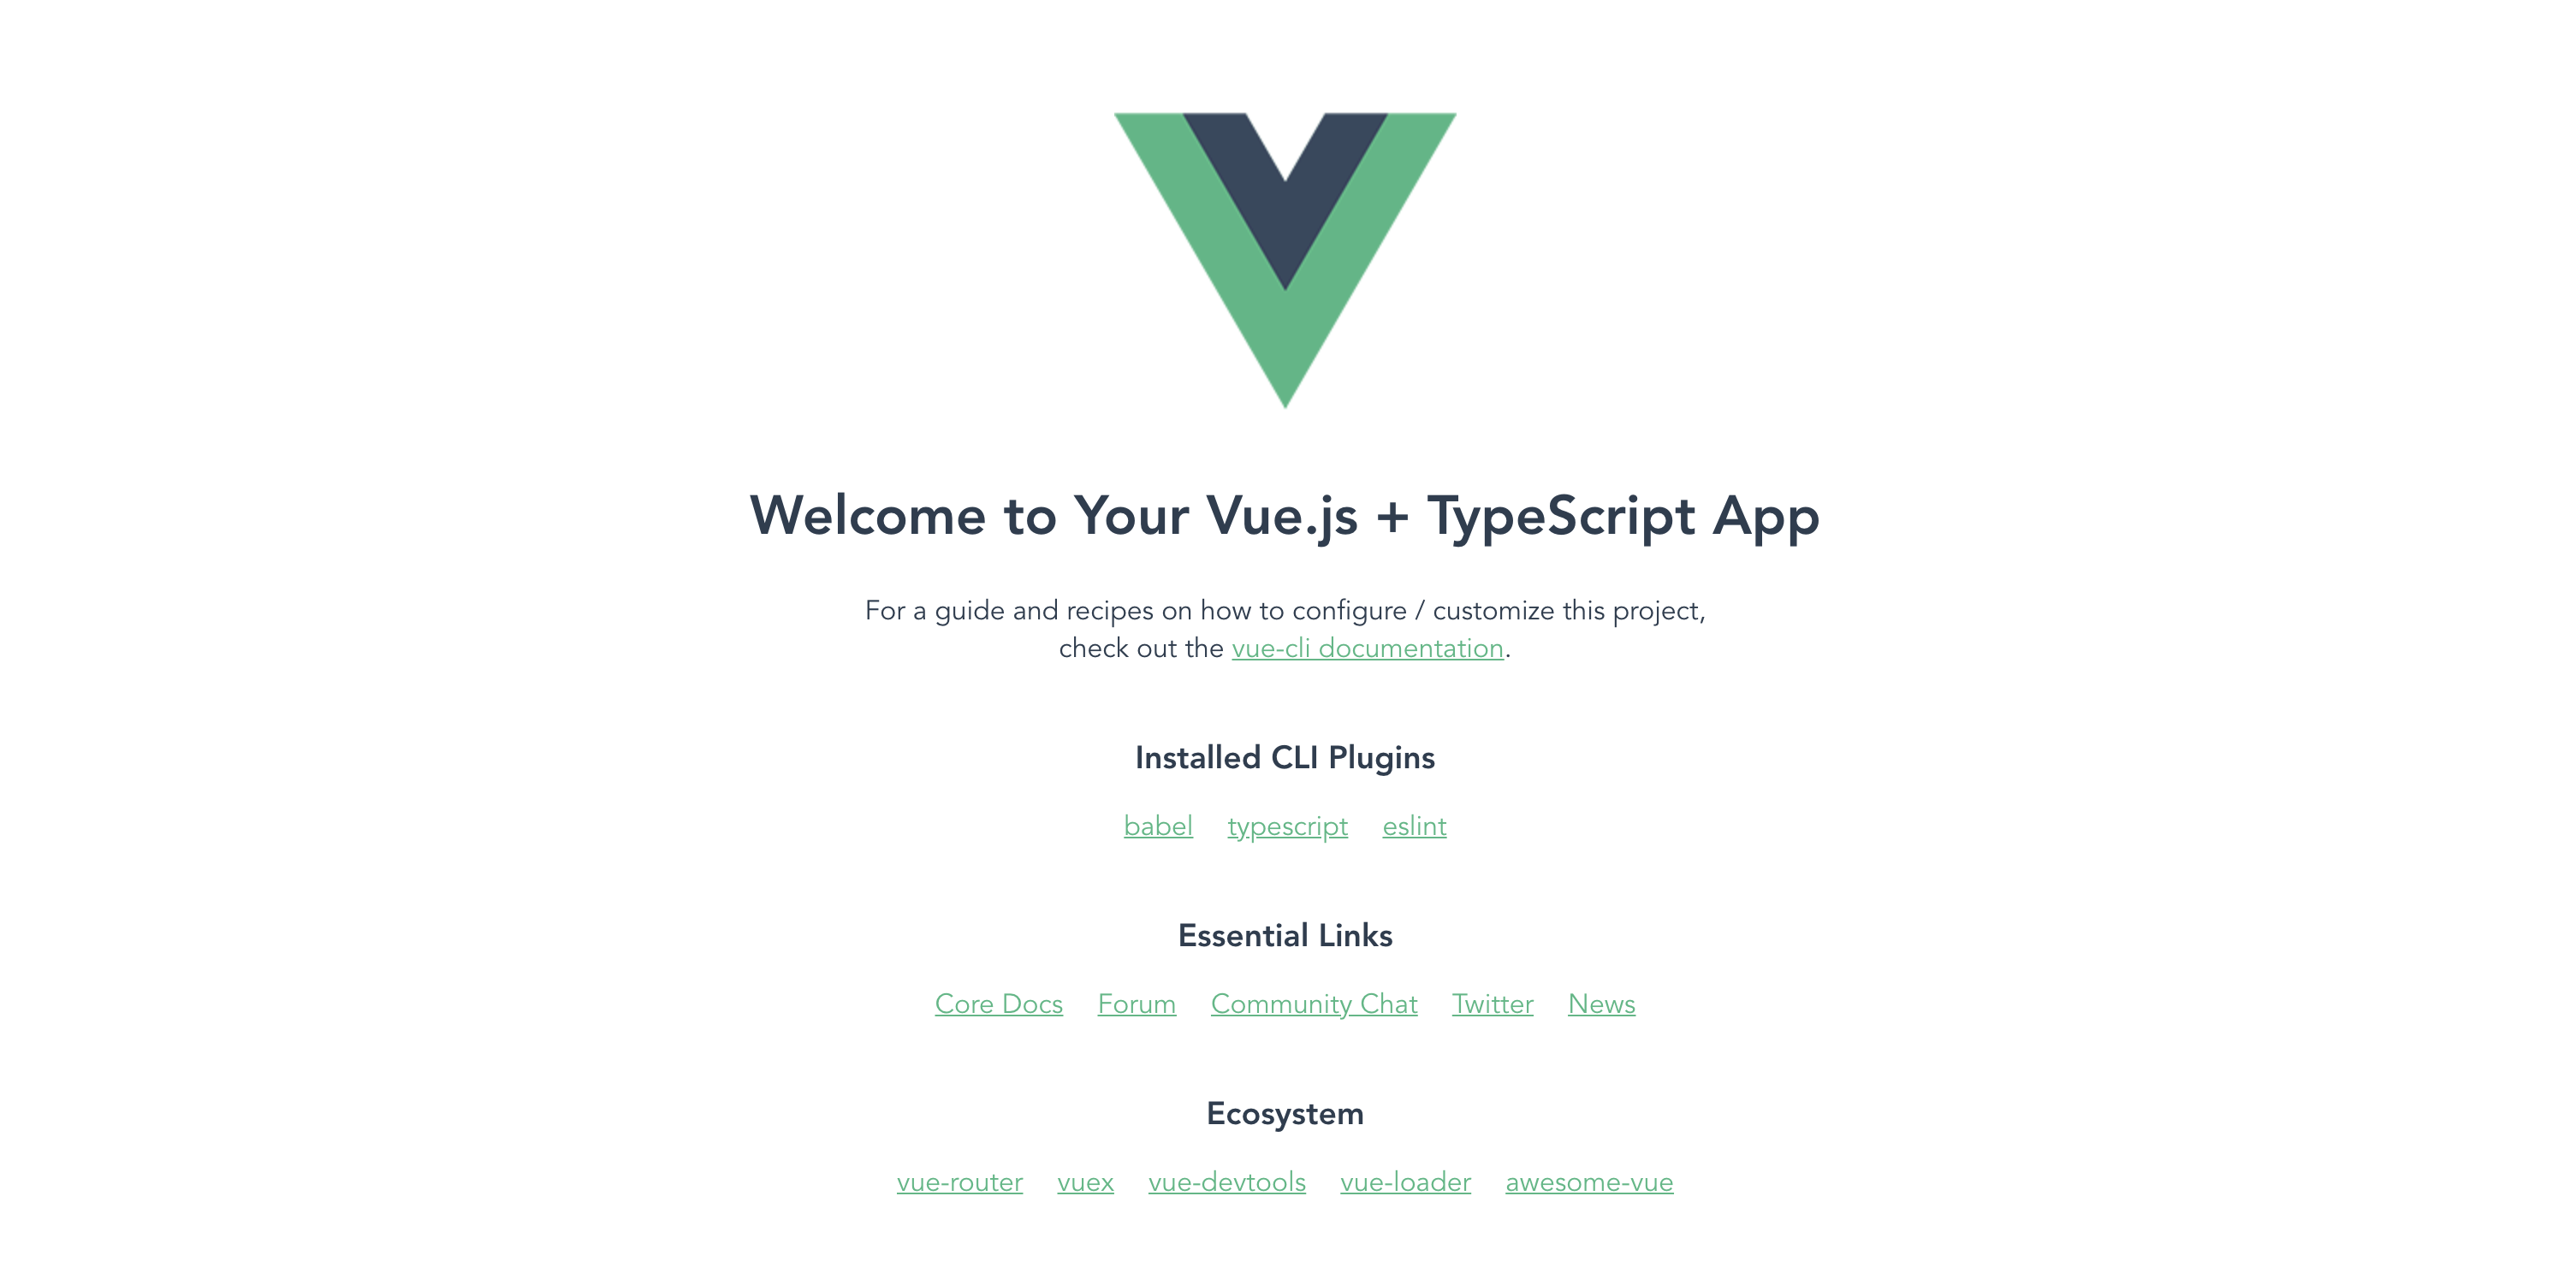
localhost:8080 にアクセス
$ yarn serve
localhost:8080 にアクセスして初期状態の画面が表示されればOKです。
型定義ファイルを作成
この辺のやり方は人それぞれだと思いますが、今回は「src」ディレクトリ以下に「interfaces」というディレクトリを作成し、そこに「index.ts」という型定義ファイルを置きます。
この中に汎用的に使用する型(今回であればTodo型を色々なところで使い回す予定)の定義を記述しておき、必要に応じて呼び出す感じですね。
$ mkdir src/interfaces
$ touch src/interfaces/index.ts
// Todo型
export interface Todo {
  id?: number
  title: string
}
APIクライアントを作成
Railsで作成したAPIを呼び出すための準備を行います。
$ yarn add axios
今回は axios という定番のライブラリを使用しましょう。
$ mkdir src/lib
$ mkdir src/lib/api
$ touch src/lib/api/client.ts
$ touch src/lib/api/todos.ts
import axios from 'axios'

// axiosのインスタンスを作成
const client = axios.create({
  baseURL: 'http://localhost:3000/api/v1' // Rails側のAPIエンドポイント
})

export default client
import { AxiosPromise } from 'axios'
import client from './client'
import { Todo } from '../../interfaces/index'

// getTodosを実行した際のレスポンスデータの型
interface GetTodosResponse {
  status: number
  todos: Todo[]
  message: string
}

// createTodoを実行した際のレスポンスデータの型
interface CreateTodoResponse {
  status: number
  todo: Todo
  message: string
}

// deleteTodoを実行した際のレスポンスデータの型
interface DeleteTodoResponse {
  status: number
  todo: Todo
  message: string
}

// Todo一覧を取得
export const getTodos = (): AxiosPromise<GetTodosResponse> => {
  return client.get('/todos')
}

// Todoを新規作成
export const createTodo = (data: Todo): AxiosPromise<CreateTodoResponse> => {
  return client.post('/todos', data)
}

// Todoを削除
export const deleteTodo = (id: number): AxiosPromise<DeleteTodoResponse> => {
  return client.delete(`/todos/${id}`)
}
App.vueを編集
<template>
  <div id="app">
    <h1>Todo App</h1>
    <form @submit.prevent>
      <input type="text" v-model="state.title">
      <button @click="handleCreateTodo">Add</button>
    </form>
    <p v-for="todo in state.todos" v-bind:key="todo.id">
      {{ todo.title }} <button @click="handleDeleteTodo(todo.id)">Delete</button>
    </p>
  </div>
</template>

<script lang="ts">
import { defineComponent, reactive, onMounted } from 'vue' // defineComponent関数(TypeScriptを取り入れる場合に必要)などを読み込む
import { getTodos, createTodo, deleteTodo } from './lib/api/todos' // APIを呼び出すための関数を読み込む
import { Todo } from './interfaces/index' // 型定義を読み込む

interface State {
  todos: Todo[]
  title: string
}

export default defineComponent({
  setup() {
    const state = reactive<State>({
      todos: [],
      title: ''
    })

    // Todo一覧を取得
    const handleGetTodos = async (): Promise<void> => {
      try {
        const res = await getTodos()

        if (res?.status === 200) {
          state.todos = res.data.todos // todos(配列)に結果を格納
        }
      } catch (err) {
        console.log(err)
      }
    }

    // Todoを新規作成
    const handleCreateTodo = async (): Promise<void> => {
      if (state.title === '') return // 入力が空だった場合は以降の処理を行わない

      // Todo型に沿ったデータを作成
      const data: Todo = {
        title: state.title
      }

      try {
        const res = await createTodo(data)

        if (res?.status === 200) {
          state.todos = [...state.todos, res.data.todo] // todos(配列)の最後尾にtodoを追加
        } else {
          console.log(res.data.message)
        }
      } catch (err) {
        console.log(err)
      }

      state.title = '' // 追加後はtitleを空にする(フォーム内がリセットされる)
    }

    // Todoを削除
    const handleDeleteTodo = async (id: number): Promise<void> => {
      if (id == null) return // idが無かった場合は以降の処理を行わない

      try {
        const res = await deleteTodo(id)

        if (res?.status === 200) {
          state.todos = state.todos.filter(todo => todo.id !== id) // idが一致しないもののみに絞り込む(要するにidが一致したものを削除する)
        } else {
          console.log(res.data.message)
        }
      } catch (err) {
        console.log(err)
      }
    }

    // Vueインスタンスがマウントされるたびに実行される関数
    onMounted(() => {
      handleGetTodos()
    })

    // template内で使用したいものをreturn
    return {
      state,
      handleCreateTodo,
      handleDeleteTodo
    }
  }
})
</script>

<style>
# app {
  font-family: Avenir, Helvetica, Arial, sans-serif;
  -webkit-font-smoothing: antialiased;
  -moz-osx-font-smoothing: grayscale;
  text-align: center;
  color: #2c3e50;
  margin-top: 60px;
}
</style>
コードの詳細については各コメント部分を読んでいただければ何となくわかると思います。
なお、今回は「Composition API」という比較的新しめの機能を使っているため、まだ馴染みの無い方はググってみて欲しいです。
もしこれまでにReactを触られた事のある方は「Hooks」をイメージしてもらうとわかりやすいかもしれません。
参照記事: Vue 3 Composition API を使ってみよう
動作確認
再度 localhost:8080 にアクセスしてこんな感じになっていれば完成です。事前にRails側で初期データを挿入しているので、Todo1~5までが表示されているはず。
あとがき
以上、Rails API + Vue.js + TypeScriptでシンプルなSAP構成のTodoアプリを作ってみました。
あくまでサンプルなのでCSSをいじったりコンポーネントを分けたりといった工夫は一切していませんが、何となく雰囲気を掴むという点ではそこそこな情報を記載しているつもりです。
あとは各々で改造してみてください。


