はじめに
唐突に画像と動画を加工してみたくなり、VisualStudio2017でPython3/OpenCVを使ってみました。
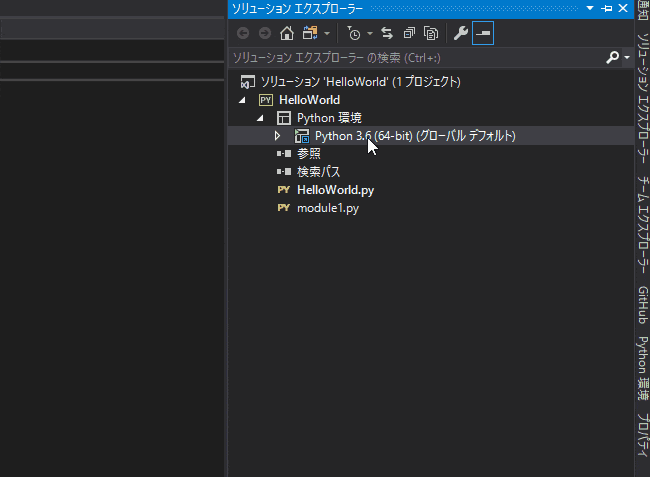
VisualStudioでPythonを使うためには、インストーラーから変更を行う必要があるそうです。
詳細な手順は下記のドキュメントを参照。
Windows に Visual Studio の Python サポートをインストールする方法
環境情報など
- Windows10 (1803)
- Visual Studio 2017 (Version 15.9.7)
- Python3.6
- opencv-python (4.0.0.21)
作業手順
1. Pythonの新規プロジェクトを作成
2. OpenCVをインストール
1. 右クリック後にPythonパッケージのインストール(I)を選択
2. パッケージ(PyPI)に変更
3. opencv-pythonを選択してインストール
3. サンプルコードを記述して実行
Sample.py
import numpy as np
import cv2

# パスを指定して画像を読み込み
image = cv2.imread("samplepath\sample.png")

# 画像の左上から 高さ100px 幅100px 分を切り取り
clipedImage = image[0:100,0:100]

# 読み込んだ画像をSampleウィンドウで表示
cv2.imshow('Sample', image)

# 切り取った画像をClipedSampleウィンドウに表示
cv2.imshow('ClipedSample', clipedImage)

# 何かキーが押されるまで待機
cv2.waitKey()
参考資料
下記のサイトを参考に実装してみました。