共有PCなどで、作業者ごとにログインさせたいけど、履歴やアカウント情報を残したくない、と思ったのがきっかけで作りました。(作業後はブラウザ閉じることが必須ですが。。)
IT リテラシーが高い方であれば、 Google Chrome を開いた状態から ⌘ + Shift + N でシークレットモードが開始できるので事足りると思いますが、作業者はそうでなかったりするので、ショートカットアイコンにしました。
この記事を読んで出来ること(イメージ)
ショートカットアイコンをクリックすると、シークレットモードで Google 検索のトップページを表示します。イメージ右上にシークレットモードを表すアイコンがあります。

やること
- Automator でアプリケーションを作成
- Google Chrome をシークレットモードで起動するシェルを記述
- アプリケーションのアイコンを変更
以上です。ほとんどコピペでできるので、3分クッキング並みにすぐ出来ると思います。
手順
1. Automator でアプリケーションを作成
-
⌘ + Spaceで 「Spotlight 検索」を起動し、automatorを入力(サジェストしてくれます)、エンターキーを押して「Automator」を起動する(Finder や Launchpad から Automator 探して直接起動でもOKです) - 書類の種類は「アプリケーション」を選択して、「選択」ボタンをクリック
- アクションから「シェルスクリプトの実行」を選択
2. Google Chrome をシークレットモードで起動するシェルを記述
- 「シェルスクリプトを実行」のコマンド入力欄に
open -n -a "Google Chrome" --args -incognito https://google.co.jpを入力(見た目上変な感じに改行されていますが改行はなく、問題ありません)
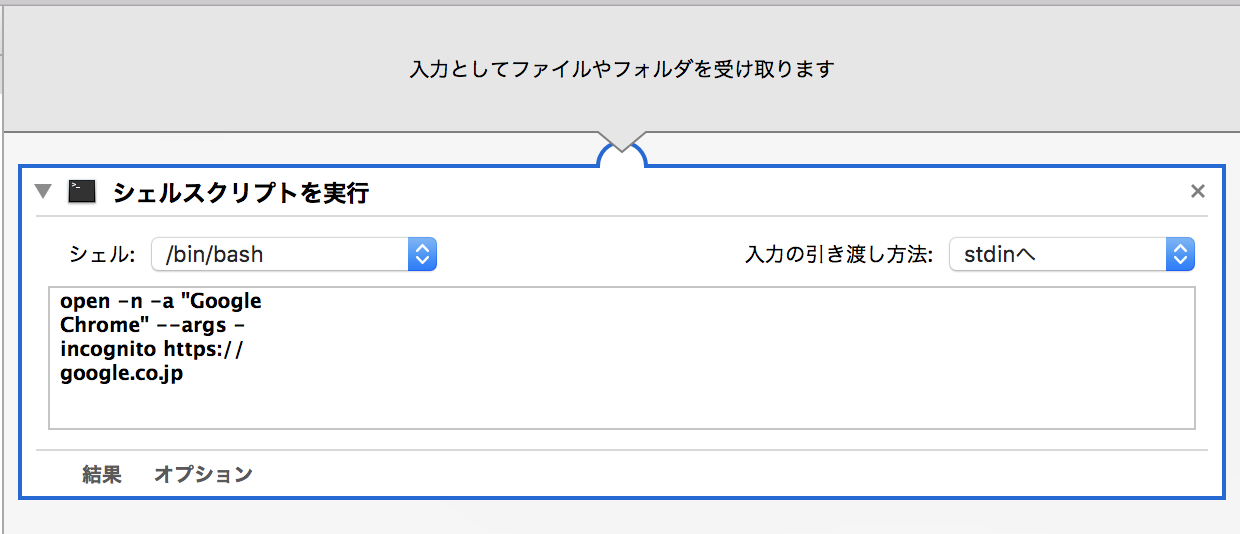
-
⌘ + Sで、名称(例:シークレットブラウザ起動)をつけ、デスクトップに保存(名称、保存場所は任意)
コマンド解説
難しいことはわからん、という人は読み飛ばしてください。
open -n -a "Google Chrome" --args -incognito https://google.co.jp
-
openは Finder のダブルクリック操作に相当するコマンドです -
-nで新たなインスタンスを起動 -
-a "Google Chrome"で Google Chrome (アプリケーション)を起動 -
--args -incognito https://google.co.jpは Google Chrome を起動するときのオプションです。(詳細)-
-incognitoでシークレットモードを指定 - 最後に URL を指定(任意です。指定しなければブランクの画面になります)
-
以下 open コマンドのヘルプです。
$ open -h
Usage: open [-e] [-t] [-f] [-W] [-R] [-n] [-g] [-h] [-s <partial SDK name>][-b <bundle identifier>] [-a <application>] [filenames] [--args arguments]
Help: Open opens files from a shell.
      By default, opens each file using the default application for that file.
      If the file is in the form of a URL, the file will be opened as a URL.
Options:
      -a                Opens with the specified application.
      -b                Opens with the specified application bundle identifier.
      -e                Opens with TextEdit.
      -t                Opens with default text editor.
      -f                Reads input from standard input and opens with TextEdit.
      -F  --fresh       Launches the app fresh, that is, without restoring windows. Saved persistent state is lost, excluding Untitled documents.
      -R, --reveal      Selects in the Finder instead of opening.
      -W, --wait-apps   Blocks until the used applications are closed (even if they were already running).
          --args        All remaining arguments are passed in argv to the application's main() function instead of opened.
      -n, --new         Open a new instance of the application even if one is already running.
      -j, --hide        Launches the app hidden.
      -g, --background  Does not bring the application to the foreground.
      -h, --header      Searches header file locations for headers matching the given filenames, and opens them.
      -s                For -h, the SDK to use; if supplied, only SDKs whose names contain the argument value are searched.
                        Otherwise the highest versioned SDK in each platform is used.
3. アプリケーションのアイコンを変更
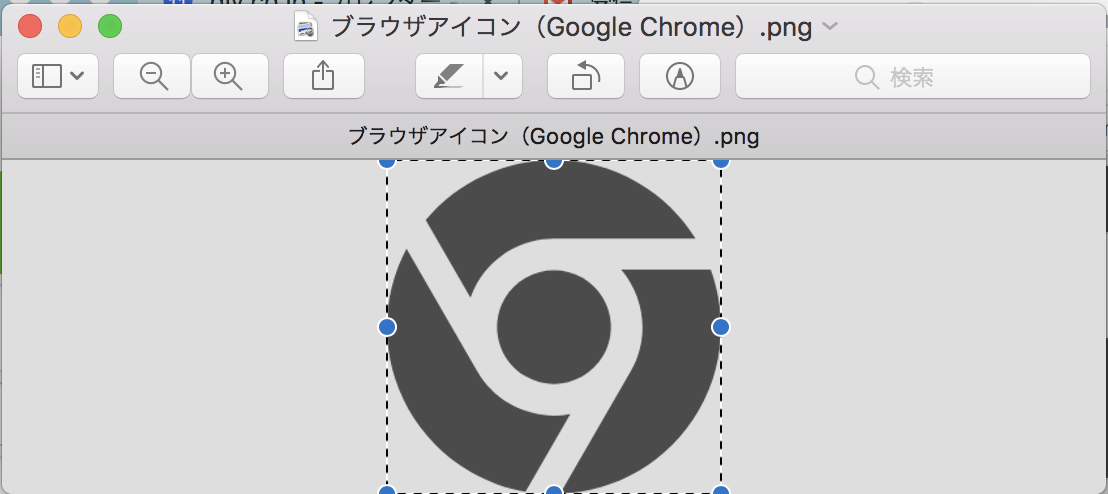
デフォルトのアイコンは、Automator のロボット君なので、わかりやすいアイコンに変更してみます。
- アイコンの用意。私は ICOOON MONO で探しました。画像形式は PNG を選びました
- ダウンロードした画像を「プレビュー」で表示
-
⌘ + Aで画像を選択し、⌘ + Cでコピー
- Automator で作成したアプリケーションのコンテクストメニュー(右クリックメニュー)から「情報を見る」をクリック
- ロボットのアイコンをクリックし、
⌘ + Vで貼り付け
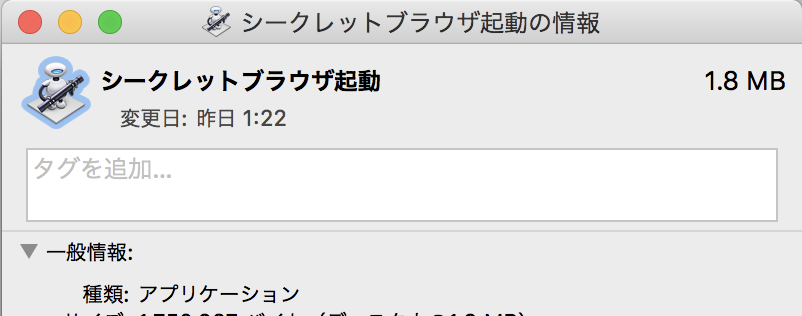
出来上がり
Dock にドラッグアンドドロップで追加してもいいですね。

以上になります。