前回
この記事は、前回の記事の続きになります。
Push通知
ServiceWorker(以下、SW)は、ブラウザのバックグラウンドで動作していることから、Push通知のイベントを受け取った際に、発火させメッセージを表示させることも可能になります。
それでは、実際に作っていきましょう
動作環境
- SWを利用するので、https必須です。
- localhost環境でもPush通知を送り受け取ることが可能です。
- Chromeのシークレットウィンドウでは動作しません
Google Developer Console
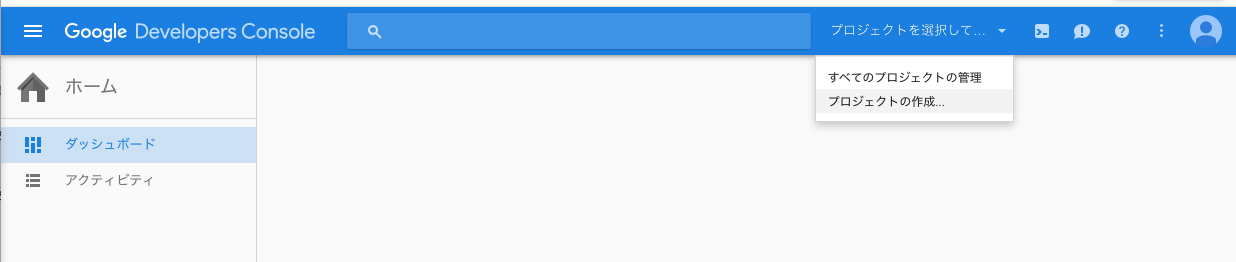
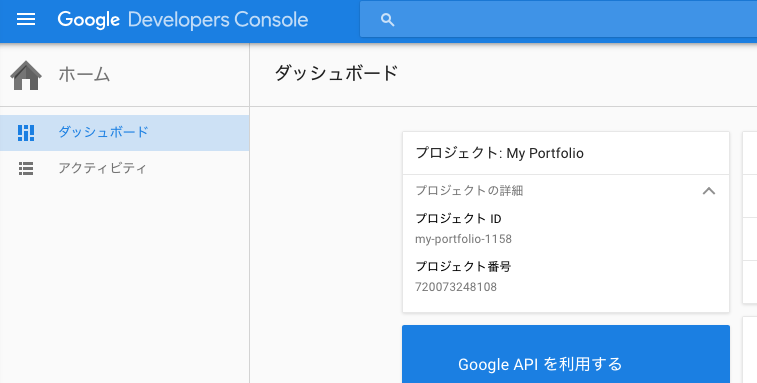
まずはPush通知を送ってくれるサービスに登録する必要がありますので、 Goole Developer Consoleに登録し、新規プロジェクトを作成します。
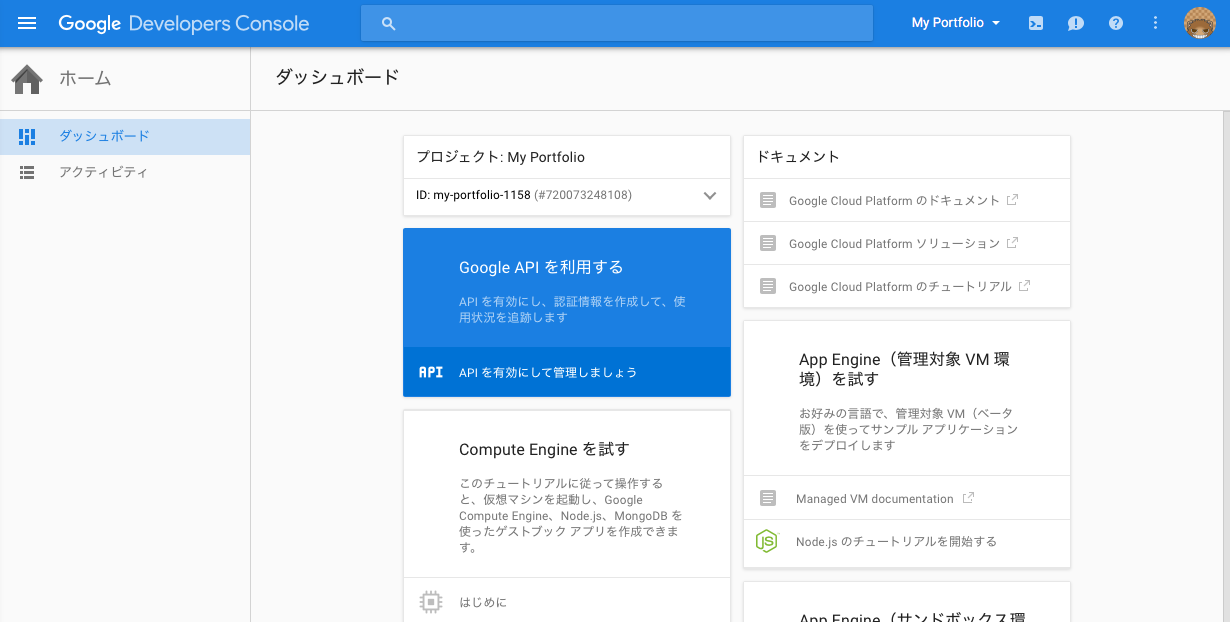
プロジェクトを登録すると以下の様な見た目になると思います。
次に「Google APIを利用する」をクリックします
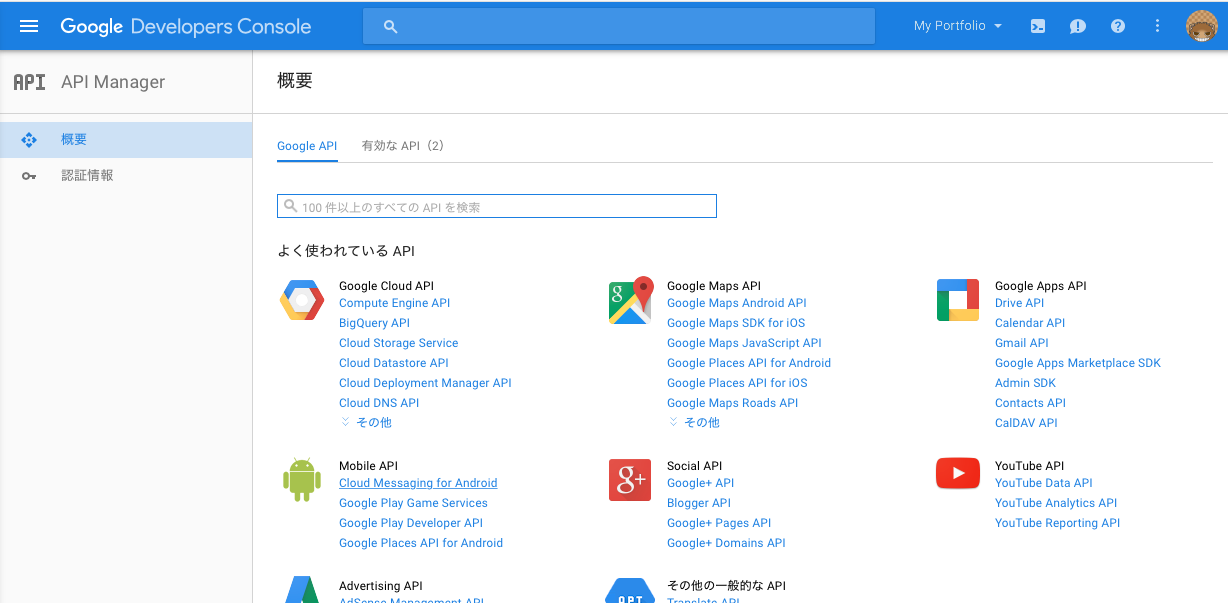
「Mobile API」から「Cloud Message for Android」を選択してAPIを有効にします。
次に、「認証情報」から「新しい認証情報 > APIキー > サーバー キー」と進んでKEYを作成しメモしておきます。
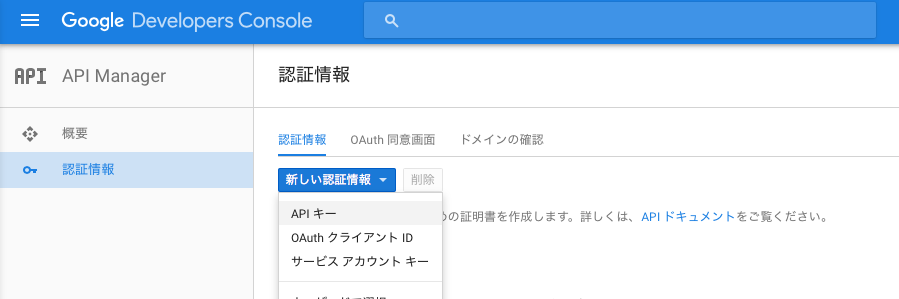
作成したKEYをメモしておきます。
ダッシュボードに戻って、プロジェクトに表示されている「プロジェクト番号」をメモしておきます
manifest.jsonの作成
manifest.jsonファイルを作成します
{
  "name": "My Portfolio",
  "short_name": "MYP",
  "icons": [{
        "src": "images/touch/icon-128x128.png",
        "sizes": "128x128",
        "type": "image/png"
      }, {
        "src": "images/touch/apple-touch-icon.png",
        "sizes": "152x152",
        "type": "image/png"
      }, {
        "src": "images/touch/ms-touch-icon-144x144-precomposed.png",
        "sizes": "144x144",
        "type": "image/png"
      }, {
        "src": "images/touch/chrome-touch-icon-192x192.png",
        "sizes": "192x192",
        "type": "image/png"
      }],
  "start_url": "/index.html",
  "display": "standalone",
  "background_color": "#3E4EB8",
  "theme_color": "#2F3BA2",
  "gcm_sender_id": <<プロジェクト番号>>
}
manifest.jsonの「gcm_sender_id」にメモしておいたプロジェクト番号を追記します
Service Worker
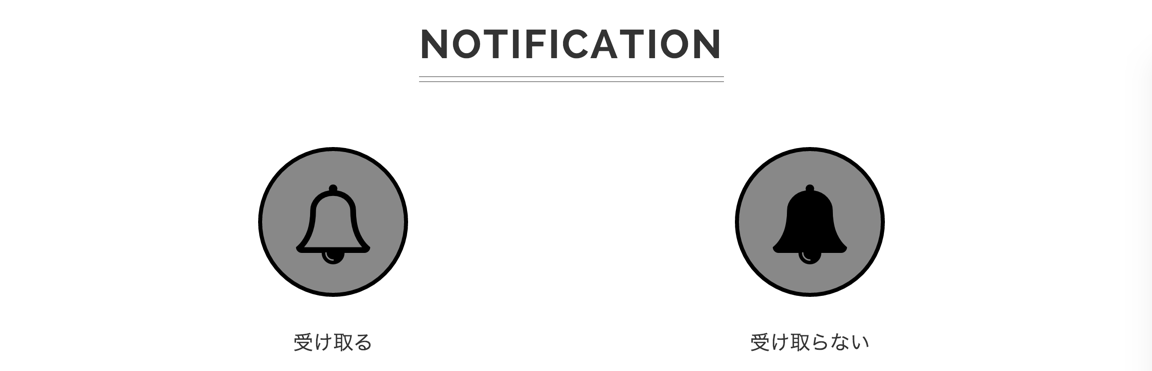
事前に以下のような通知の許諾ボタンを作成しておきます。
それでは前回作成したswにpush通知部分を追記していきます。
まずは、許諾ボタンの初期化をする部分です
    function initialiseState() {
        if (!('showNotification' in ServiceWorkerRegistration.prototype)) {
            console.warn('プッシュ通知が対応されておりません');
            return;
        }

        if (Notification.permission === 'denied') {
            console.warn('通知をブロックしております');
            return;
        }

        if (!('PushManager' in window)) {
            console.warn('プッシュ通知が対応されておりません');
            return;
        }

        navigator.serviceWorker.ready.then(function(serviceWorkerRegistration) {
            serviceWorkerRegistration.pushManager.getSubscription().then(
                function (subscription) {

                    pushEnableButton.disabled  = false;
                    pushDisableButton.disabled = false;

                    pushEnableButton.classList.add("non-active");
                    pushEnableButton.disabled = false;

                    pushDisableButton.classList.remove("non-active");
                    pushDisableButton.disabled = true;

                    if (!subscription) {
                        return;
                    }

                    // 取得したsubscriptionをServerなどで保存させる処理
                    sendSubscriptionToServer(subscription);

                    pushEnableButton.classList.remove("non-active");
                    pushEnableButton.disabled = true;

                    pushDisableButton.classList.add("non-active");
                    pushDisableButton.disabled = false;

                })
                .catch(function(err){console.warn('Error during getSubscription()', err); });
        });
    }
初期化処理では、「ブラウザがPush通知をサポートしているか」をチェックした後に、既に選択済みであった場合に、ボタンのスタイルを変更している処理をしています。
次に、初期化処理をSWに組み込みます
    if (
        'serviceWorker' in navigator &&
        (window.location.protocol === 'https:' || isLocalhost)
    ) {
        navigator.serviceWorker.register('serviceWorker.js', {scope: '/'}).then(
            function (registration) {
                if (typeof registration.update == 'function') {
                    registration.update();
                }

                initialiseState();
            })
            .catch(function (error) {
                console.error('Service Worker registration failed: ', error);
            });
    }
前回作成した、SW登録部分にて初期化処理を呼び出します。
次に、「受け取るボタン」を押されたイベントのコードです。
    pushEnableButton.addEventListener('click', function(){
        Notification.requestPermission(function(permission) {
            if(permission !== 'denied') {
                subscribe();
            }
            else {
                alert ('プッシュ通知を有効にできません。ブラウザの設定を確認して下さい。');
            }
        });
    });

    function subscribe() {
        navigator.serviceWorker.ready.then(function(serviceWorkerRegistration) {
            serviceWorkerRegistration.pushManager.subscribe({ userVisibleOnly: true }).then(
                function(subscription) {
                    pushEnableButton.classList.remove("non-active");
                    pushEnableButton.disabled = true;

                    pushDisableButton.classList.add("non-active");
                    pushDisableButton.disabled = false;

                    return sendSubscriptionToServer(subscription);
                }
            )
            .catch(
                function (e) {
                    if (Notification.permission == 'denied') {
                        console.warn('Permission for Notifications was denied');
                    }
                    else {
                        console.error('Unable to subscribe to push.', e);
                        window.alert(e);
                    }
                }
            )
        })
    }

    function sendSubscriptionToServer(subscription) {
        console.log(subscription);
    }
ボタンが押されたら、「通知の認証可否」「subscription」があるかをチェックします。subscriptionを取得したら、ボタンのスタイルを変更して、subscriptionを保存するためにサーバーに送ります(今回はコンソールに表示されるだけにしております)
※ userVilibleOnly:trueの指定が必須になりました。
※ subscriptionには、Push通知を送るときに必要なendpointの情報が含まれています
次に、「受け取らないボタン」を押されたイベントのコードです
    pushDisableButton.addEventListener('click', function(){
        unsubscribled();
    });

    function unsubscribled() {
        navigator.serviceWorker.ready.then(function(serviceWorkerRegistration) {
            serviceWorkerRegistration.pushManager.getSubscription().then(
                function(pushSubscription) {
                    if ( ! pushSubscription ) {
                        pushEnableButton.classList.add("non-active");
                        pushEnableButton.disabled = false;

                        pushDisableButton.classList.remove("non-active");
                        pushDisableButton.disabled = true;

                        return;
                    }

                    sendSubscriptionToServerForDelete(pushSubscription);

                    pushSubscription.unsubscribe().then(function(successful) {
                        pushEnableButton.classList.add("non-active");
                        pushEnableButton.disabled = false;

                        pushDisableButton.classList.remove("non-active");
                        pushDisableButton.disabled = true;
                    }).catch(function(e) {
                        console.error('Unsubscription error: ', e);

                        pushEnableButton.classList.add("non-active");
                        pushEnableButton.disabled = false;

                        pushDisableButton.classList.remove("non-active");
                        pushDisableButton.disabled = true;
                    });
                }
            )
            .catch(
                function(e) {
                    console.error('Error thrown while unsubscribing from push messaging.', e);
                }
            )
        });
    }

    function sendSubscriptionToServerForDelete(subscrption) {
        console.log('sending to server for delete:', subscrption);
    }
sendSubscriptionToServerForDelete()で、サーバーに保存されたsubscriptionを削除するようにしております。また、ボタンのスタイルを変更しています。
次にプッシュ通知を受け取った際の処理を書いていきます。これはSWにインストールさせるjsファイルに書きます
self.addEventListener('push', function(event) {
self.addEventListener('push', function(event) {
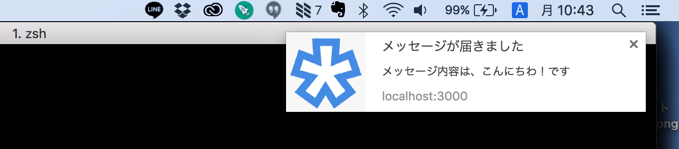
var title = 'メッセージが届きました';
var body = 'メッセージ内容は、こんにちわ!です';
var icon = '/images/touch/chrome-touch-icon-192x192.png';
var tag = 'simple-push-demo-notification-tag';
event.waitUntil(
self.registration.showNotification(title, {
body: body,
icon: icon,
tag: tag
})
);
});
});
push通知を受け取った場合「pushイベント」が発火します。その際に画面に通知を表示させるようにします。
次に、通知をクリックされたイベント処理を書きます。
self.addEventListener('notificationclick', function(event) {
    event.notification.close();

    event.waitUntil(
        clients.matchAll({
            type: "window"
        })
            .then(function(clientList) {
                      for (var i = 0; i < clientList.length; i++) {
                          var client = clientList[i];
                          if (client.url == '/' && 'focus' in client)
                              return client.focus();
                      }
                      if (clients.openWindow) {
                          return clients.openWindow('/');
                      }
                  })
    );
});
それでは、実際に通知を送ってみましょう。
通知を送るためにcurlを使用します。
$ curl --header "Authorization: key=<<SERVER_API_KEY>>" --header "Content-Type: application/json" https://android.googleapis.com/gcm/send -d"{\"registration_ids\":[\"<<REGISTRATION_ID>>\"]}"
SERVER_KEYには、GoogleDeveloperConsoleで作成メモしておいたKEYを書きます。registration_idsには、「受け取るボタン」を押した際に表示させたsubscription内のendpointから、URLを取り除いたものを指定します。
https://android.googleapis.com/gcm/send/APA91bHPffi8zclbIBDcToXN_LEpT6iA87pgR-J-MuuVVycM0SmptG-rXdCPKTM5pvKiHk2Ts-ukL1KV8exGOnurOAKdbvH9jcvg8h2gSi-zZJyToiiydjAJW6Fa9mE3_7vsNIgzF28KGspVmLUpMgYLBd1rxaVh-L4NDzD7HyTkhFOfwWiyVdKh__rEt15W9n2o6cZ8nxrP
ここから、
https://android.googleapis.com/gcm/send
を取り除いた
APA91bHPffi8zclbIBDcToXN_LEpT6iA87pgR-J-MuuVVycM0SmptG-rXdCPKTM5pvKiHk2Ts-ukL1KV8exGOnurOAKdbvH9jcvg8h2gSi-zZJyToiiydjAJW6Fa9mE3_7vsNIgzF28KGspVmLUpMgYLBd1rxaVh-L4NDzD7HyTkhFOfwWiyVdKh__rEt15W9n2o6cZ8nxrP
がREGISTRATION_IDになります
それでは、実際にcurlコマンドを叩いてみましょう
まとめ
このようにSWを使うとウェブアプリからプッシュ通知を行なうことができます。新たに加わったカスタムボタンを使うと、通知にボタンを表示させることができるようになり、そのボタンをclickした時に任意の処理を行なうことが出来るみたいです。
次回は、web manifestを使った見た目の部分を書きたいと思います